 dxflib库解析DXF文件


下载编译dxflib
http://www.ribbonsoft.com/en/dxflib-downloads
vs2017 新建Visual C++的空项目
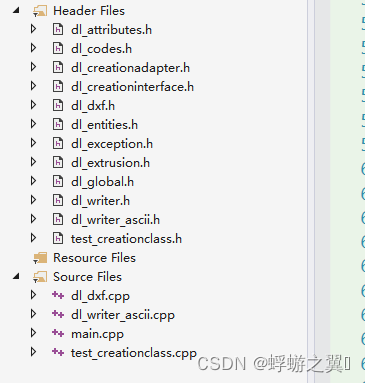
把这些文件都加进去(src 文件夹下所有头文件源文件,还有readwrite下的 test_creationclass和main)
修改main函数
int main(int argc, char** argv)
{
    testReading("demo.dxf");
    testWriting();
	getchar();
    return 0;
}
x64生成
成功
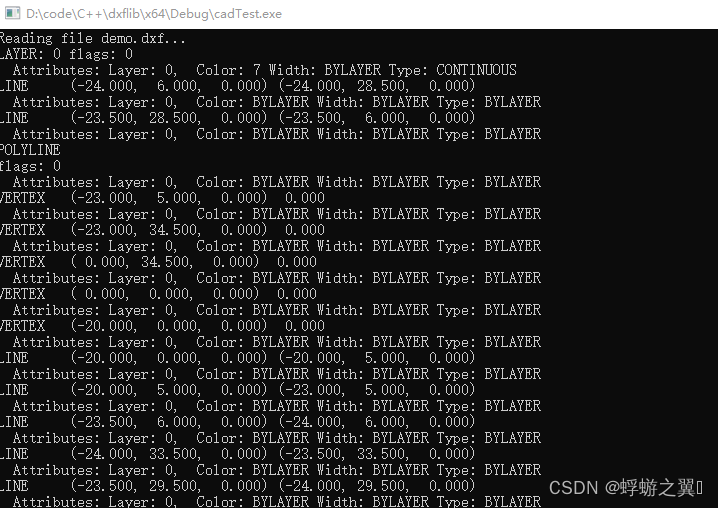
读取文件
工作原理:dxflib分析DXF文件,然后调用用户定义的回调函数。用户可以在回调函数中处理各种实体,或者将它们保存到容器中。
实现Creation接口
用户操作DXF的类,需要由DL_CreationInterface或者DL_CreationAdapter派生。在一般情况下DL_CreationAdapter是一个常用的选择,因为它并不强迫子类实现所有的虚函数。
class MyDxfFilter : public DL_CreationAdapter
{
    virtual void addLine(const DL_LineData& d);
     ...
  }
在重新实现的虚函数addLine中,用户可以选择将实体保存到容器,也可以选择其他的方式处理。
 void MyDxfFilter::addLine(const DL_LineData& d)
 {
     std::cout << "Line: " << d.x1 << "/" << d.y1
     << " " << d.x2 << "/" << d.y2 << std::endl;
 }
读DXF文件的时候,你只需要将自己派生的类传递给分析器就可以了。
 MyDxfFilter f;
 DL_Dxf dxf;
if (!dxf.in("drawing.dxf", &f))
 {
     std::cerr << "drawing.dxf could not be opened.\n";
}
加载 DXF 文件并只读取线
LineReader.h:
#ifndef LINEREADER_H
#define LINEREADER_H

#include "dxflib/src/dl_dxf.h"
#include "dxflib/src/dl_creationadapter.h"
#include <stdio.h>

class LineReader: public DL_CreationAdapter {
    public:
        // Our functions:
        void readLines(const char * filename);

        // Overloading from parent DL_CreationAdapter:
        void addLine(const DL_LineData& data);


};
#endif

LineReader.cpp:
void LineReader::readLines(const char * filename) {
  DL_Dxf * getData = new DL_Dxf();
  if (!getData->in(filename, this)) {
    fprintf(stderr, "Could not retrieve data from input file.\n");
    delete getData;
    exit(1);
  }
  delete getData;
}

void LineReader::addLine(const DL_LineData& data) {
  printf("Line starting at (%f, %f, %f) ending at (%f, %f, %f)\n",
          data.x1, data.y1, data.z1, data.x2, data.y2, data.z2);
}
绘制实体段图元
基于dxflib库读取DXF文件并在QT中绘制实体段图元(二)
如果文件中有很多line,那么DL_CreationAdapter对象会一直递归调用虚函数接口addLine(),直到所有的line都读完。
所以在继承DL_CreationAdapter接口后,我们定义一个成员变量
std::vector < std::pair<DL_LineData, DL_Attributes>> m_vecDxfLines;
用来存储所有的line
void analyzeDXF::addLine(const DL_LineData& data)
{
	m_vecDxfLines.push_back(std::pair<DL_LineData, DL_Attributes>(data, attributes));
}
这样就得到了所有的数据
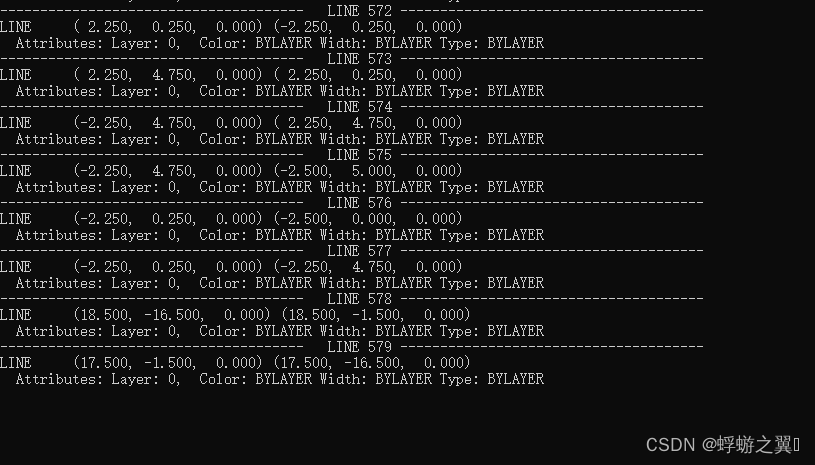
我们打印line的数据看看
void analyzeDXF::drawLine()
{
	std::vector< std::pair<DL_LineData, DL_Attributes>>::iterator iter;
	int num = 1;
	for (iter = m_vecDxfLines.begin(); iter < m_vecDxfLines.end(); iter++)
	{
		DL_LineData &data = (*iter).first;
		DL_Attributes & attributes = (*iter).second;
		printf("--------------------------------------   LINE %d --------------------------------------\n", num);
		printf("LINE     (%6.3f, %6.3f, %6.3f) (%6.3f, %6.3f, %6.3f)\n",data.x1, data.y1, data.z1, data.x2, data.y2, data.z2);
		printAttributes(attributes);
		num++;
	}
}

void analyzeDXF::printAttributes(DL_Attributes &attributes)
{
	printf("  Attributes: Layer: %s, ", attributes.getLayer().c_str());
	printf(" Color: ");
	if (attributes.getColor() == 256) {
		printf("BYLAYER");
	}
	else if (attributes.getColor() == 0) {
		printf("BYBLOCK");
	}
	else {
		printf("%d", attributes.getColor());
	}
	printf(" Width: ");
	if (attributes.getWidth() == -1) {
		printf("BYLAYER");
	}
	else if (attributes.getWidth() == -2) {
		printf("BYBLOCK");
	}
	else if (attributes.getWidth() == -3) {
		printf("DEFAULT");
	}
	else {
		printf("%d", attributes.getWidth());
	}
	printf(" Type: %s\n", attributes.getLinetype().c_str());
}
有了这些数据就可以重绘图形了
坐标转换
https://blog.csdn.net/L_serein/article/details/5357739
https://blog.csdn.net/zgrjkflmkyc/article/details/41650847


 1395
1395

 被折叠的 条评论
为什么被折叠?
被折叠的 条评论
为什么被折叠?
 到【灌水乐园】发言


