


一.安装apache并测试其可以正常显示
[root@localhost ~]# yum install httpd -y##安装apache
[root@localhost ~]# systemctl start httpd##开启服务
[root@localhost ~]# netstat -antlupe | grep httpd##查看端口
[root@localhost html]# cd /var/www/html/##默认发布目录
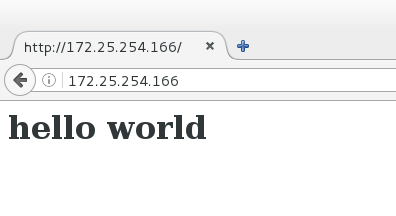
[root@localhost html]# vim index.html##默认发布文件

[root@localhost html]# systemctl stop firewalld
用真机firefox查看
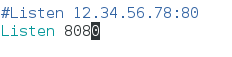
二.默认端口的修改
root@localhost html]# netstat -antlupe | grep httpd

[root@localhost html]# vim /etc/httpd/conf/httpd.conf ##主配置文件
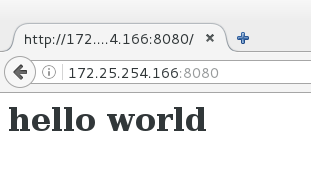
[root@localhost html]# systemctl restart httpd
[root@localhost html]# netstat -antlupe | grep httpd

在真机测试
三.默认发布文件的修改
默认发布文件可以存在多个,在配置文件里修改,其顺序执行,如果前面文件不存在,则访问后面的。
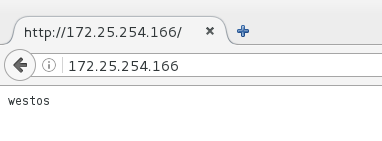
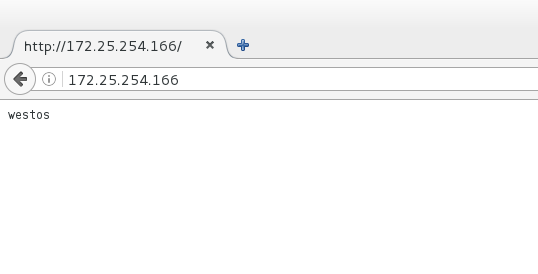
我们在默认发布文件里加入westos置于index.html前。
1)默认发布目录下新建westos

2)[root@localhost html]# vim /etc/httpd/conf/httpd.conf

3)真机进行测试,发现默认文件内容变成了westos文件里的内容
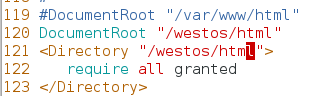
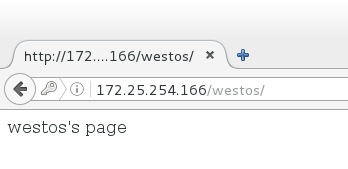
四.默认发布目录的修改
[root@localhost html]# mkdir /westos/html -p
[root@localhost html]# cd /westos/html/
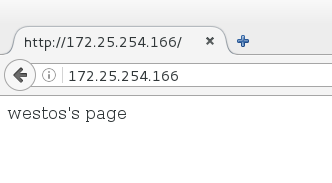
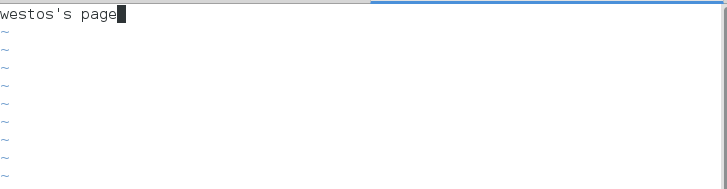
[root@localhost html]# vim index.html
[root@localhost html]# cat index.html
westos's page
[root@localhost html]# vim /etc/httpd/conf/httpd.conf
[root@localhost html]# systemctl restart httpd
用真机测试
五.apache的访问控制
1.针对主机的访问控制
[root@localhost westos]# vim /etc/httpd/conf/httpd.conf
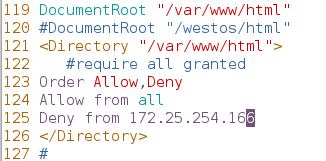
[root@localhost html]# systemctl restart httpd
在虚拟机测试
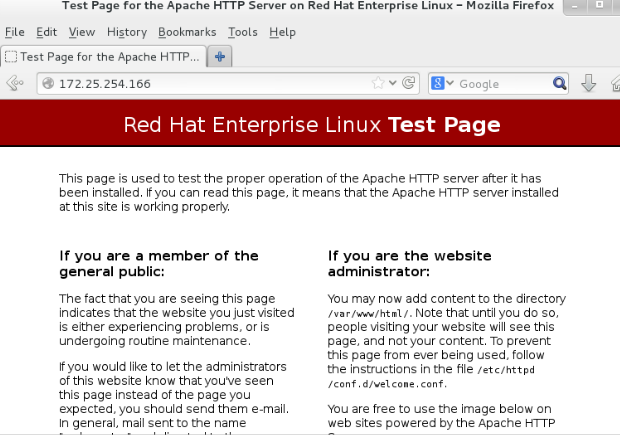
在真机测试
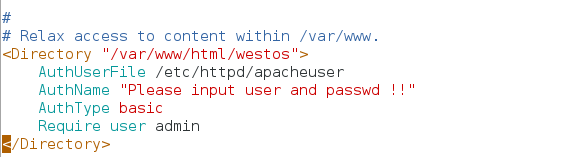
2.用户方式的访问控制
[root@localhost httpd]# htpasswd -cm apacheuser admin
[root@localhost httpd]# htpasswd -m apacheuser tom
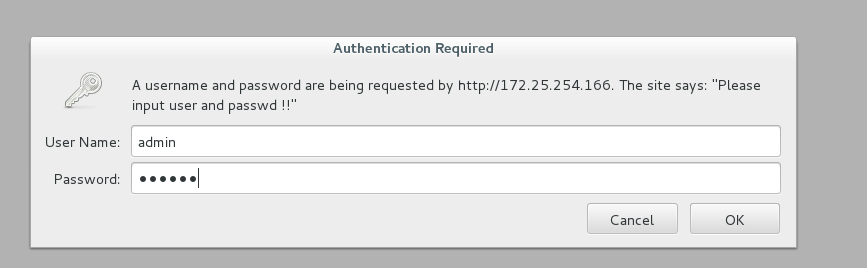
[root@localhost httpd]# vim /etc/httpd/conf/httpd.conf
[root@localhost httpd]# systemctl restart httpd
真机登陆测试
六.证书验证
yum install mod_ssl.x86_64 -y
yum install crypto-utils.x86_64 -y
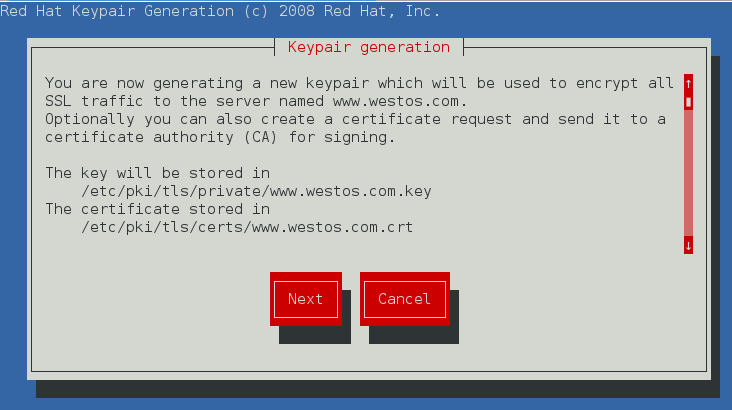
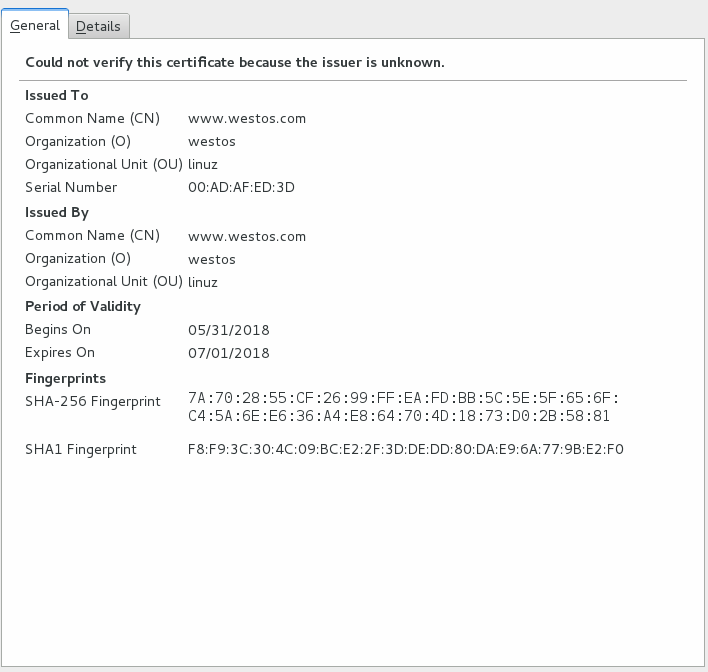
[root@localhost conf.d]# genkey www.westos.com
分别为加密的key和加密证书的文件及其位置,选择下一步
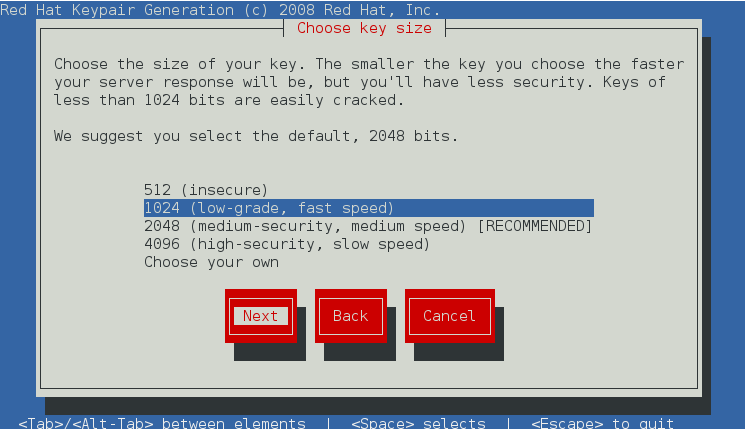
选择key文件的大小,建议选择1024适中
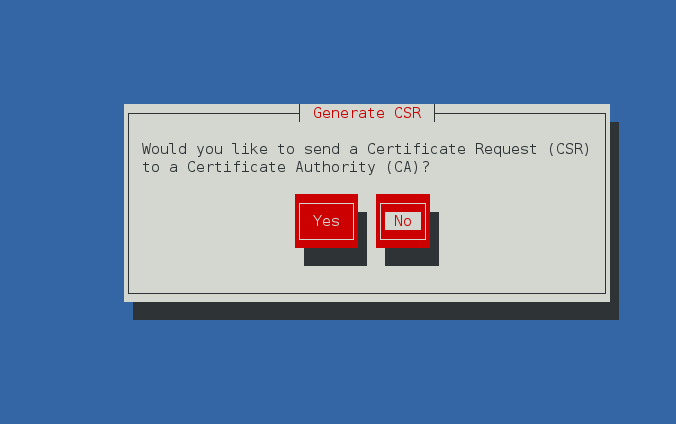
该步骤为是否向CA机构发送,选择NO
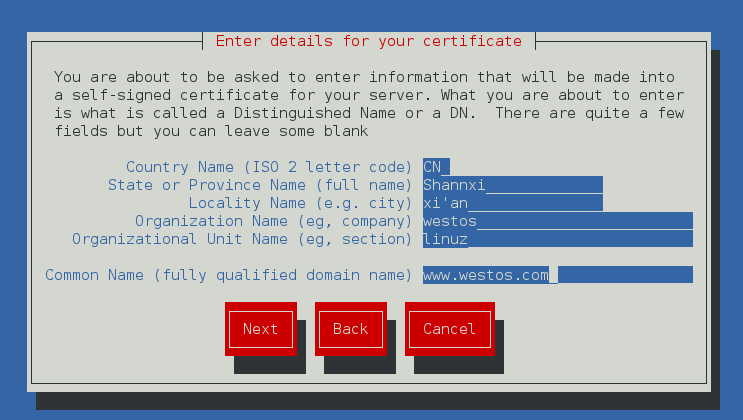
填写信息
[root@localhost conf.d]# vim ssl.conf

用https://ip进行访问查看证书信息
七.网页重写
[root@localhost conf.d]# cp news.conf login.conf
[root@localhost conf.d]# vim login.conf
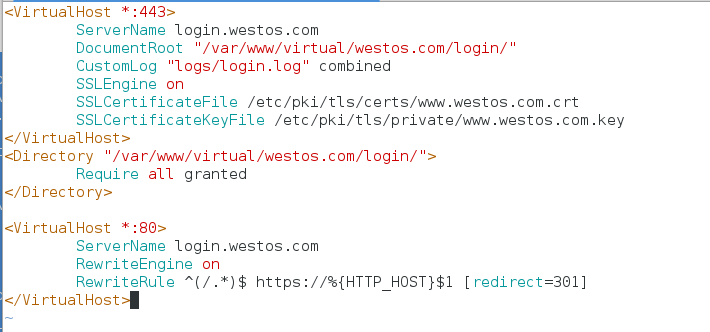
[root@localhost conf.d]# mkdir -p /var/www/virtual/westos.com/login/
[root@localhost conf.d]# vim /var/www/virtual/westos.com/login/index.html##随意编写
[root@localhost conf.d]# systemctl restart httpd.service
在真机
[root@foundation66 ~]# vim /etc/hosts

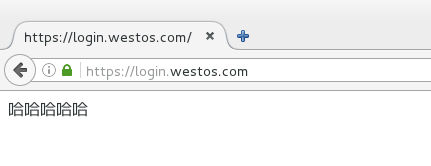
测试:访问
http://login.westos.com 或者 login.westos.com 自动跳转 https://login.westos.com
八.apache支持语言
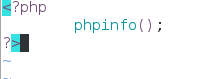
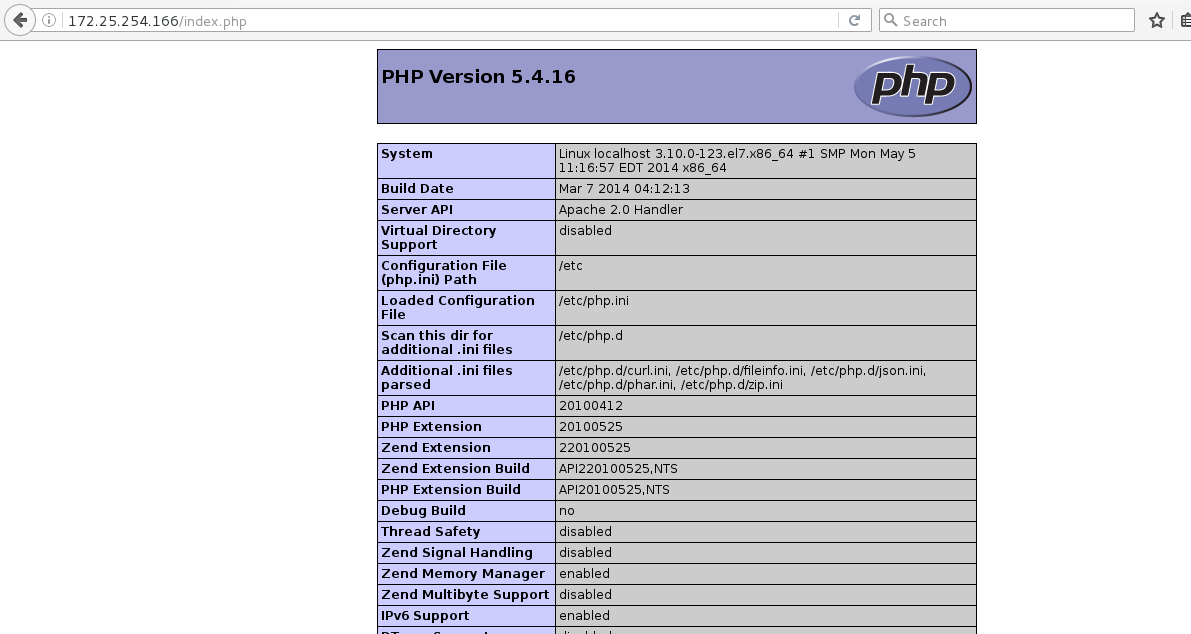
【1】php
[root@localhost conf.d]# cd /var/www/html/
[root@localhost html]# vim index.php
[root@localhost html]# vim /etc/httpd/conf/httpd.conf

[root@localhost html]# yum install php -y
[root@localhost html]# systemctl restart httpd.service
在网页测试:172.25.254.166
【2】cgi
[root@localhost html]# mkdir cgi
[root@localhost html]# vim cgi/index.cgi
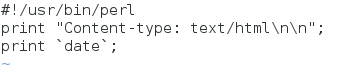
[root@localhost html]# chmod +x cgi/index.cgi
[root@localhost html]# cd /etc/httpd/conf.d
[root@localhost conf.d]# vim default.conf
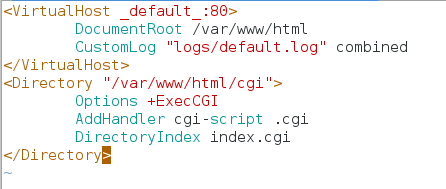
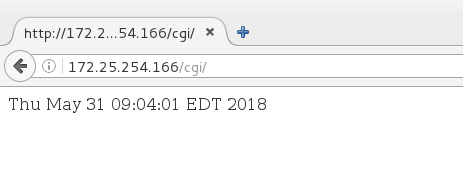
[root@localhost conf.d]# systemctl restart httpd.service
在网页测试:http://172.25.254.166/cgi/
九.代理服务器
正向代理
正向代理服务器:66
实验环境:66可以上网166不能上网
在66主机:
yum install squid -y
systemctl start squid
vim /etc/squid/squid.conf
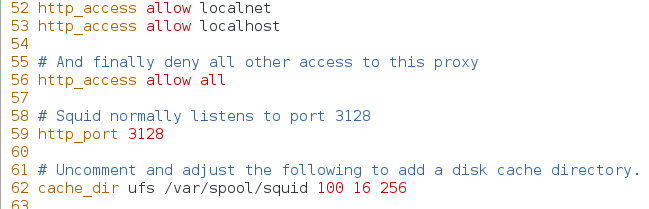
##100 缓存数据大小,超过100M将自动清理之前的缓存
##16 子目录个数,用于存放缓存数据的文件
##256 子目录中文件的个数,共256个
systemctl restart squid
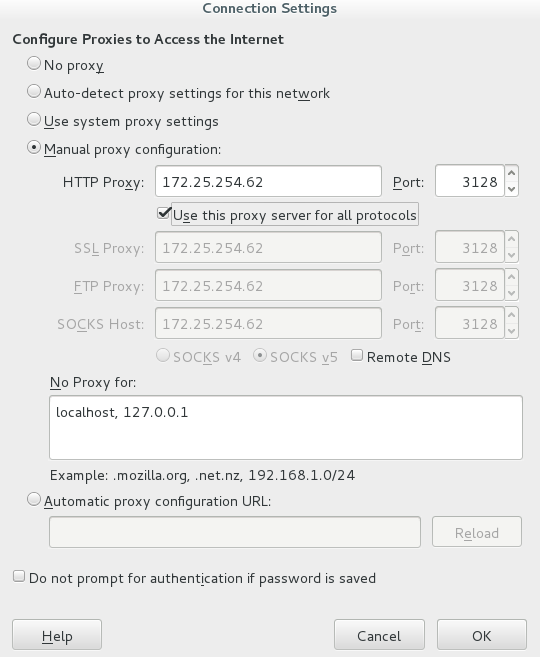
在166虚拟机:
打开firefox -> advance -> network -> setting进行代理
反向代理
反向代理服务器:166
远程服务器:66
客户端:216
在166主机:
[root@localhost conf.d]# yum install squid -y
[root@localhost conf.d]# vim /etc/squid/squid.conf
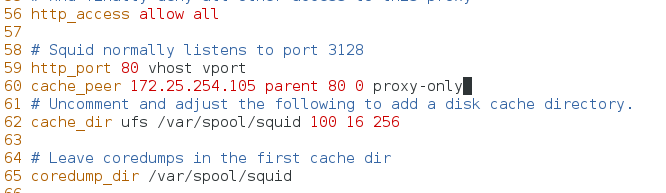
[root@localhost conf.d]# systemctl restart squid
在66主机:
vim /var/www/html/index.html
在216访问:172.25.254.166显示结果为66界面。


 1149
1149


 被折叠的 条评论
为什么被折叠?
被折叠的 条评论
为什么被折叠?
 到【灌水乐园】发言


