


一、Vue-X的使用
自己创建一个store文件夹在其中加入index.js
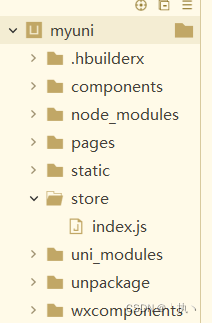
在index.js中配置初始化
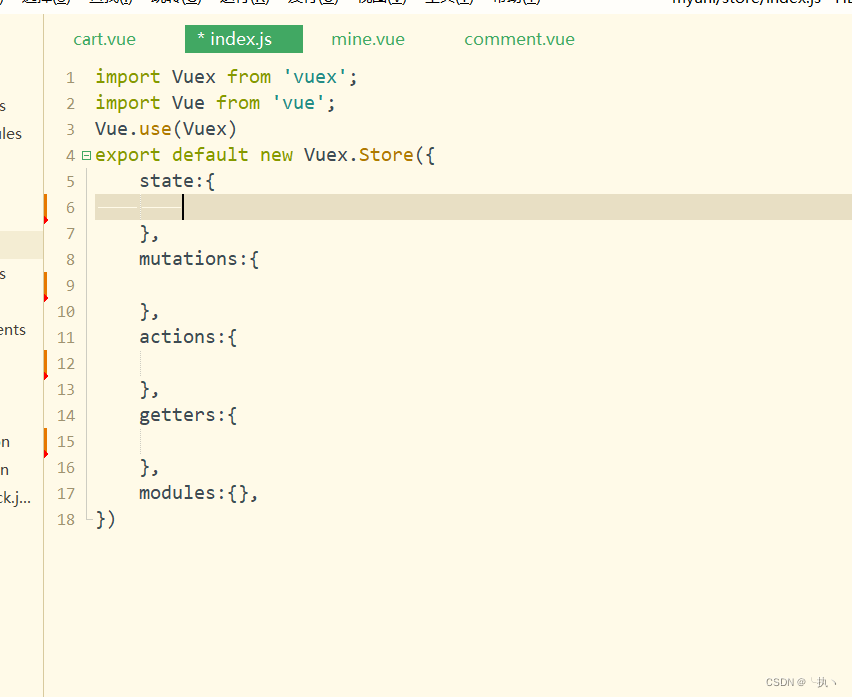
Vuex 实现数据的全局共享,响应式更新
state
存放状态
例如:state:{
		gTitle:{
			text:"你好VUEx",
			color:"#000",
			fontSize:"24px",
			background:"#f70"
		},
	},
$store.state.xxx访问
mutations
改变状态的唯一方法
例如
   state:{
		gTitle:{
			text:"你好VUEx",
			color:"#000",
			fontSize:"24px",
			background:"#f70"
		},
		joks:[],
	},
	mutations:{
		setJoks(state,data){
			state.joks=data
		},
		setSize(state,data){
			state.gTitle.fontSize=data+"px"
		},
		setBackgroundColor(state,data){
			state.gTitle.background=data
		}
	},
actions
异步操作数据的方式
例如	state:{
		gTitle:{
			text:"你好VUEx",
			color:"#000",
			fontSize:"24px",
			background:"#f70"
		},
		joks:[],
	},
	mutations:{
		setJoks(state,data){
			state.joks=data
		},
		setSize(state,data){
			state.gTitle.fontSize=data+"px"
		},
		setBackgroundColor(state,data){
			state.gTitle.background=data
		}
	},
	actions:{
		getJok(context,data){
			uni.request({
				url:"http://520mg.com/mi/list.php",
				method:"get",
				data:data,
				success:res=>{
					context.commit("setJoks",res.data.result)
				}
			})
		}
	},
getters
从现有的状态计算出新的数据如:
	state:{
		gTitle:{
			text:"你好VUEx",
			color:"#000",
			fontSize:"24px",
			background:"#f70"
		},
		joks:[],
	},
	mutations:{
		setJoks(state,data){
			state.joks=data
		},
		setSize(state,data){
			state.gTitle.fontSize=data+"px"
		},
		setBackgroundColor(state,data){
			state.gTitle.background=data
		}
	},
	actions:{
		getJok(context,data){
			uni.request({
				url:"http://520mg.com/mi/list.php",
				method:"get",
				data:data,
				success:res=>{
					context.commit("setJoks",res.data.result)
				}
			})
		}
	},

	getters:{
		"totalLen":function(state){
			var count=0
			for(var i=0;i<state.joks.length;i++){
				count+=state.joks[i].summary.length
			}
			return count //计算总字数
		}
	}
二、uni-app常用api
1.uni.setStorageSync存数数据
uni.setStorageSync("key","value")
2.uni.getStorageSync获取数据
var res = uni.getStorageSync("key");
console.log(res)
3.上传图片&预览图片&分享&保存
uni.chooseImage 选择图片
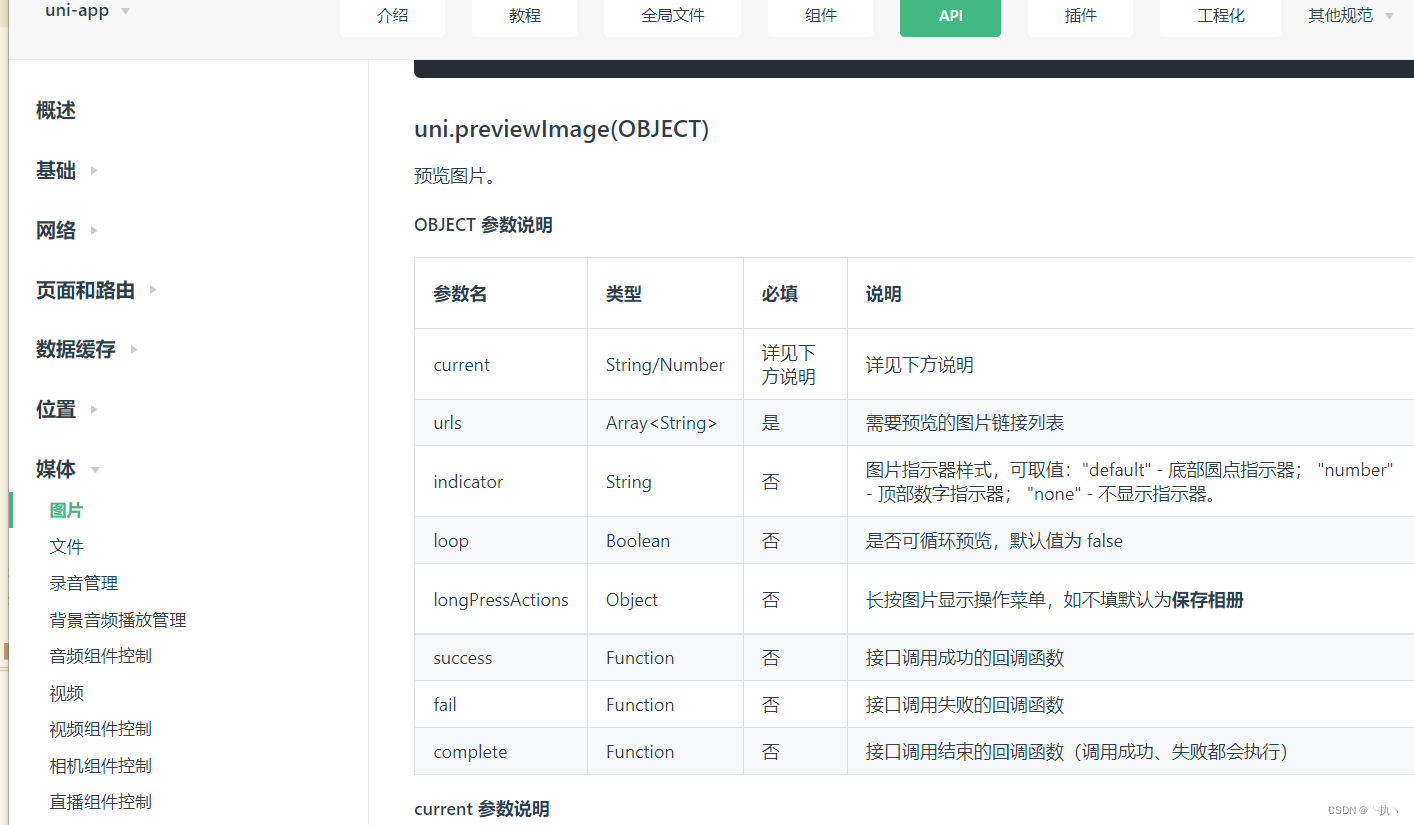
uni.previewImage 预览图片
uni.uploadFile 上传
uni.saveImageToPhotosAlbum 保存
uni.share 分享
<template>
	<view>
		<button @click="selectPic">添加</button>
		<view v-for="item in list" :key="item" @click="preview(item)">
			<image :src="item"></image>
		</view>
	</view>
</template>

<script>
	export default {
		data() {
			return {
				list:[]
			}
		},
		onLoad() {

		},
		methods: {
			preview(item){
				var that=this;
				//单击图片实现预览
				uni.previewImage({
					//预览的图片列表
					urls:this.list,
					current:item,//当前图片
					longPressActions:{
						//定义长按按钮
						itemList:['发送给朋友','保存图片','收藏'],
						success:function(data){
							console.log('选中了第'+(data.tapIndex+1)+'个按钮,第'+(data.index+1)+'张图片');
							//保存
							if(data.tapIndex==1){
								//保存到本地相册
								uni.saveImageToPhotosAlbum({
									filePath:that.list[data.index],
									success() {
										uni.showToast({
											title:"保存成功"
										})
									}
								})
							}
							//分享
							if(data.tapIndex==0){
								//分享给朋友 (app打包时候分享要去微信的开发平台注册)
								uni.share({
									provider:"weixin",
									scene:"WXSceneSession",
									type:2,
									imageUrl:that.list[data.index],
									success:function(res){
										console.log("success:"+JSON.stringify(res));
									},
									fail:function(err){
										console.log("fail:"+JSON.stringify(err));
									}
								})
							}
						},
						fail:function(err){
							console.log(err.errMsg);
						}
					}
				})
			},
			selectPic(){
				var that=this;
				//选择图片
				uni.chooseImage({
					count:3,//默认选3张
					success(res){
						//遍历结果的
						for(let i=0;i<res.tempFilePaths.length;i++){
							//上传图片
							uni.uploadFile({
								//上传地址
								url:'http://520mg.com/ajax/file.php',
								//图片信息
								filePath:res.tempFilePaths[i],
								//name需要和后端约定,默认都会叫file
								name:'file',
								success:result=>{
									//转换为json
									var data=JSON.parse(result.data);
									//添加域名后加入list
									that.list.push("http://520mg.com"+data.pic);
								}
							})
						}
					}
				})
			}
		}
	}
</script>

<style>

</style>
三、常用组件、自定义组件
常用组件
uni-countdown
uni-swiper-dot
uni-popup
uni-popup-dialog

自定义组件
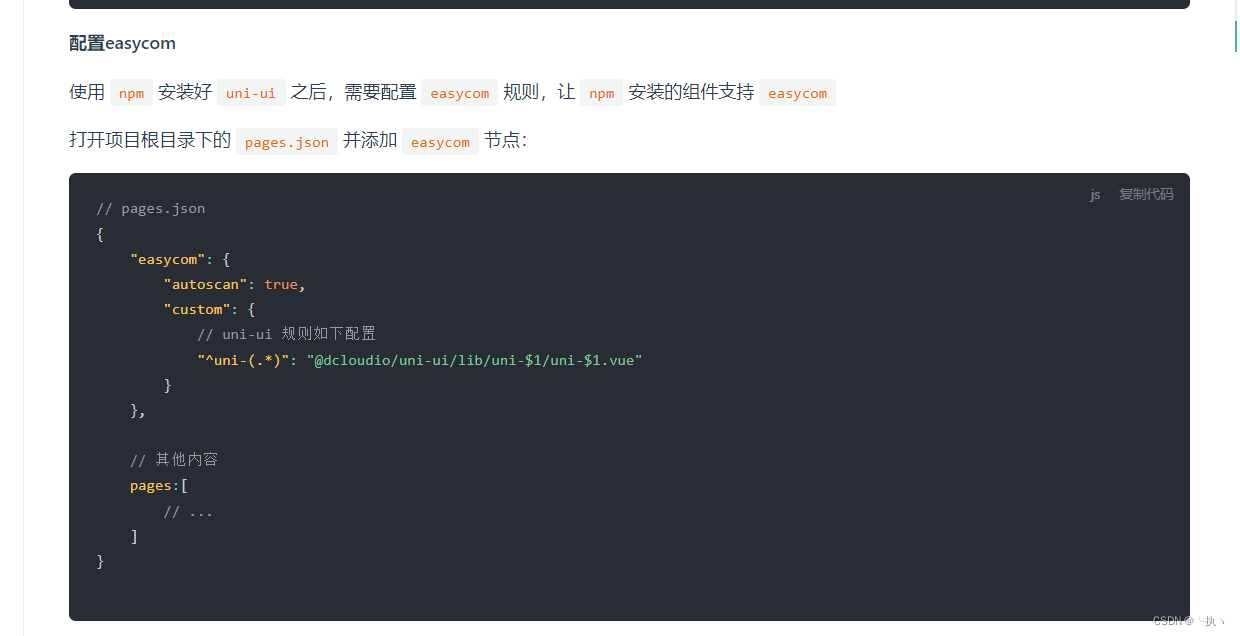
easycom
components/组件名/组件名.vue
不需要导入可以在页面中直接使用
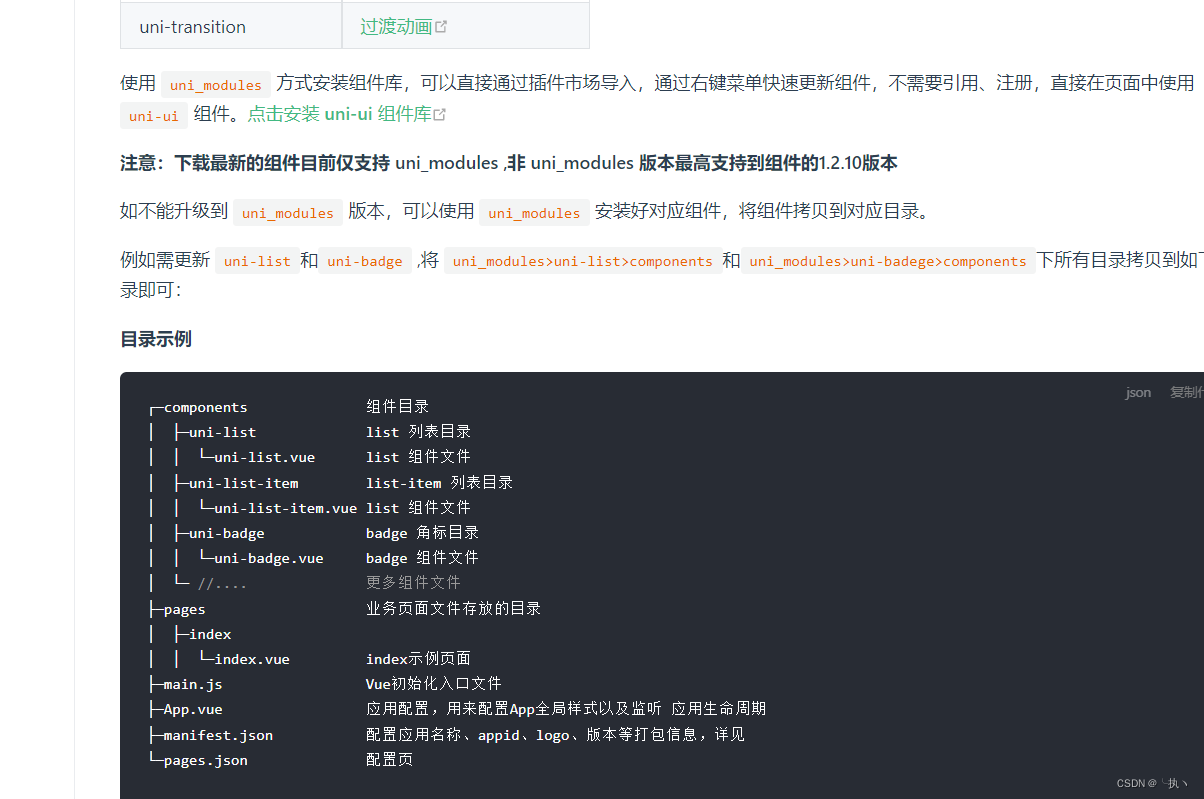
uni_modlues/components/组件名/组件名.vue(这种模式也是可以)
定义组件 .vue文件就是一个组件
== 自定义组件层级应该是这样的==
组建传参
组件传参
父传子: props
父通过属性的方式传递个字组件
<steper :value="d1" ></steper>
子通过props接收
props:{
// 接收参数value
value:{
type:Number, //数字类型默认值为1
default:1,
}
}
子组件可以使用
this .count = this.value
子传父 :事件 $emit
子触发事件
this.$emit("input",this.count)
父监听事件更新值
<steper :value="d1" @input="d1=$event"></steper>
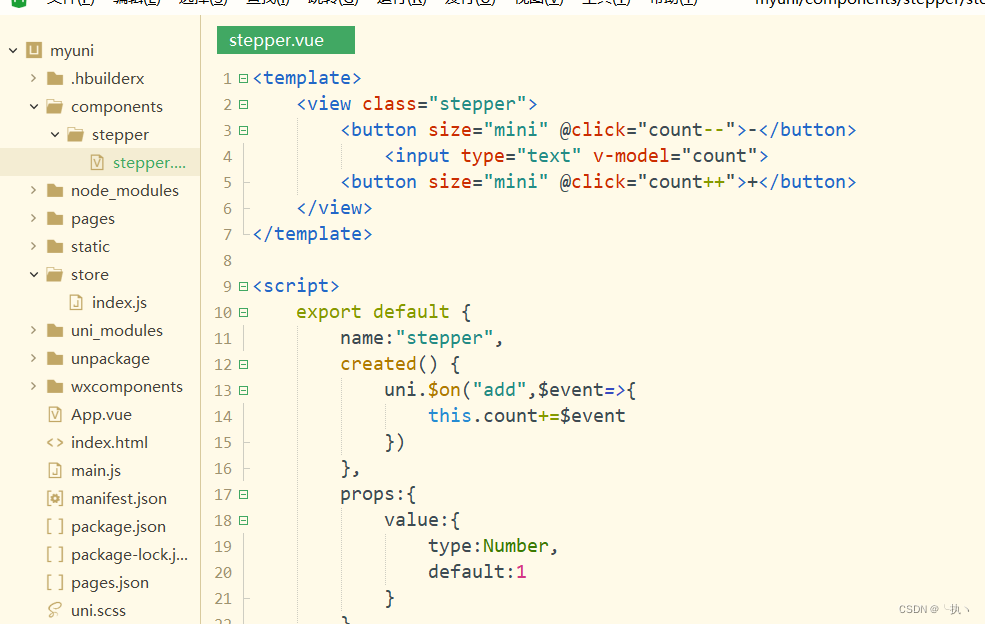
全局传参:uni.$on
全局发送事件
uni.$on("事件名",事件值)
全局监听(发送事件前已经注册监听)
created生命周期
uni.$on("事件名",$event=>{响应操作})
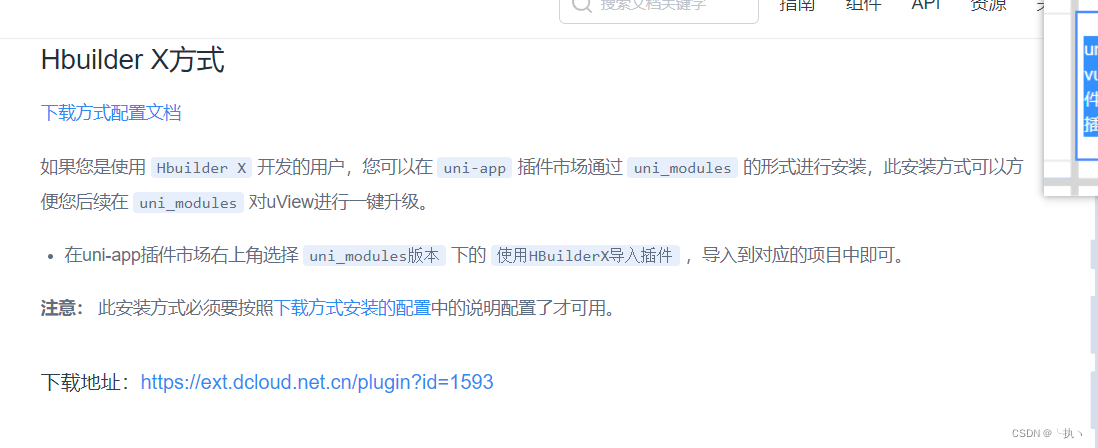
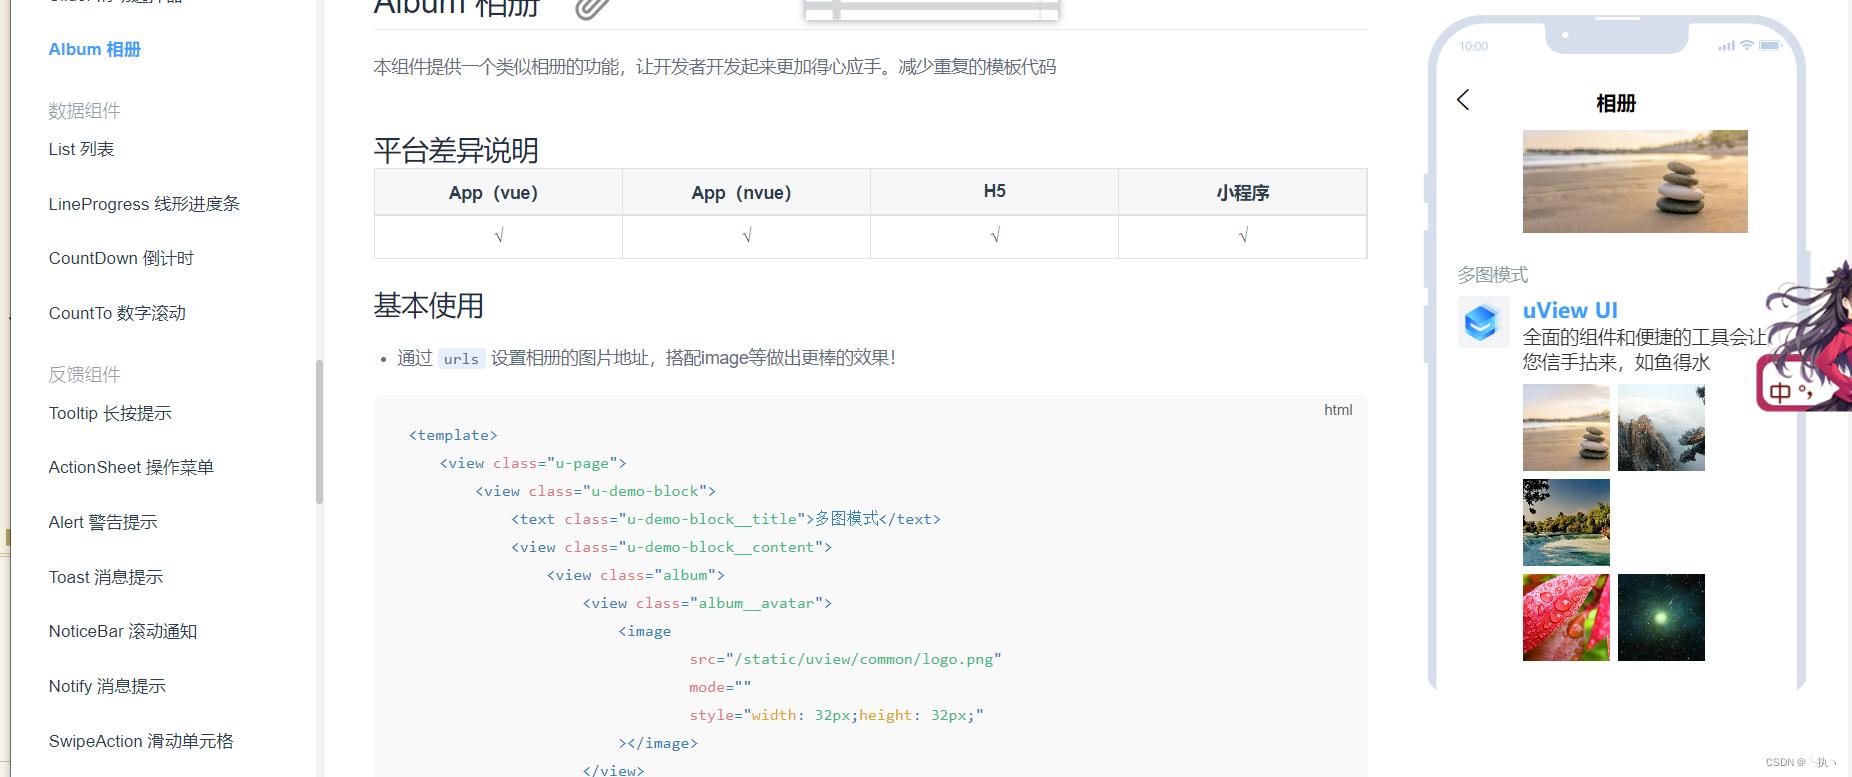
四、第三方组件
这里只是举例uview
先安装
或者 npm init -y
npm install uview-ui@2.0.31
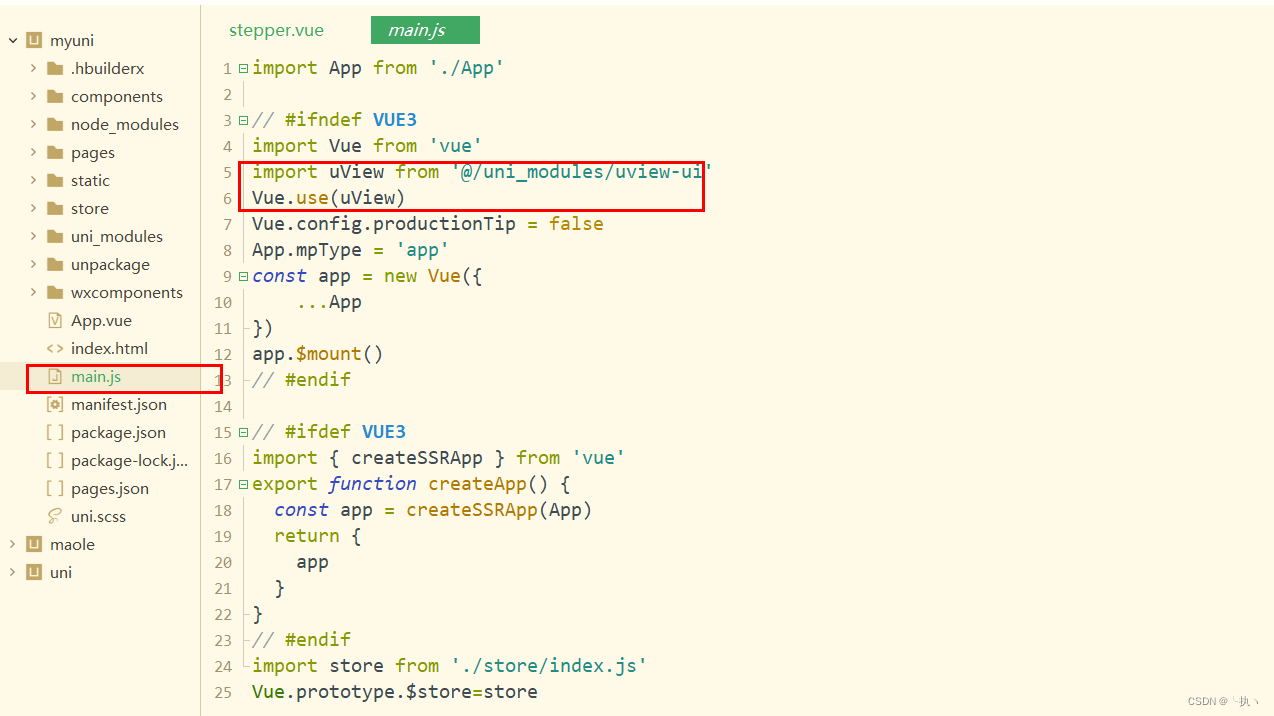
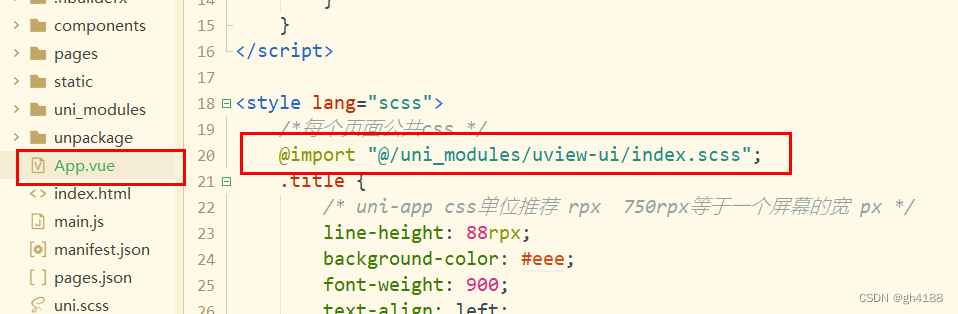
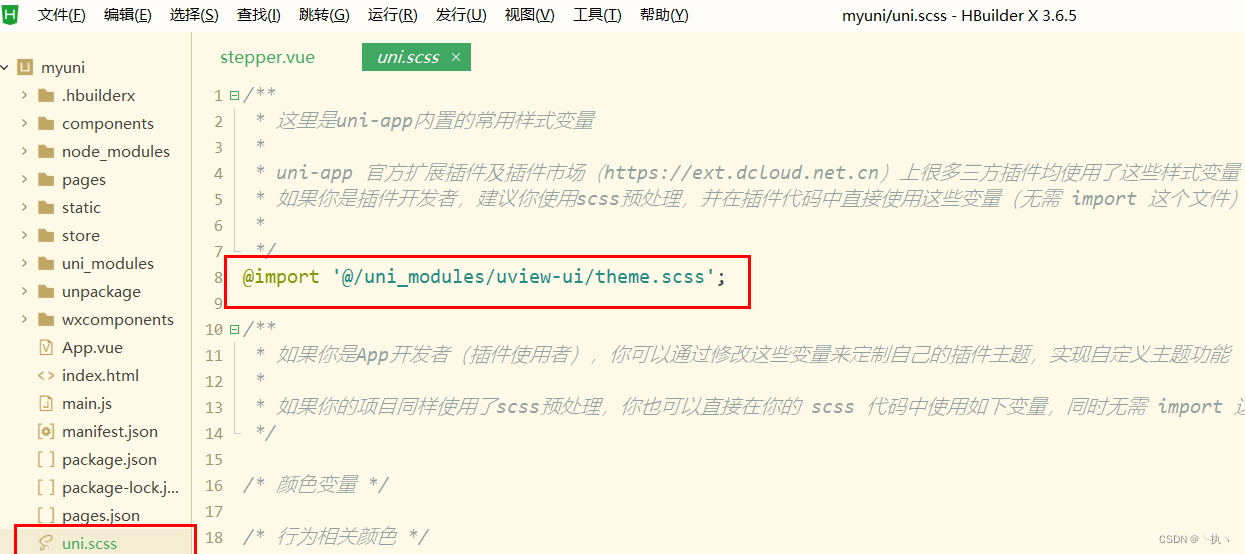
这三步做完后就可以运用了
到官网上寻找自己需要的就可以了
https://www.uviewui.com/


 1091
1091


 被折叠的 条评论
为什么被折叠?
被折叠的 条评论
为什么被折叠?
 到【灌水乐园】发言


