我们使用的二维码 就是QR码 在后面生成二维码时候会使用到
下面有最大容量
注意 信息量越大 识别解析的时间越长


首先实现二维码图片的生成
::导包::
第一种方法:
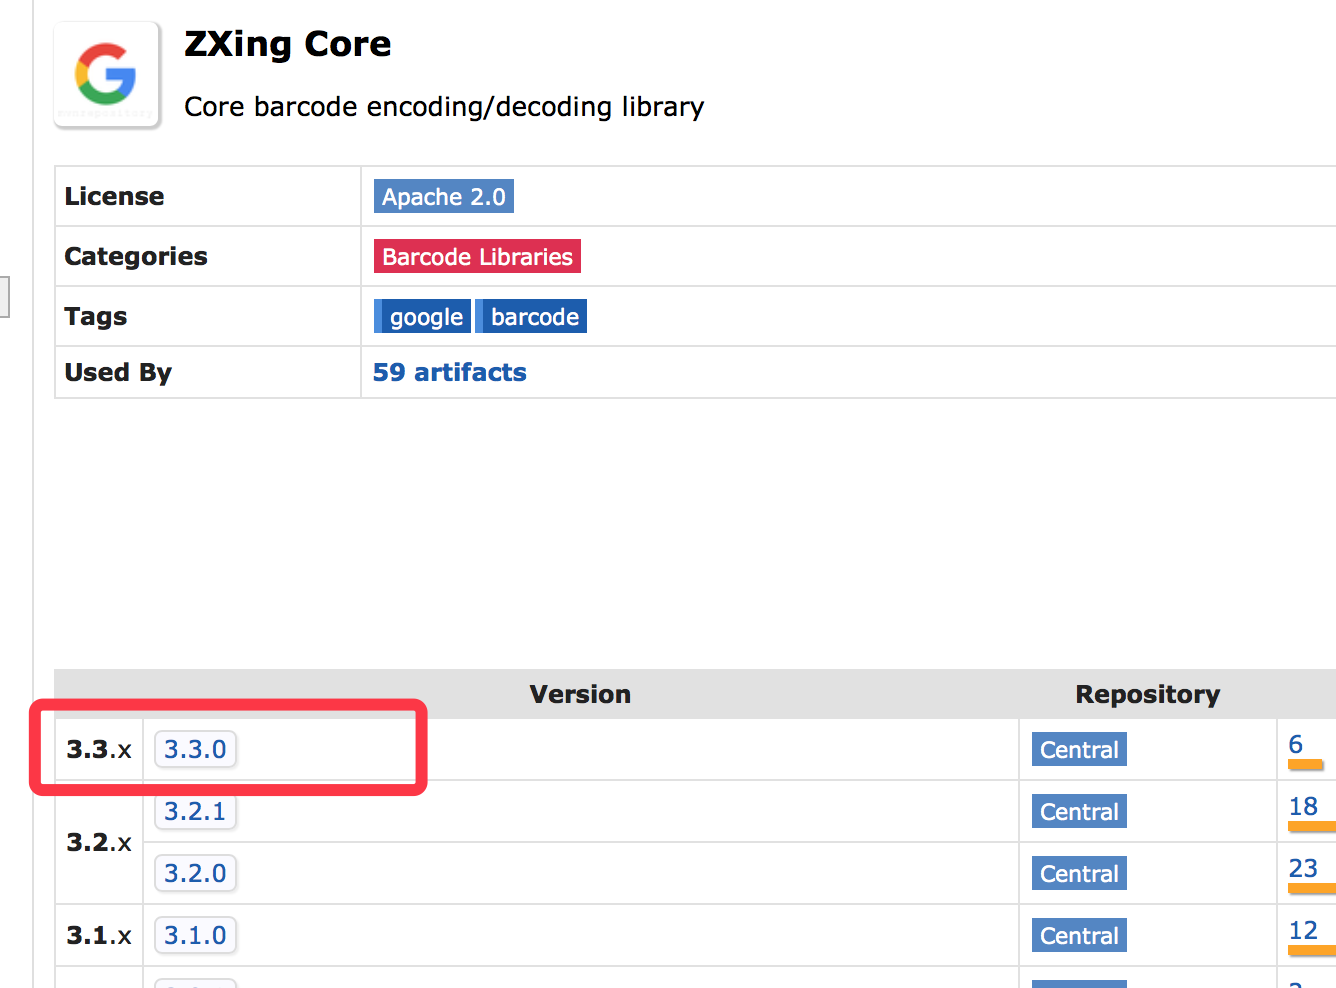
使用Maven 仓库中的Zxing 内核包
Project 中 build.gradle 文件中
增加maven仓库查找方式
allprojects {
    repositories {
        。。。
        mavenCentral()
    }
}
然后在 Module build.gradle 中添加依赖
dependencies {
    。。。。
    compile group: 'com.google.zxing', name: 'core', version: '3.3.0'

}
第二种方法
直接从Maven仓库中下载最新jar包 复制到 libs目录下倒入工程


使用其生成一个二维码图像
private Bitmap getQRCodeBitmap(String editString, int wide, int high) {
    //1.获取QR码 一个写方法  作用 这个对象呈现一个二维码BitMatrix(矩阵) 2d灰度值的数组。
    QRCodeWriter writer = new QRCodeWriter();
    try {
        //2.构建一个二维码生成 的EncodeHintType
        Map<EncodeHintType, Object> hints = new HashMap<>();
        hints.put(EncodeHintType.CHARACTER_SET, "utf-8"); //字符编码类型
        hints.put(EncodeHintType.ERROR_CORRECTION, ErrorCorrectionLevel.M); //容错级别
        //3.返回值是一个矩阵 二维数组   需要对其进行编码 显示在bitmap上
        BitMatrix encode = writer.encode(editString, BarcodeFormat.QR_CODE, wide, high, hints);
        int[] color = new int[wide * high];  //第四步
        for (int i = 0; i < high; i++) {
            for (int j = 0; j < wide; j++) {
                //返回点是否有数据 有数据存白色
                if (encode.get(j, i)) {
                    color[i * wide + j] = Color.BLACK;
                } else {
                    color[i * wide + j] = Color.WHITE;
                }
            }
        }
        //  后面config 需要用RGB_565显示
        Bitmap bitmap = Bitmap.createBitmap(color, 0, wide, wide, high, Bitmap.Config.RGB_565);
        return bitmap;
    } catch (WriterException e) {
        e.printStackTrace();
    }
    return null;
}
解释:
第二步中
EncodeHintType.
ERROR_CORRECTION 容错级别分别有四种
通篇容错率高 在中间添加logo遮挡的时候 识别率就会高一些
 /** L = ~7% correction */
//                    L(0x01),
    /** M = ~15% correction */
//                    M(0x00),
    /** Q = ~25% correction */
//                    Q(0x03),
    /** H = ~30% correction */
//                    H(0x02);
第三步中:
@Override
public BitMatrix encode(String contents,  //想要生成的字符串
                        BarcodeFormat format, //  生成二维码格式 选QR码就是我们需要的
                        int width,  //   生成二维码大小
                        int height,  //
                        Map<EncodeHintType,?> hints) //  生成二维码的一些配置信息  容错率。字符编码...
第四步
encode方法根据宽高返回的BitMatrix 2d灰阶矩阵,返回的数据矩阵中 通过 get()方法会返回boolean值 有数据true没有数据为fales。、
通过这个原理来绘制一张bitmap图显示给用户。BitMatrix
又因为
Bitmap.
createBitmap()方法其中能传递一个一位数组 int[] 类型的值 所以要将 BitMatrix 二维数组转成一位数组 ,就使用到了两个循环。
在循环中 通过get(x,y)方法 判断是否有数据,,如果没有数据(返回fales)就将对应点画成白色,反之就是黑色。
最后使用
Bitmap.
createBitmap()方法构造bitmap 设置到ImageView中就可以了
createBitmap(int colors[], //构造数组
int offset, //位移
 int stride,    //每一行的像素点
 int width, //图像宽
int height,//图像高
Config config) //显示的格式
做完这一步就可以生成 一个自己的二维码生成器了
进阶
在二维码上面加上logo
/**
 * @param bitmap  二维码图片
 * @param logoBitmap logo图片
 * @return   返回合成后图片
 */
private Bitmap setTransform(Bitmap bitmap, Bitmap logoBitmap) {
    //1。测量原来二维码宽高
    int height = bitmap.getHeight();
    int width = bitmap.getWidth();
    //2。生成一个空白的bitmap 生成画布  最后将两个bitmap画在上面
    Bitmap blackBitmap = Bitmap.createBitmap(width, height, Bitmap.Config.RGB_565);
    Canvas canvas = new Canvas(blackBitmap);
    Paint paint = new Paint();
    paint.setAntiAlias(true);
    //3。将二维码图片画在画布上
    canvas.drawBitmap(bitmap, 0, 0, paint);
    //4。将logo画在二维码上  呈现覆盖效果
    canvas.drawBitmap(logoBitmap, (width - logoBitmap.getWidth()) / 2, (height - logoBitmap.getHeight()) / 2, paint);
    if (bitmap.isRecycled()) {
        bitmap.recycle();
    }
    return blackBitmap;  //如果是被不了提高二维码容错率
}
最后效果


 这篇博客详细介绍了在Android中如何生成二维码,包括导入Zxing库的两种方法,二维码的生成过程,容错级别的选择,以及如何在二维码上添加logo。通过Bitmap和Canvas操作,实现了自定义尺寸和容错率的二维码生成,并展示了最终效果。


 2万+
2万+

 被折叠的 条评论
为什么被折叠?


