


创建我的第一个Hello World程序
前言
最近想学习一下AngularJS2,在网上找过一番资料后归纳如下,在我的笔记本上配置可行,记录供以后参考:
环境准备
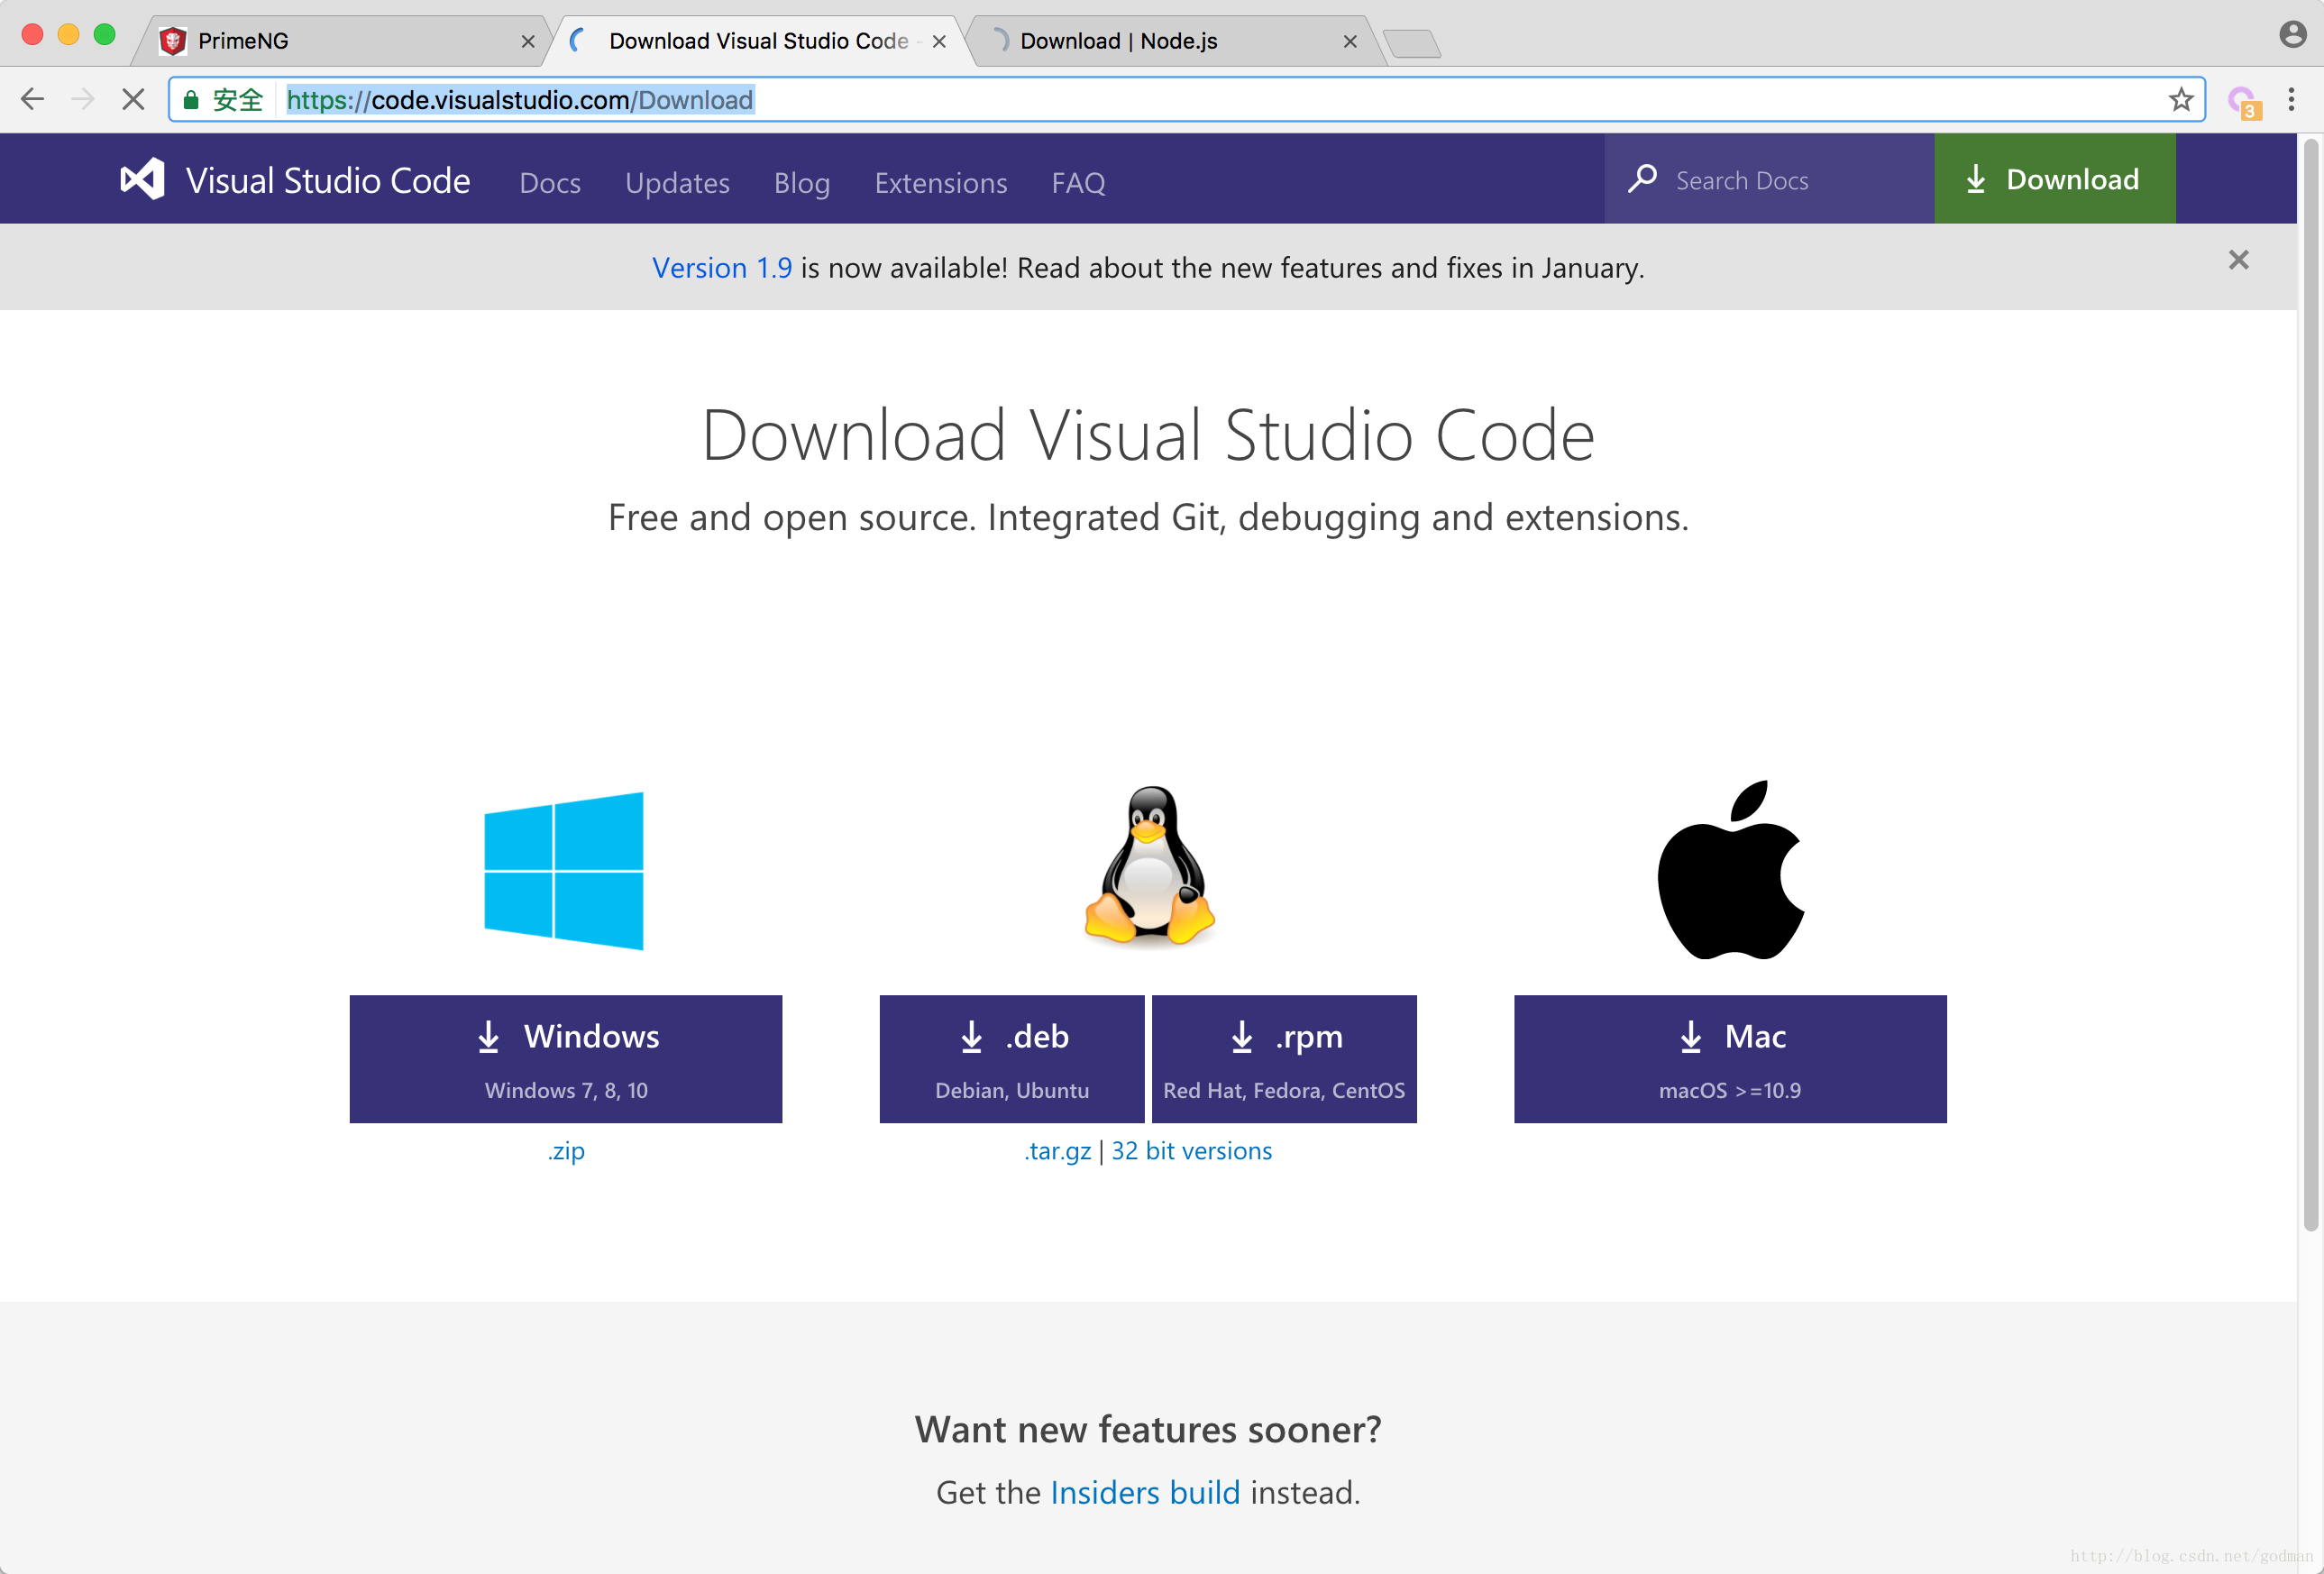
- 安装Visual Studio Code(当前版本1.9.1) 下载地址 备份下载
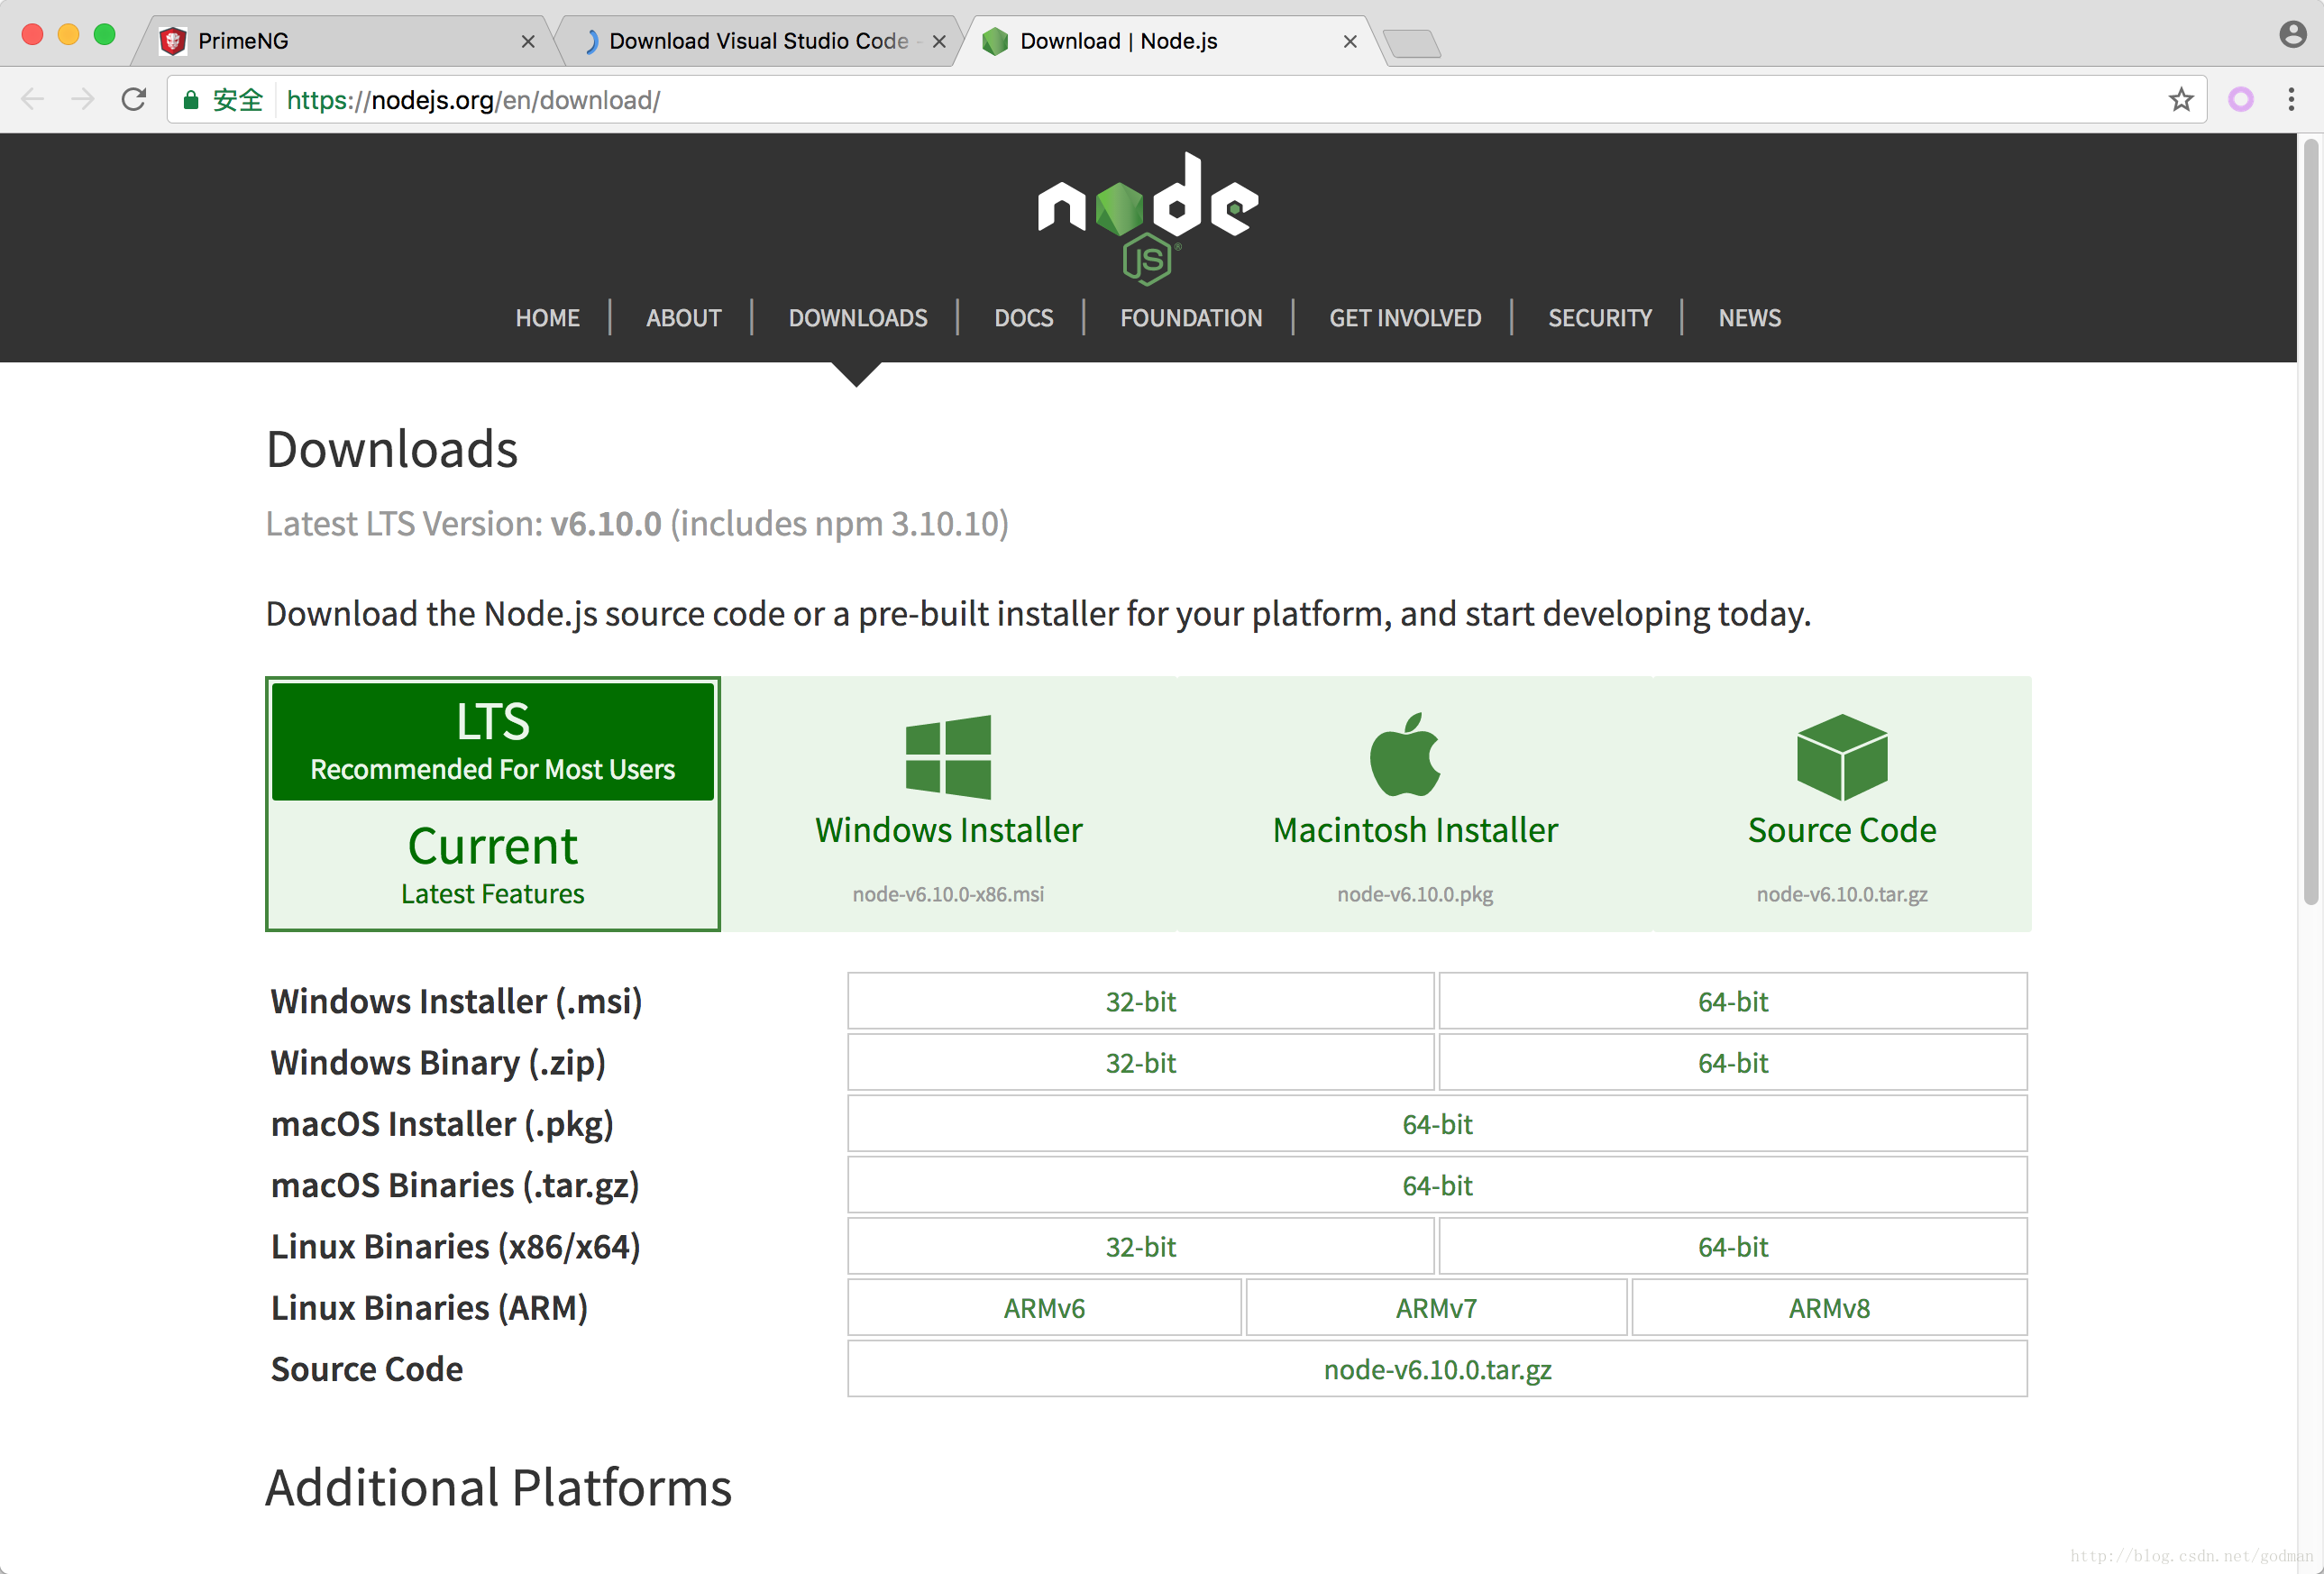
- 安装Node.js(当前版本6.10.0) 下载地址 备份下载
- 教程参考http://www.runoob.com/angularjs2/angularjs2-typescript-setup.html
创建基础依赖
创建根目录
创建项目目录
vaio-807c175797:~ xuwen$mkdir angular2_quickstart进入项目目录
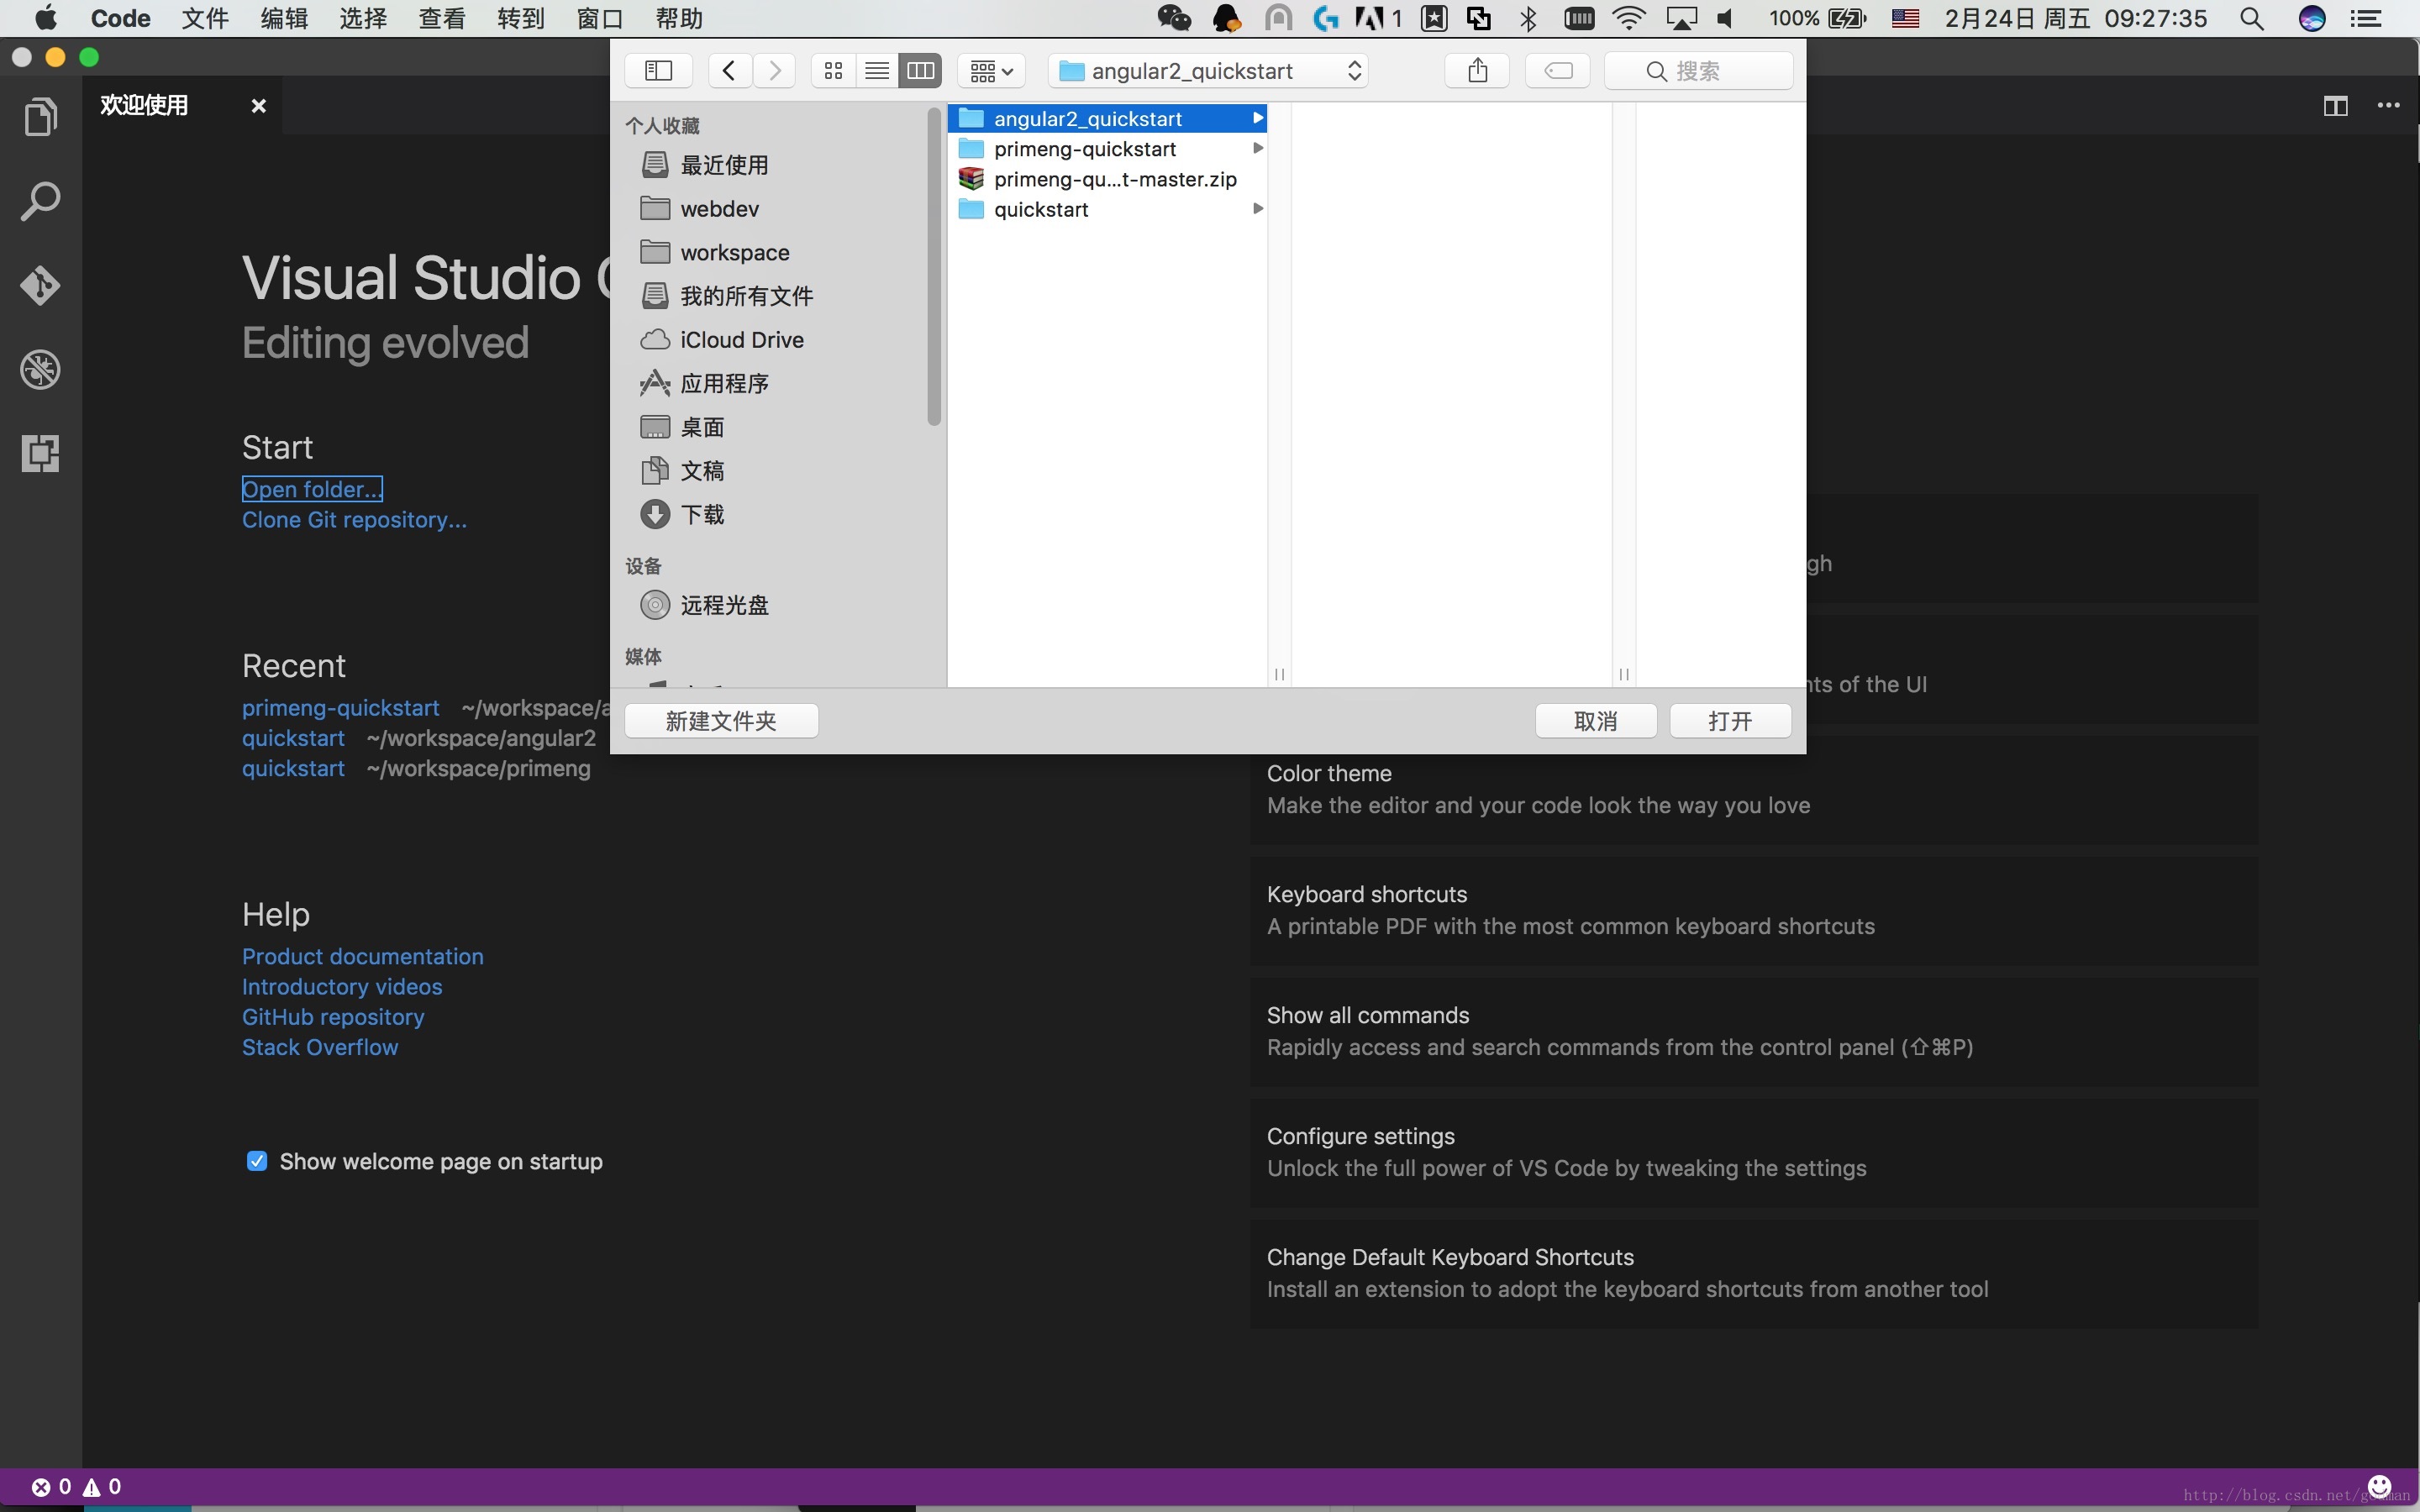
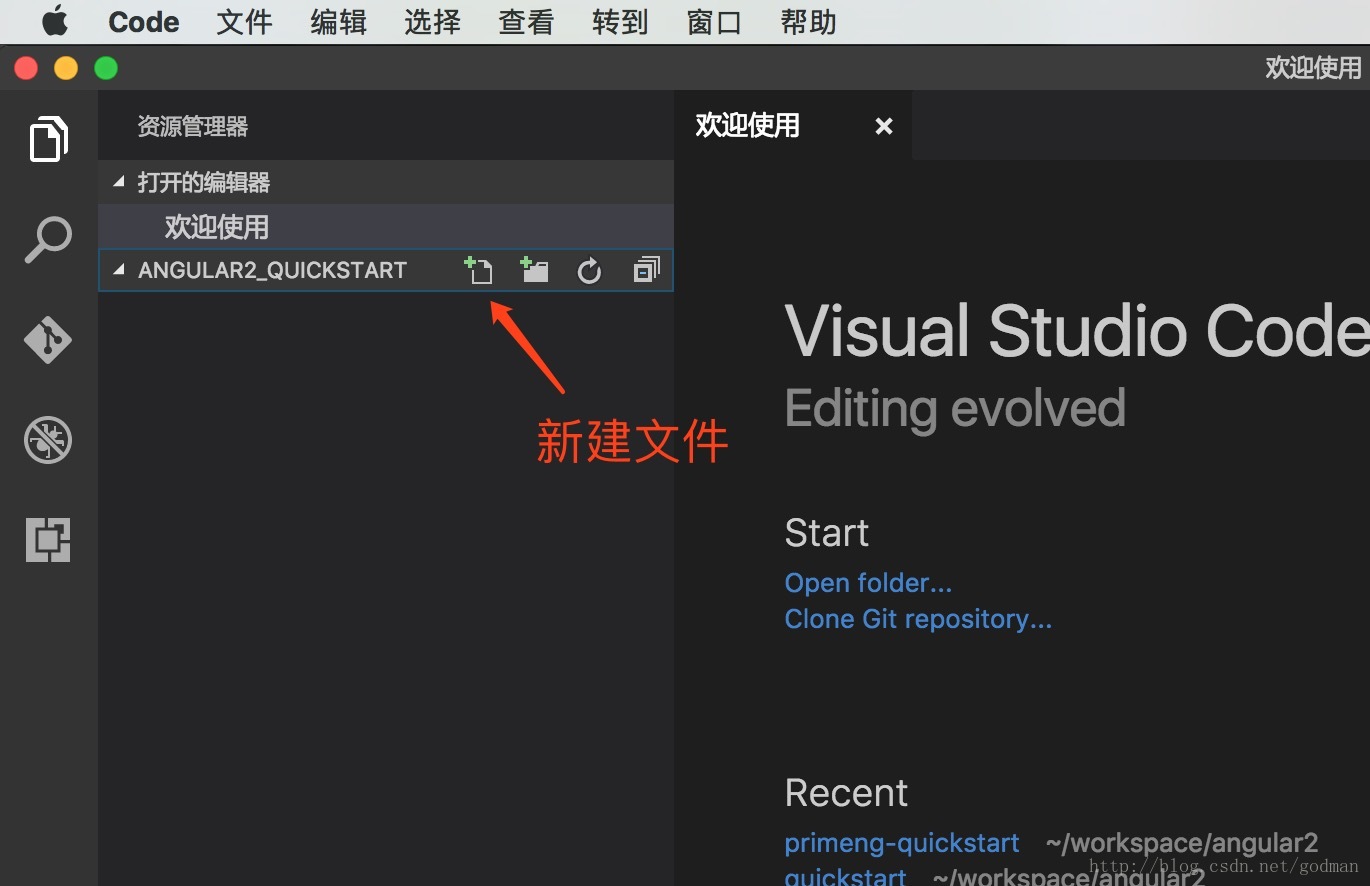
vaio-807c175797:~ xuwen$cd angular2_quickstart在Visual Studio Code中打开创建的目录
创建package.json
package.json并配置本项目所需的 npm 依赖包
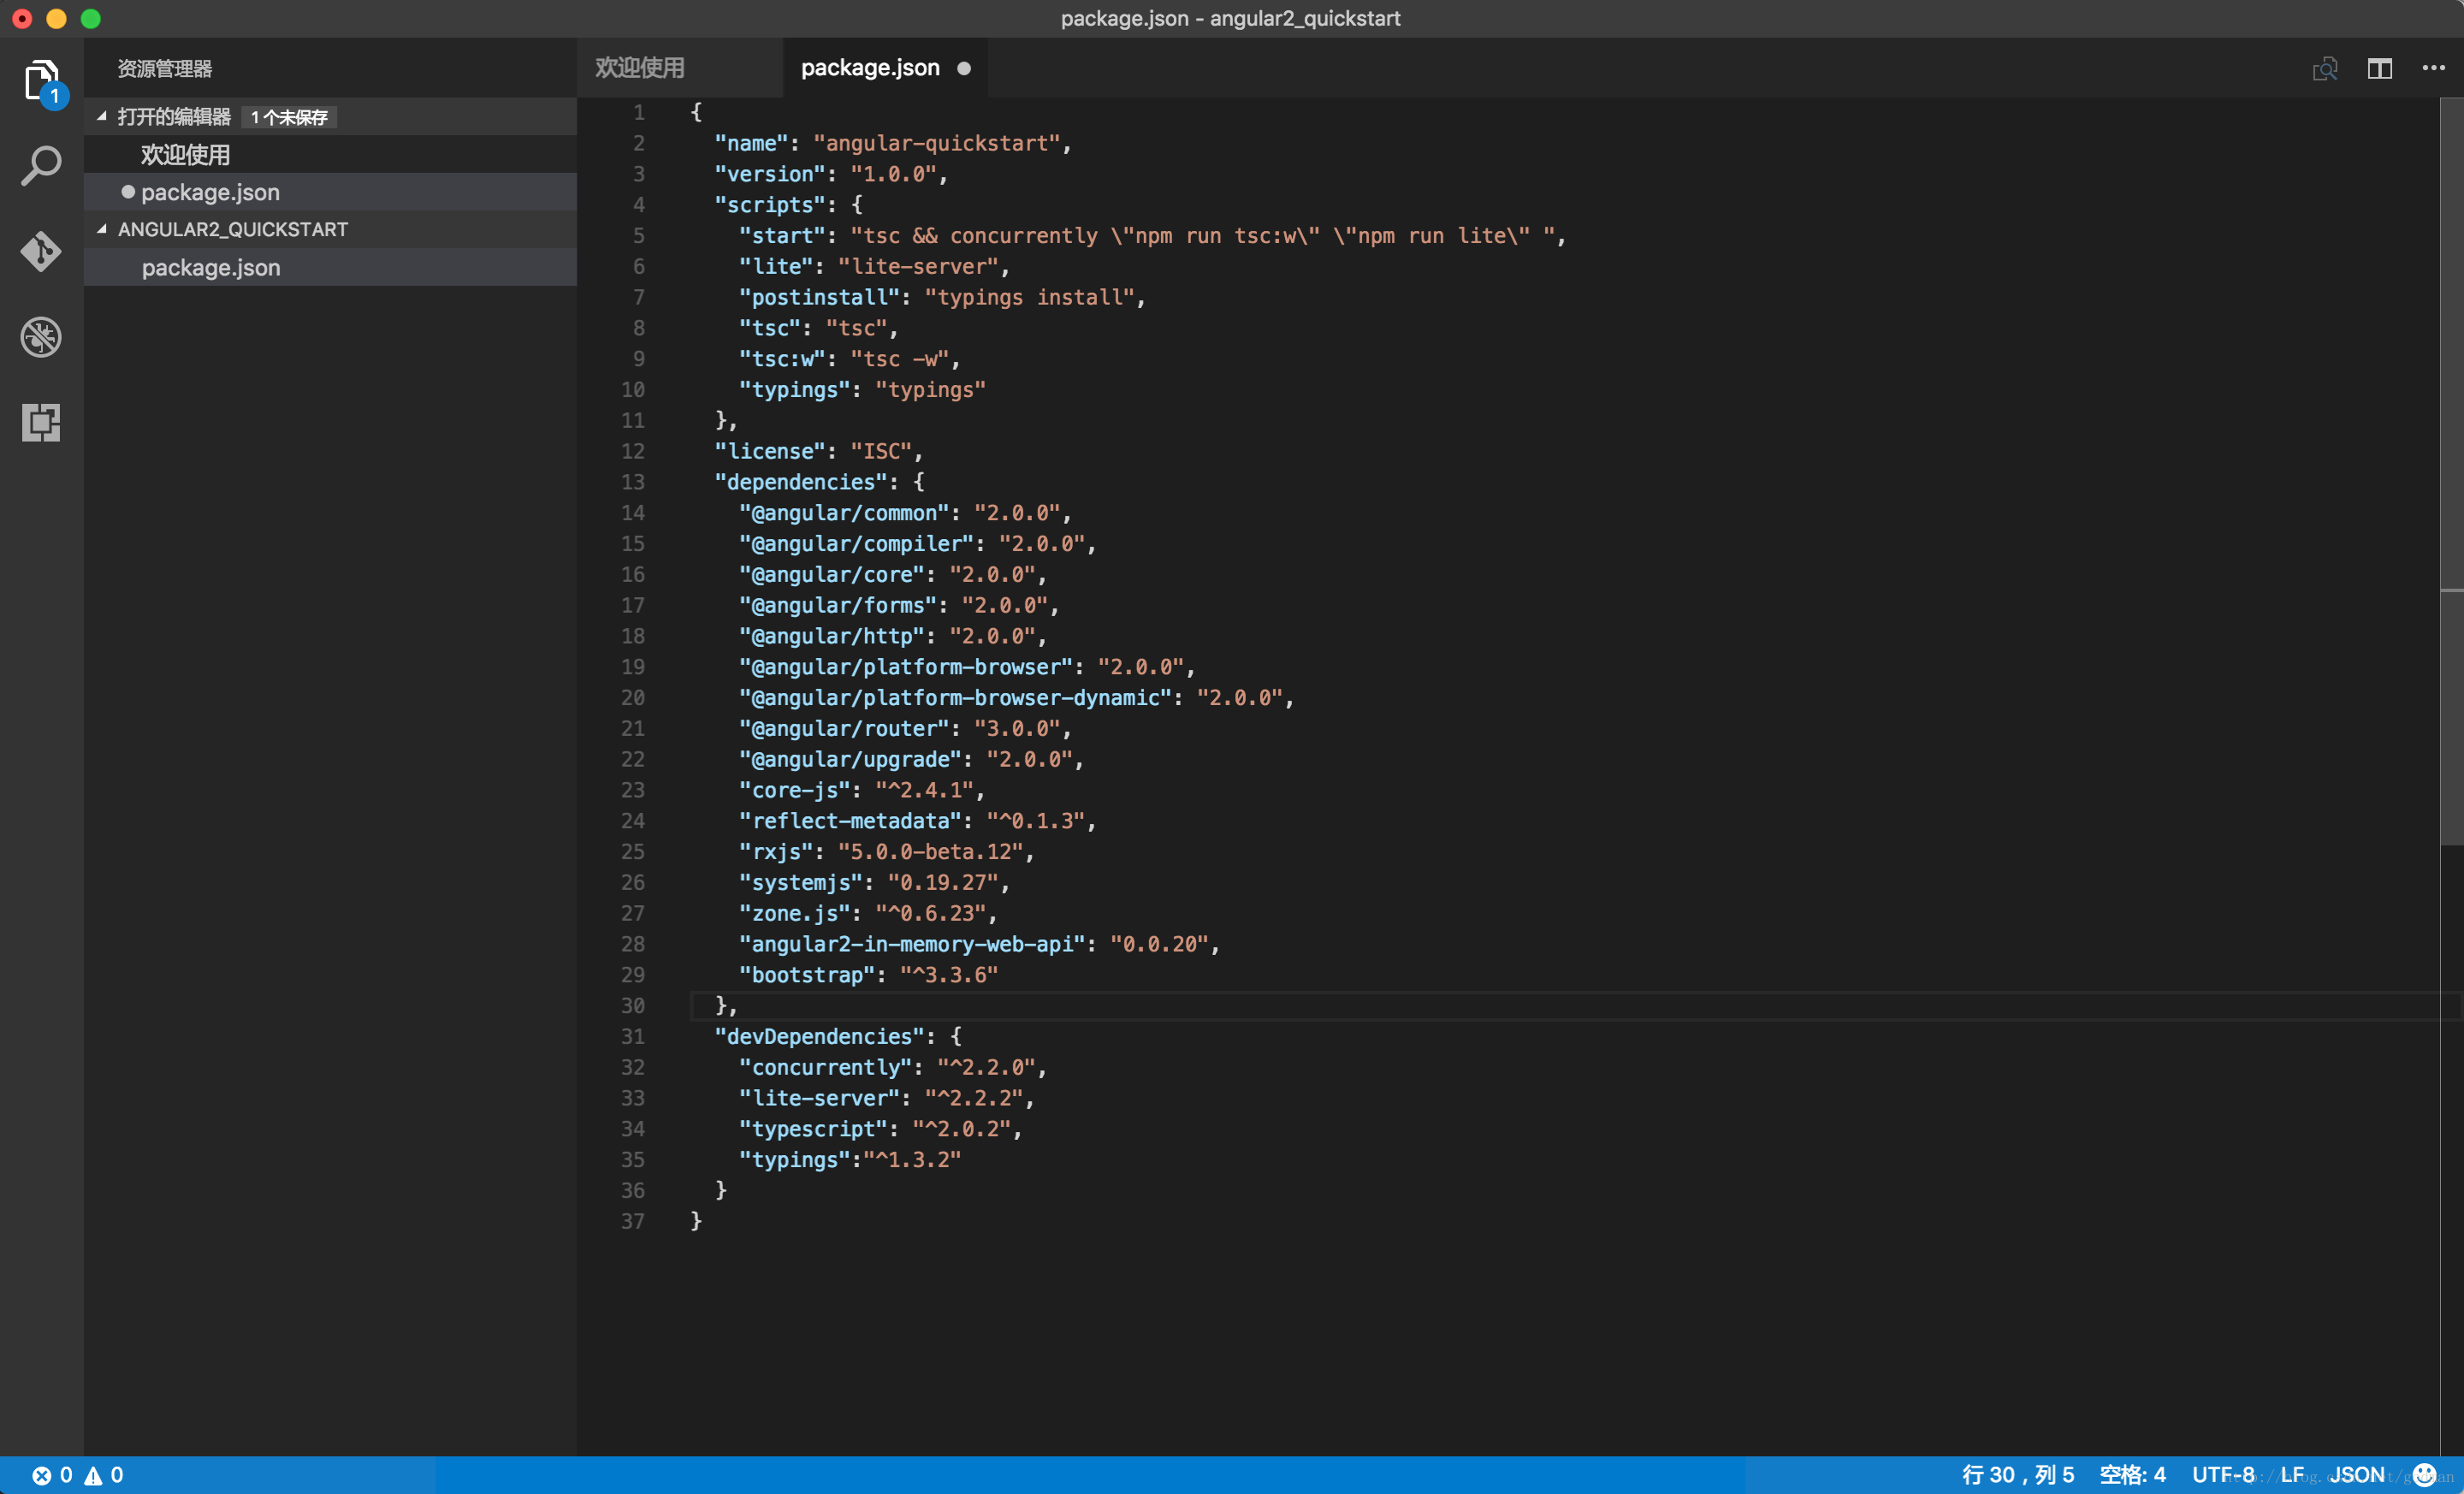
{
  "name": "angular-quickstart",
  "version": "1.0.0",
  "scripts": {
    "start": "tsc && concurrently \"tsc -w\" \"lite-server\" ",
    "lite": "lite-server",
    "tsc": "tsc",
    "tsc:w": "tsc -w"
  },
  "license": "ISC",
  "dependencies": {
    "@angular/common": "2.0.0",
    "@angular/compiler": "2.0.0",
    "@angular/core": "2.0.0",
    "@angular/forms": "2.0.0",
    "@angular/http": "2.0.0",
    "@angular/platform-browser": "2.0.0",
    "@angular/platform-browser-dynamic": "2.0.0",
    "@angular/router": "3.0.0",
    "@angular/upgrade": "2.0.0",
    "core-js": "^2.4.1",
    "reflect-metadata": "^0.1.3",
    "rxjs": "5.0.0-beta.12",
    "systemjs": "0.19.27",
    "zone.js": "^0.6.23",
    "angular2-in-memory-web-api": "0.0.20",
    "bootstrap": "^3.3.6"
  },
  "devDependencies": {
    "concurrently": "^2.2.0",
    "lite-server": "^2.2.2",
    "typescript": "^2.0.2",
    "typings":"^1.3.2"
  }
}
使用npm install命令行更新包
vaio-807c175797:angular2_quickstart xuwen$ npm install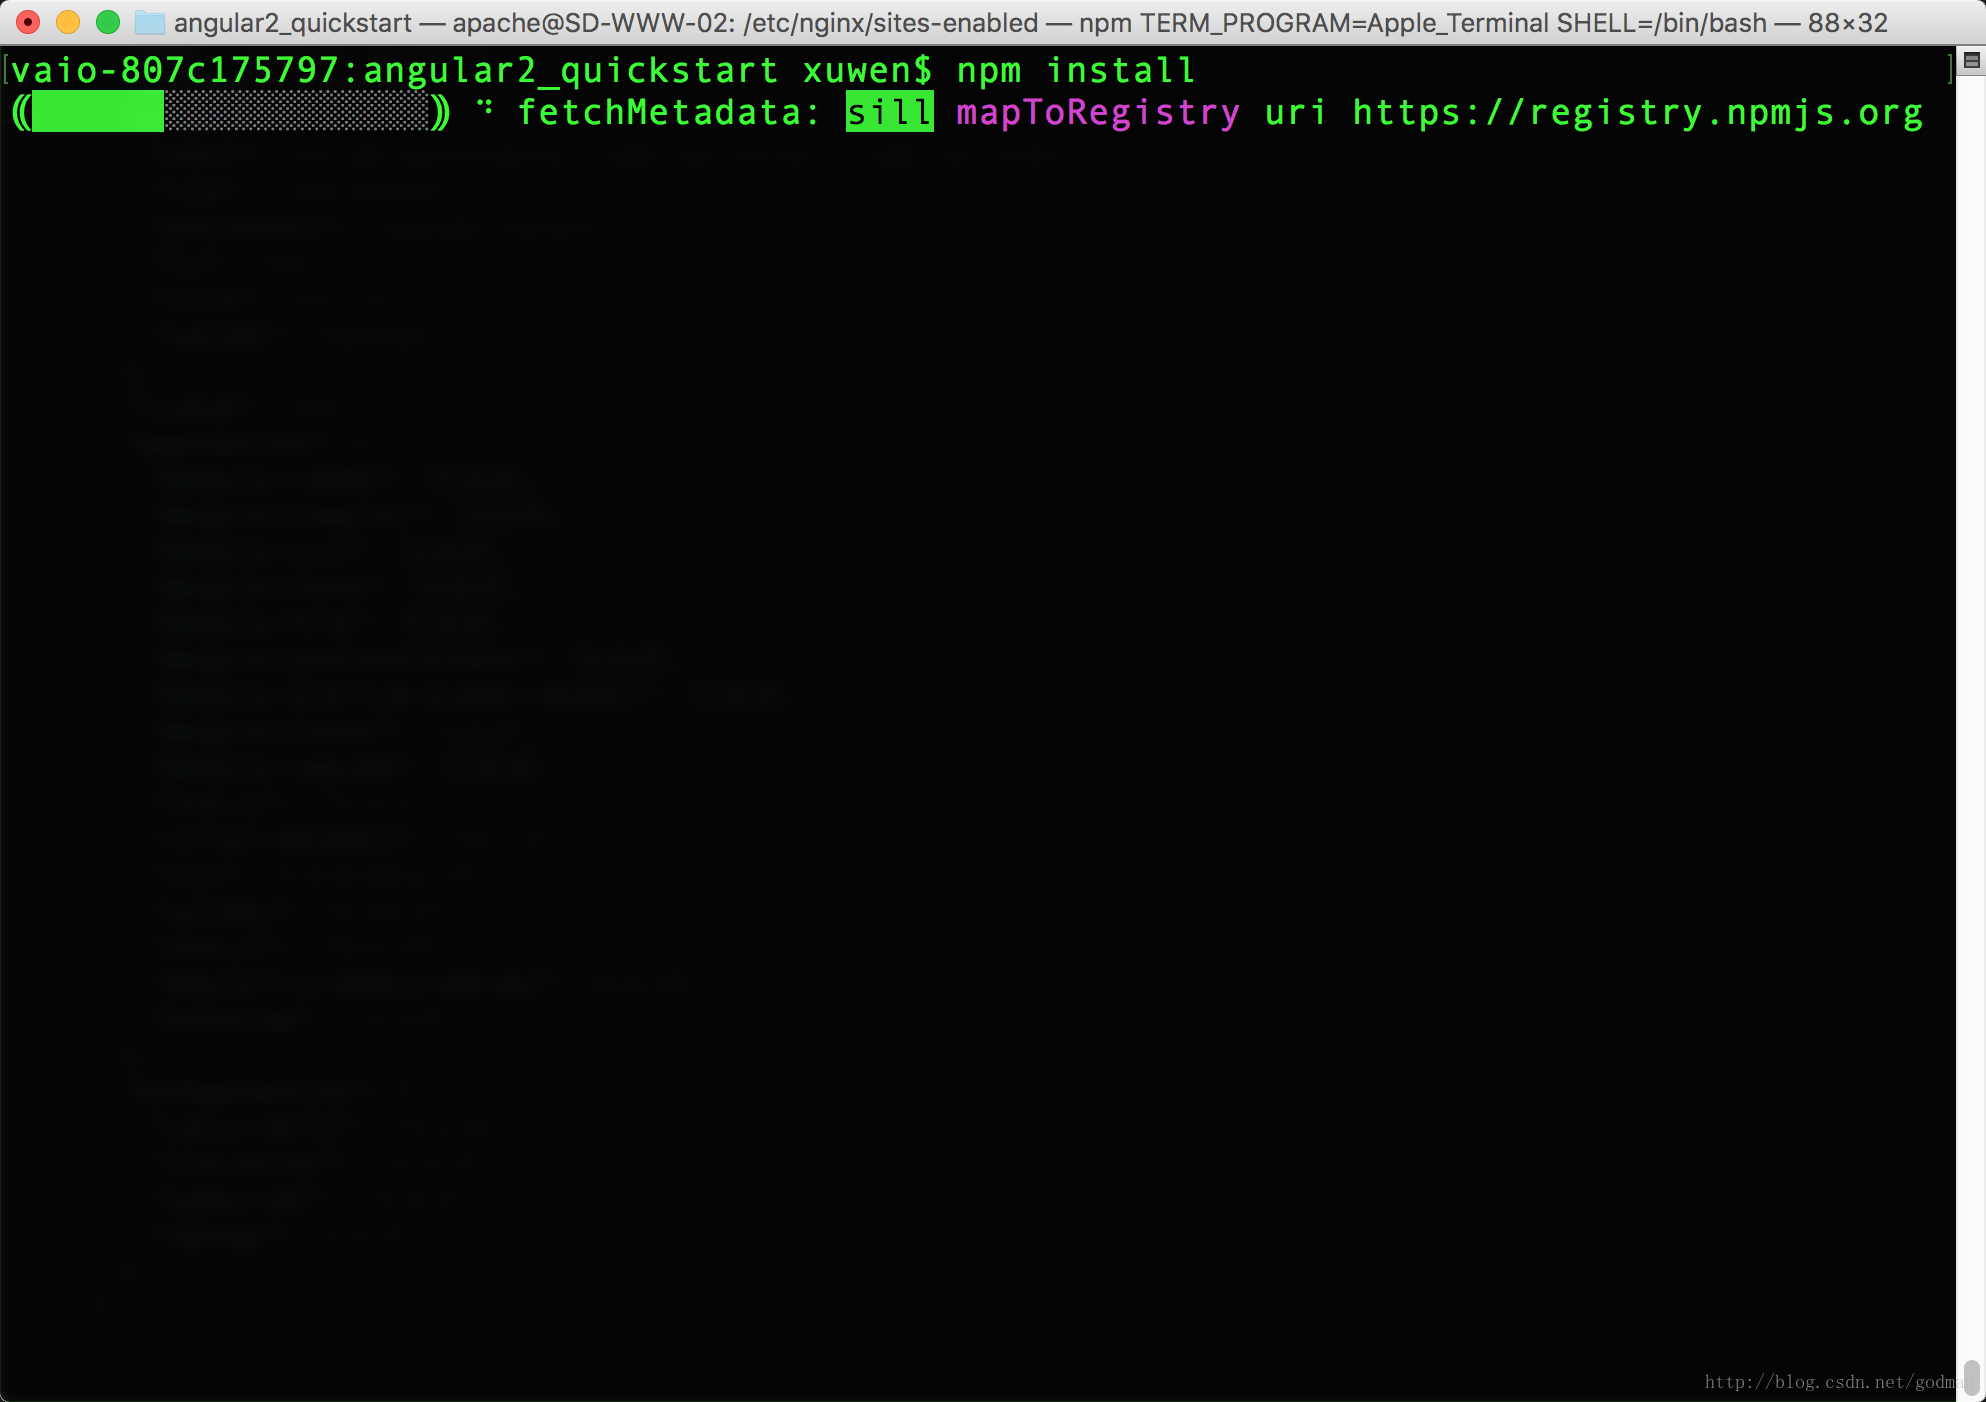
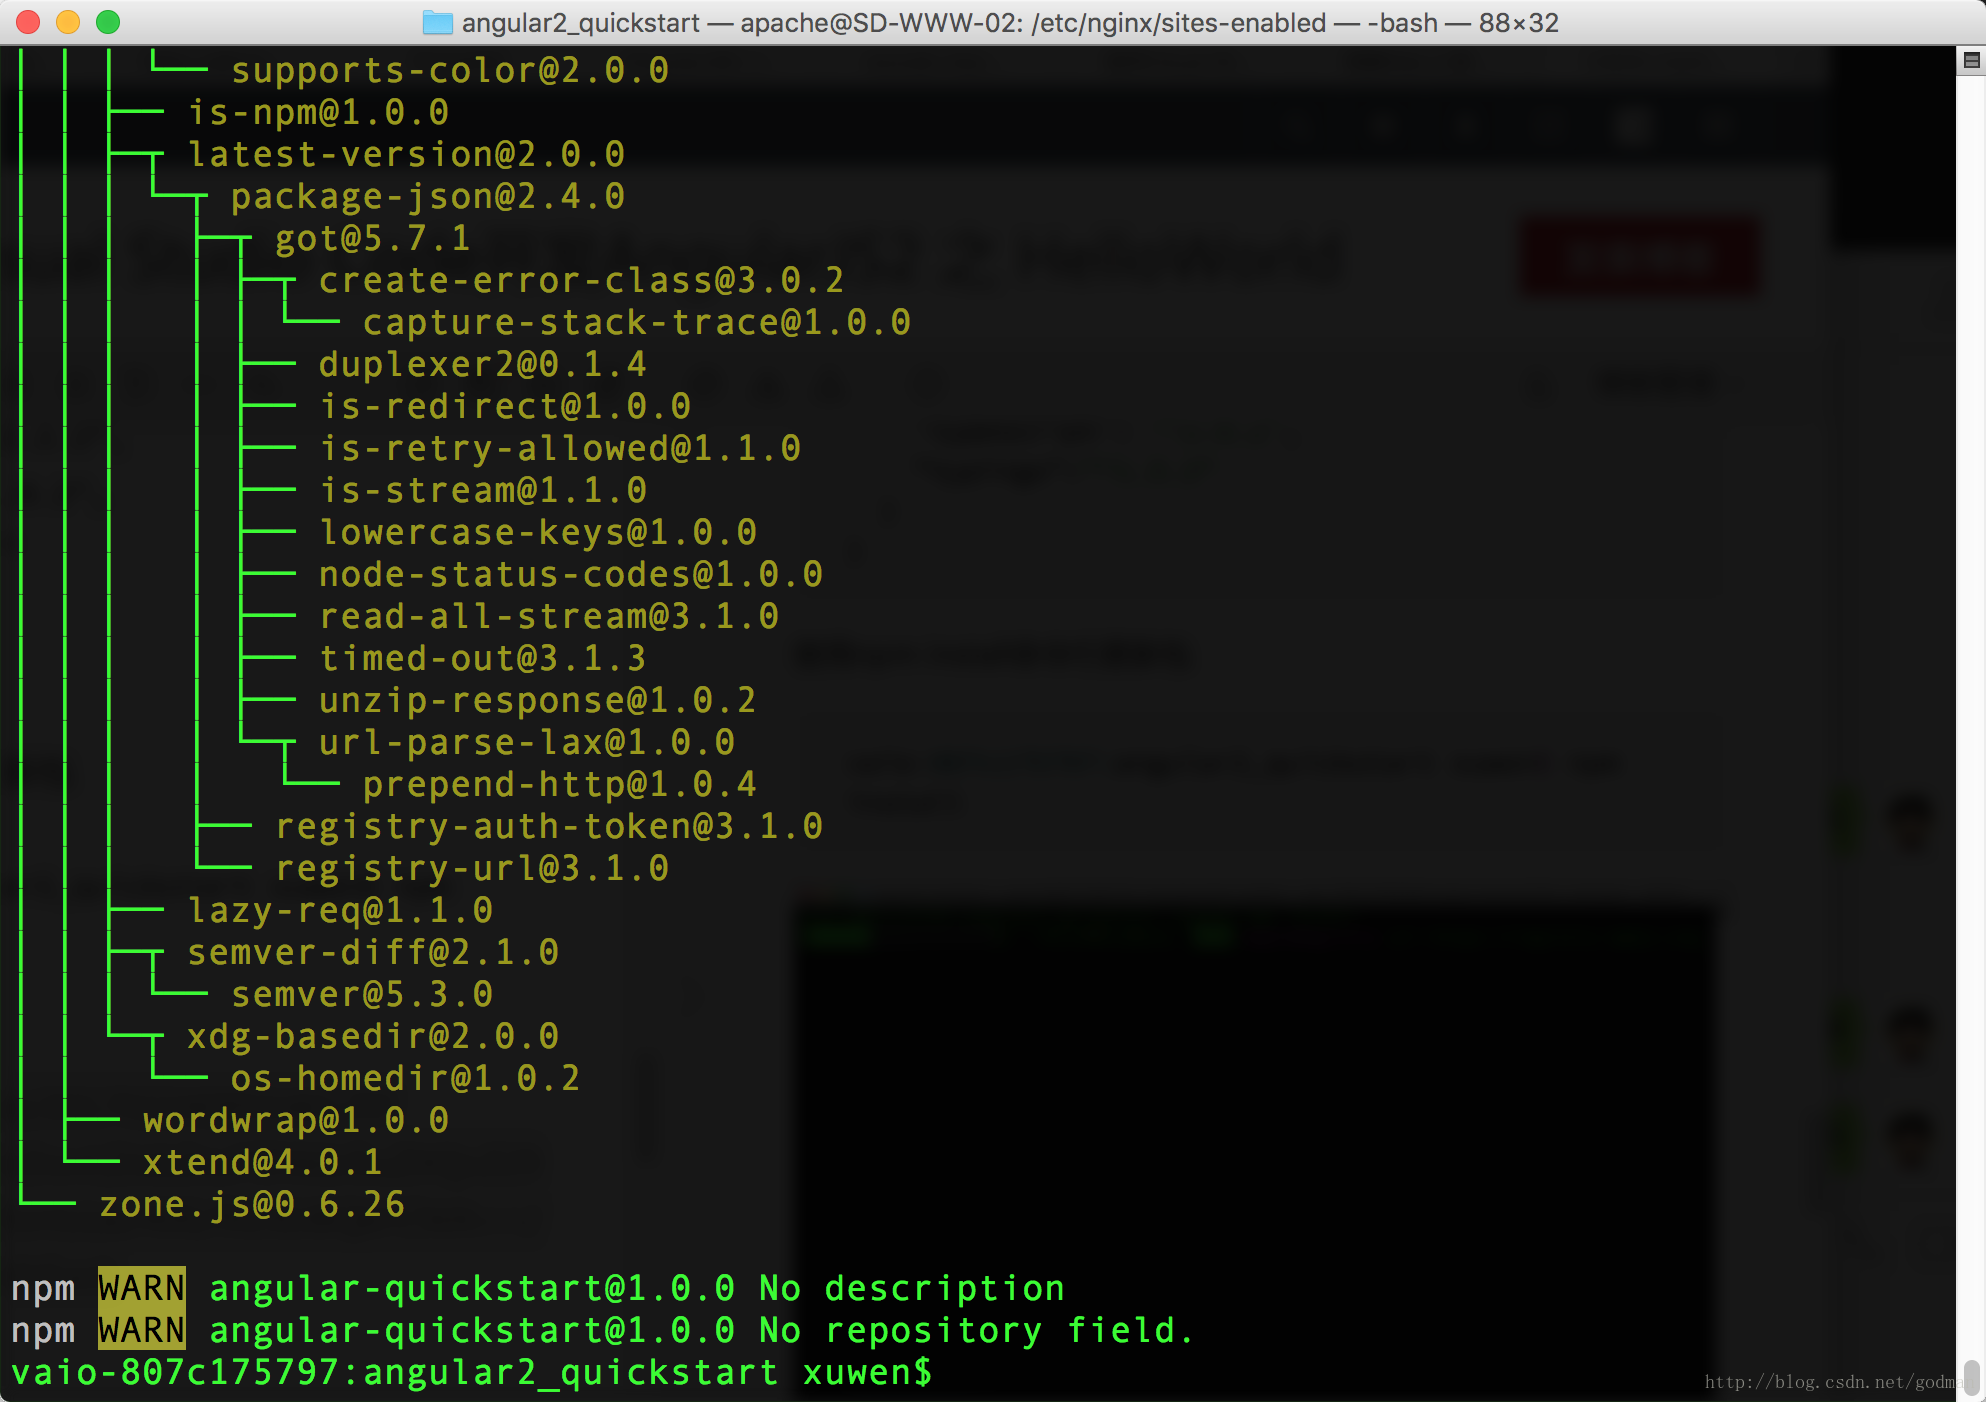
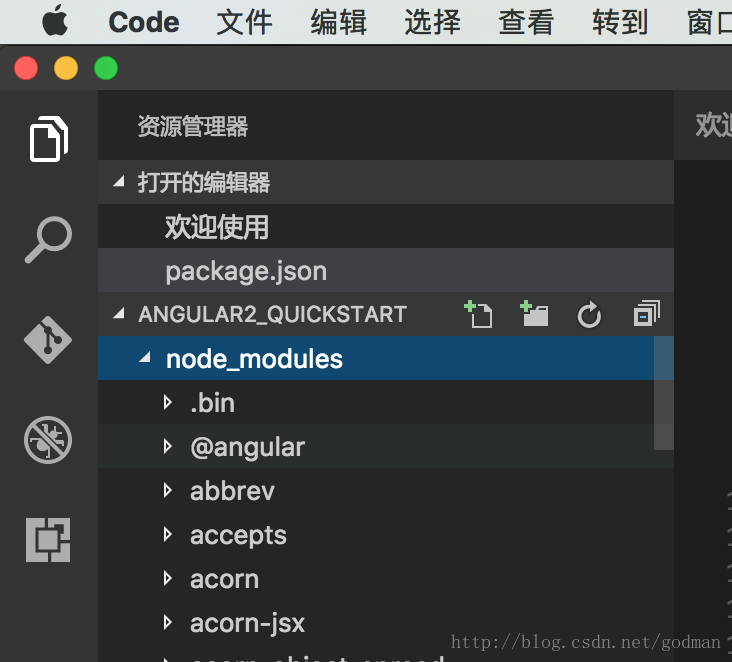
执行成功后,angular-quickstart 目录下就会生成一个 node_modules 目录,这里包含了我们这个实例需要的模块。
创建tsconfig.json
tsconfig.json 定义了 TypeScript 编译器如何从项目源文件生成 JavaScript 代码。
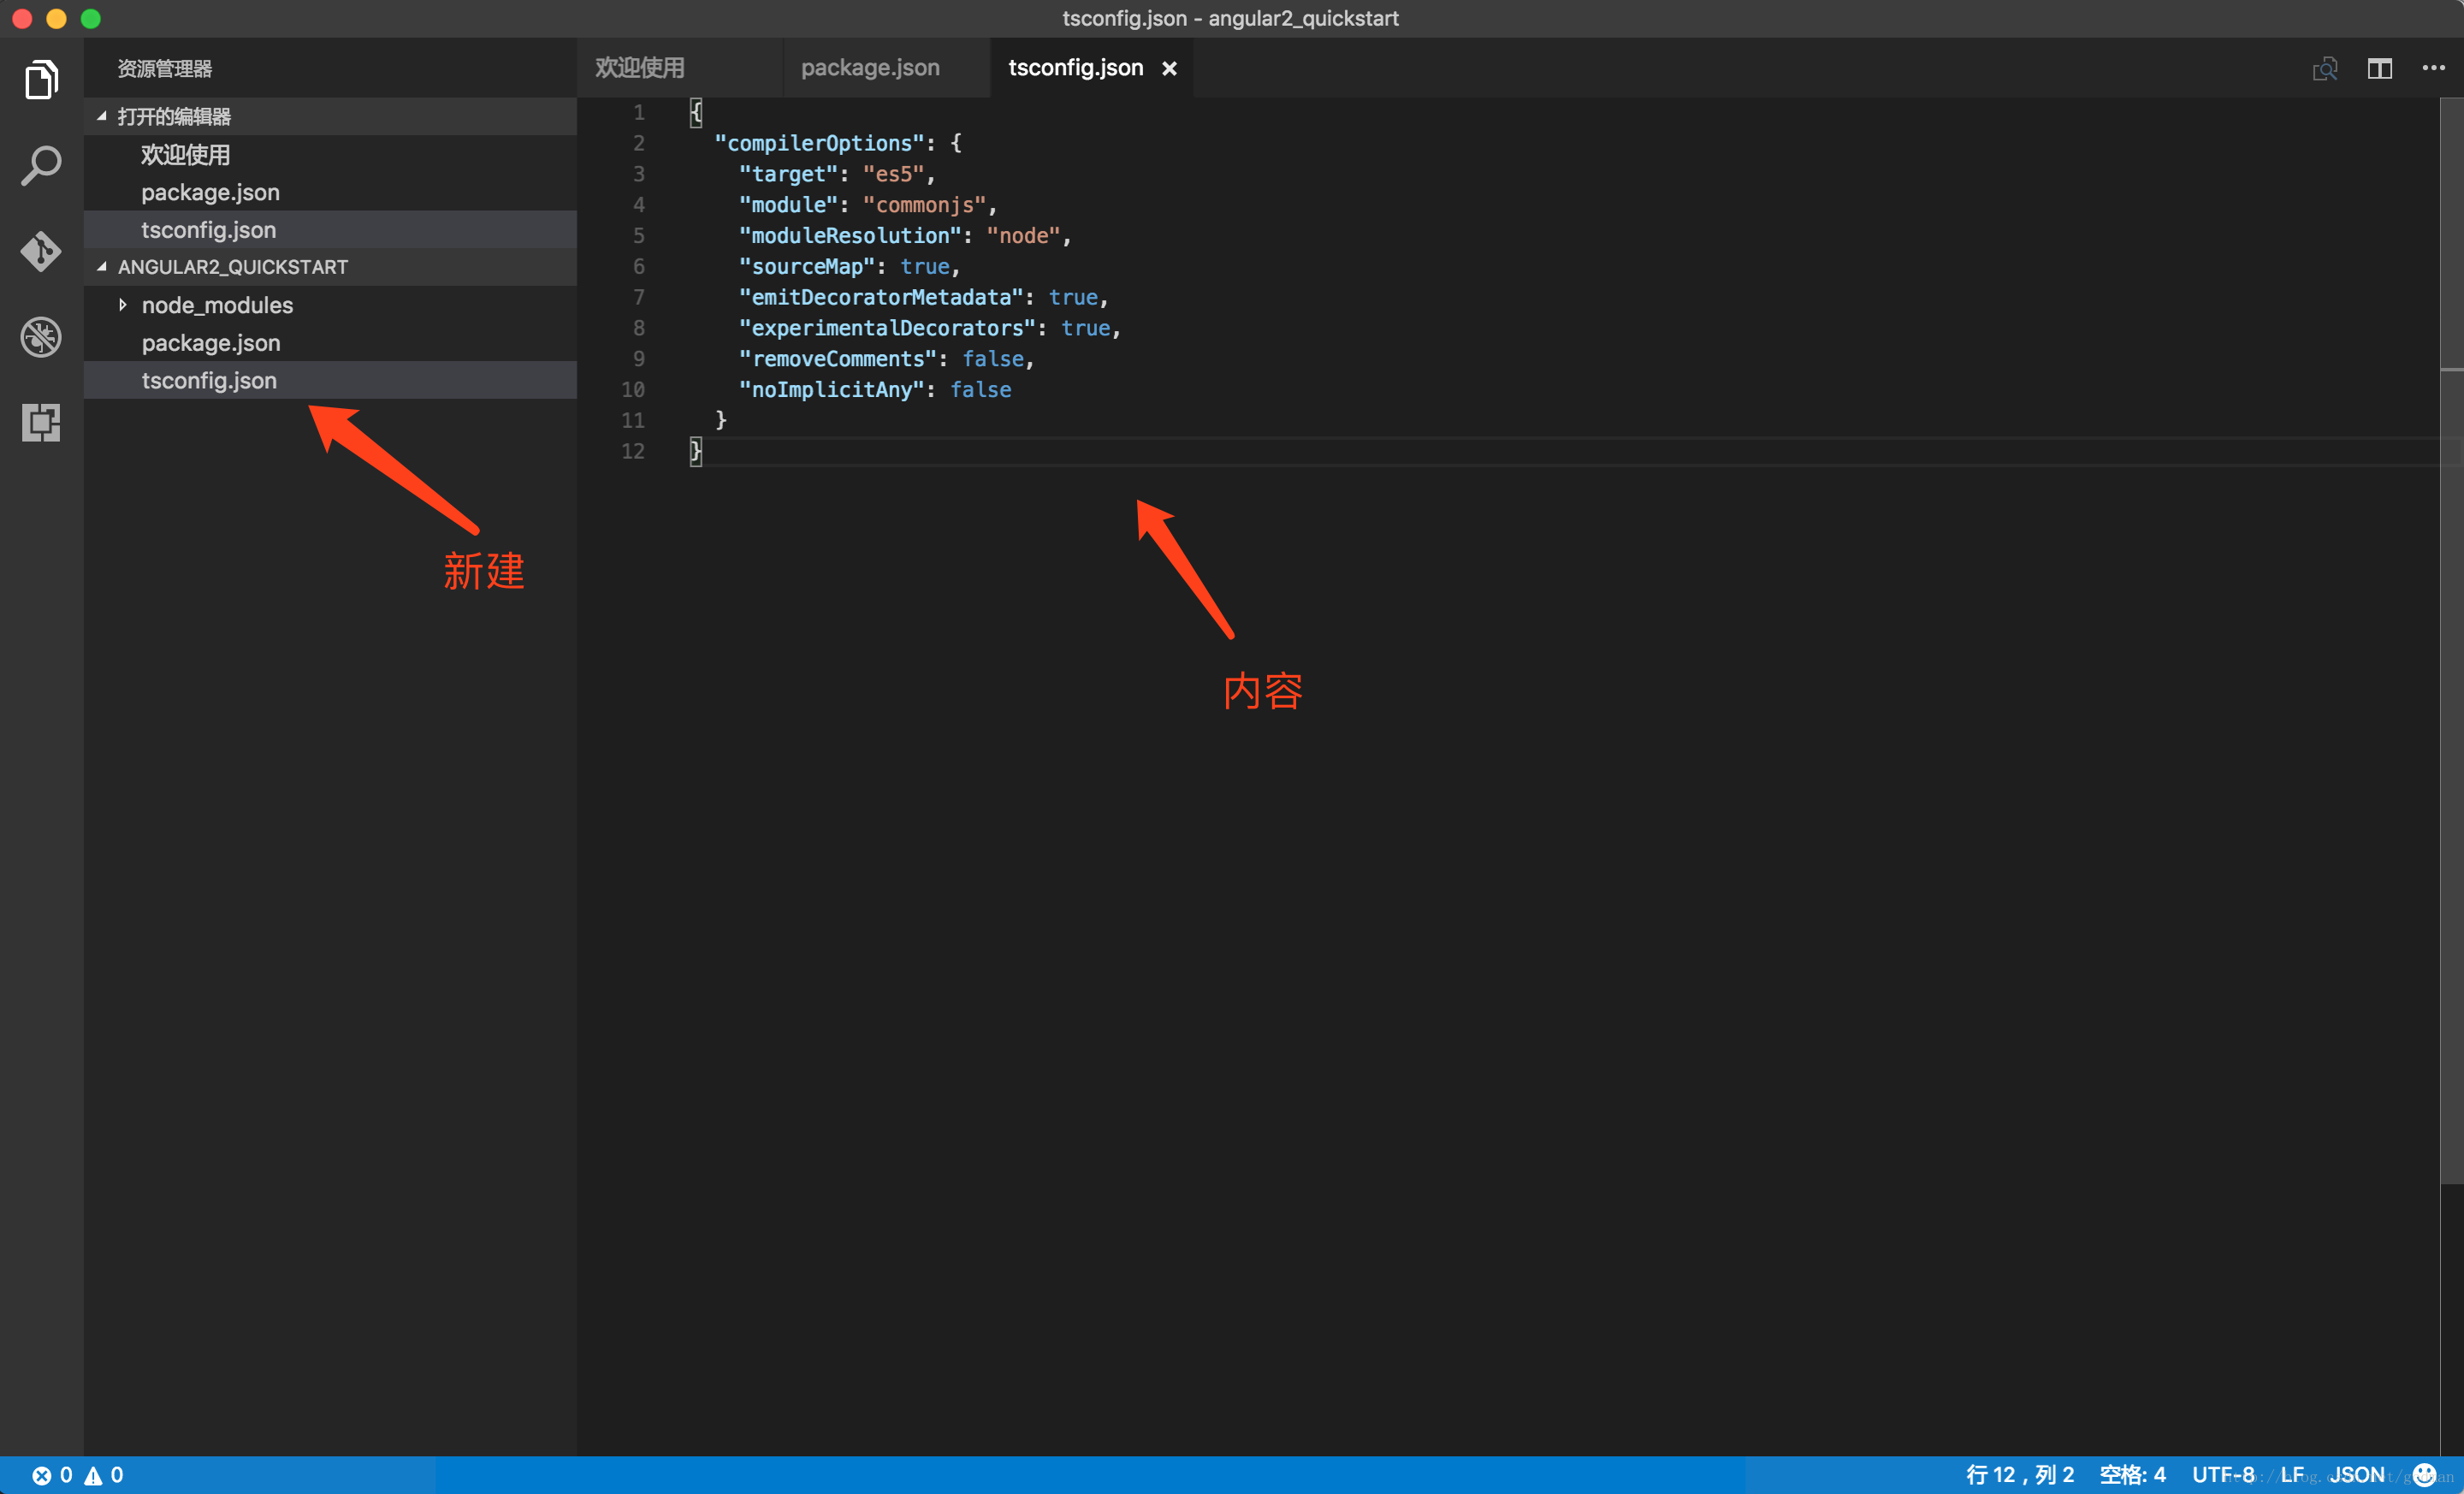
{
  "compilerOptions": {
    "target": "es5",
    "module": "commonjs",
    "moduleResolution": "node",
    "sourceMap": true,
    "emitDecoratorMetadata": true,
    "experimentalDecorators": true,
    "removeComments": false,
    "noImplicitAny": false
  }
}
创建typings.json
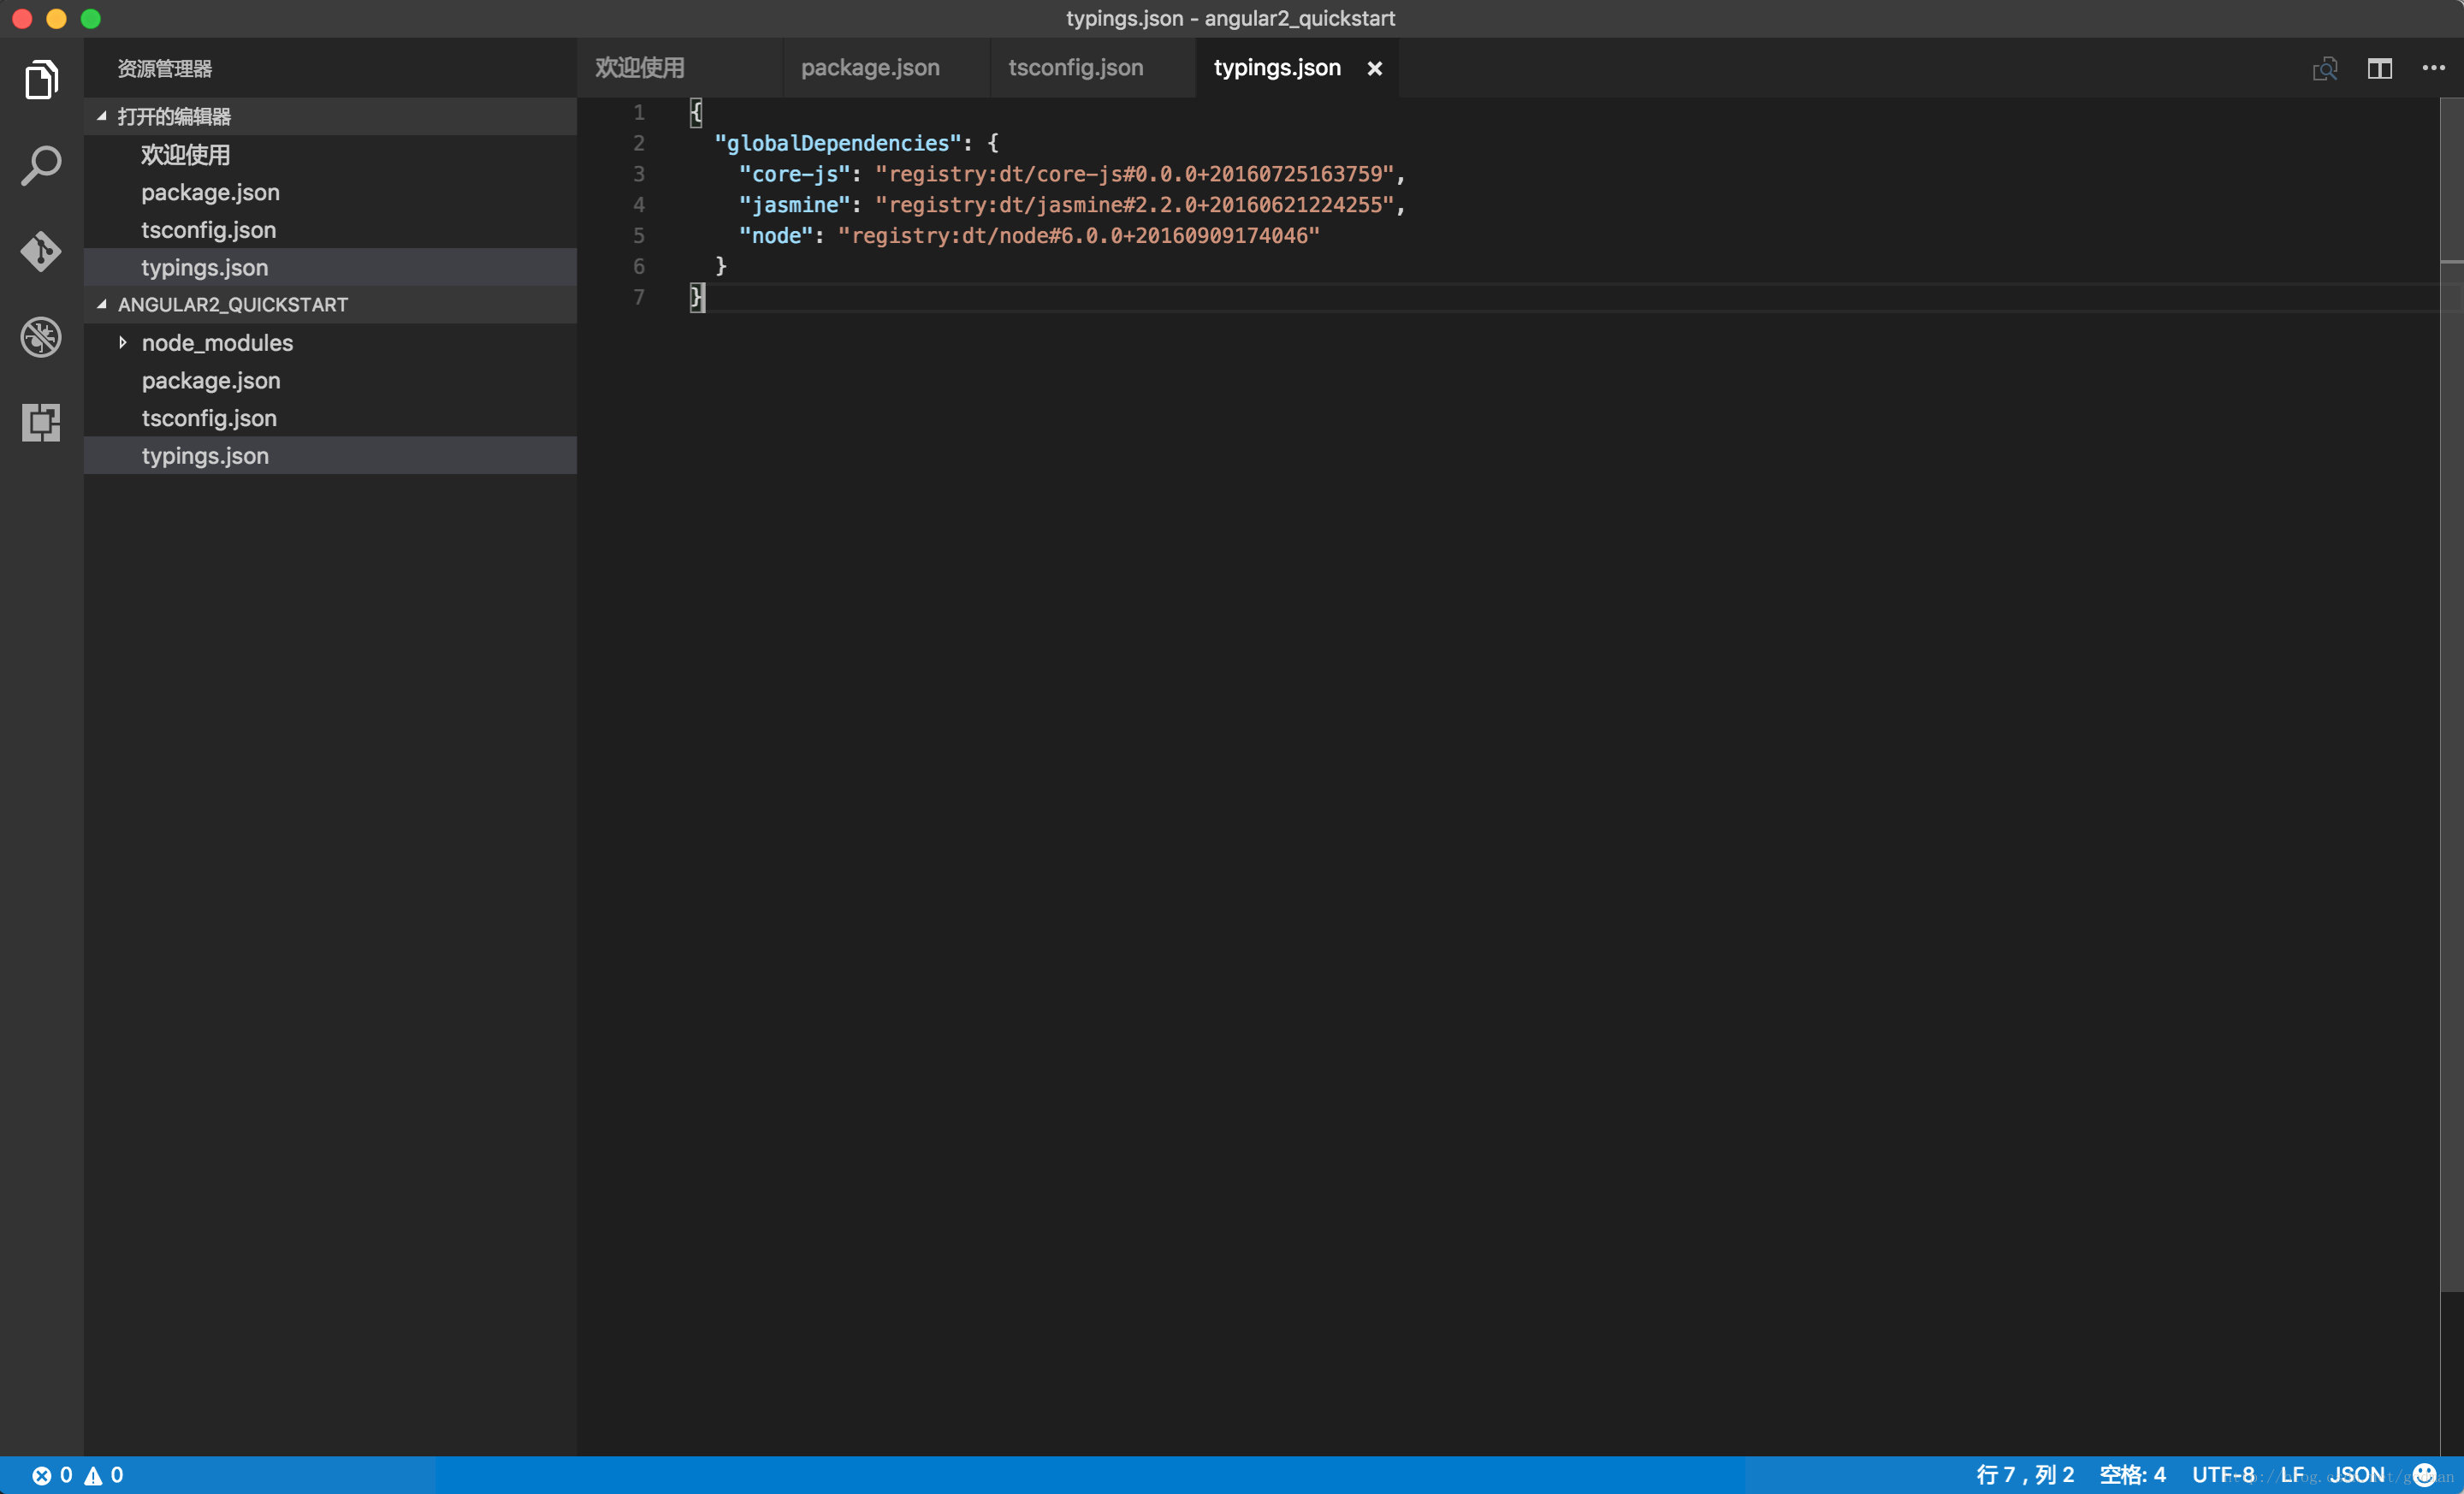
{
  "globalDependencies": {
    "core-js": "registry:dt/core-js#0.0.0+20160725163759",
    "jasmine": "registry:dt/jasmine#2.2.0+20160621224255",
    "node": "registry:dt/node#6.0.0+20160909174046"
  }
}
创建systemjs.config.js
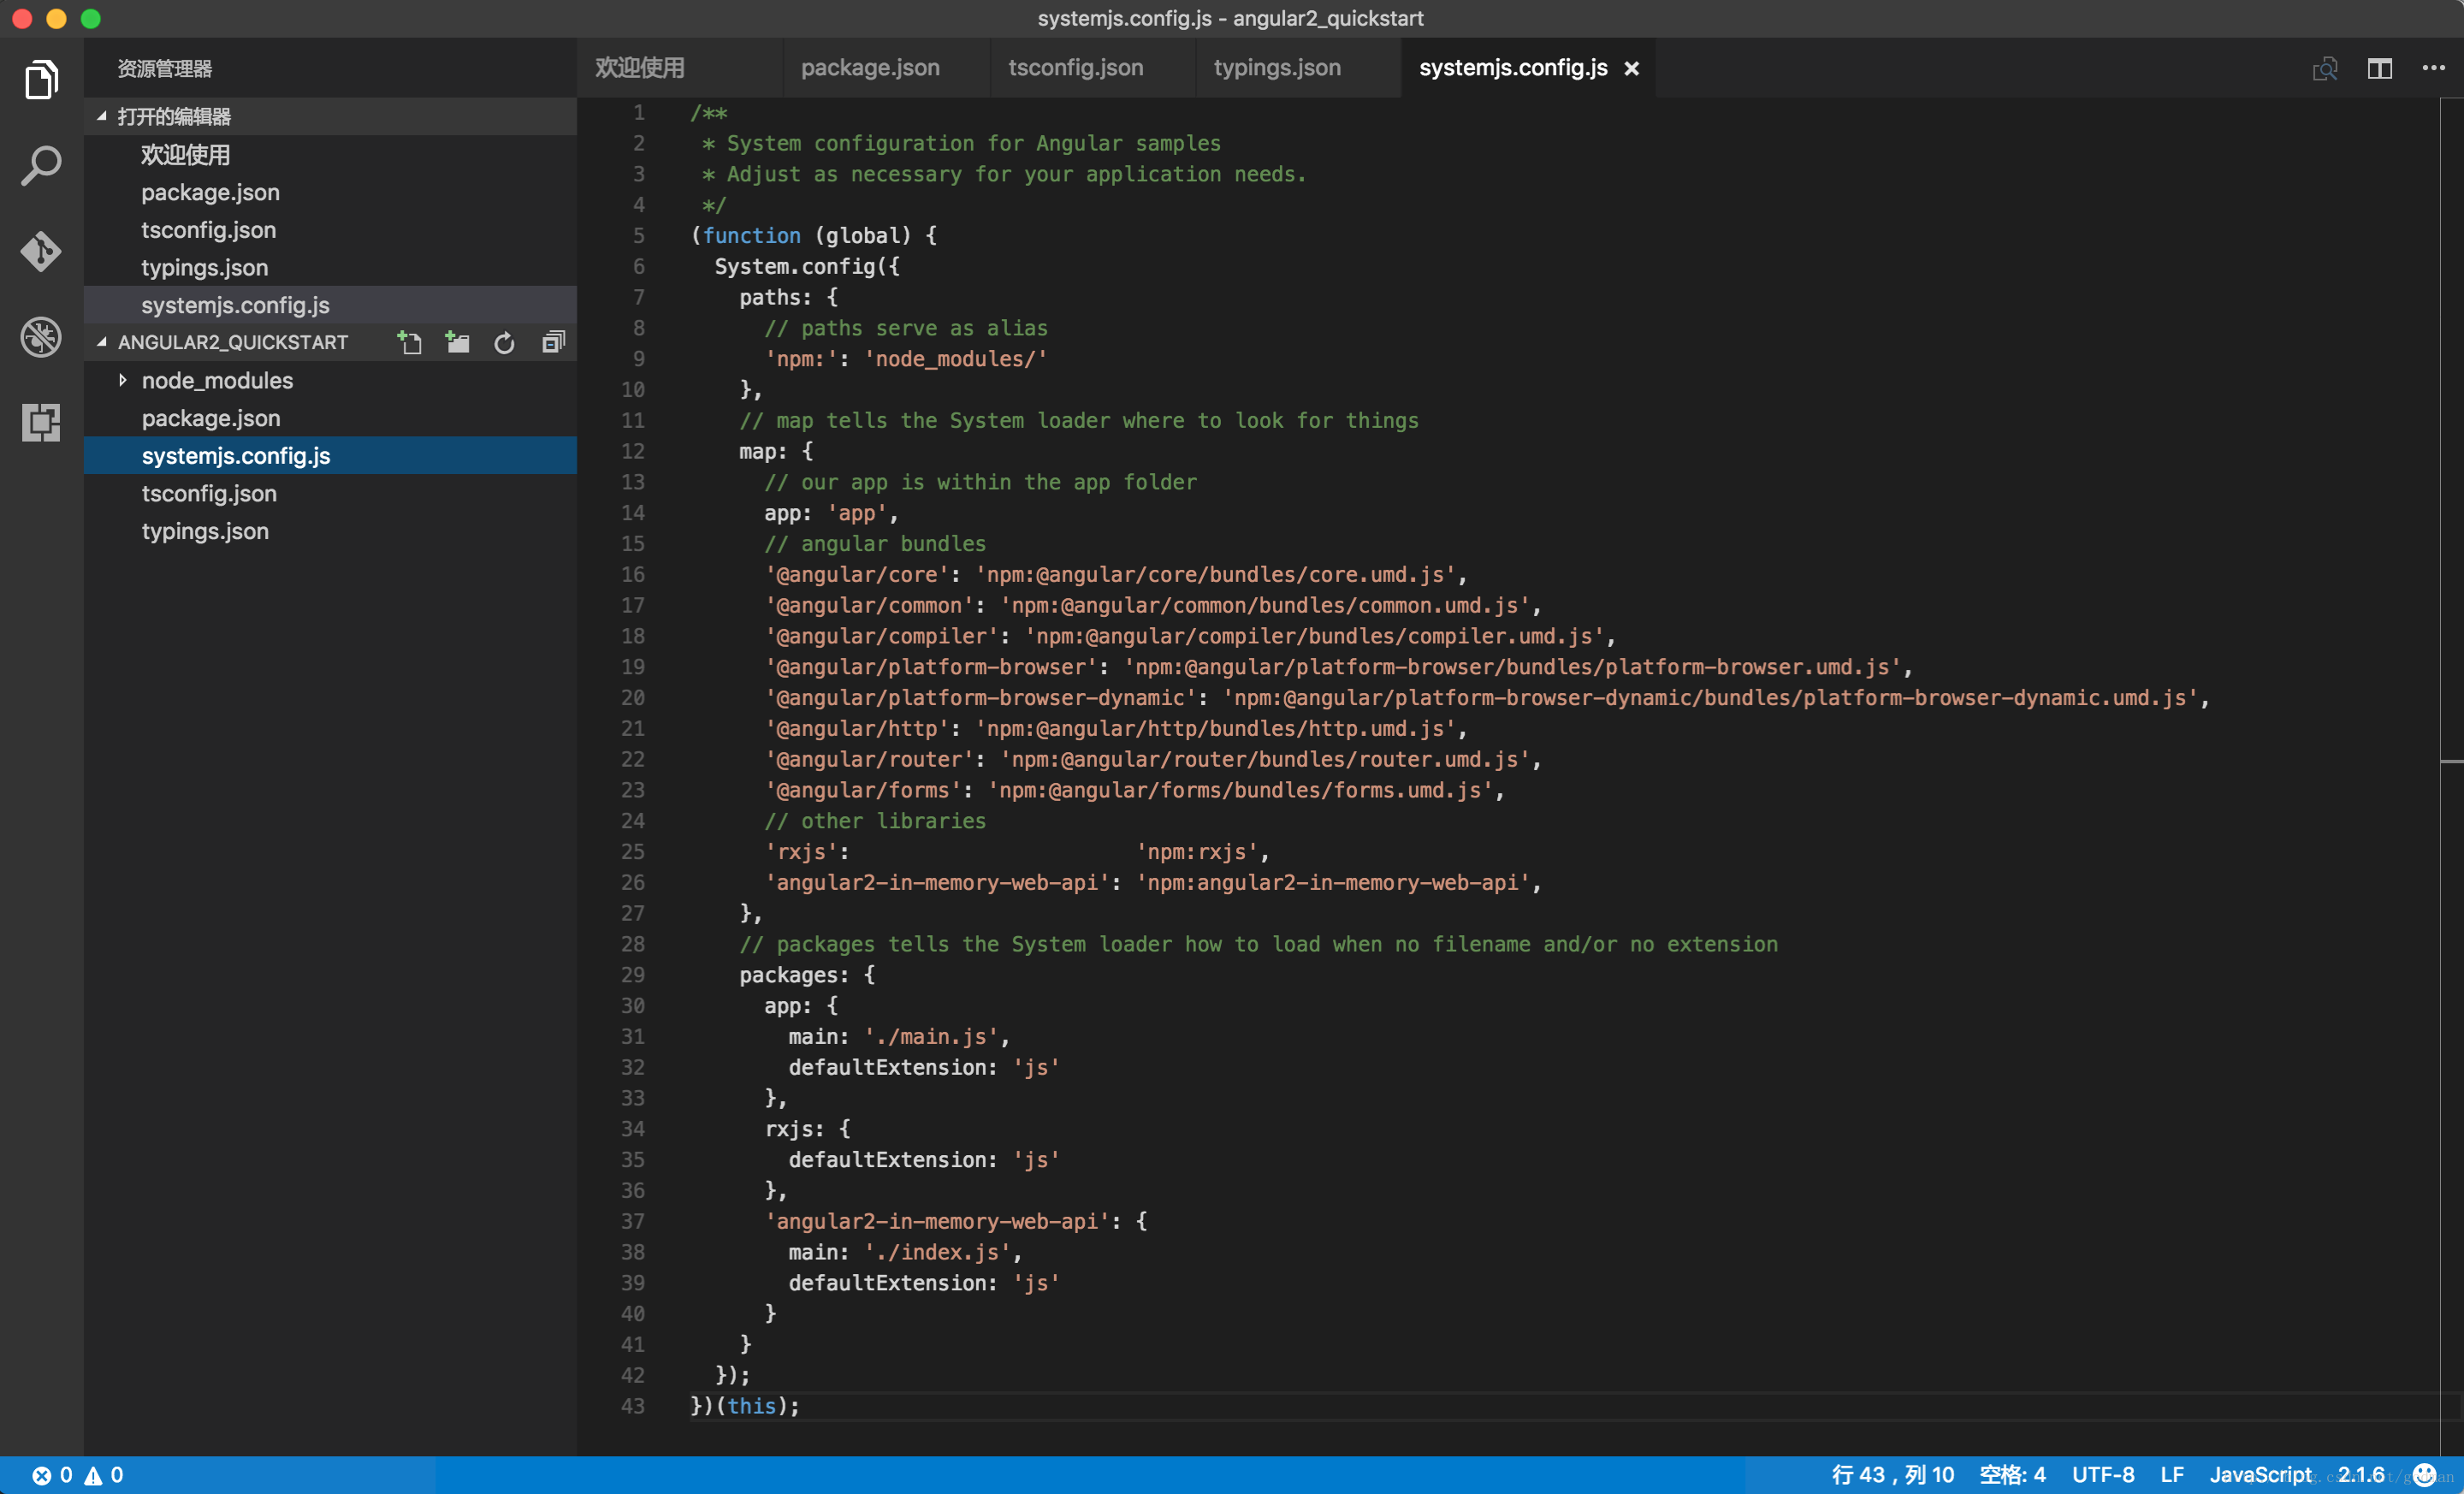
/**
 * System configuration for Angular samples
 * Adjust as necessary for your application needs.
 */
(function (global) {
  System.config({
    paths: {
      // paths serve as alias
      'npm:': 'node_modules/'
    },
    // map tells the System loader where to look for things
    map: {
      // our app is within the app folder
      app: 'app',
      // angular bundles
      '@angular/core': 'npm:@angular/core/bundles/core.umd.js',
      '@angular/common': 'npm:@angular/common/bundles/common.umd.js',
      '@angular/compiler': 'npm:@angular/compiler/bundles/compiler.umd.js',
      '@angular/platform-browser': 'npm:@angular/platform-browser/bundles/platform-browser.umd.js',
      '@angular/platform-browser-dynamic': 'npm:@angular/platform-browser-dynamic/bundles/platform-browser-dynamic.umd.js',
      '@angular/http': 'npm:@angular/http/bundles/http.umd.js',
      '@angular/router': 'npm:@angular/router/bundles/router.umd.js',
      '@angular/forms': 'npm:@angular/forms/bundles/forms.umd.js',
      // other libraries
      'rxjs':                       'npm:rxjs',
      'angular2-in-memory-web-api': 'npm:angular2-in-memory-web-api',
    },
    // packages tells the System loader how to load when no filename and/or no extension
    packages: {
      app: {
        main: './main.js',
        defaultExtension: 'js'
      },
      rxjs: {
        defaultExtension: 'js'
      },
      'angular2-in-memory-web-api': {
        main: './index.js',
        defaultExtension: 'js'
      }
    }
  });
})(this);
创建应用
创建目录
在根目录下创建app目录
vaio-807c175797:angular2_quickstart xuwen$mkdir angular2_quickstart进入项目目录
vaio-807c175797:angular2_quickstart xuwen$cd angular2_quickstart创建app.module.ts
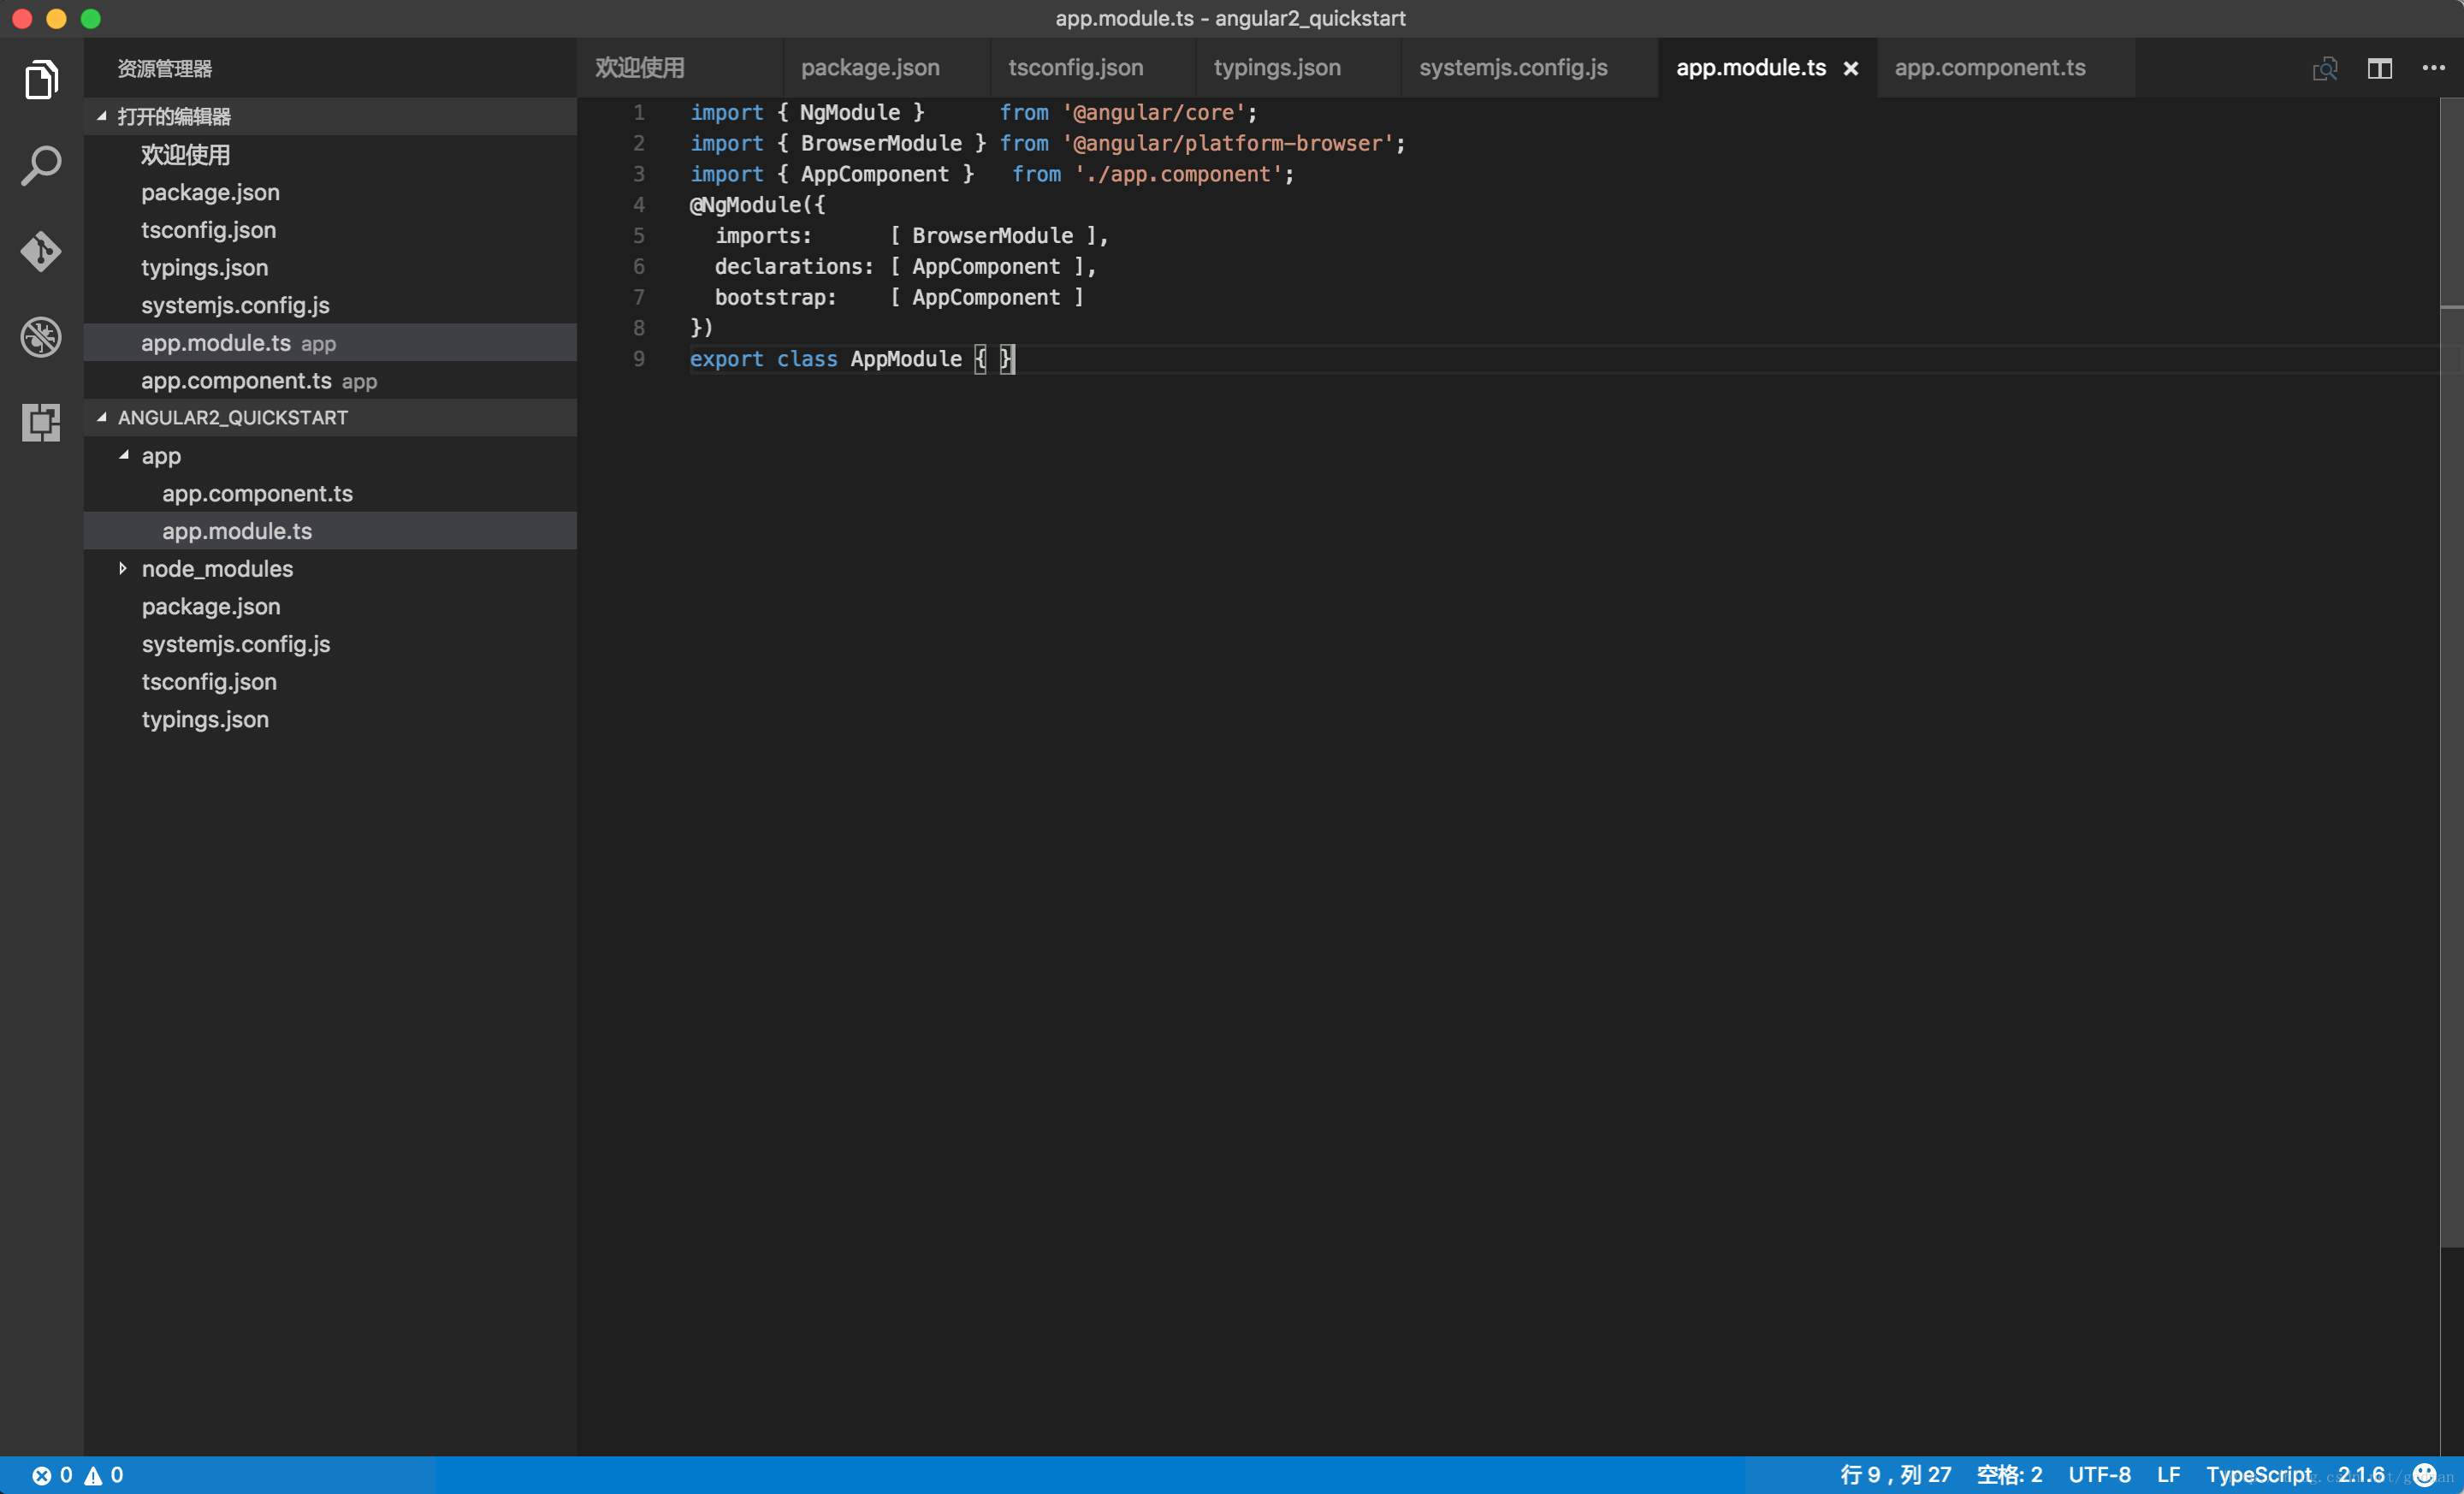
import { NgModule }      from '@angular/core';
import { BrowserModule } from '@angular/platform-browser';
import { AppComponent }   from './app.component';
@NgModule({
  imports:      [ BrowserModule ],
  declarations: [ AppComponent ],
  bootstrap:    [ AppComponent ]
})
export class AppModule { }
创建app.component.ts
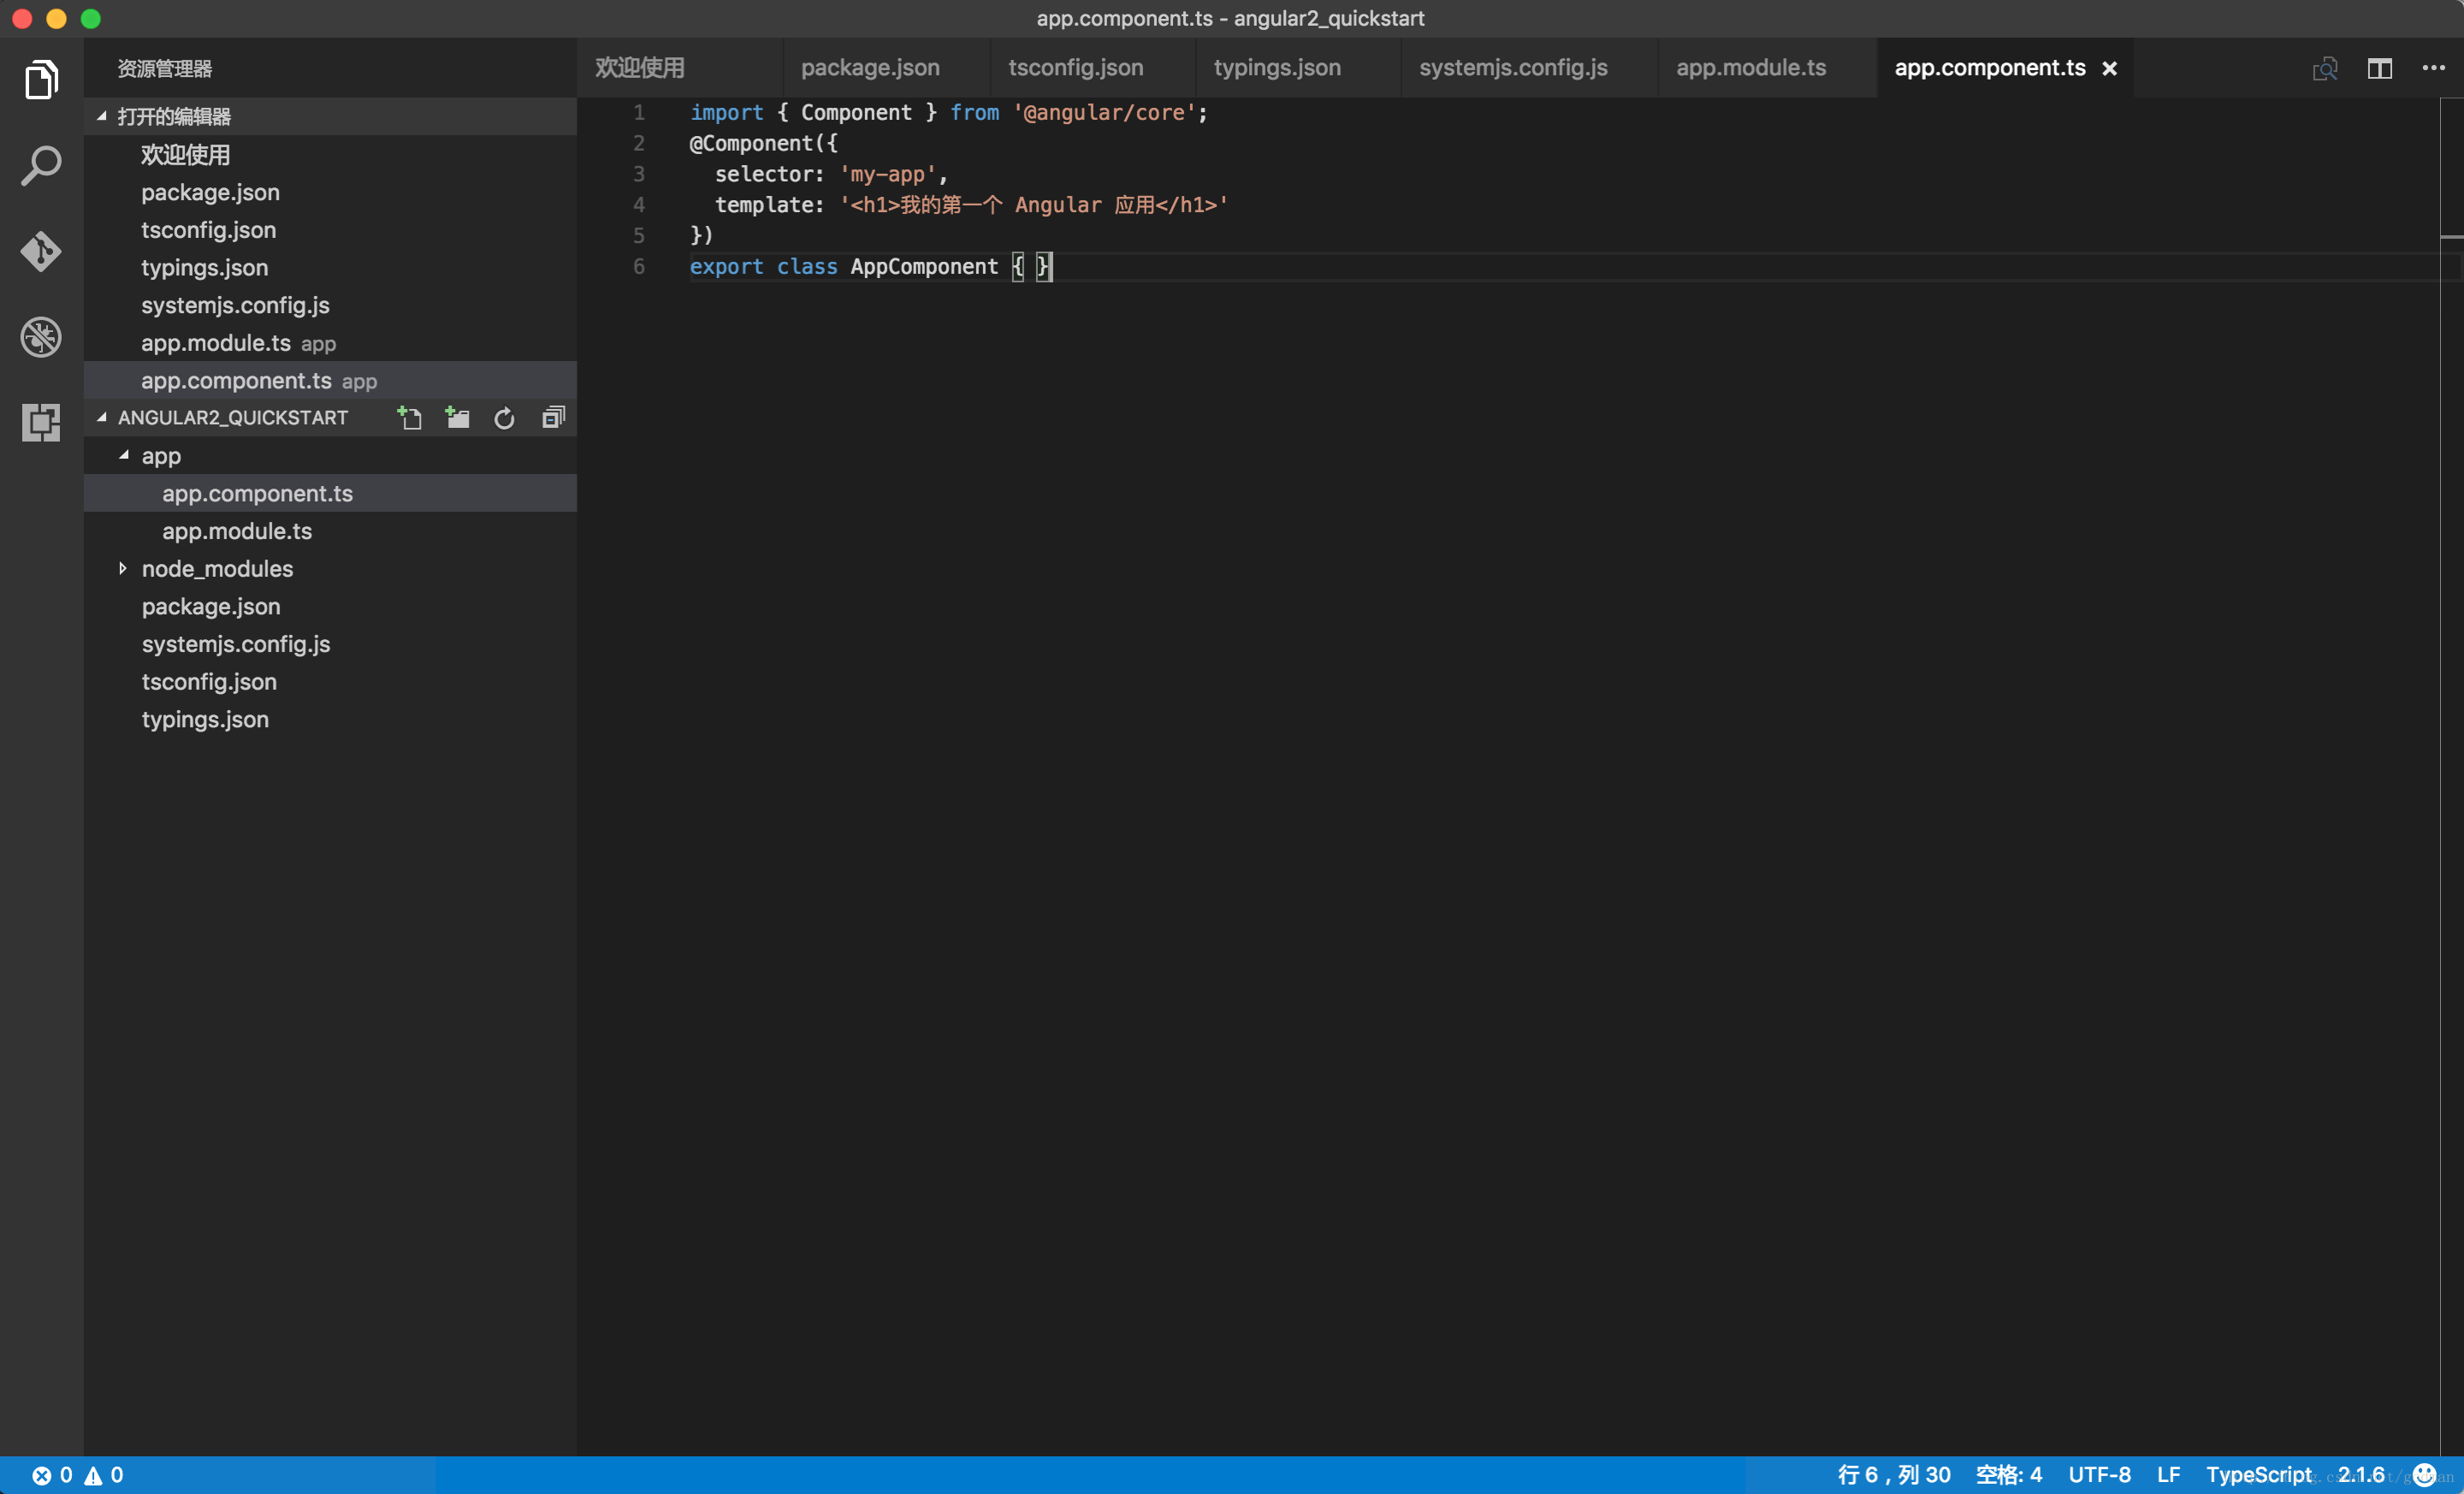
import { Component } from '@angular/core';
@Component({
  selector: 'my-app',
  template: '<h1>我的第一个 Angular 应用</h1>'
})
export class AppComponent { }
创建main.ts
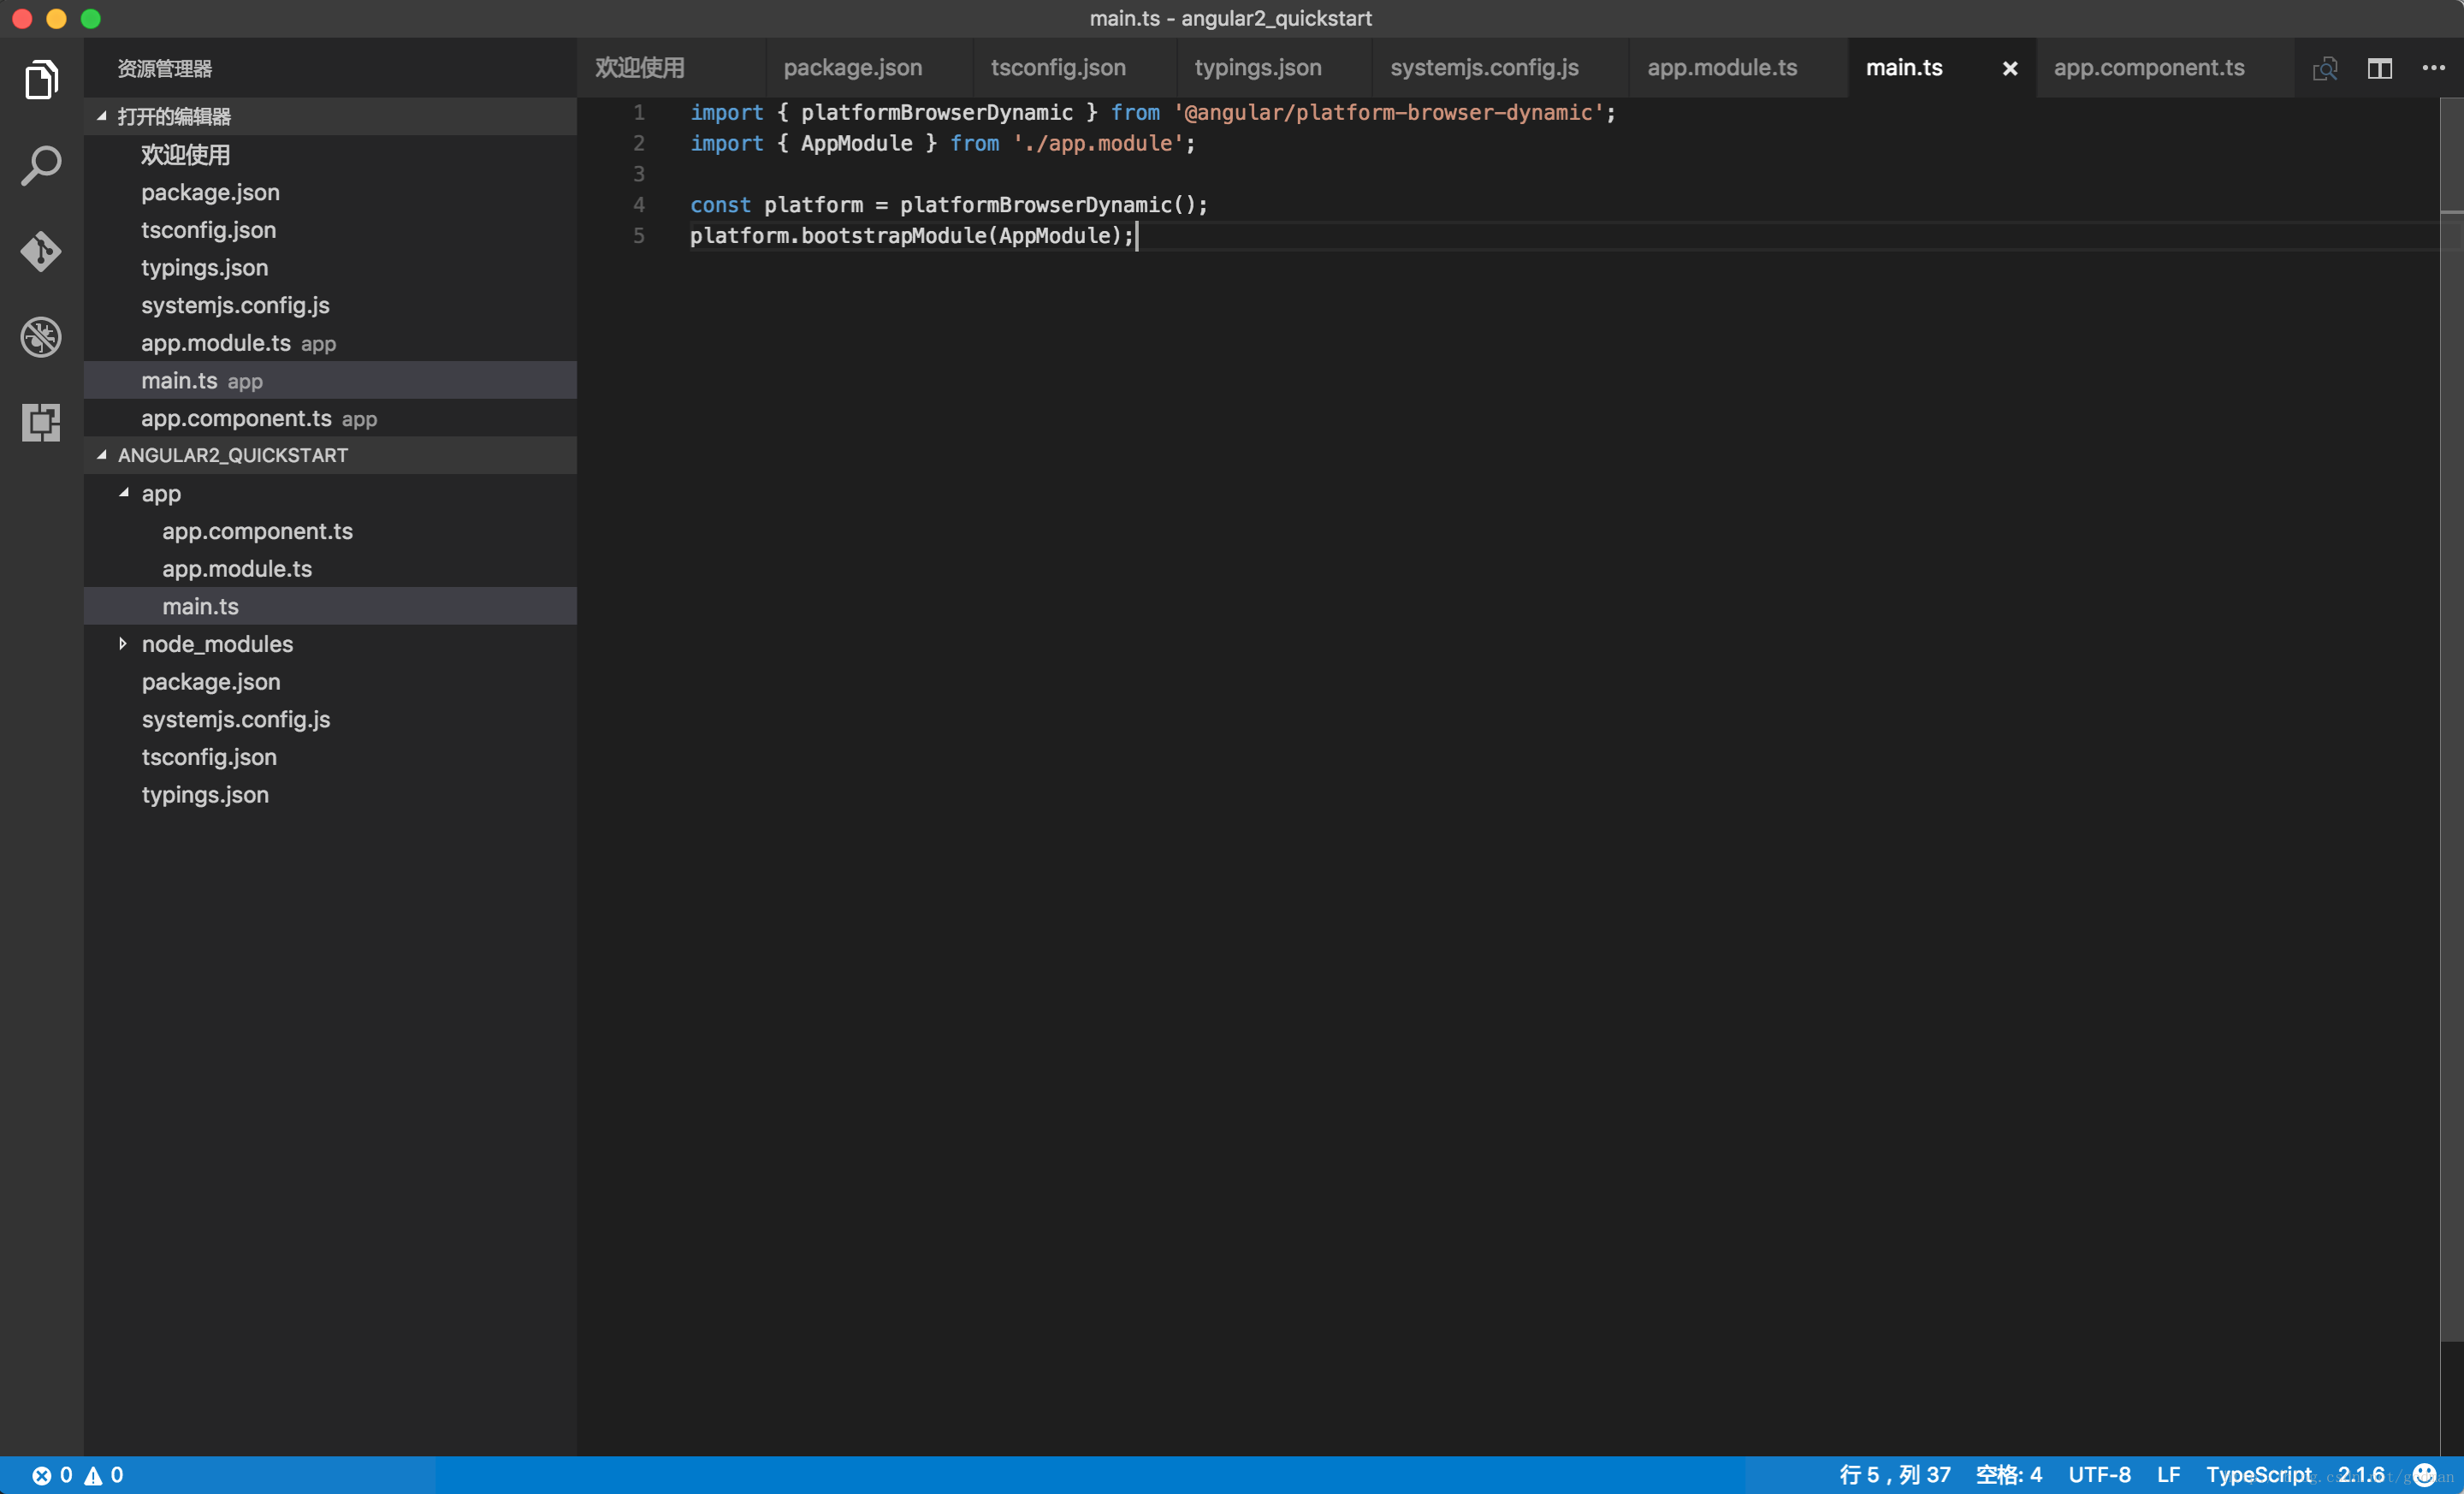
import { platformBrowserDynamic } from '@angular/platform-browser-dynamic';
import { AppModule } from './app.module';

const platform = platformBrowserDynamic();
platform.bootstrapModule(AppModule);
创建应用的宿主页面
创建index.html
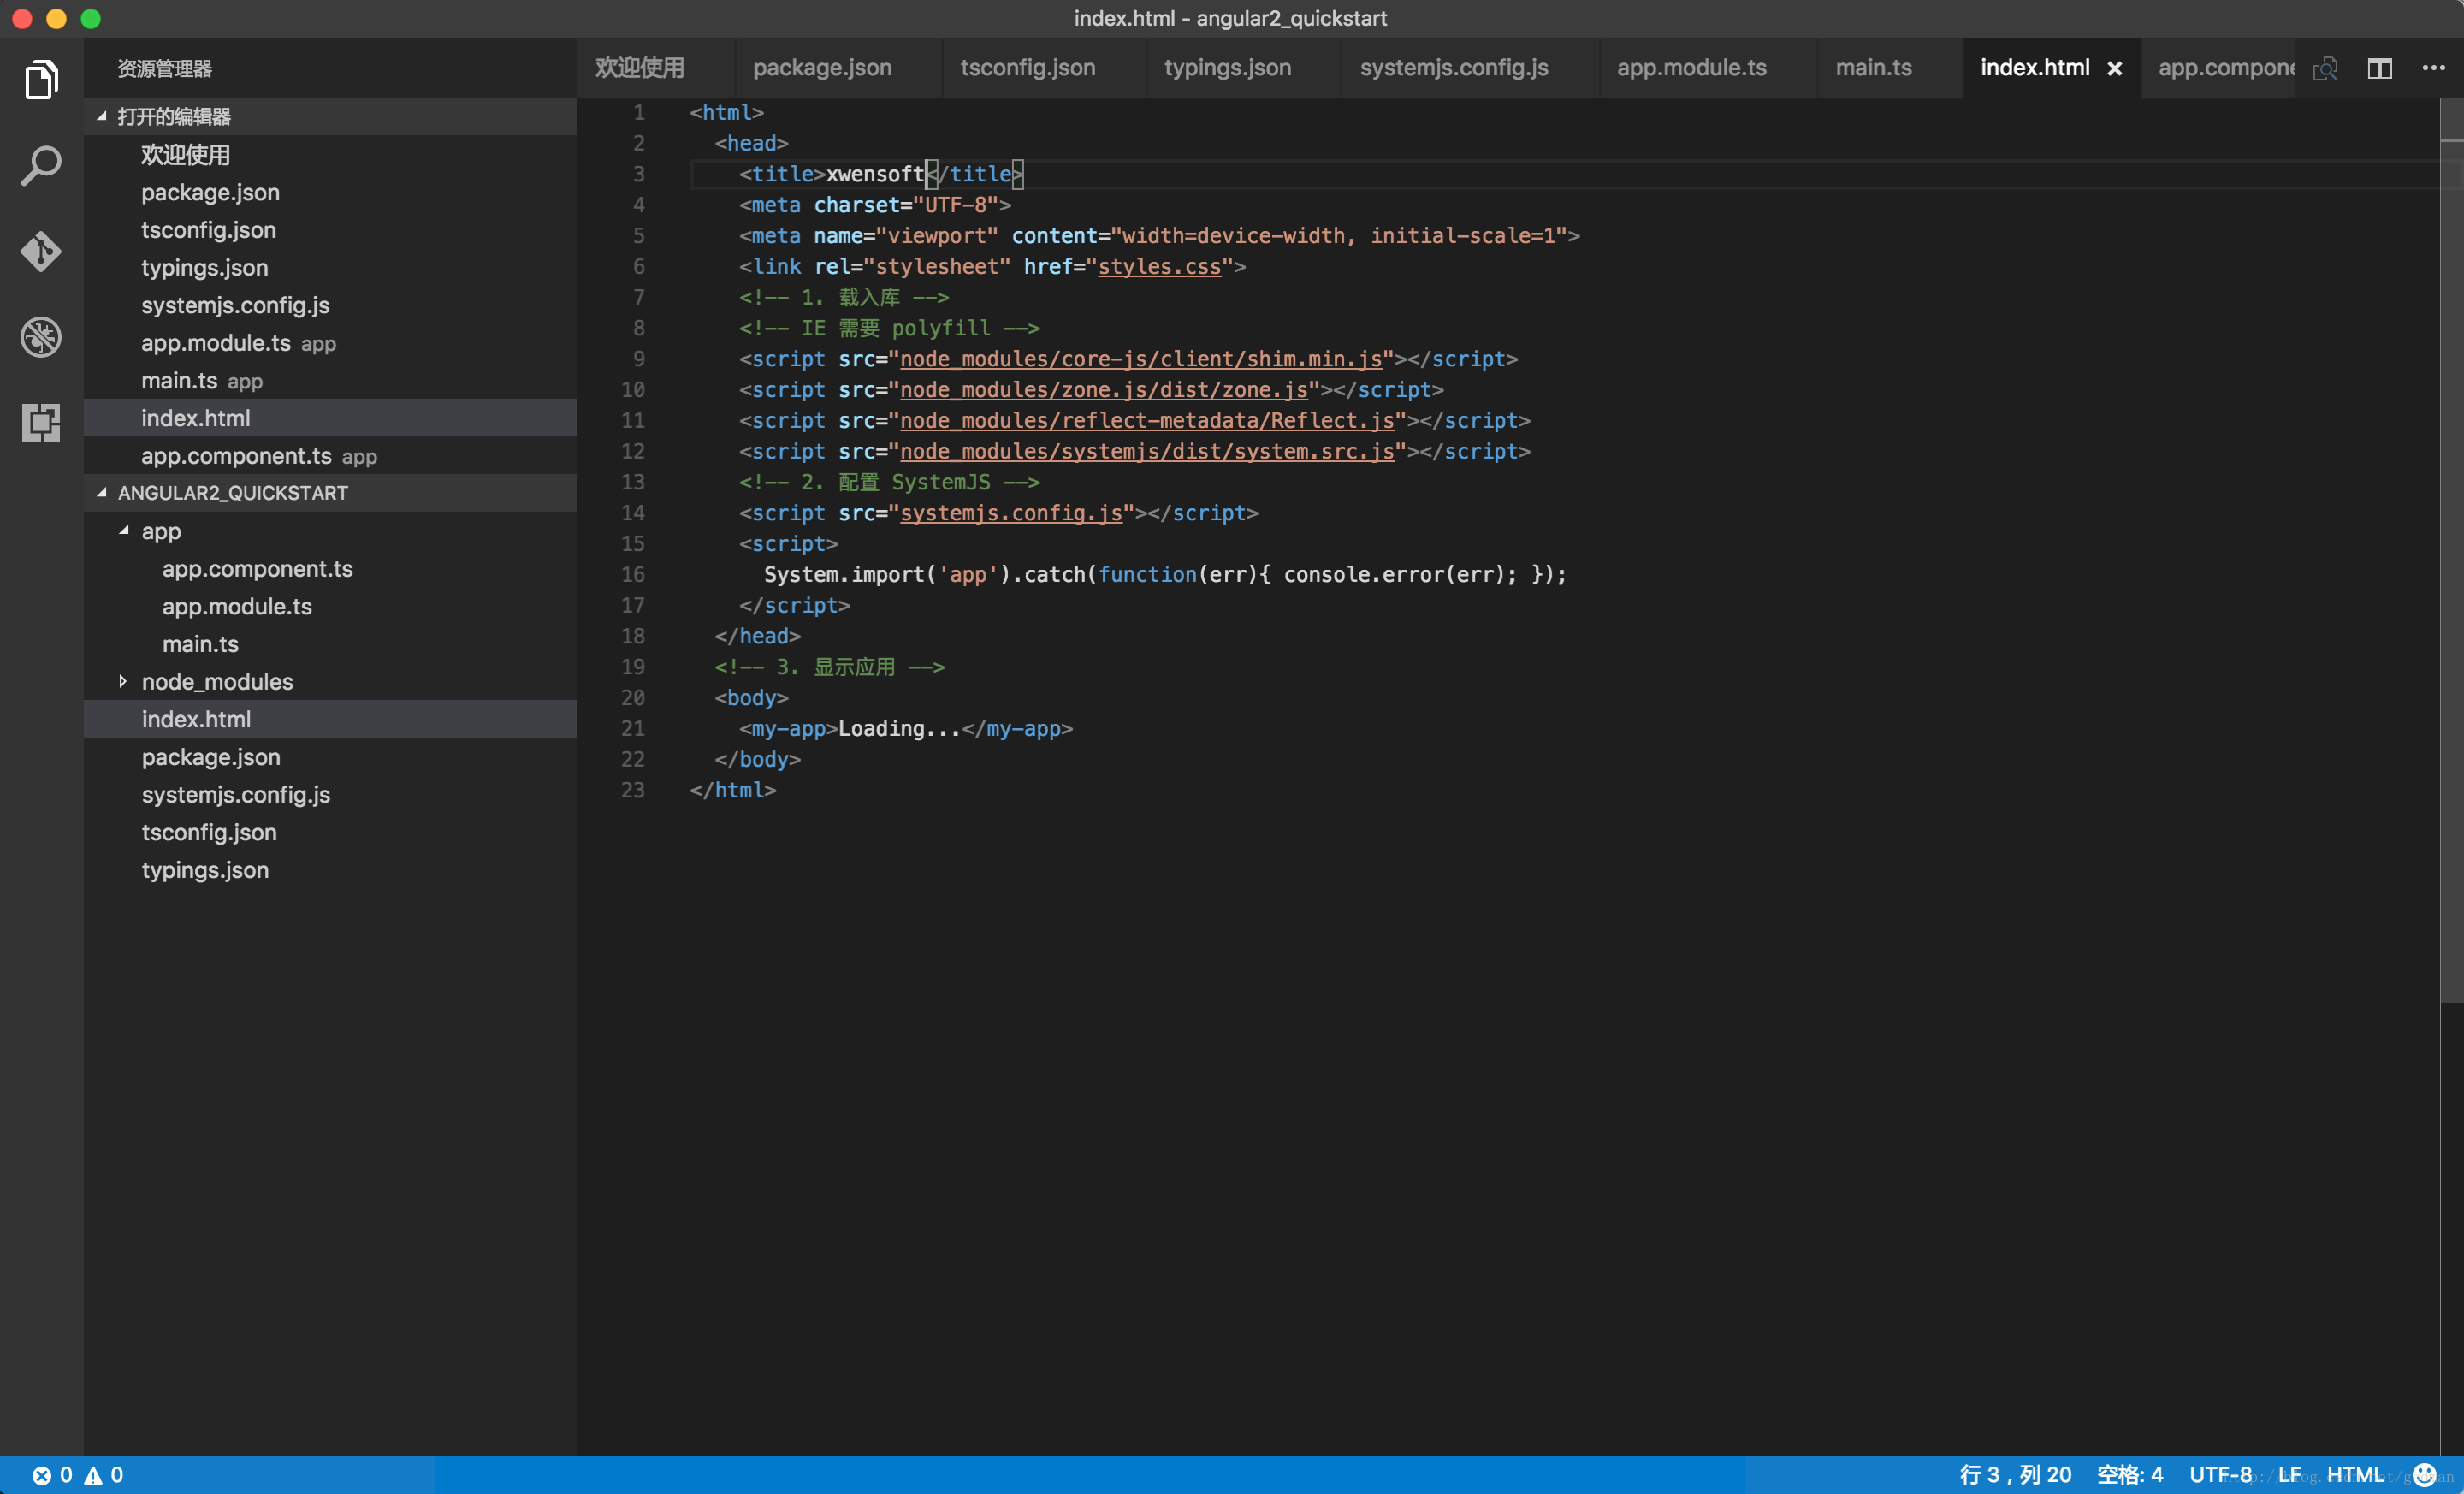
<html>
  <head>
    <title>Angular 2 实例 - 菜鸟教程(runoob.com)</title>
    <meta charset="UTF-8">
    <meta name="viewport" content="width=device-width, initial-scale=1">
    <link rel="stylesheet" href="styles.css">
    <!-- 1. 载入库 -->
    <!-- IE 需要 polyfill -->
    <script src="node_modules/core-js/client/shim.min.js"></script>
    <script src="node_modules/zone.js/dist/zone.js"></script>
    <script src="node_modules/reflect-metadata/Reflect.js"></script>
    <script src="node_modules/systemjs/dist/system.src.js"></script>
    <!-- 2. 配置 SystemJS -->
    <script src="systemjs.config.js"></script>
    <script>
      System.import('app').catch(function(err){ console.error(err); });
    </script>
  </head>
  <!-- 3. 显示应用 -->
  <body>
    <my-app>Loading...</my-app>
  </body>
</html>
创建styles.css
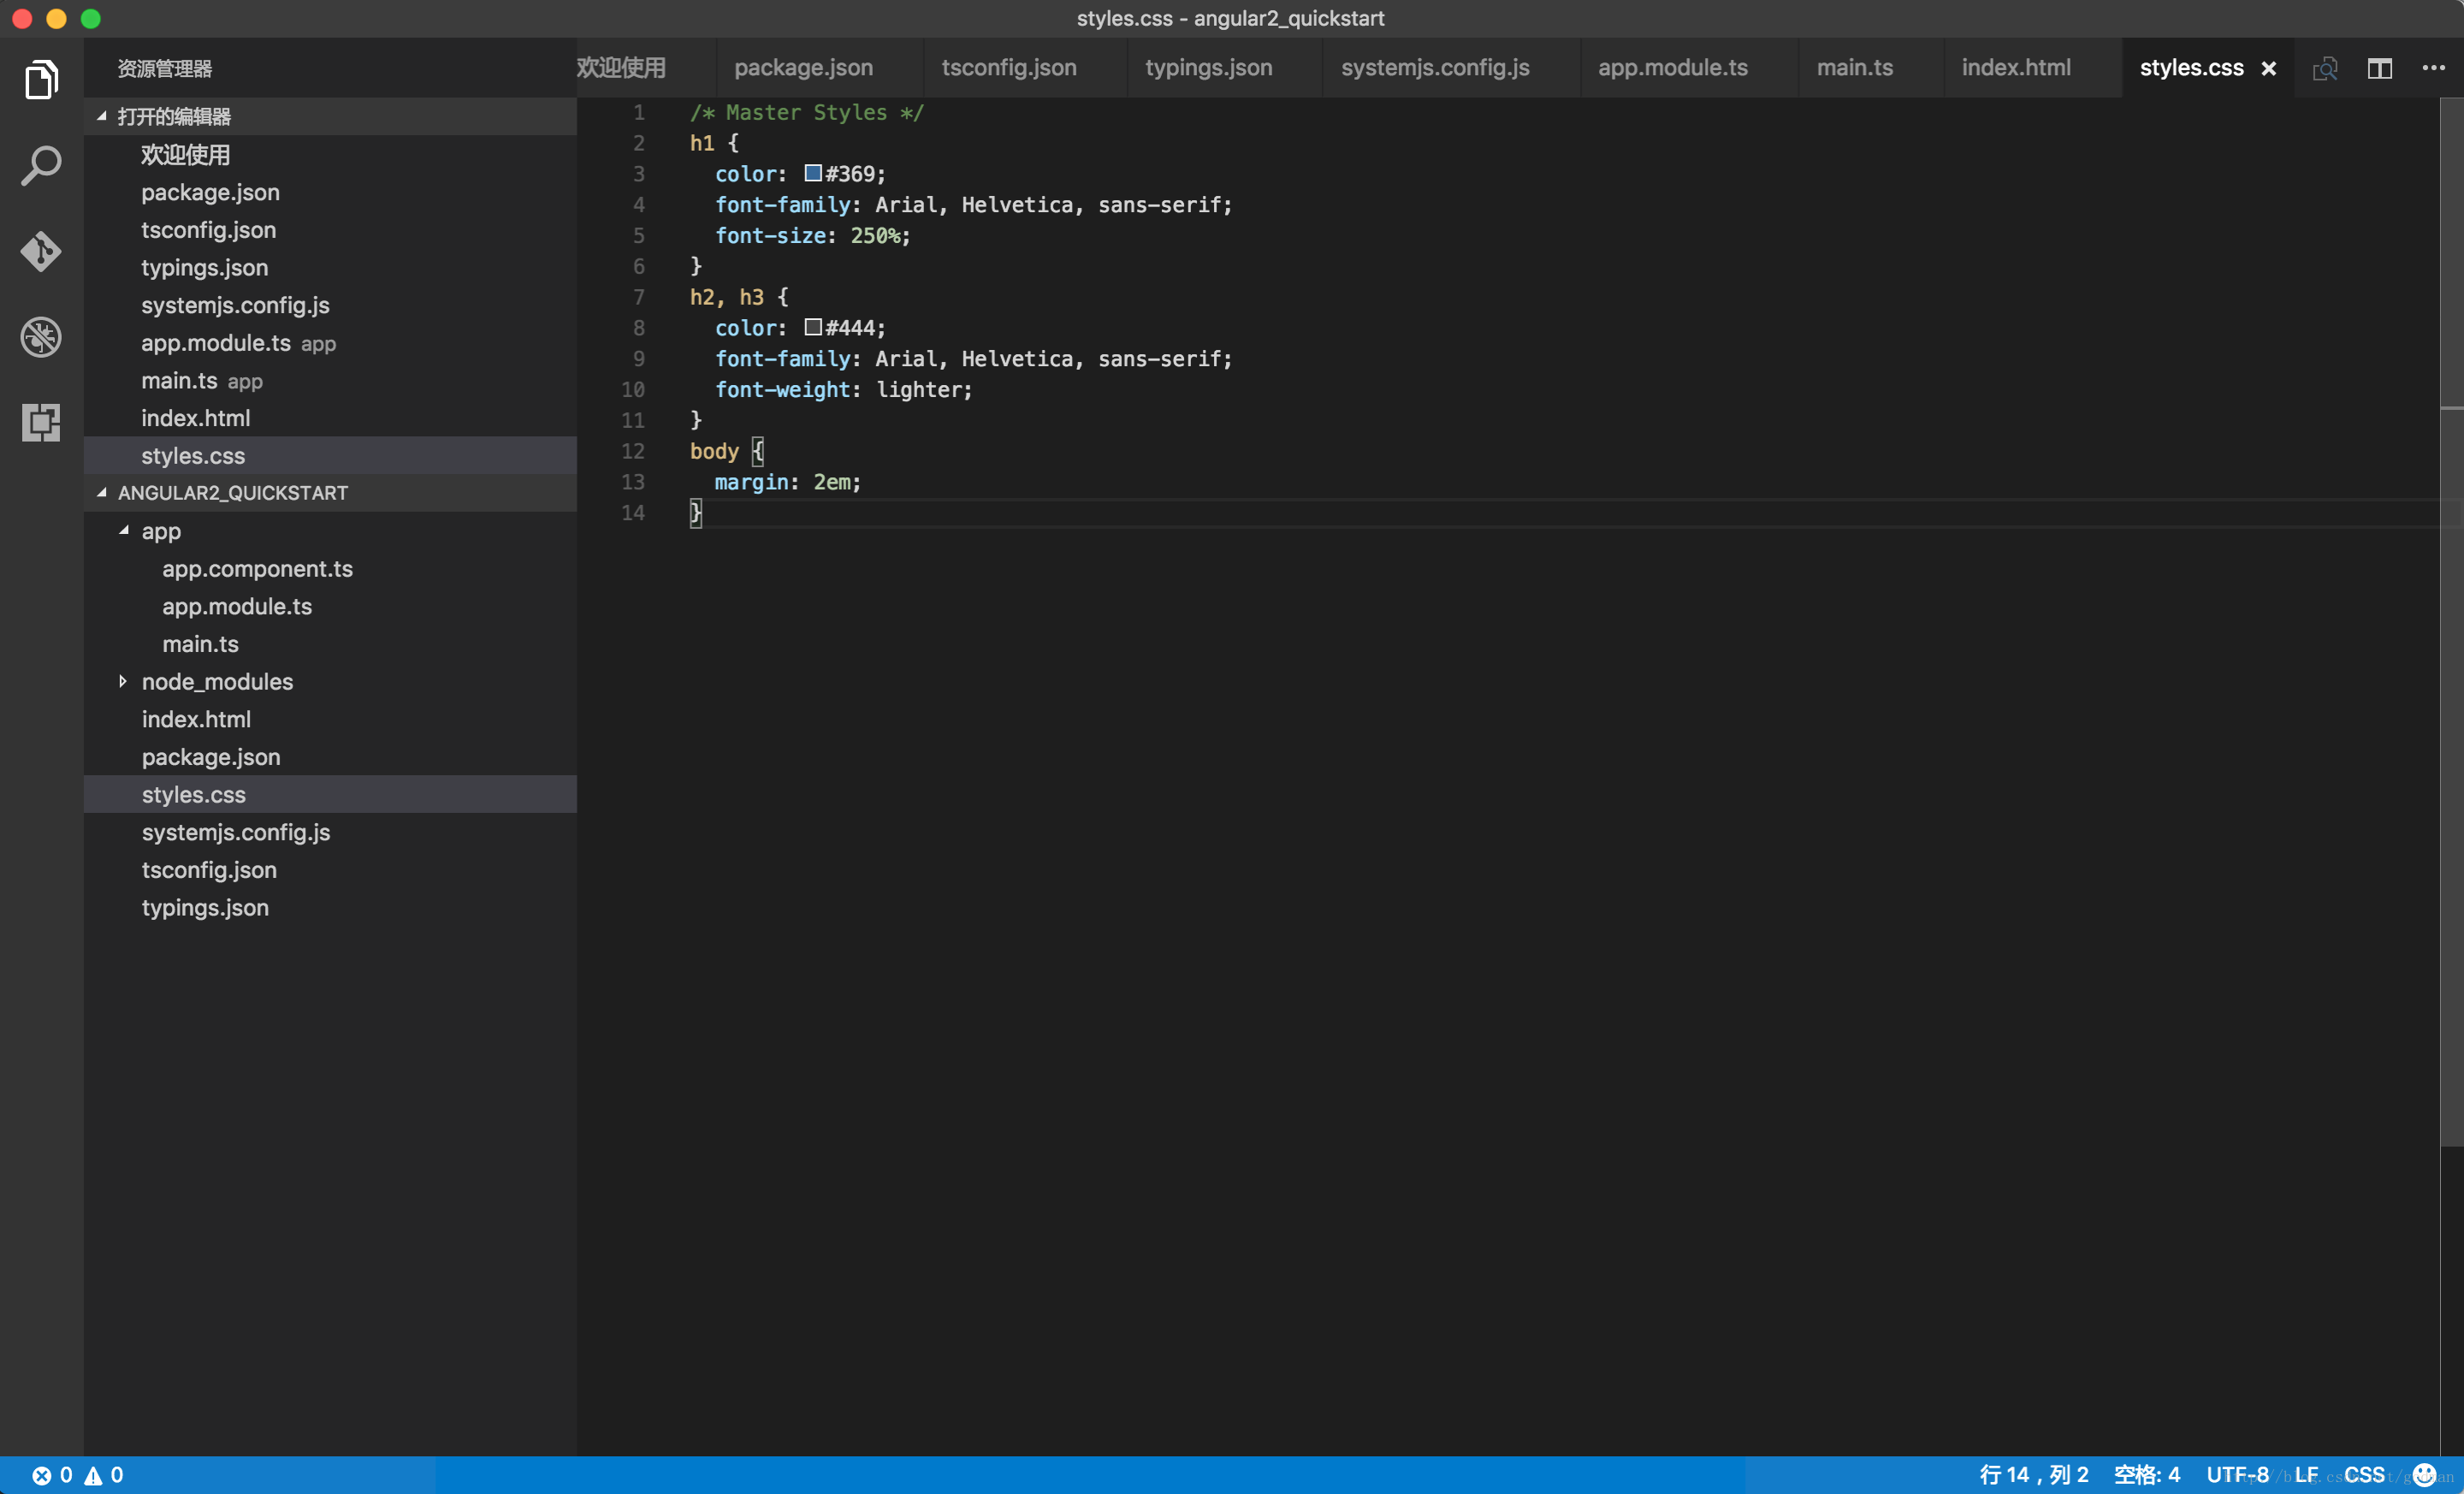
/* Master Styles */
h1 {
  color: #369;
  font-family: Arial, Helvetica, sans-serif;
  font-size: 250%;
}
h2, h3 {
  color: #444;
  font-family: Arial, Helvetica, sans-serif;
  font-weight: lighter;
}
body {
  margin: 2em;
}
创建启动文件
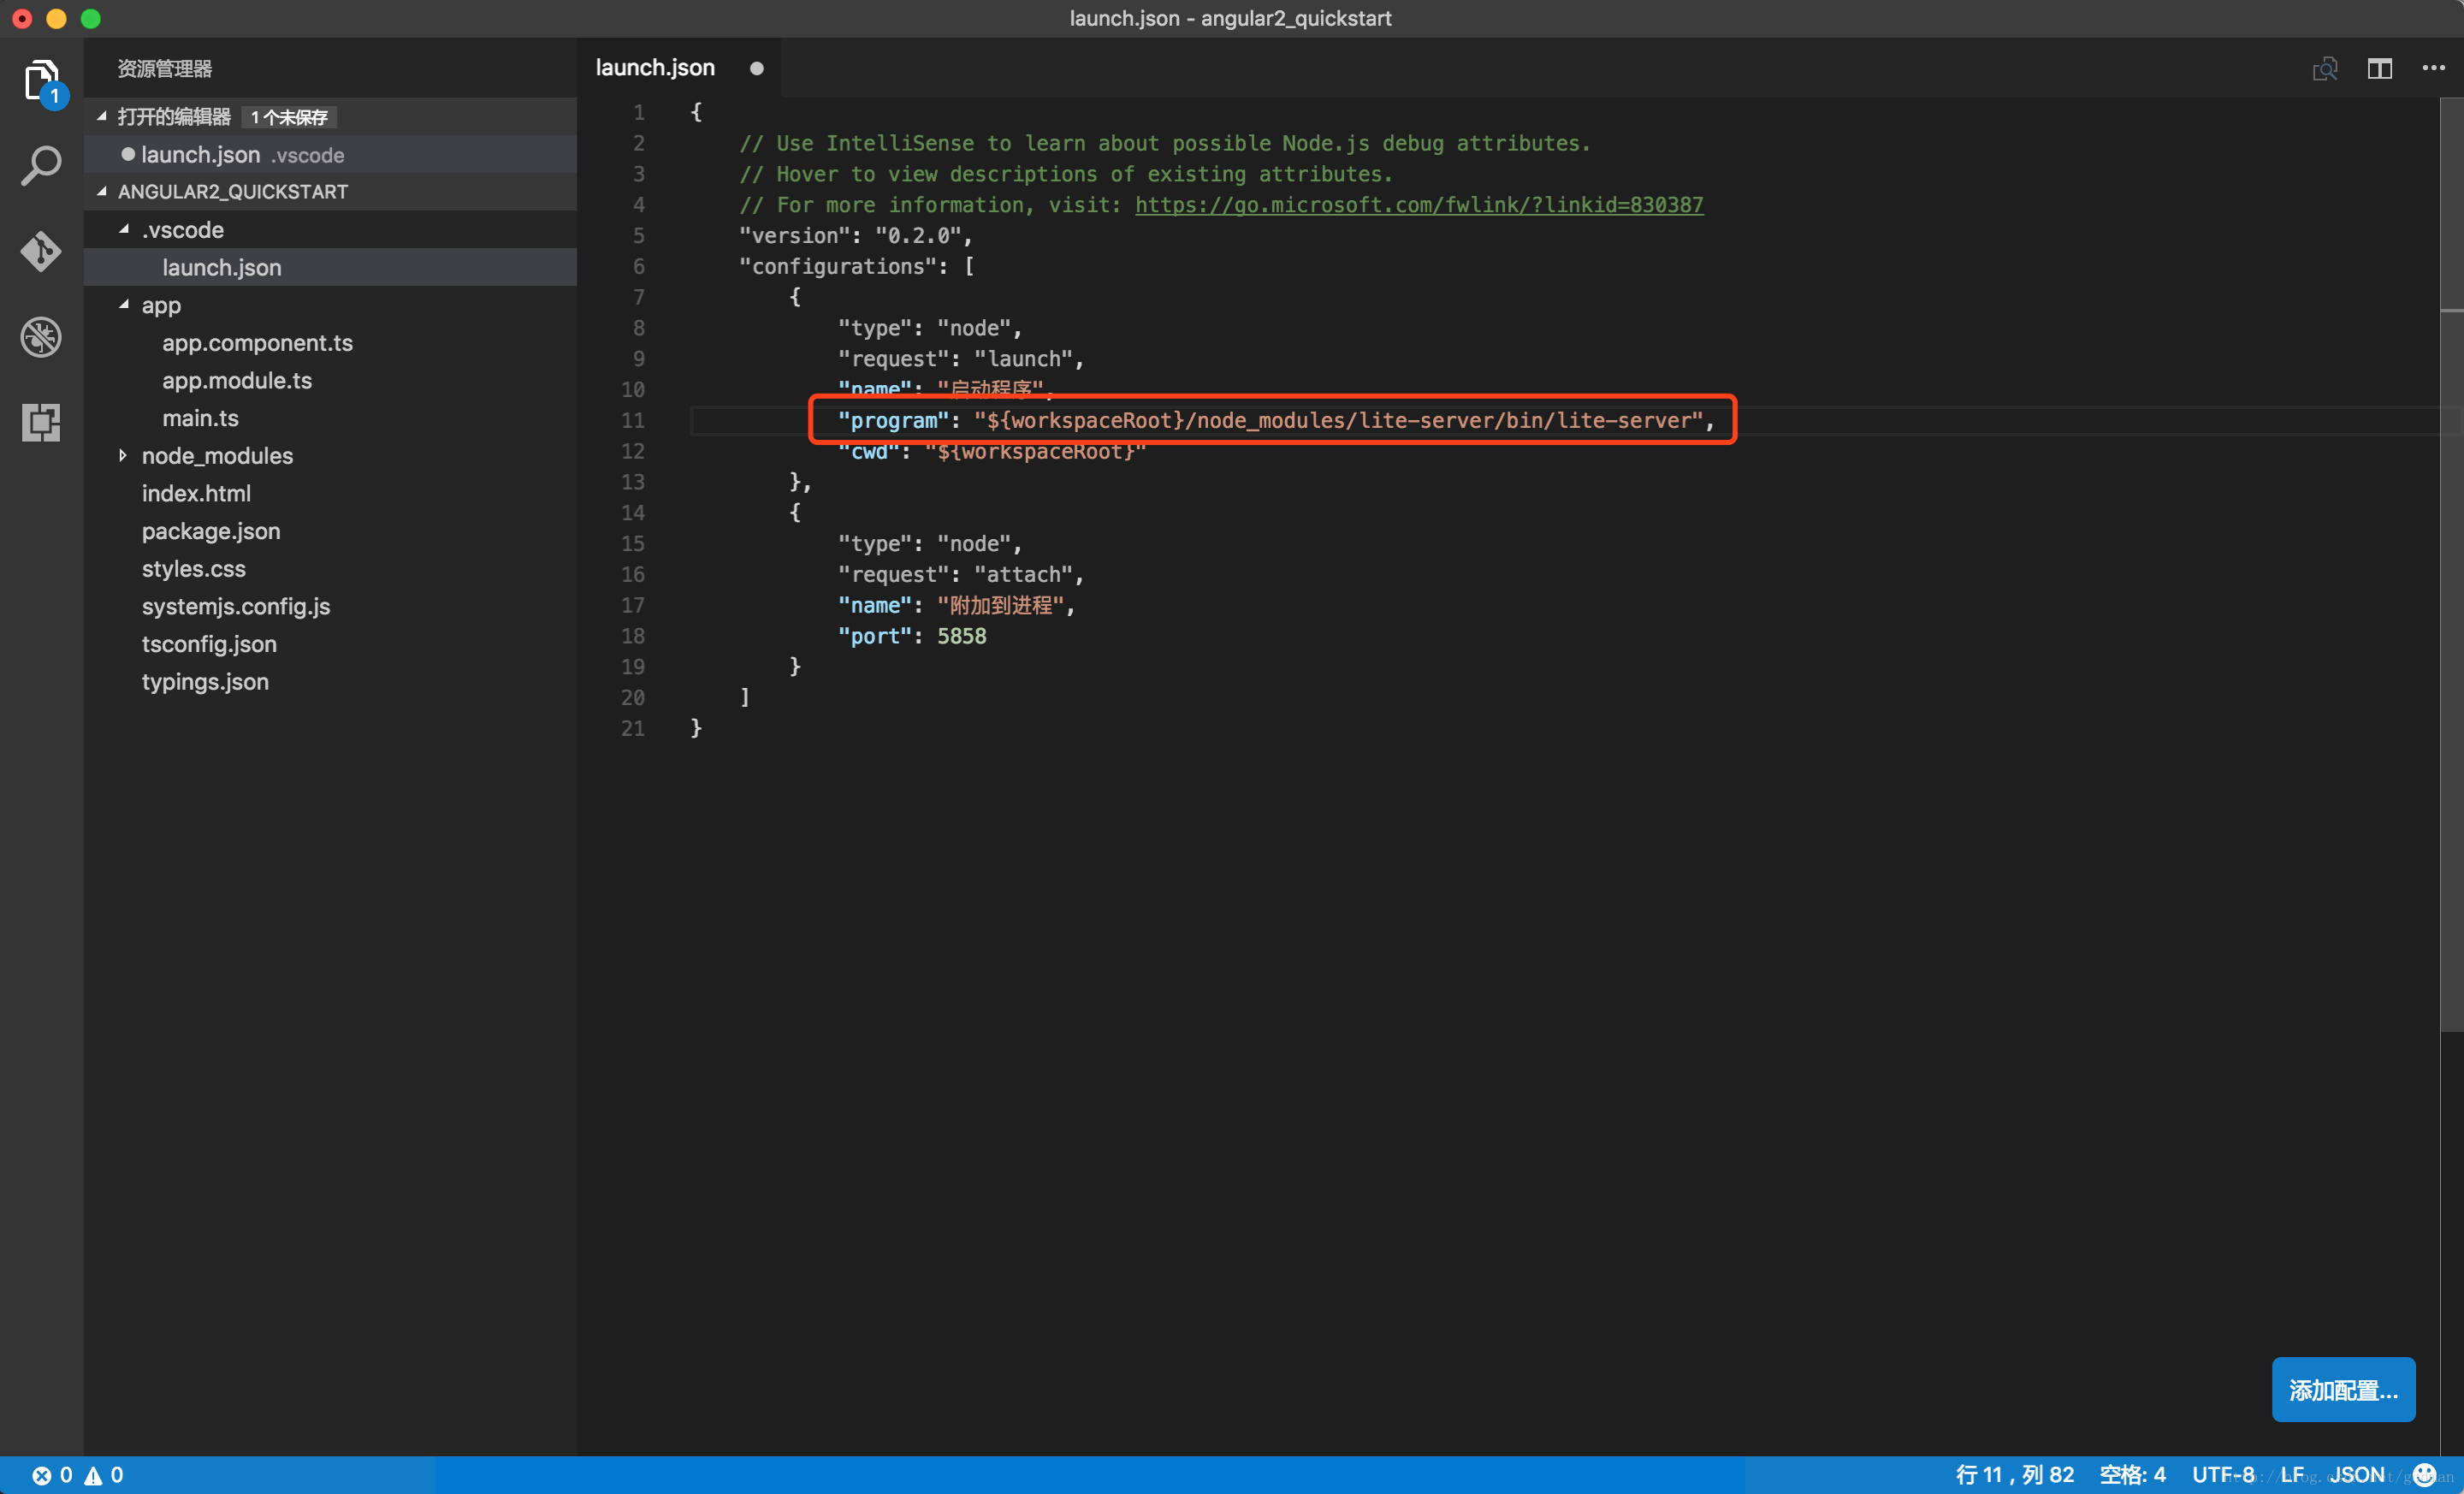
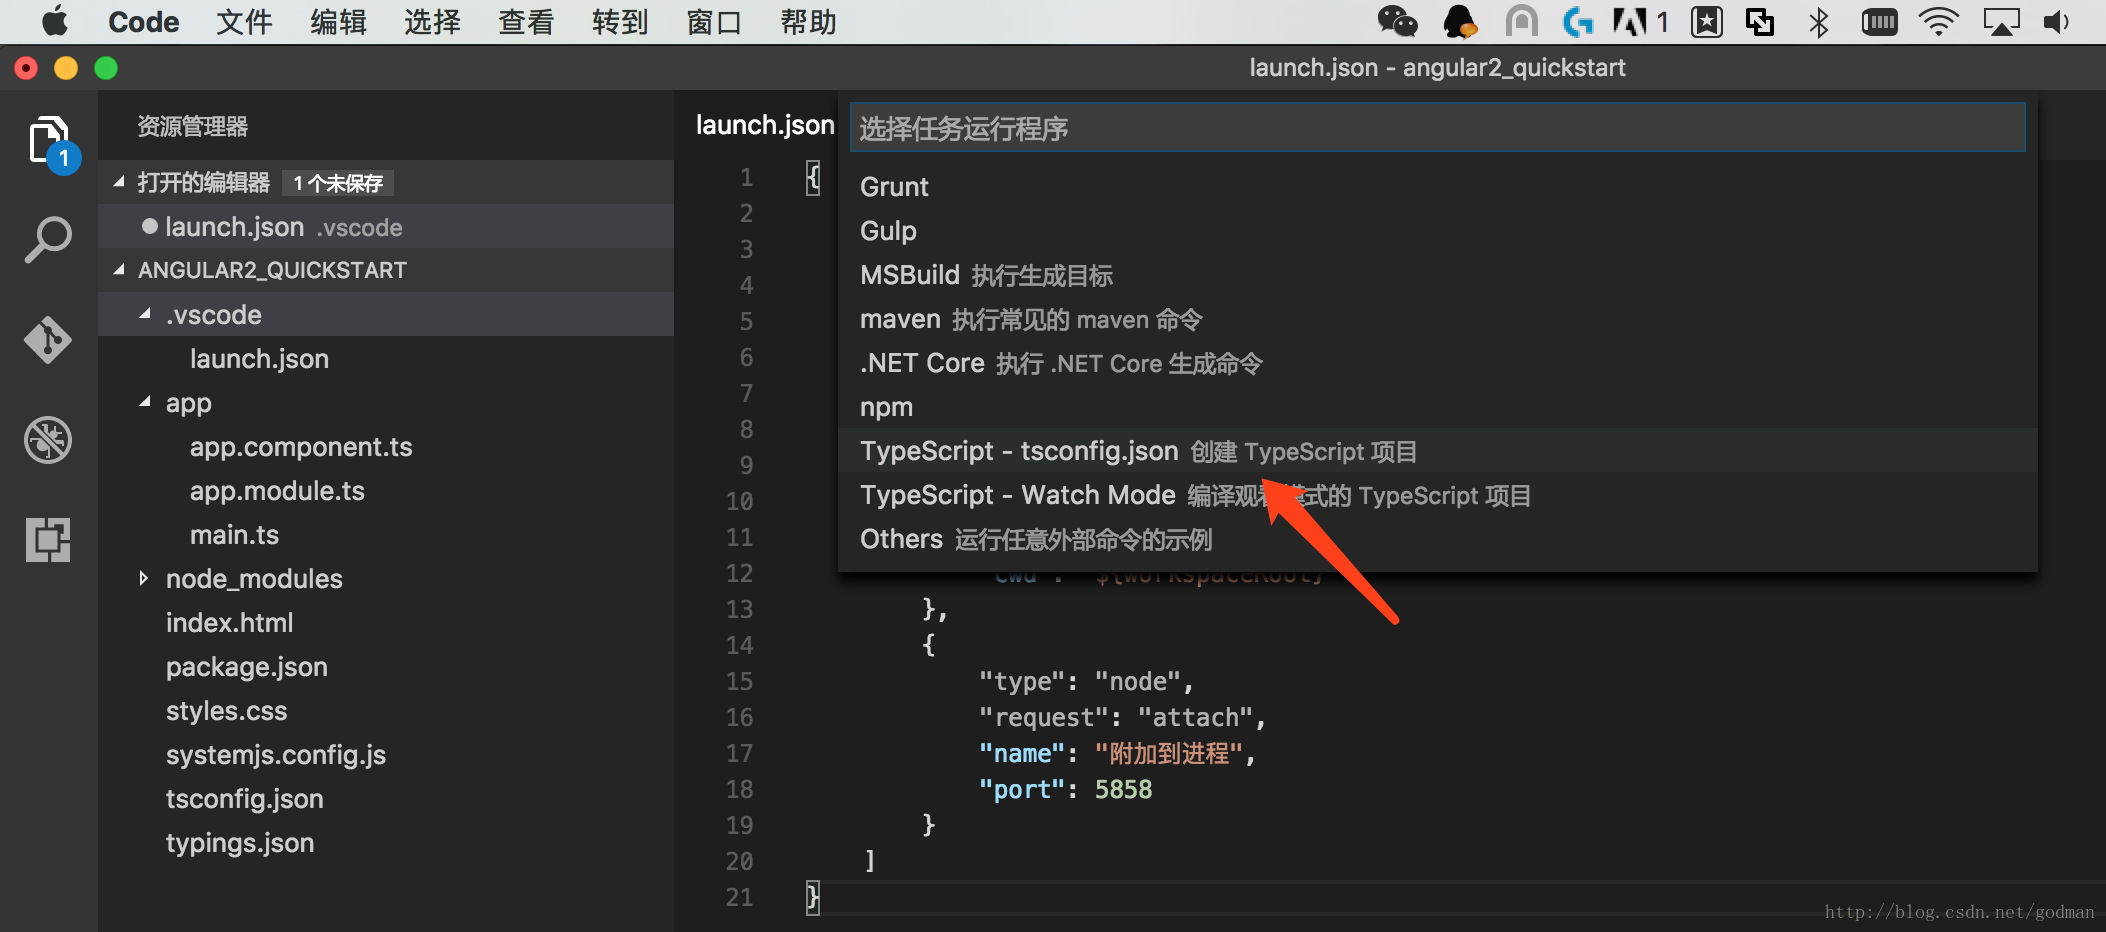
创建launch.json
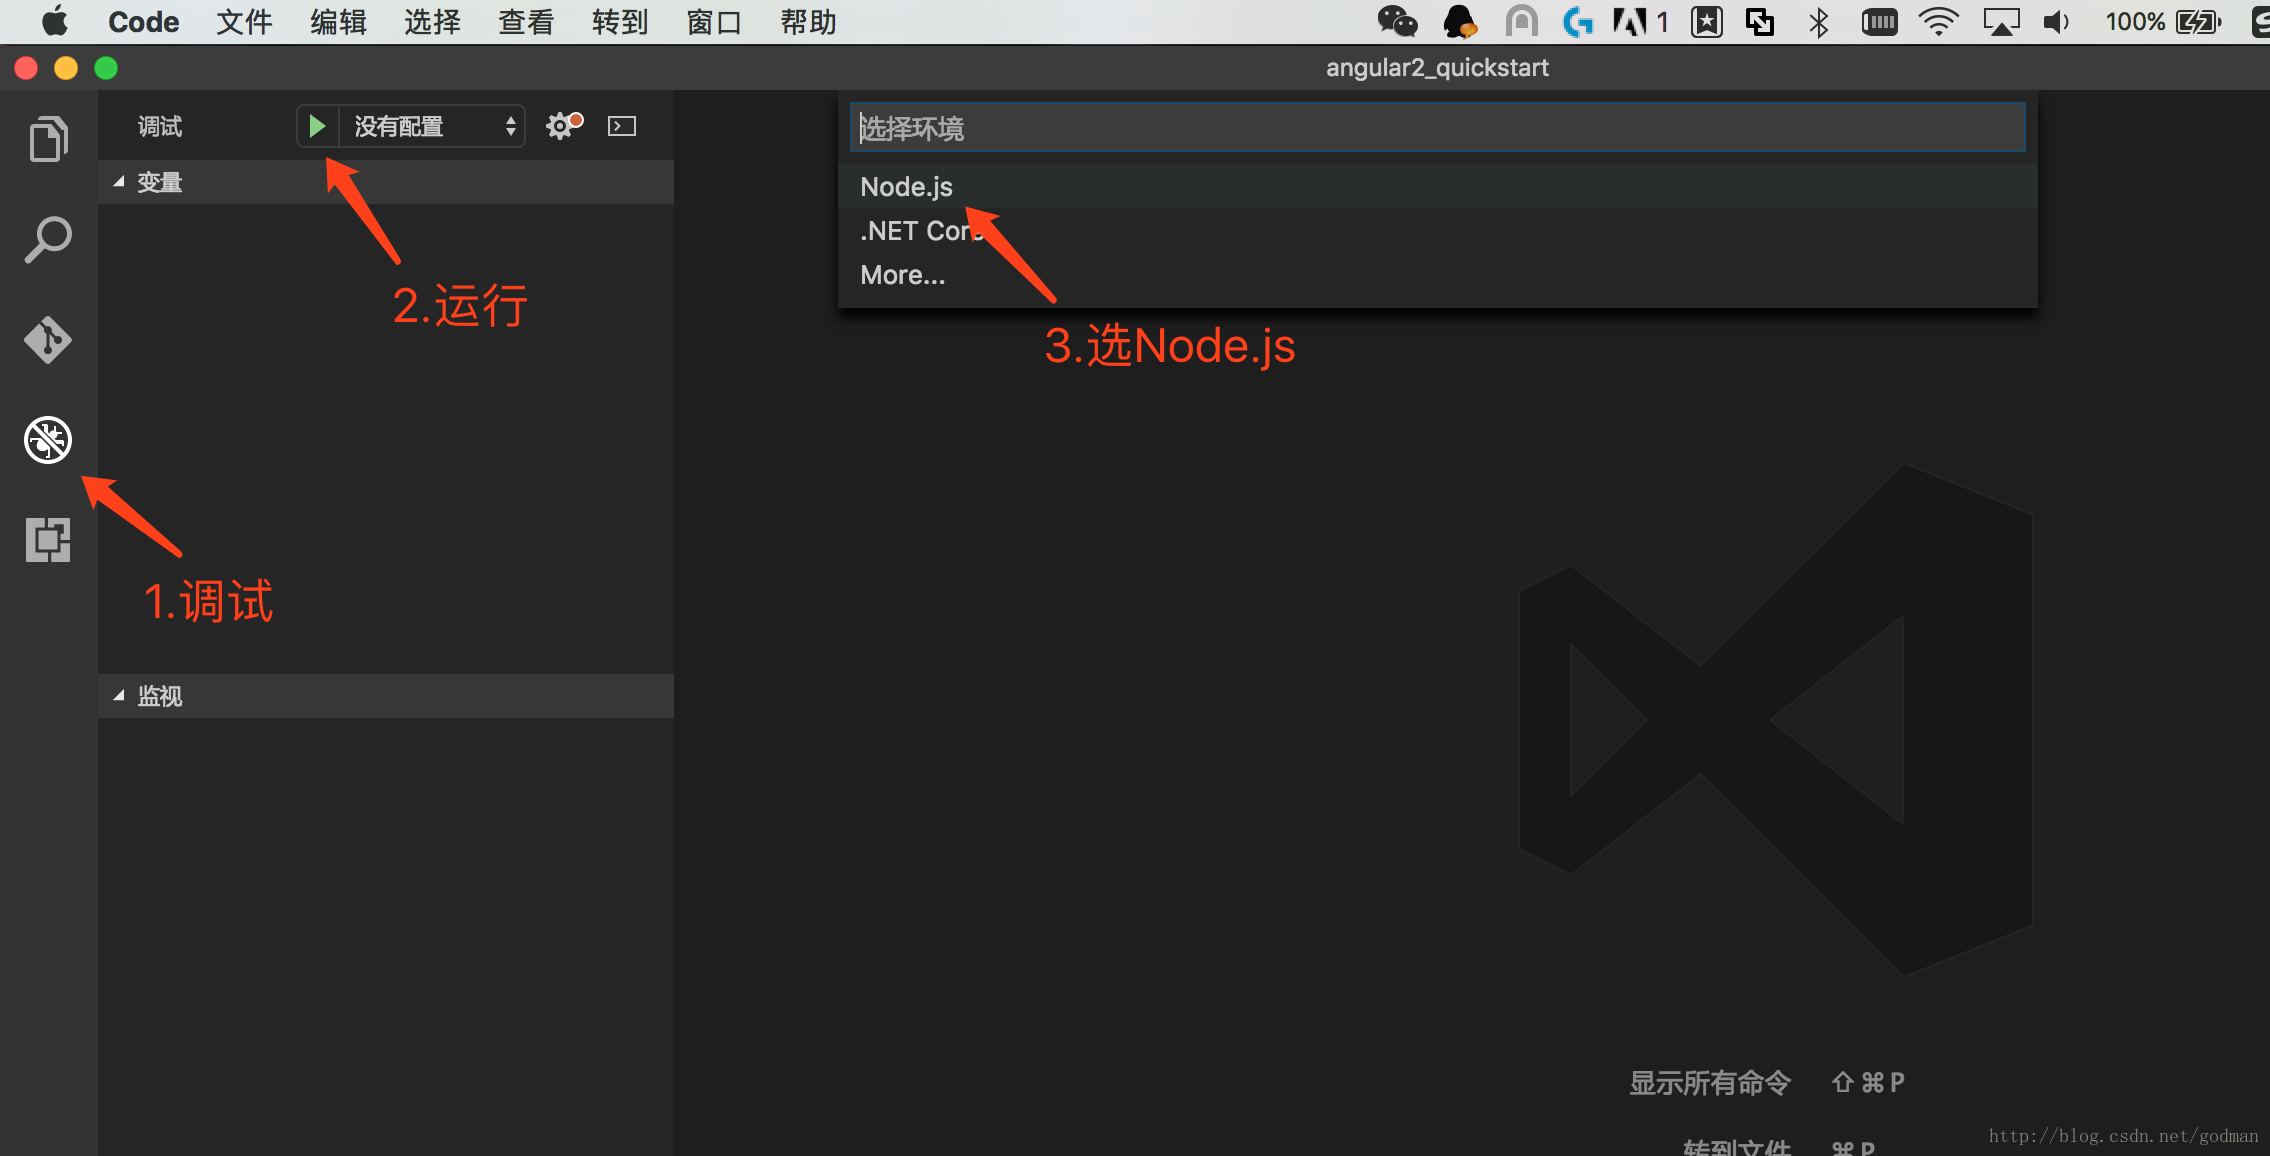
这时候Visual Studio Code会在.vscode目录下自动创建一个launch.json启动文件,修改启动文件中的program的值为${workspaceRoot}/node_modules/lite-server/bin/lite-server
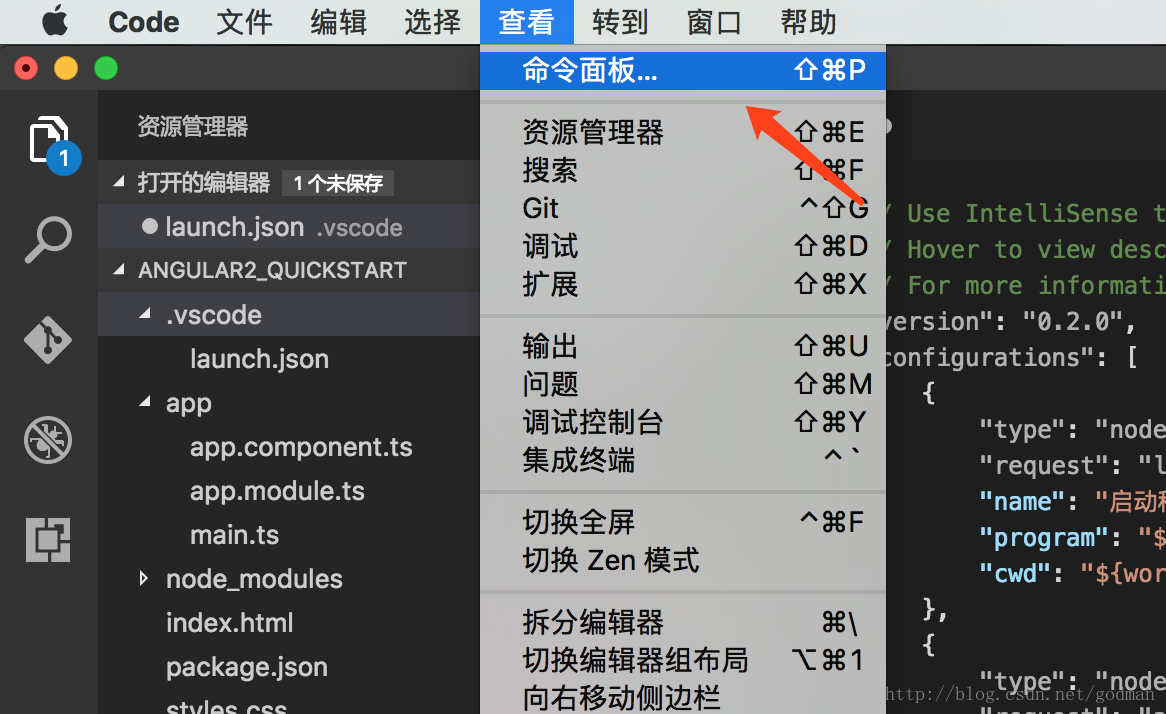
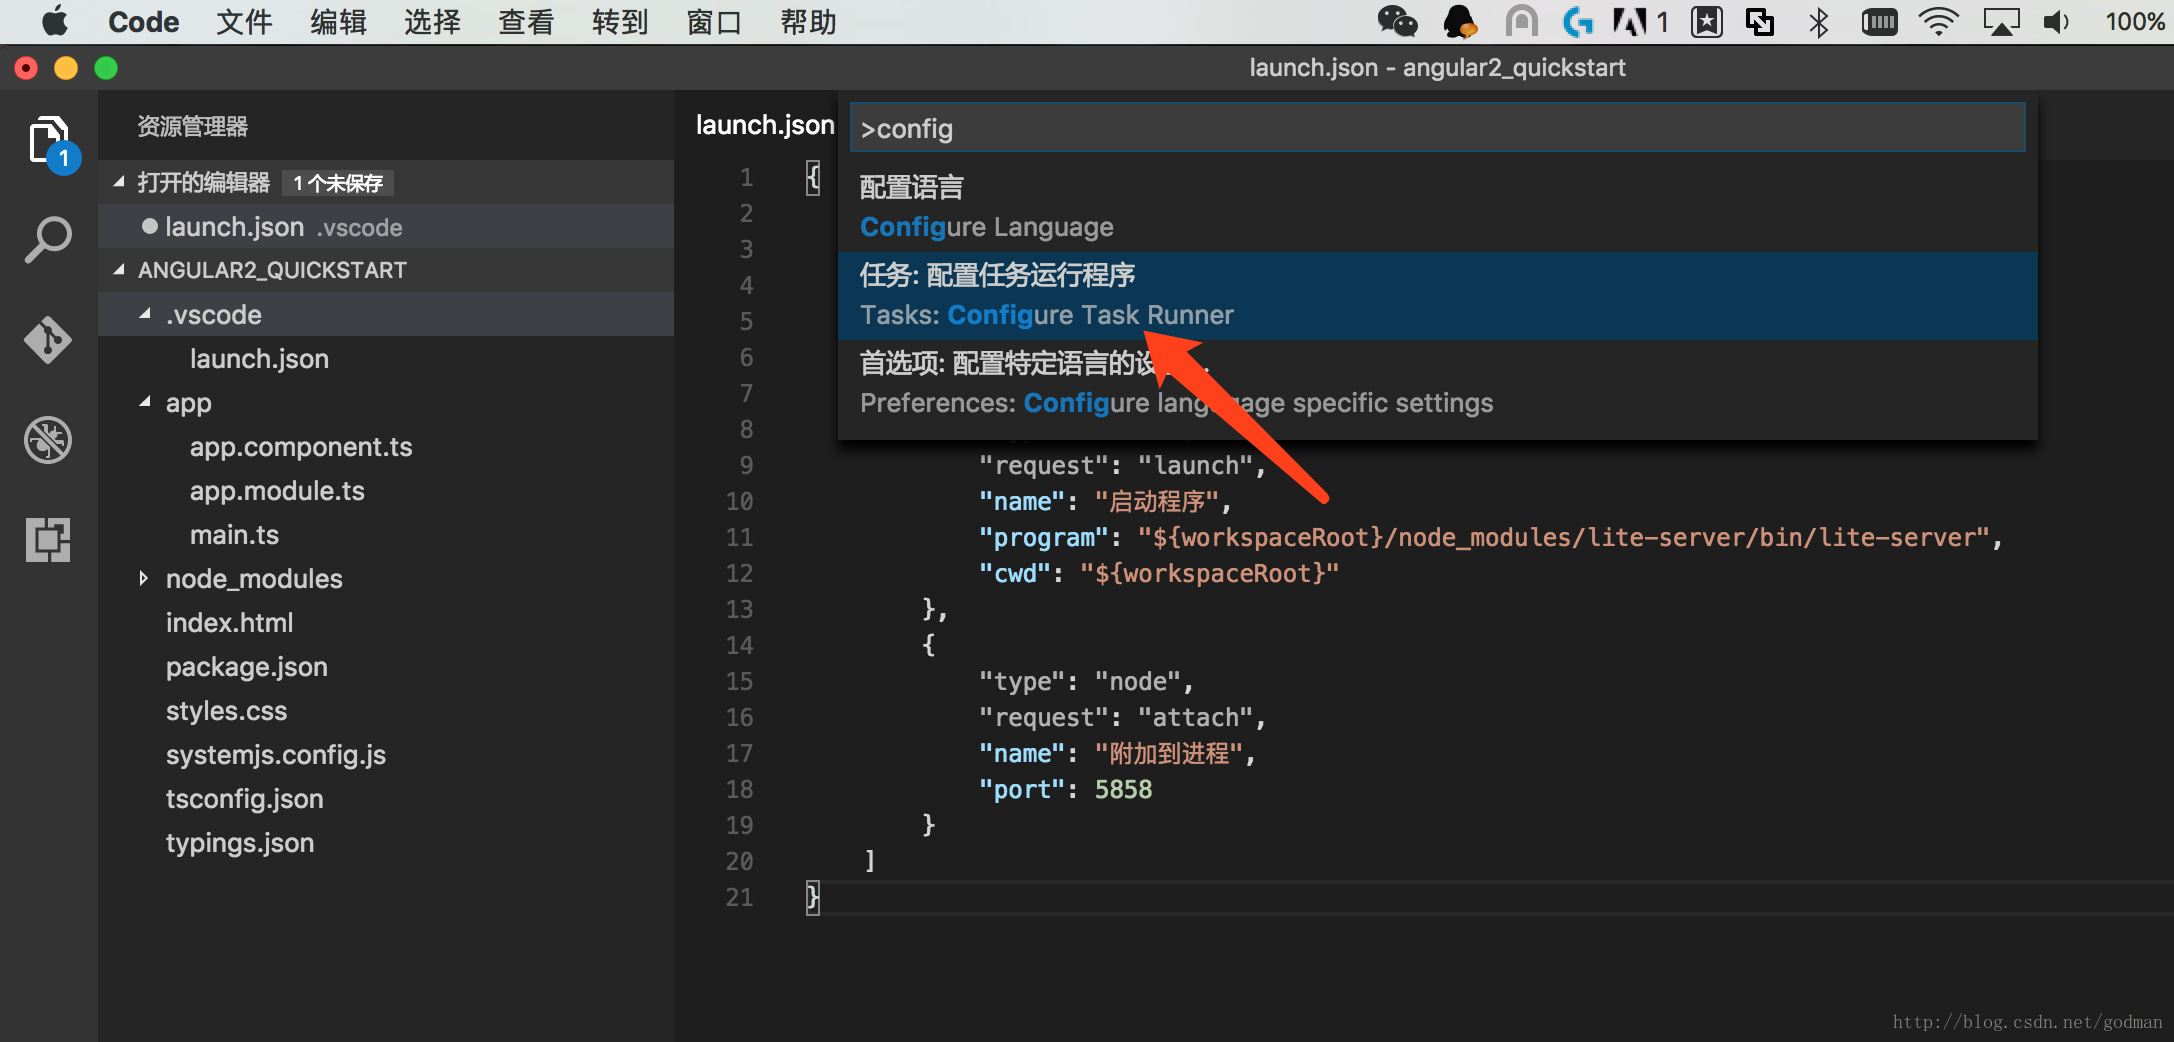
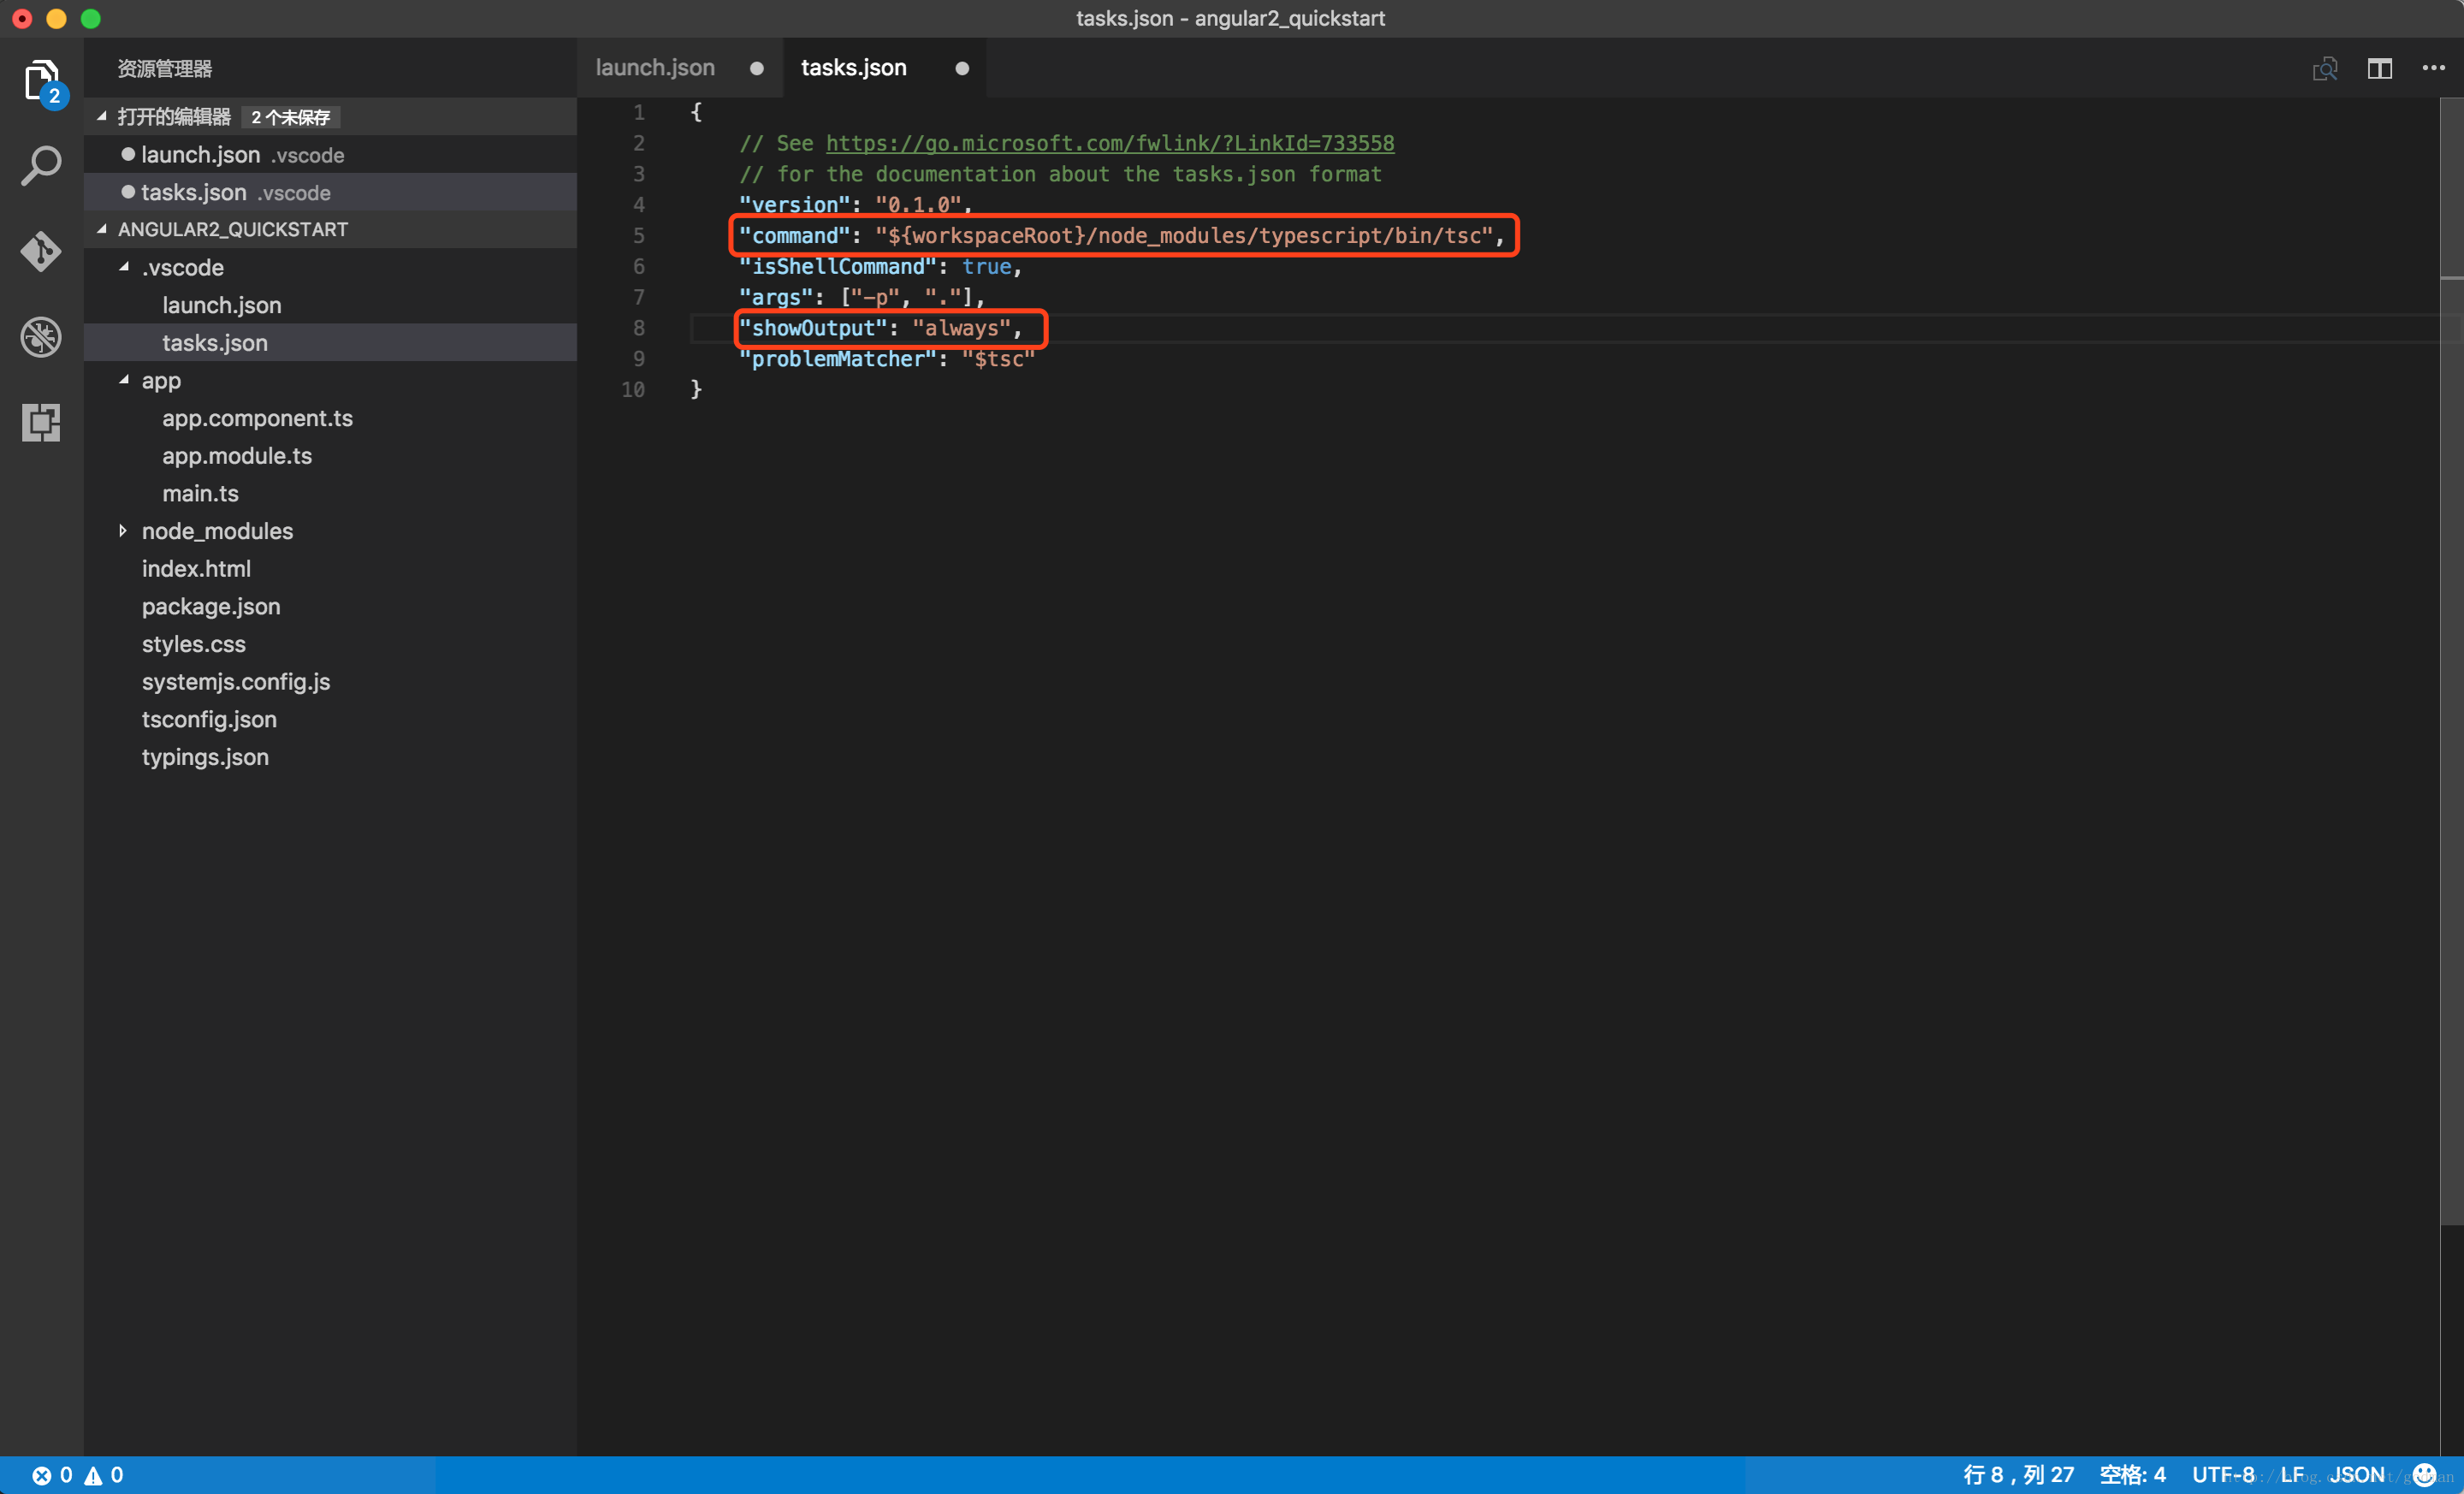
创建tasks.json
编译项目
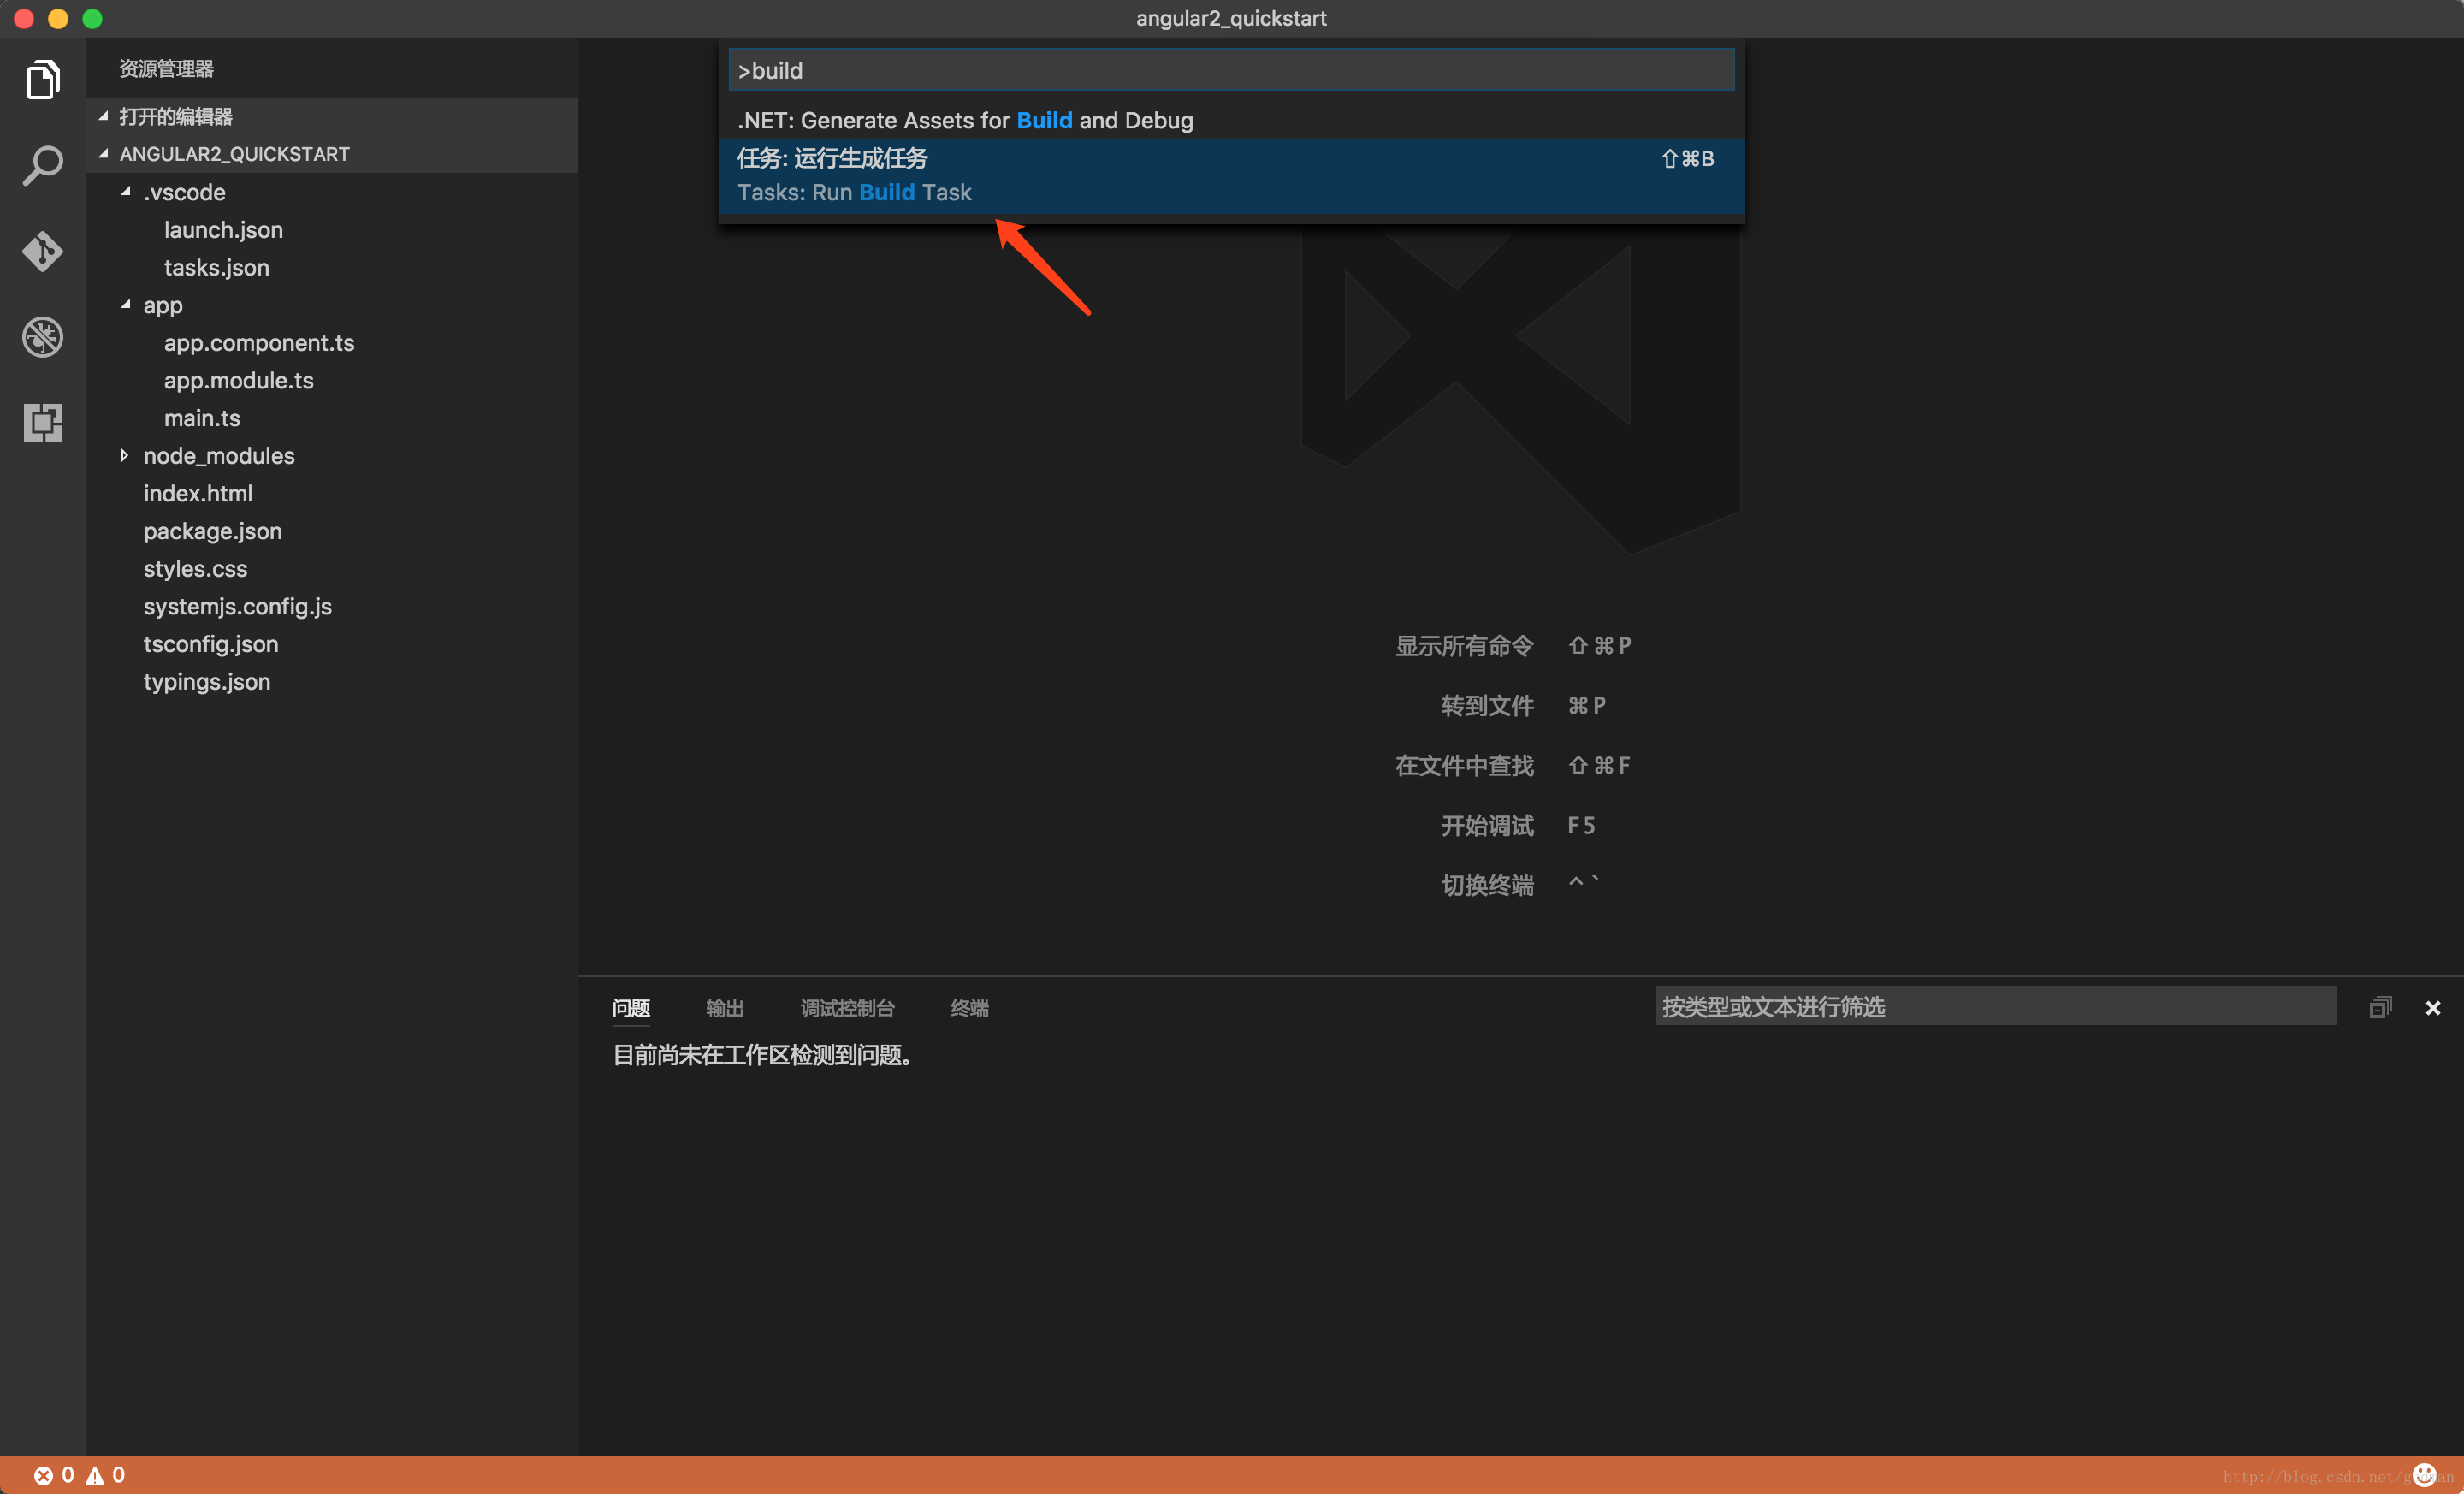
启动项目
点击调试页面的启动按钮(绿色三角符号)启动项目。

总结
- 根据runoob网站教程做完以后发现运行停在Loading页面,怀疑是package下载的包不对,再后来仔细想想,是不是跟script这个节有关。
教程网站上的配置
js
 "scripts": {
 "start": "tsc && concurrently \"npm run tsc:w\" \"npm run lite\" ",
 "lite": "lite-server",
 "postinstall": "typings install",
 "tsc": "tsc",
 "tsc:w": "tsc -w",
 "typings": "typings"
 },
修改为
js
 "scripts": {
 "start": "tsc && concurrently \"tsc -w\" \"lite-server\" ",
 "lite": "lite-server",
 "tsc": "tsc",
 "tsc:w": "tsc -w"
 },
- 用Visual Studio Code调试的时候不能只创建lanuch.json,还要创建tasks.json调用TypeScript进行编译。
- AngularJS2官网推荐使用TypeScript方式开发。
- tsconfig.json是新版tsc提供的功能,如果你的tsc版本太舊,就會出現error TS5023: Unknown compiler option ‘p’.
VSCode理應使用npm下載的tsc,會出錯多半是因為PATH殘留1.5以前版本TypeScript路徑所致,因新版已不需在PATH設定路徑,故請將其刪除(請刪除,不要改指向新版),詳情可參考保哥的文章。
5.tsc有兩種!上述PATH路徑放在C:\Program Files (x86)\Microsoft SDKs\TypeScript\1.x\的是tsc.exe,C:\Users\User\AppData\Roaming\npm下的則是tsc.cmd,以JavaScript寫成,依附於node.js執行,二個是不同的東西。tsc.exe目前已經到了1.8.34,而tsc.cmd還在1.8.10,二者行為也有別。例如我就發現tsc.cmd編譯時會自動省略node_modules,故tsconfig.json不需要透過exclude排除,加了反而會有錯誤。而實測發現,NG2官網範例專案使用tsc.exe –p .方式執行,ts不會被編譯也不會有錯誤訊息,故建議將PATH中tsc.exe的路徑移除,並確認node.js的tsc元件安裝妥當。
4、5摘自http://blog.darkthread.net/post-2016-09-16-vscode-ng2-tutorial.aspx


 930
930

 被折叠的 条评论
为什么被折叠?
被折叠的 条评论
为什么被折叠?
 到【灌水乐园】发言


