


安装docker
文章目录
- 安装docker
- 1.查看环境
- 2.系统版本
- 3.帮助文档:
- 3.1卸载旧的版本
- 3.2需要的安装包
- 3.3设置镜像仓库
- 3.4更新yum软件包索引
- 3.5安装docker docker-ce(社区版) docker-ee(企业版)
- 3.6启动docker
- 3.7查看docker版本
- 3.8使用 hello-world 验证是否安装成功
- 3.9查看一下下载的这个 hello-world 镜像
- 3.10 了解:卸载docker
- 1.关闭防火墙
- 2.安装iptables-services
- 3.停用iptables和禁止开机自启
- 4.清空防火墙规则
- 5.关闭selinux
- 6.配置时间同步
- 7.编写计划任务
- 8.重启crond服务是配置生效:
- 9.安装基础软件包
- 10.配置docker-ce 国内yum源(阿里云)
- 11.安装docker依赖包
- 12.安装docker-ce
- 13.查看docker版本
- 14.启动docker依赖包
- 15.查看docker状态
- 总结

1.查看环境
#系统内核是3.10以上的
[root@docker ~]# uname -r
3.10.0-957.el7.x86_64
2.系统版本
[root@docker ~]# cat /etc/os-release
NAME="CentOS Linux"
VERSION="7 (Core)"
ID="centos"
ID_LIKE="rhel fedora"
VERSION_ID="7"
PRETTY_NAME="CentOS Linux 7 (Core)"
ANSI_COLOR="0;31"
CPE_NAME="cpe:/o:centos:centos:7"
HOME_URL="https://www.centos.org/"
BUG_REPORT_URL="https://bugs.centos.org/"

CENTOS_MANTISBT_PROJECT="CentOS-7"
CENTOS_MANTISBT_PROJECT_VERSION="7"
REDHAT_SUPPORT_PRODUCT="centos"
REDHAT_SUPPORT_PRODUCT_VERSION="7"
3.帮助文档:
docker帮助文档地址:https://docs.docker.com/
3.1卸载旧的版本
sudo yum remove docker \
                  docker-client \
                  docker-client-latest \
                  docker-common \
                  docker-latest \
                  docker-latest-logrotate \
                  docker-logrotate \
                  docker-engine
3.2需要的安装包
yum install -y yum-utils
3.3设置镜像仓库
sudo yum-config-manager \
    --add-repo \
    https://download.docker.com/linux/centos/docker-ce.repo(默认的是从国外的,下载速度慢,不推荐)
sudo yum-config-manager \
    --add-repo \
	http://mirrors.aliyun.com/docker-ce/linux/centos/docker-ce.repo(推荐使用国内的镜像,下载速度快)
3.4更新yum软件包索引
[root@docker ~]# yum makecache fast
3.5安装docker docker-ce(社区版) docker-ee(企业版)
yum install docker-ce docker-ce-cli containerd.io
3.6启动docker
systemctl start docker
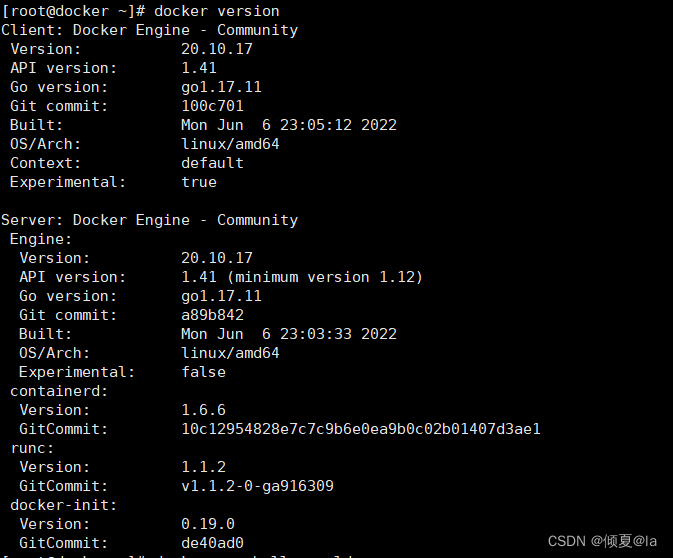
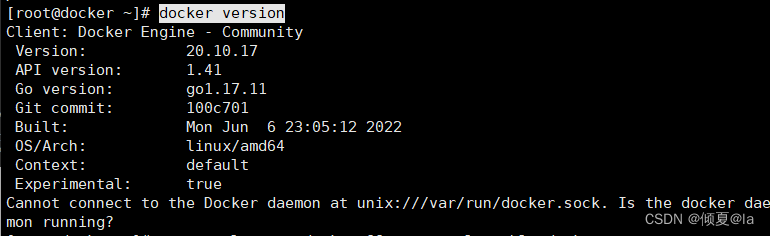
3.7查看docker版本
使用docker version 查看安装是否成功
[root@docker ~]# docker version
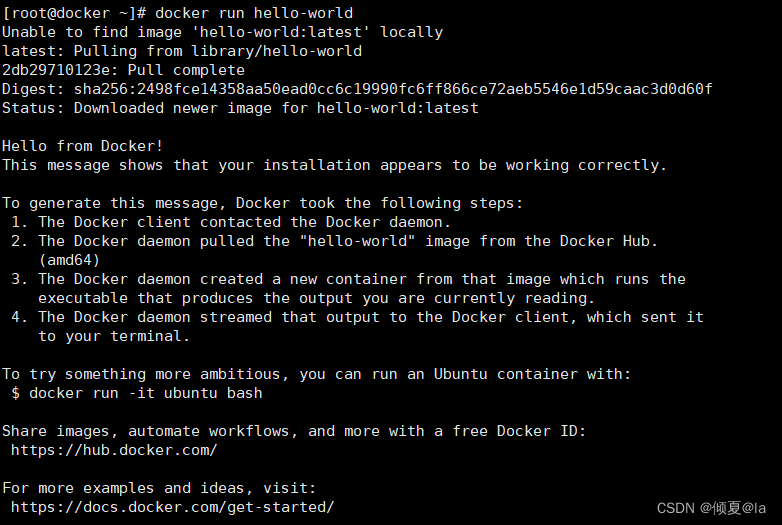
3.8使用 hello-world 验证是否安装成功
docker run hello-world
3.9查看一下下载的这个 hello-world 镜像
[root@docker ~]# docker images
REPOSITORY    TAG       IMAGE ID       CREATED        SIZE
hello-world   latest    feb5d9fea6a5   9 months ago   13.3kB
3.10 了解:卸载docker
(1)卸载依赖
yum remove docker-ce docker-ce-cli containerd.io
(2)删除资源
rm -rf /var/lib/docker
/var/lib/docker docker的默认工作路径
1.关闭防火墙
systemctl stop firewalld && systemctl disable firewalld
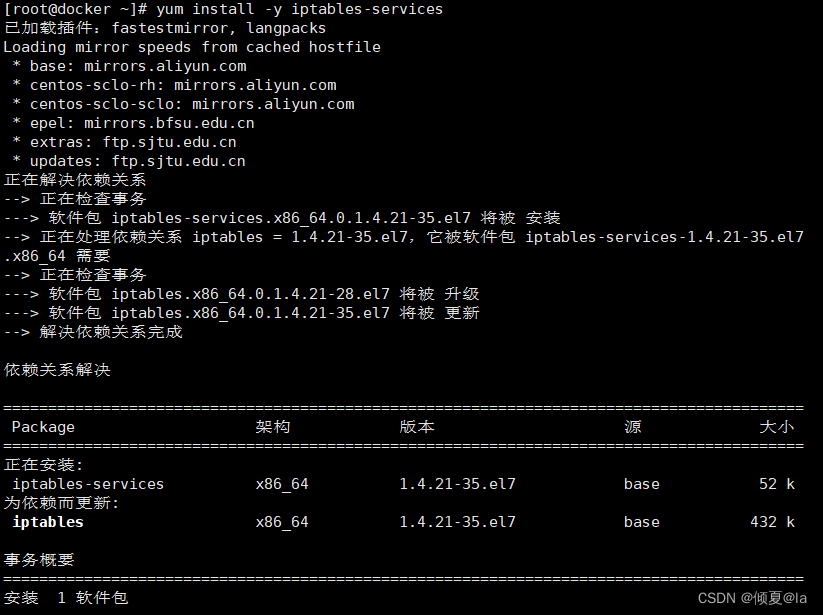
2.安装iptables-services
yum install -y iptables-services
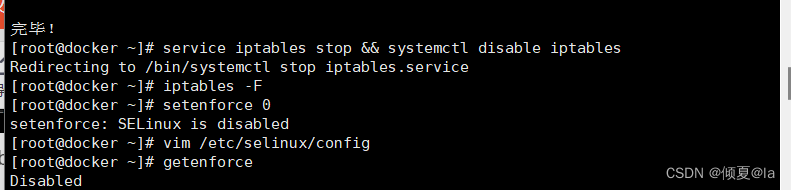
3.停用iptables和禁止开机自启
service iptables stop && systemctl disable iptables
4.清空防火墙规则
iptables -F
5.关闭selinux
setenforce 0
编辑selinux配合文件关闭selinux并reboot重启使配置文件生效
vim /etc/selinux/config
使用getenforce指令后显示Disabled表示selinux关闭成功
getenforce
6.配置时间同步
ntpdate cn.pool.ntp.org
或者使用chrony进行时间同步,唯一区别就是chrony比ntpdate cn.pool.ntp.org更精确
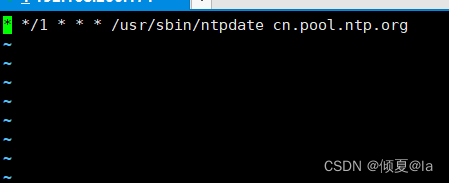
7.编写计划任务
crontab -e
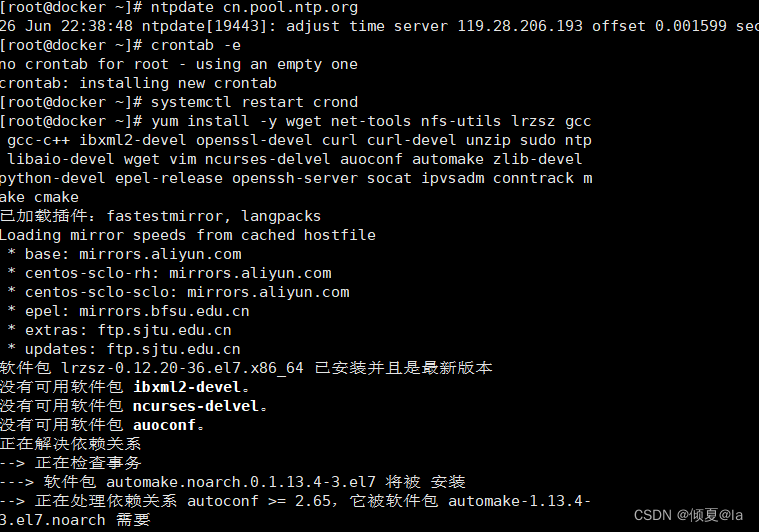
8.重启crond服务是配置生效:
systemctl restart crond
9.安装基础软件包
yum install -y wget net-tools nfs-utils lrzsz gcc gcc-c++ ibxml2-devel openssl-devel curl curl-devel unzip sudo ntp libaio-devel wget vim ncurses-delvel auoconf automake zlib-devel python-devel epel-release openssh-server socat ipvsadm conntrack make cmake
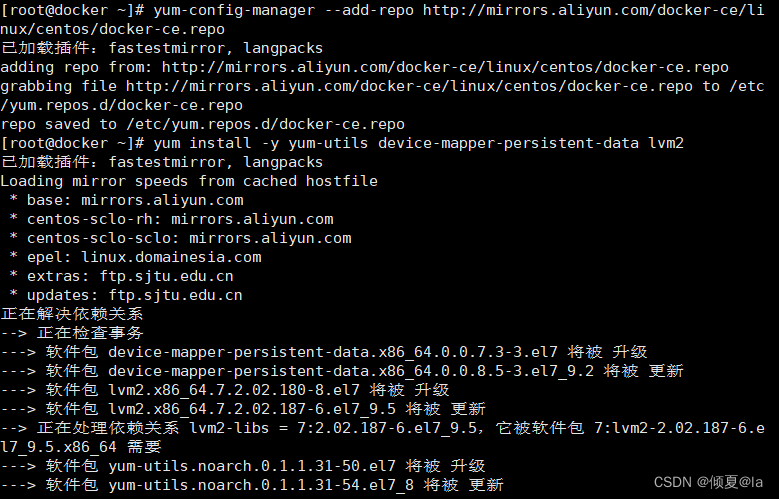
10.配置docker-ce 国内yum源(阿里云)
yum-config-manager --add-repo http://mirrors.aliyun.com/docker-ce/linux/centos/docker-ce.repo
11.安装docker依赖包
yum install -y yum-utils device-mapper-persistent-data lvm2
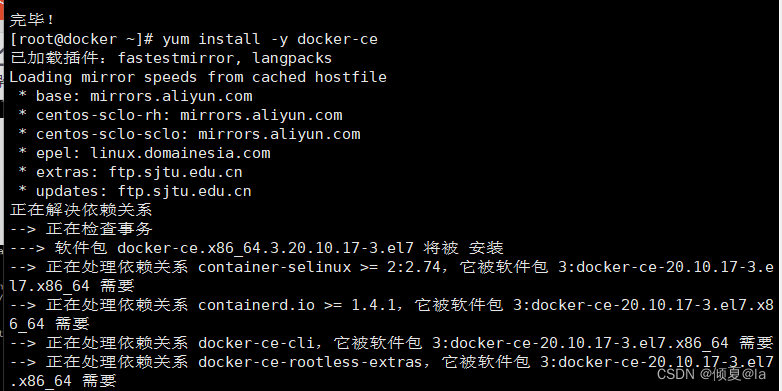
12.安装docker-ce
yum install -y docker-ce
13.查看docker版本
docker version
14.启动docker依赖包
systemctl start docker && systemctl enable docker

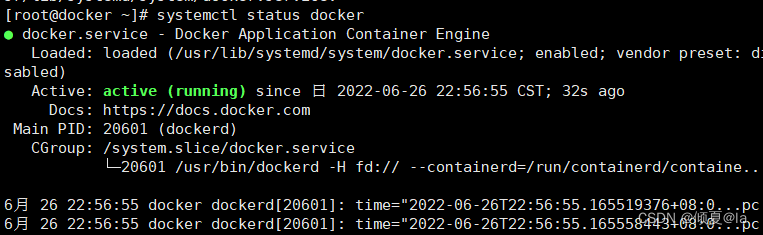
15.查看docker状态
systemctl status docker
总结
以上就是今天要讲的内容,本文仅仅简单了安装和配置docker。好了今天的内容就到这里了,下一篇再见。


 853
853


 被折叠的 条评论
为什么被折叠?
被折叠的 条评论
为什么被折叠?
 到【灌水乐园】发言


