1. 前言
针对CATransition转场动画,苹果系统已经给我们提供了很丰富的动画效果,本文将对系统提供的进行阐述,方便自己,同时也希望方便各位同仁更好的运用到自己的项目中去。
2. CATransition概述
An object that provides an animated transition between a layer's states.
一个在图层状态之间提供动画转换的对象。
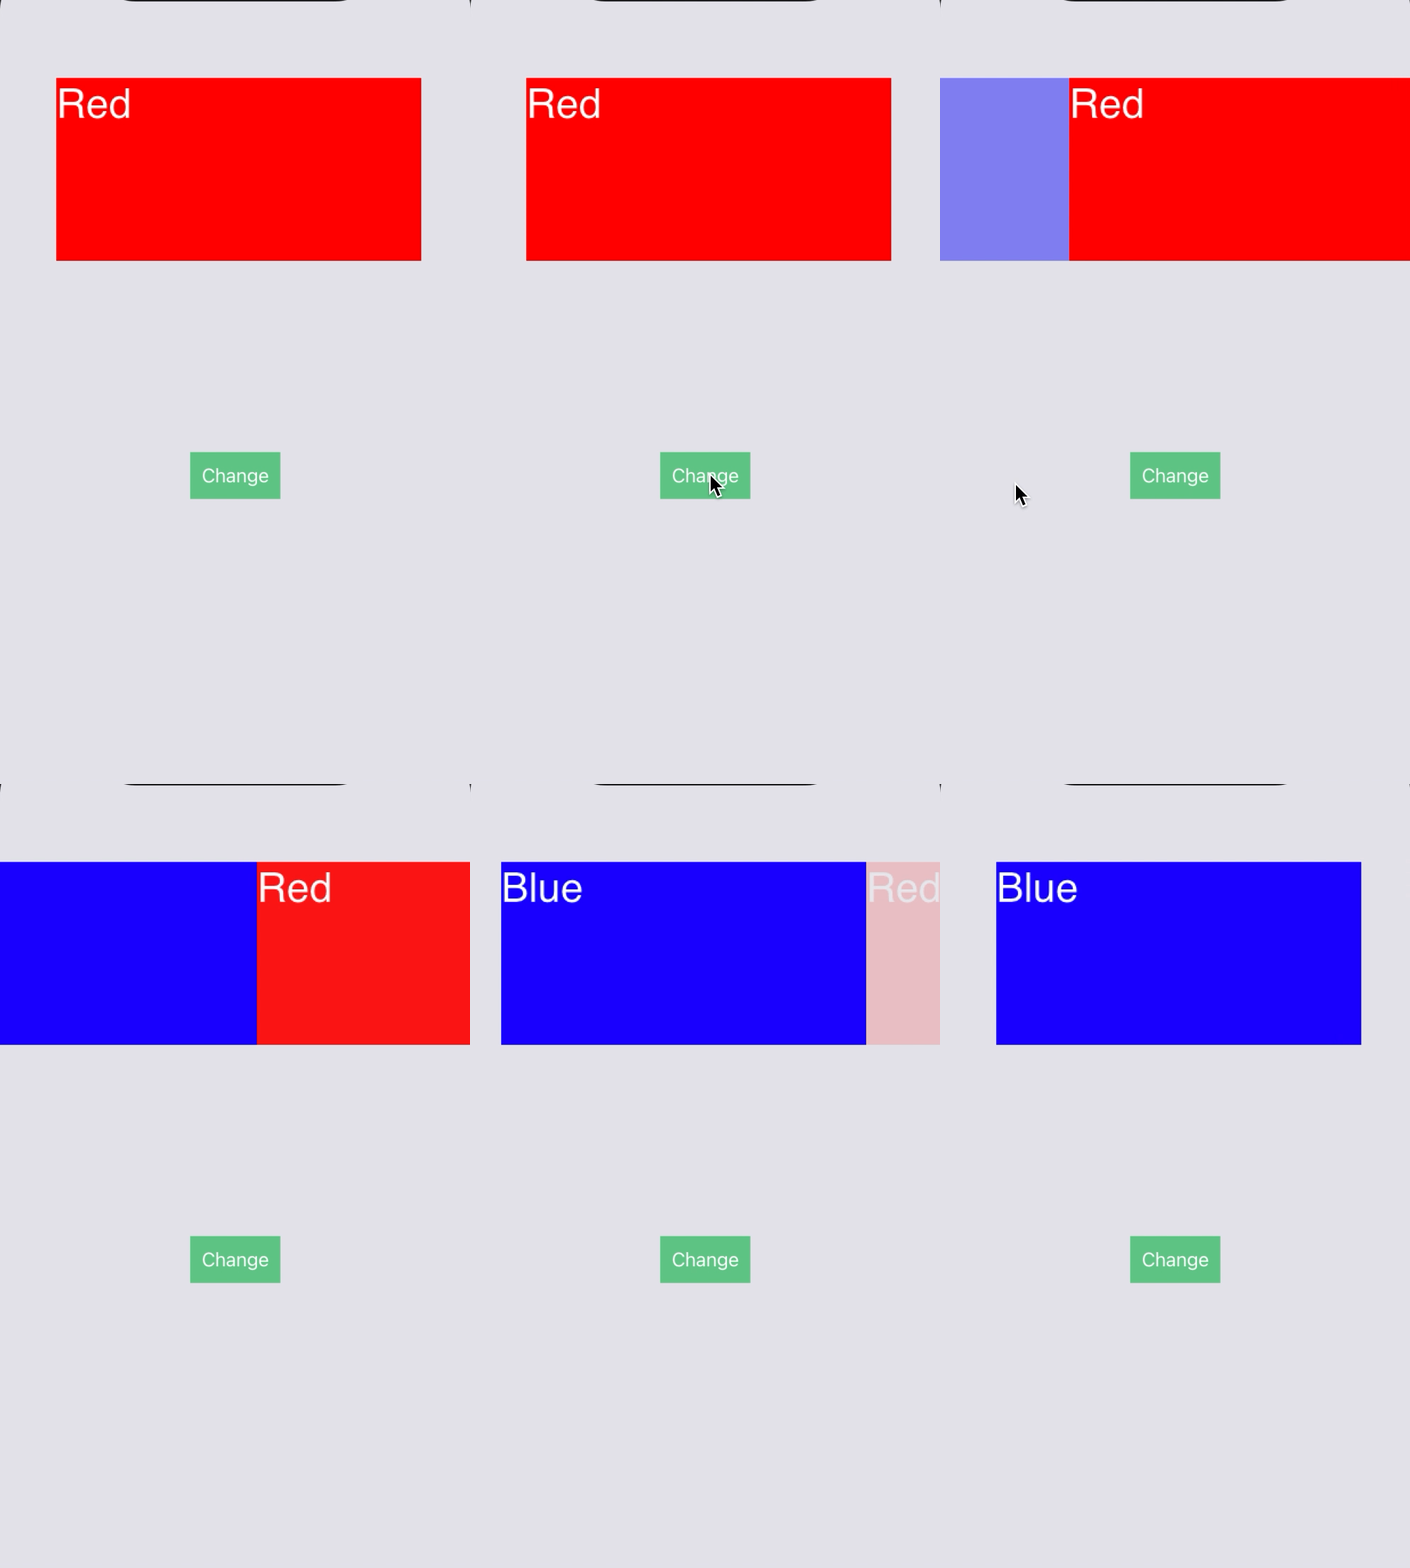
class CATransition : CAAnimation通俗点说就是有这么一个动画对象,他们够让图层在变化或者转换的时候提供一个过渡的动画。我们可以通过创建和添加一个CATransition对象来转换层的状态,默认的转换是渐变(fade),下面来看一个官方的示例:
class ViewController: UIViewController {

    let transitioningLayer = CATextLayer()

    override func viewDidLoad() {
        super.viewDidLoad()
        view.backgroundColor = UIColor.systemGray5
        textLayerChangeTest()
    }

    func textLayerChangeTest() {
        transitioningLayer.frame = CGRect(x:50, y: 100, width: 320, height: 160)
        view.layer.addSublayer(transitioningLayer)

        // Initial "red" state
        transitioningLayer.backgroundColor = UIColor.red.cgColor
        transitioningLayer.string = "Red"
    }

    func runTransition() {
        let transition = CATransition()
        transition.duration = 2
        transition.type = .push
        transitioningLayer.add(transition, forKey: "transition")

        // Transition to "blue" state
        transitioningLayer.backgroundColor = UIColor.blue.cgColor
        transitioningLayer.string = "Blue"
    }


    @IBAction func changeAction(_ sender: UIButton) {
        runTransition()
    }
}
3. CATransition属性
因为CATransition继承于CAAnimation,关于继承的属性,这里就不做赘述了,来看看CATransition自己的属性吧。
type
指定预定义的转换类型。系统提供了4中预设的可选值(公开API),除了前4个预设值,还有很多类型(私有API,慎用,小心审核不通过)可以设置,具体如下:
- fade:淡入淡出。不支持subType,设置无效。
- moveIn:慢慢进入并覆盖原始。
- push:推进效果。
- reveal:揭开效果。
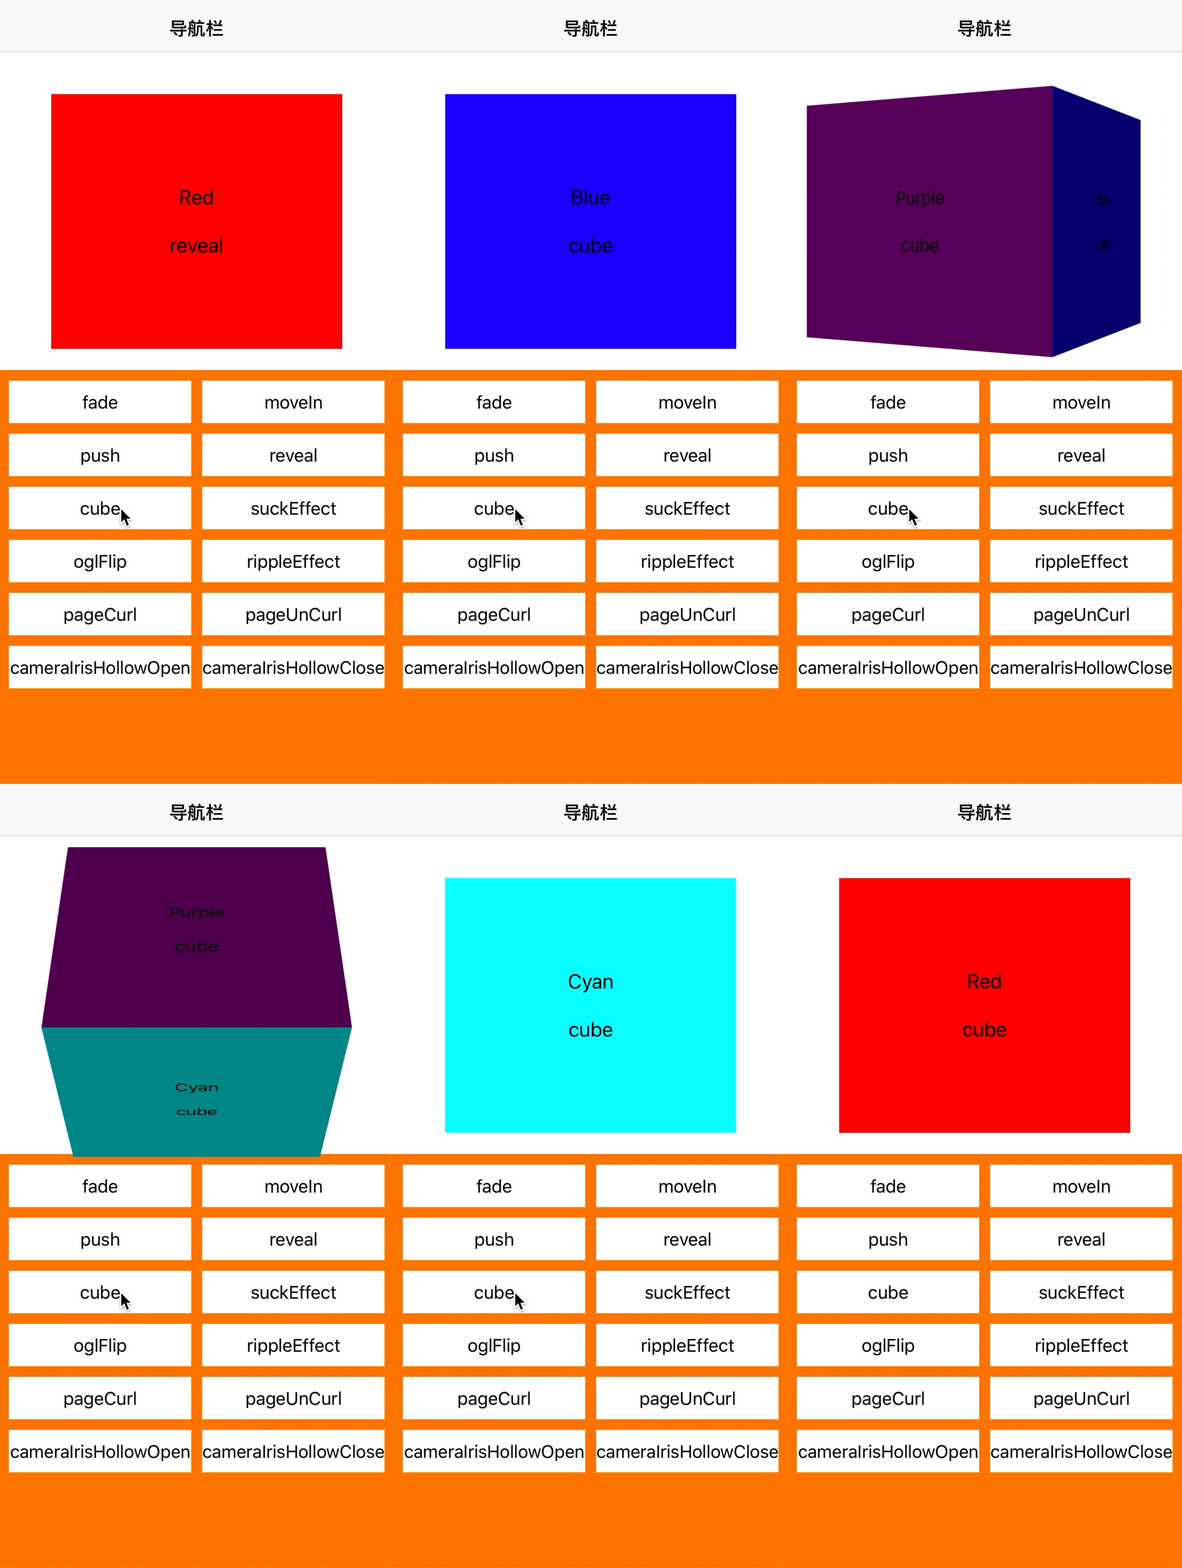
- cube:立方体效果。
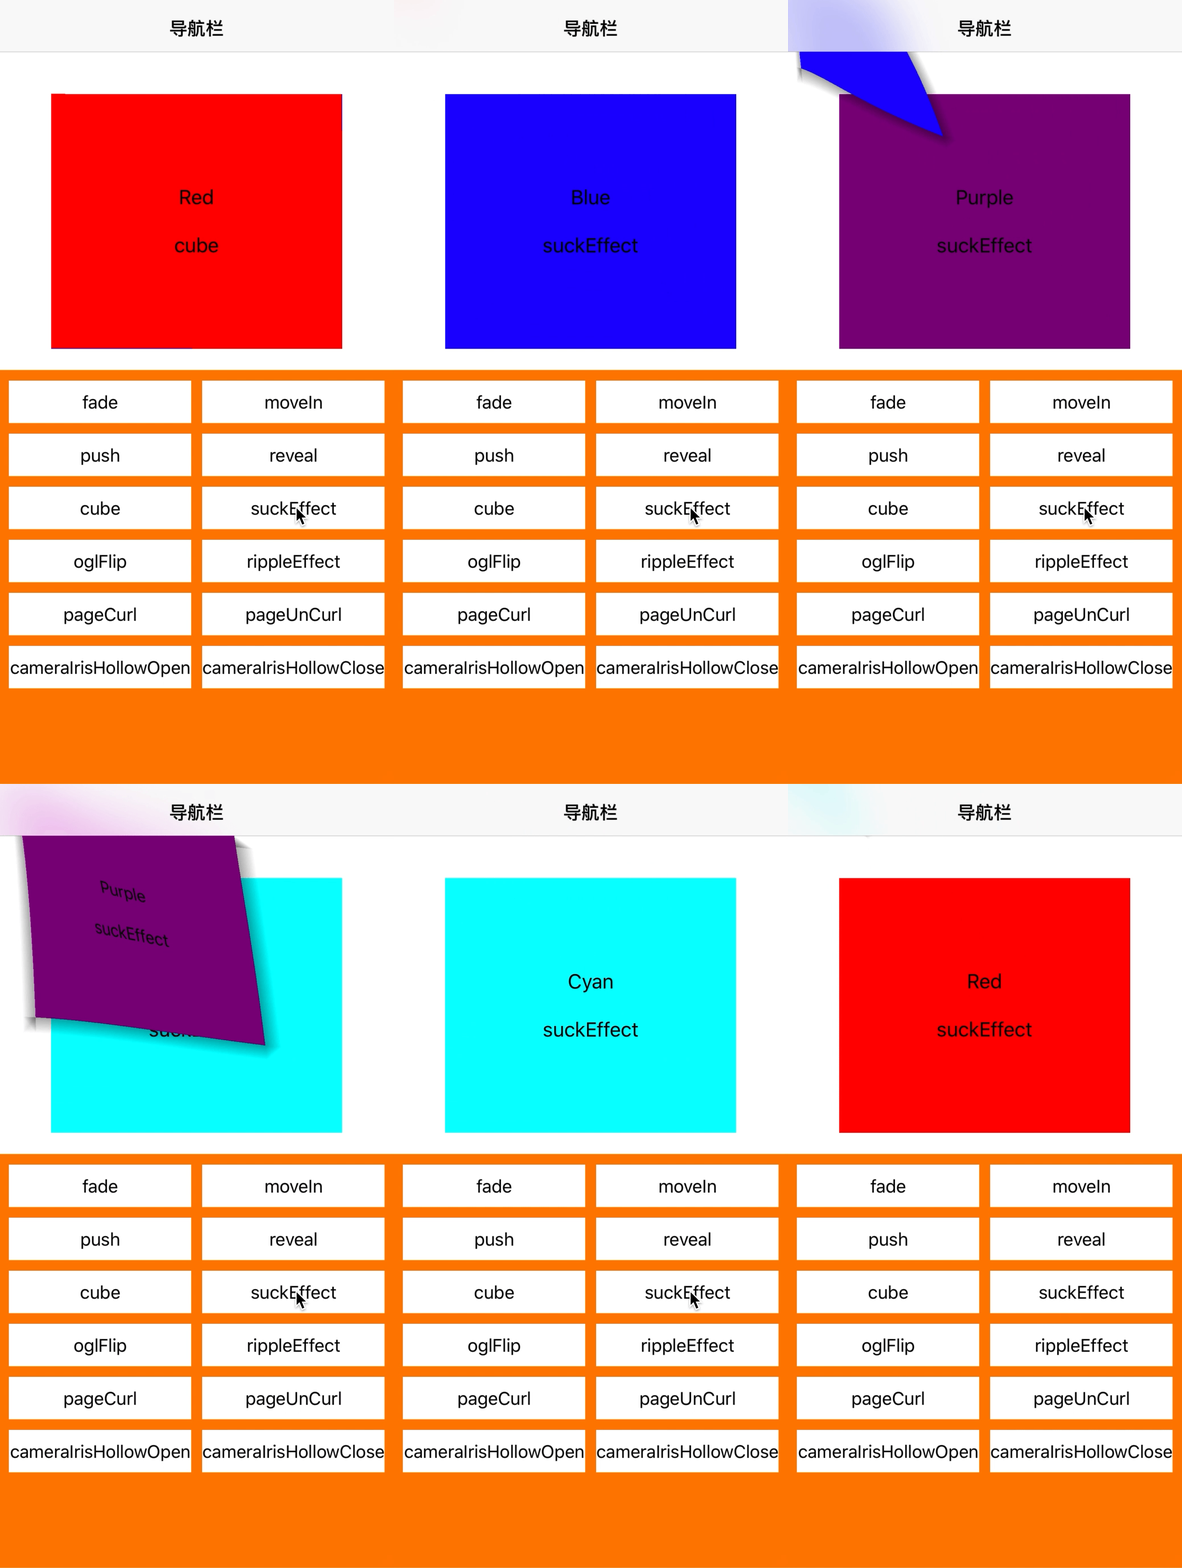
- suckEffect:吮吸效果。不支持subType,设置无效。iOS13及以上版本不支持该动画了。
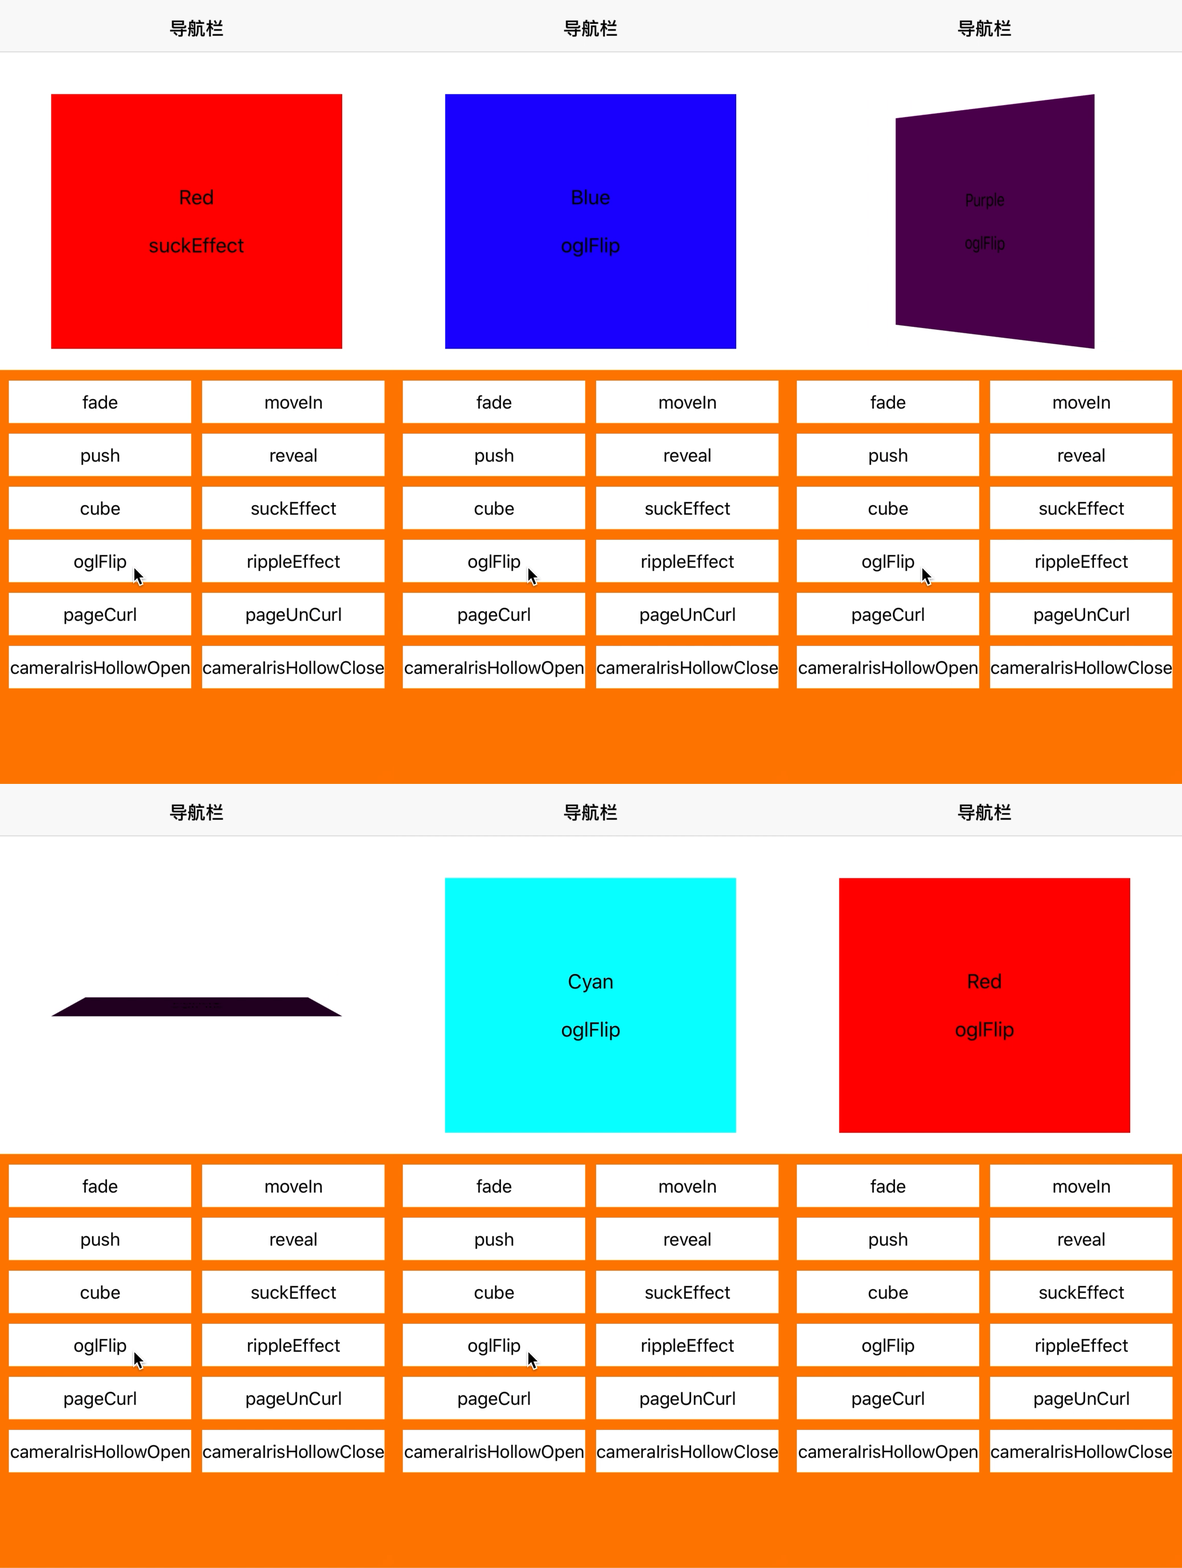
- oglFlip:翻转效果。
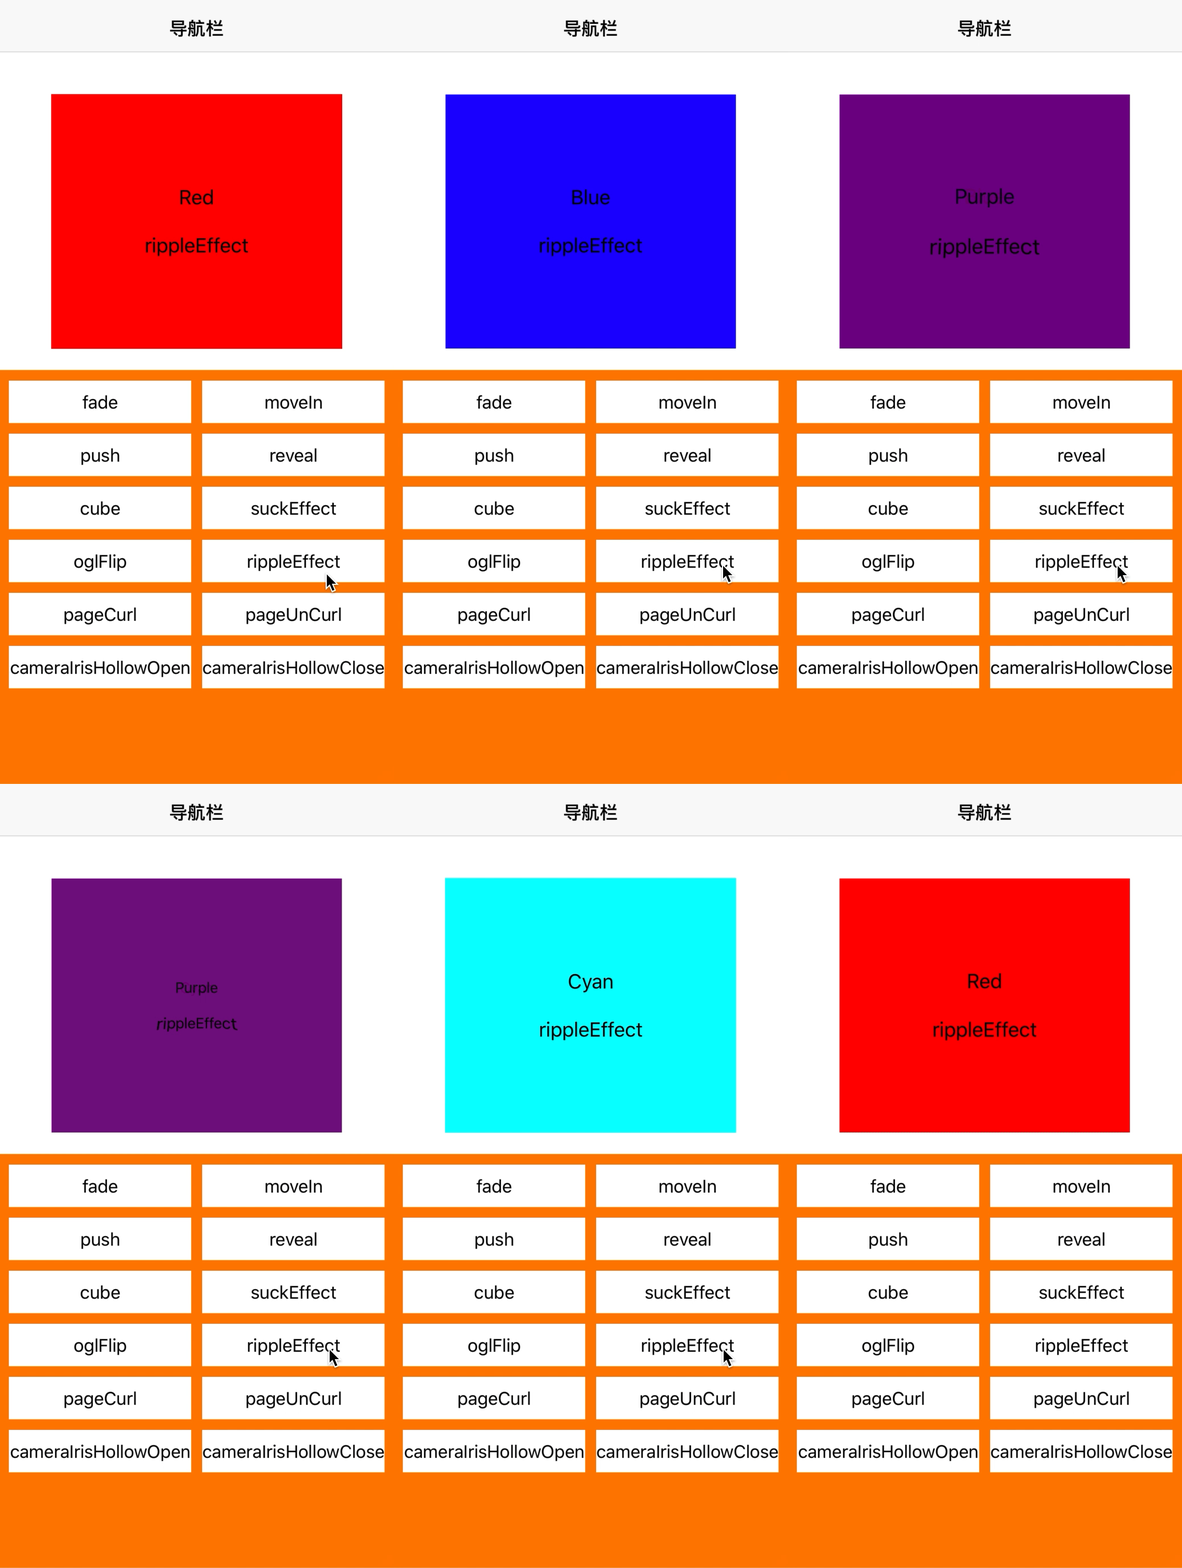
- rippleEffect:波纹效果。不支持subType,设置无效。iOS13及以上版本不支持该动画了。
- pageCurl:翻页效果。
- pageUnCurl:反翻页效果。
- cameraIrisHollowOpen:开镜头效果。不支持subType,设置无效。iOS13及以上版本不支持该动画了。
- cameraIrisHollowClose:关镜头效果。不支持subType,设置无效。iOS13及以上版本不支持该动画了。
注:前4个为系统已经定义的CATransitionType类型的值,可以直接设置,后面的则是字符串类型,设置的时候需要构建CATransitionType对象,例如:CATransitionType(rawValue: "cube")
subType
指定一个可选的子类型,该子类型指示type的动画方向。
- fromRight:从图层的右侧开始转换。
- fromLeft:从图层的左侧开始转换。
- fromTop:从图层的上面开始转换。
- fromBottom:从图层的下面开始转换。
4. 属性使用示例及效果
还是基于上面的Demo,将上面所有type类型放到UICollectionView中,每单击一次cell,切换一次subType。以下效果是基于iOS12及以下设备运行结果:
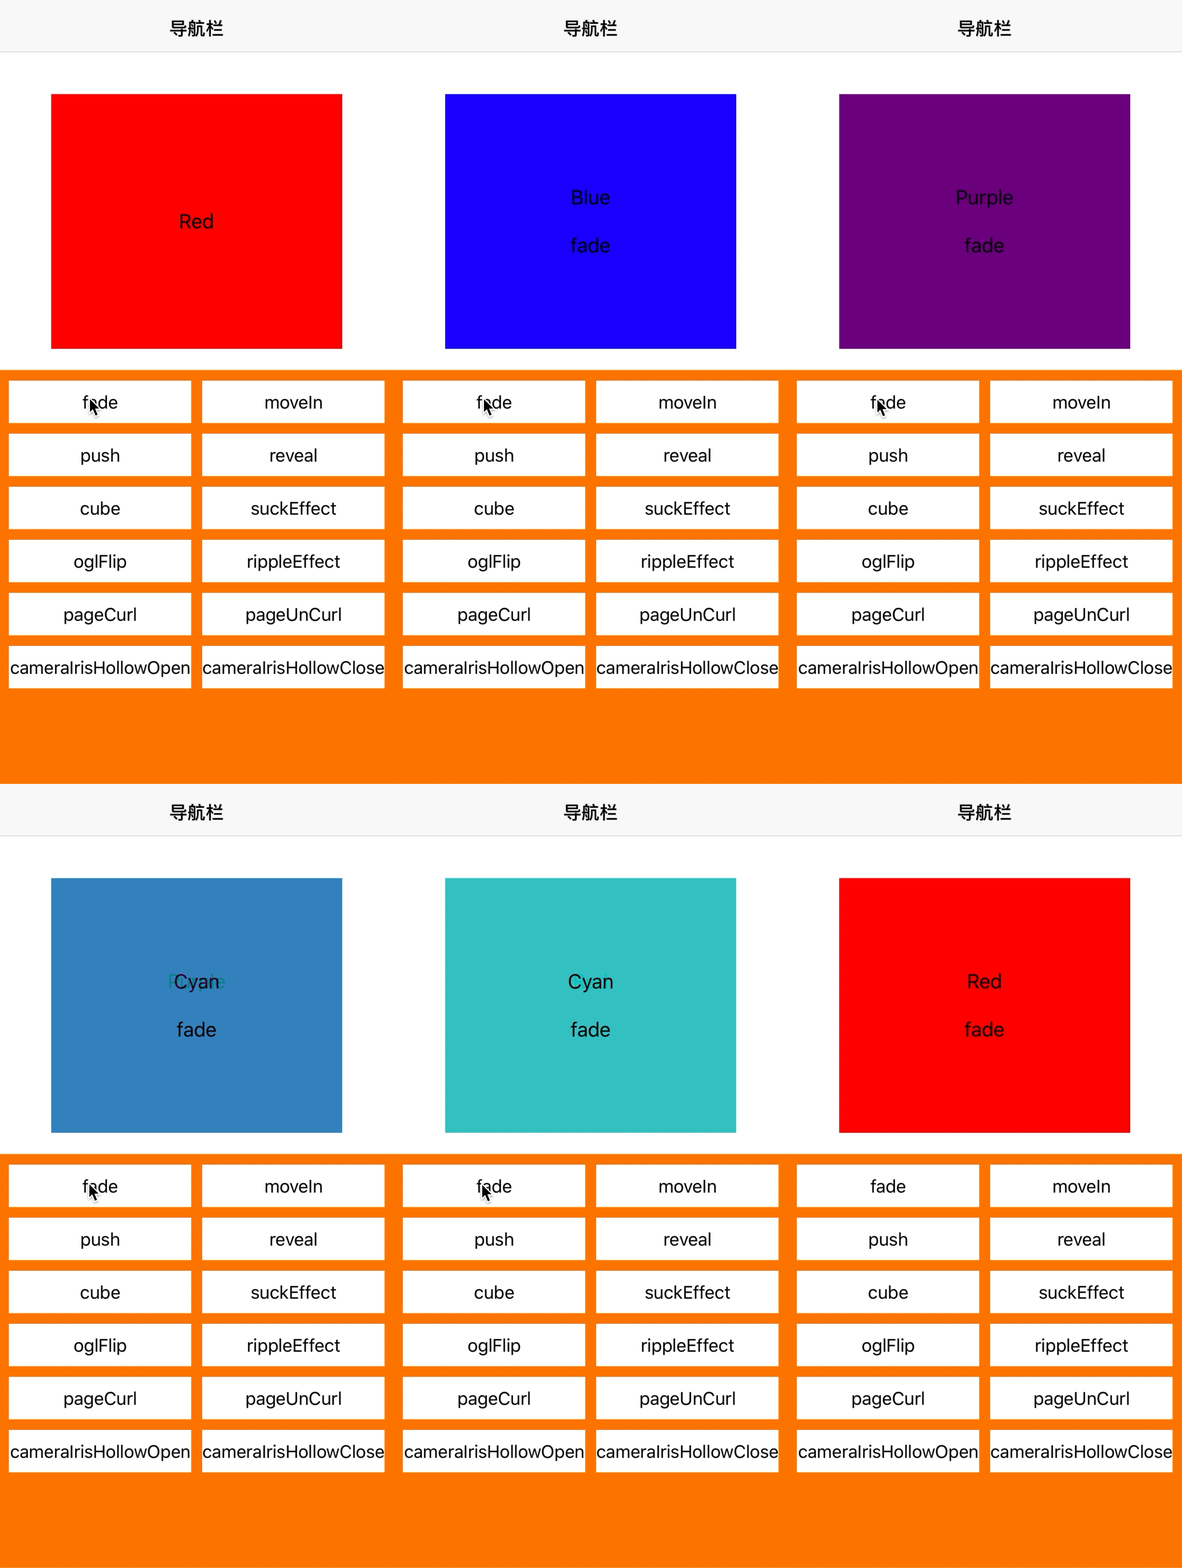
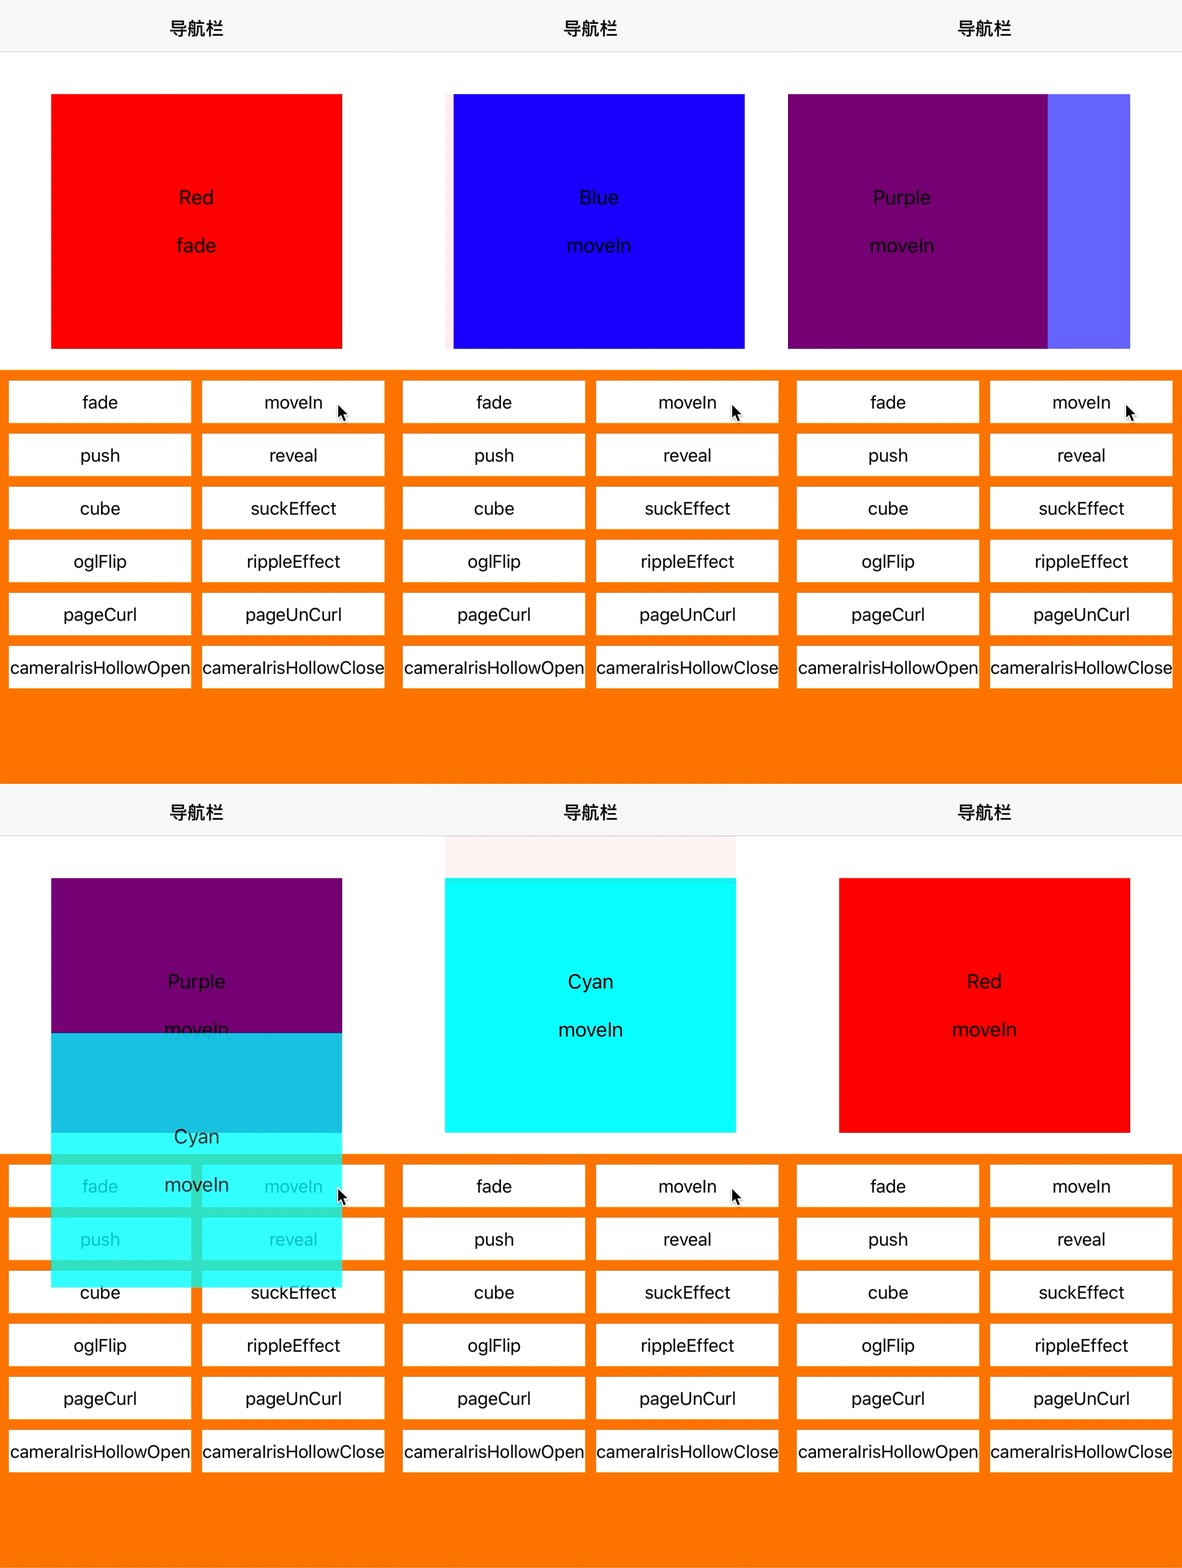
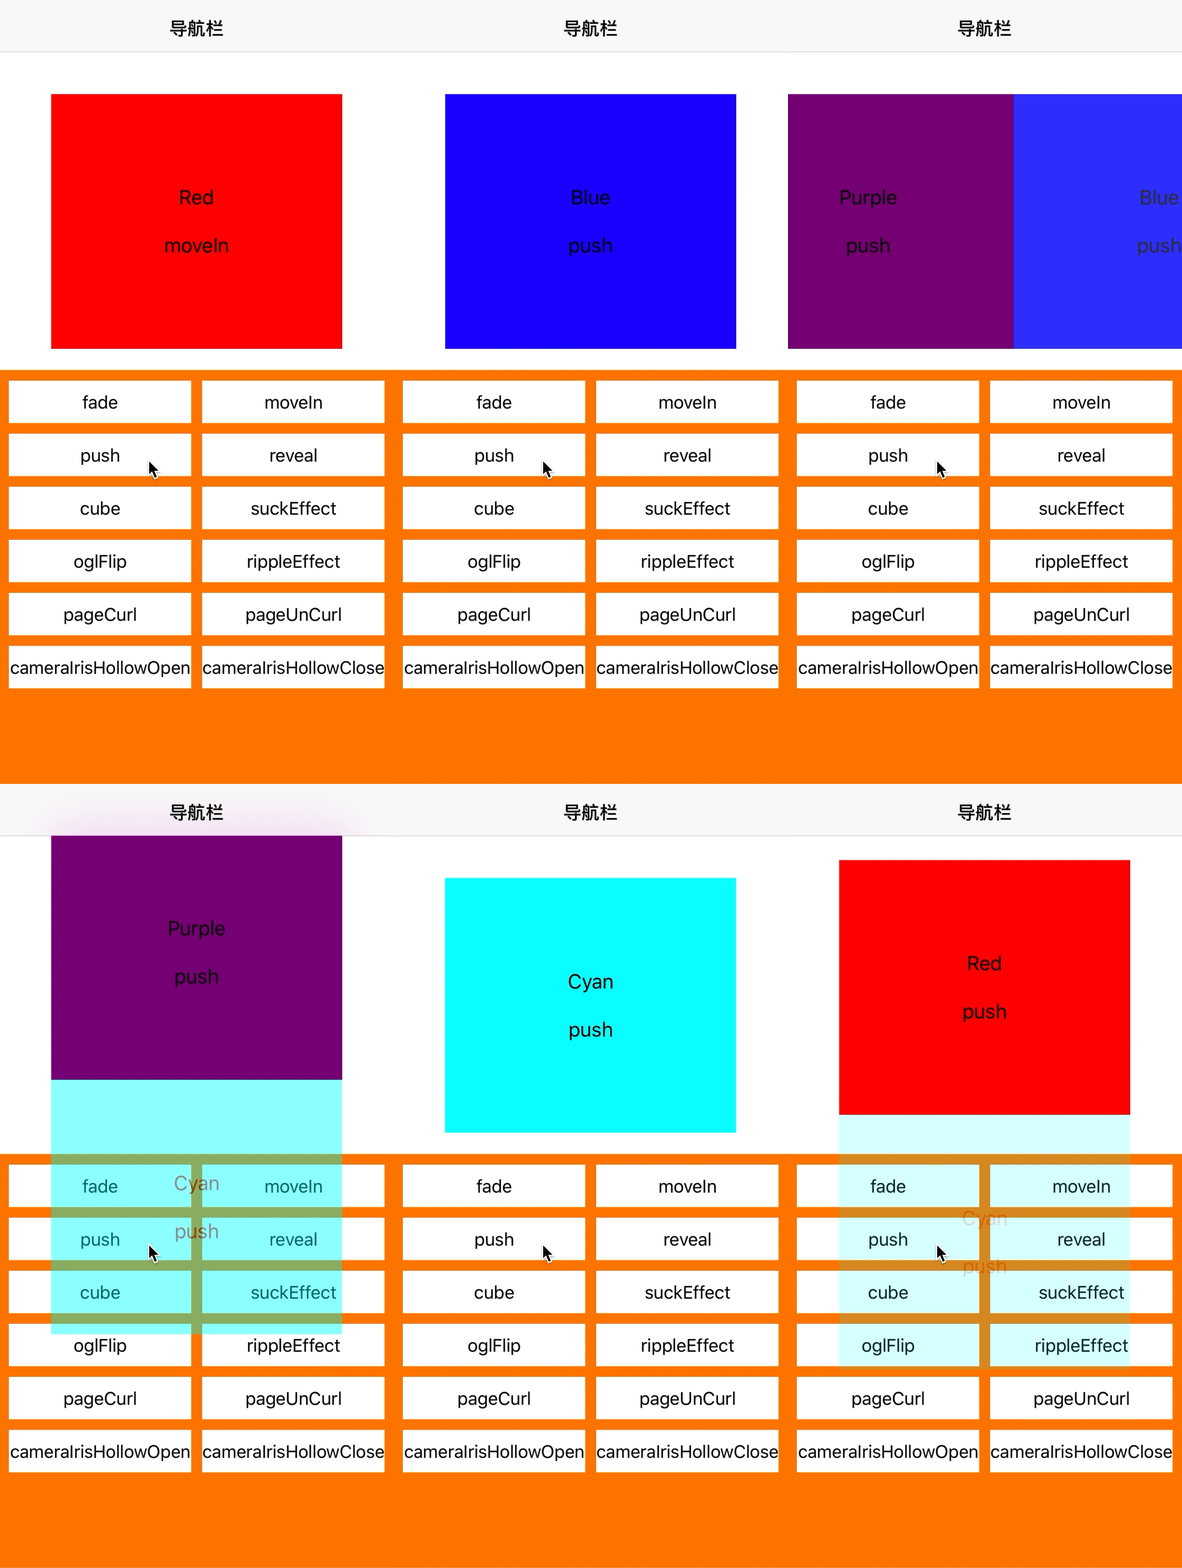

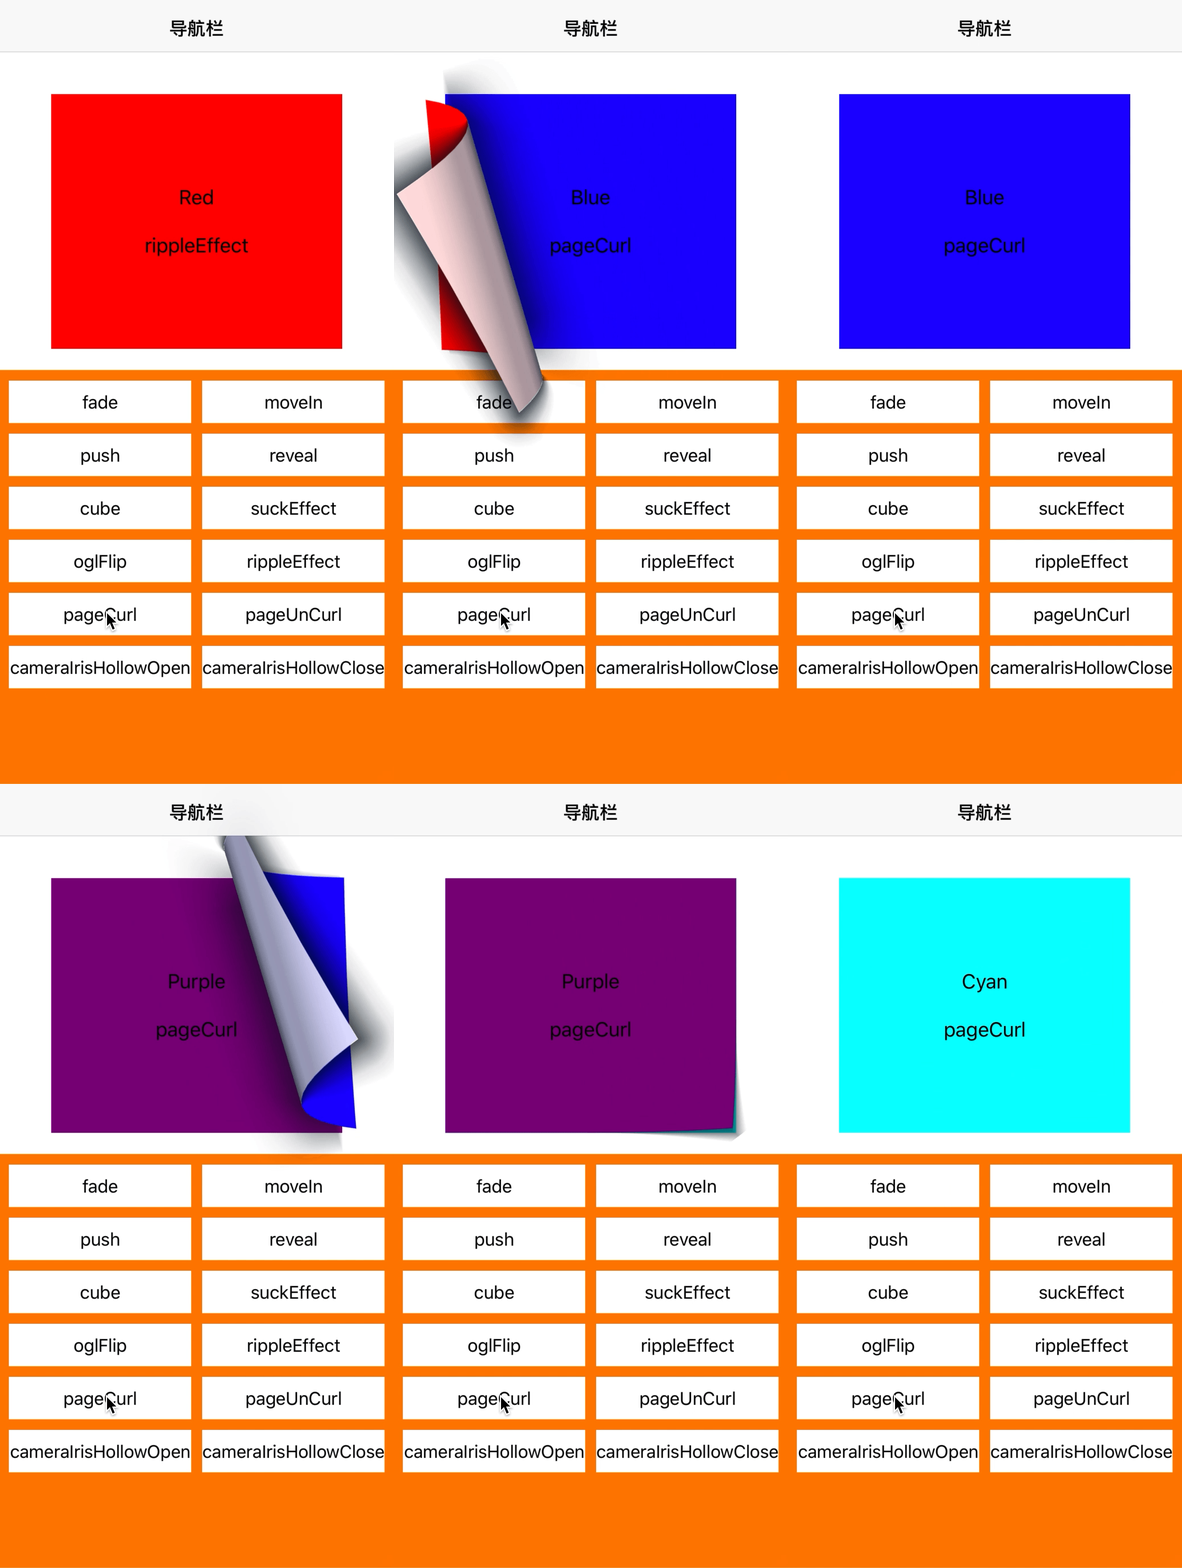

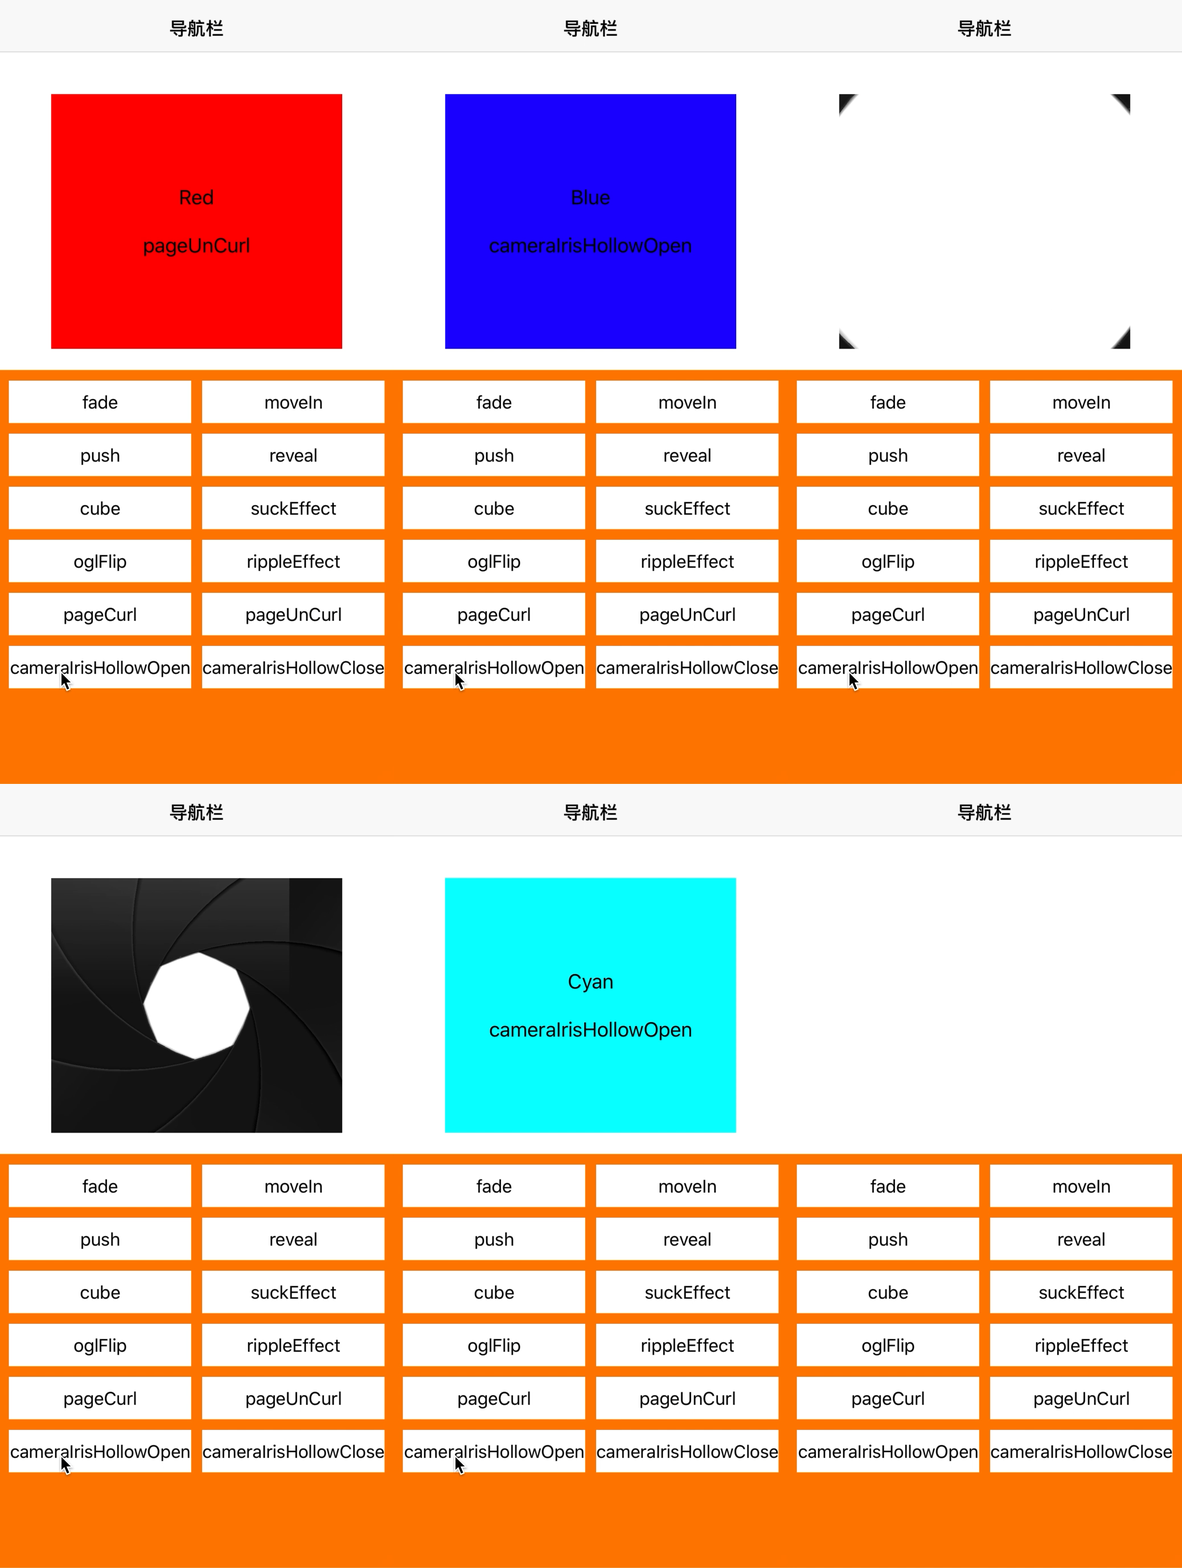
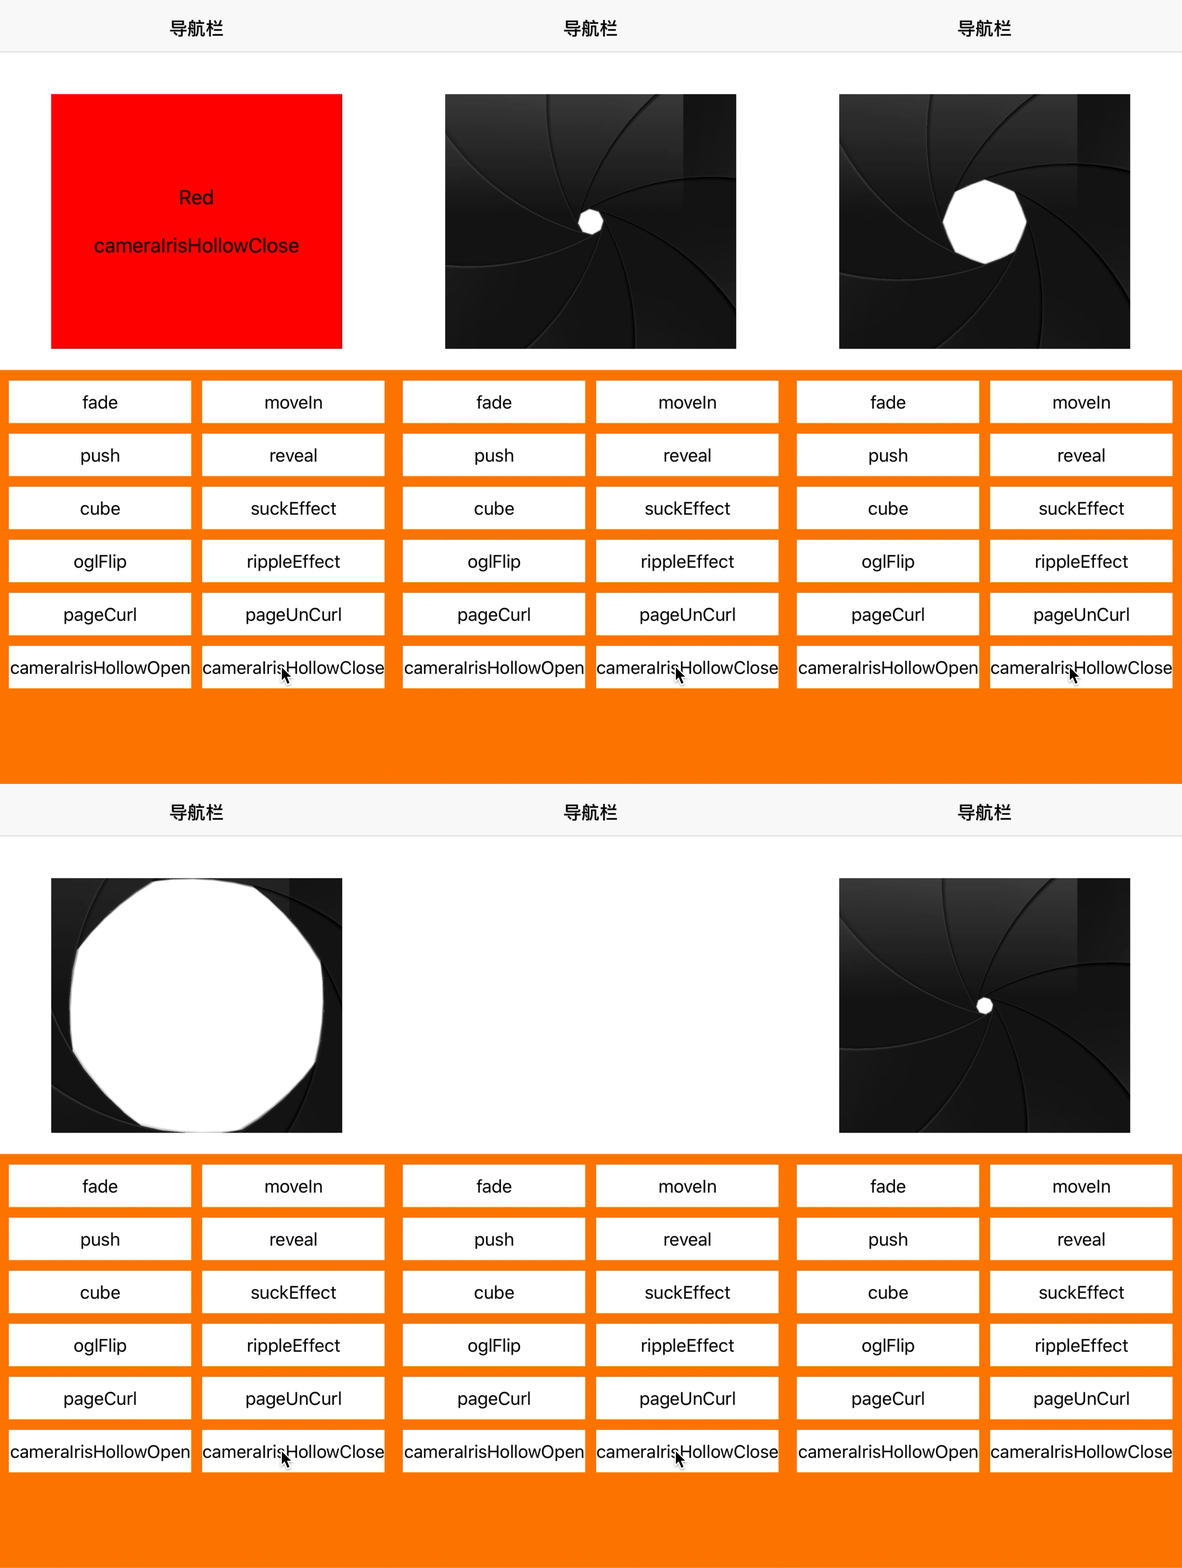
源代码如下:
import UIKit

enum Type {
    case fade
    case moveIn
    case push
    case reveal
    case cube
    case suckEffect
    case oglFlip
    case rippleEffect
    case pageCurl
    case pageUnCurl
    case cameraIrisHollowOpen
    case cameraIrisHollowClose

    var value: CATransitionType {
        switch self {
        case .fade:
            return .fade
        case .moveIn:
            return .moveIn
        case .push:
            return .push
        case .reveal:
            return .reveal
        case .cube:
            return CATransitionType(rawValue: "cube")
        case .suckEffect:
            return CATransitionType(rawValue: "suckEffect")
        case .oglFlip:
            return CATransitionType(rawValue: "oglFlip")
        case .rippleEffect:
            return CATransitionType(rawValue: "rippleEffect")
        case .pageCurl:
            return CATransitionType(rawValue: "pageCurl")
        case .pageUnCurl:
            return CATransitionType(rawValue: "pageUnCurl")
        case .cameraIrisHollowOpen:
            return CATransitionType(rawValue: "cameraIrisHollowOpen")
        case .cameraIrisHollowClose:
            return CATransitionType(rawValue: "cameraIrisHollowClose")
        }
    }

    var text: String {
        switch self {
        case .fade:
            return "fade"
        case .moveIn:
            return "moveIn"
        case .push:
            return "push"
        case .reveal:
            return "reveal"
        case .cube:
            return "cube"
        case .suckEffect:
            return "suckEffect"
        case .oglFlip:
            return "oglFlip"
        case .rippleEffect:
            return "rippleEffect"
        case .pageCurl:
            return "pageCurl"
        case .pageUnCurl:
            return "pageUnCurl"
        case .cameraIrisHollowOpen:
            return "cameraIrisHollowOpen"
        case .cameraIrisHollowClose:
            return "cameraIrisHollowClose"
        }
    }
}

class ViewController: UIViewController {

    @IBOutlet weak var collectionView: UICollectionView!
    @IBOutlet weak var textLabel: UILabel!

    let typeArray: Array<Type> = [.fade, .moveIn, .push, .reveal, .cube, .suckEffect, .oglFlip, .rippleEffect, .pageCurl, .pageUnCurl, .cameraIrisHollowOpen, .cameraIrisHollowClose]
    var subTypeIndex: Int = 0
    var currentType: Type = .fade

    override func viewDidLoad() {
        super.viewDidLoad()
        view.backgroundColor = UIColor.white
        self.title = "导航栏"
        initCollectionView()
        initTextLabel()
    }

    func initCollectionView() {
        collectionView.register(UINib(nibName: "CollectionViewCell", bundle: nil), forCellWithReuseIdentifier: "Cell")
        collectionView.backgroundColor = UIColor.orange
        collectionView.delegate = self
        collectionView.dataSource = self
    }

    func initTextLabel() {
        textLabel.backgroundColor = UIColor.red
        textLabel.text = "Red"
    }

    func runTransition(type: Type) {
        if currentType.text != type.text {
            subTypeIndex = 0
        }
        currentType = type
        var subType: CATransitionSubtype?
        var toColor: UIColor?
        var toString: String = ""
        switch subTypeIndex {
        case 0:
            subType = .fromRight
            toColor = UIColor.blue
            toString = "Blue"
        case 1:
            subType = .fromLeft
            toColor = UIColor.purple
            toString = "Purple"
        case 2:
            subType = .fromTop
            toColor = UIColor.cyan
            toString = "Cyan"
        case 3:
            subType = .fromBottom
            toColor = UIColor.red
            toString = "Red"
        default:
            subType = .none
        }
        subTypeIndex += 1
        if subTypeIndex > 3 {
            subTypeIndex = 0
        }

        let transition = CATransition()
        transition.duration = 0.8
        transition.type = type.value
        transition.subtype = subType

        textLabel.layer.add(transition, forKey: "transition")
        textLabel.backgroundColor = toColor
        textLabel.text = toString + "\n\n" + type.text

        // 如果将动画添加到navigation的view上,则会进行Controller之间的切换。
//        let detailVC = DetailViewController(nibName: "DetailViewController", bundle: nil)
//        self.navigationController?.view.layer.add(transition, forKey: "transition")
//        self.navigationController?.pushViewController(detailVC, animated: false)
    }

}

extension ViewController: UICollectionViewDataSource {
    func collectionView(_ collectionView: UICollectionView, numberOfItemsInSection section: Int) -> Int {
        return typeArray.count
    }

    func collectionView(_ collectionView: UICollectionView, cellForItemAt indexPath: IndexPath) -> UICollectionViewCell {
        guard let cell = collectionView.dequeueReusableCell(withReuseIdentifier: "Cell", for: indexPath) as? CollectionViewCell else {
            return UICollectionViewCell()
        }
        let type = typeArray[indexPath.item]
        cell.textLabel.text = type.text
        return cell
    }
}

extension ViewController: UICollectionViewDelegateFlowLayout {
    func collectionView(_ collectionView: UICollectionView, layout collectionViewLayout: UICollectionViewLayout, sizeForItemAt indexPath: IndexPath) -> CGSize {
        return CGSize(width: (collectionView.bounds.size.width-30.0)/2, height: 40.0)
    }

    func collectionView(_ collectionView: UICollectionView, didSelectItemAt indexPath: IndexPath) {
        let type = typeArray[indexPath.item]
        runTransition(type: type)
    }
}查看原项目请点击:Demo传送门
5. 结束语
本文主要介绍了CATransition的一些动画类型,并附带测试demo以及运行效果,除了前4个type类型是苹果公开的,剩下的都是私有API,真正发开中要慎用,另外私有API中有些动画效果在iOS13及以上的系统设备上已经失效了,如果设置,则默认是fade效果。
CATransition动画主要是加到CALayer中的,针对UIView还有四个动画,这里就不过多阐述了,想了解的点击这里UIView.AnimationTransition。
本篇文章出自https://blog.csdn.net/guoyongming925的博客,如需转载,请标明出处。


 968
968


 被折叠的 条评论
为什么被折叠?


