


 这篇文档详细介绍了如何配置WebLogic集群,包括在AIX Unix和Windows环境下创建域,配置服务,如启动口令配置文件、设置系统环境,以及集群服务的各个组件如代理服务器、管理服务器、被管理服务器的配置。此外,还涵盖了数据库连接配置、JMS服务设置、证书配置以及应用服务的部署步骤。
1.安装weblogic
2.安装xmanager
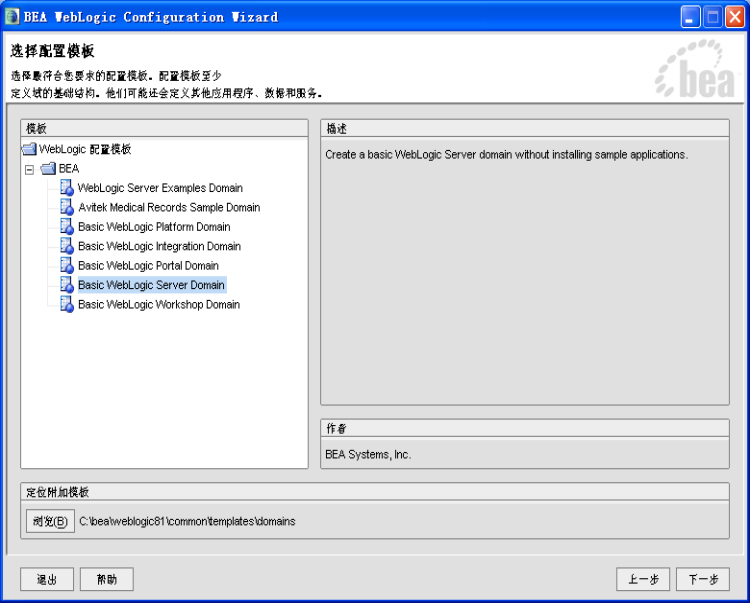
3.创建域
3.1.在aix unix下创建域
先通过
xmanager
登录系统,用户
root
口令
root
在
terminal
下执行
cd /bea/weblogic81/common/bin
./ config.sh

建新域的操作同下面的
windows
的操作
3.2在windows下创建域
1.
启动开始菜单的
quickstart
,
执行
create a new domain configuration
…

2
.下一步
3
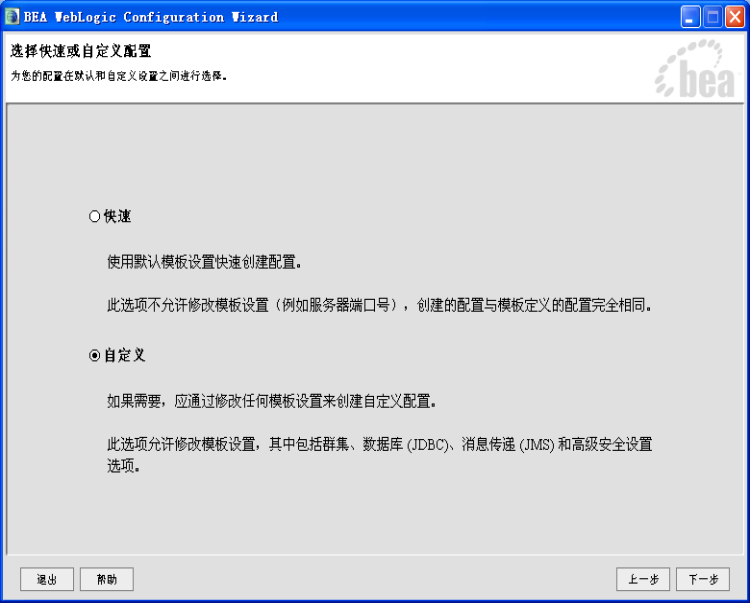
.下一步,选自定义
4
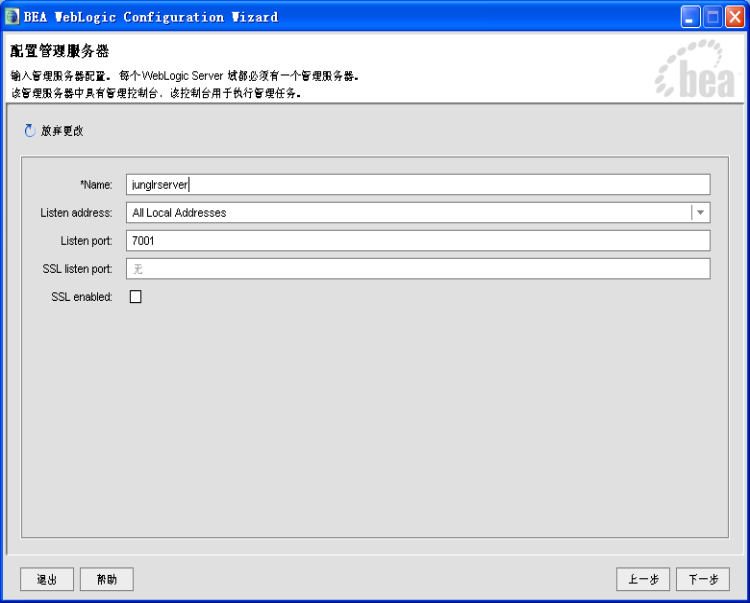
.下一步,
name=myserver,listen port:6001
5
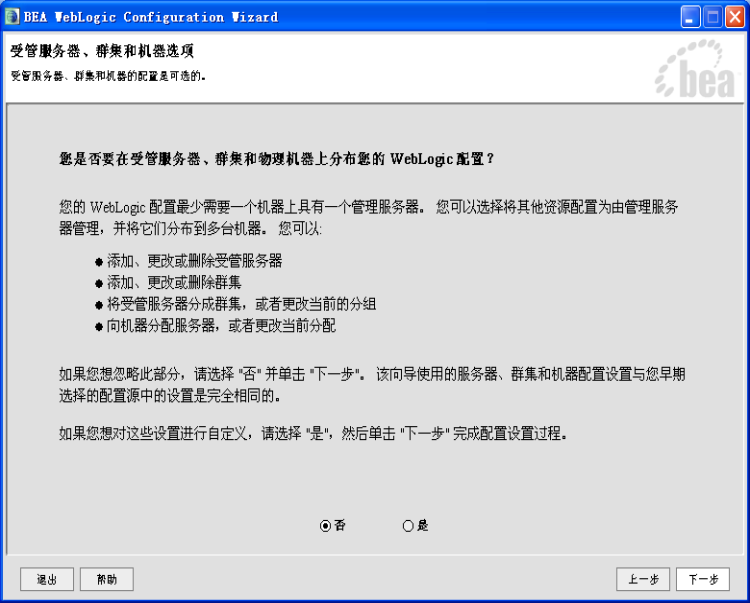
.下一步
6
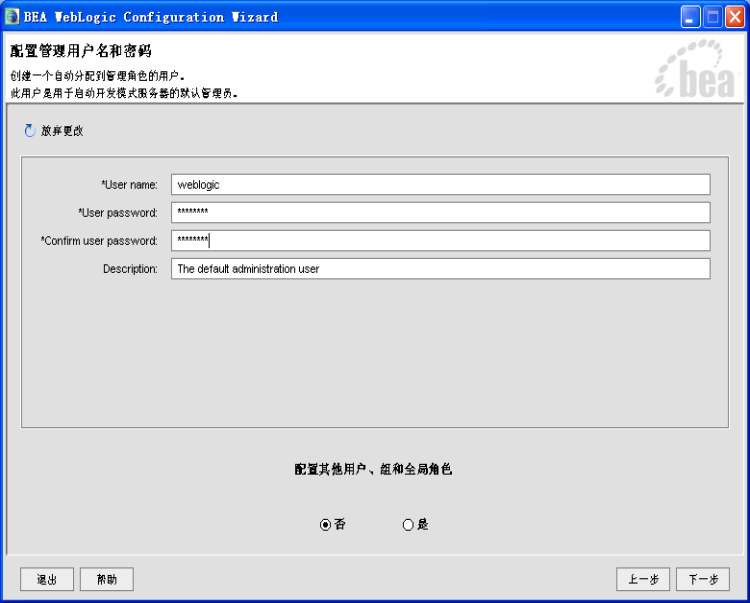
.下一步,
user=weblogic password=weblogic
7
.下一步
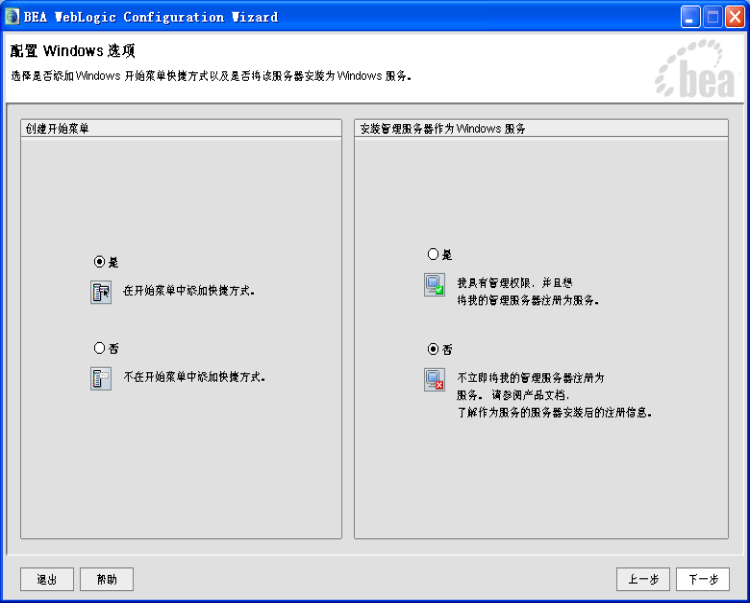
8
.下一步,选择生产模式
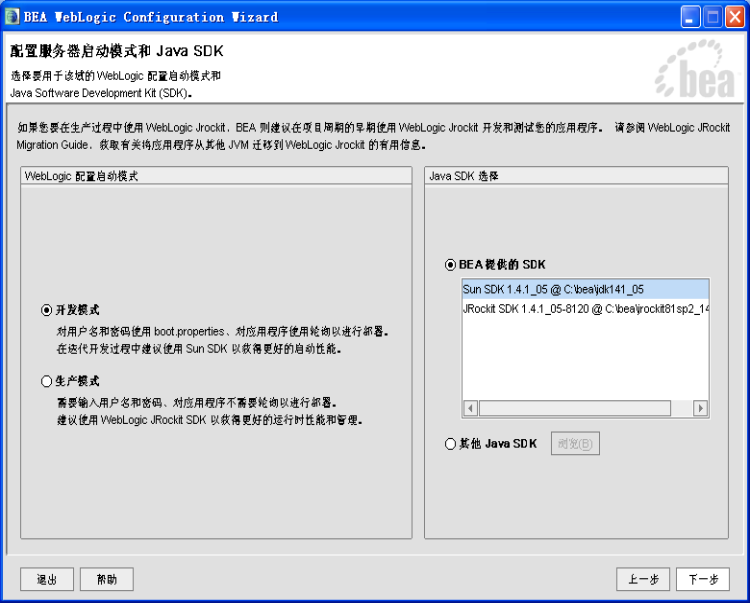
aix
机器要选用
ibm
提供的
jdk,
路径:
/usr/java14
9
.下一步
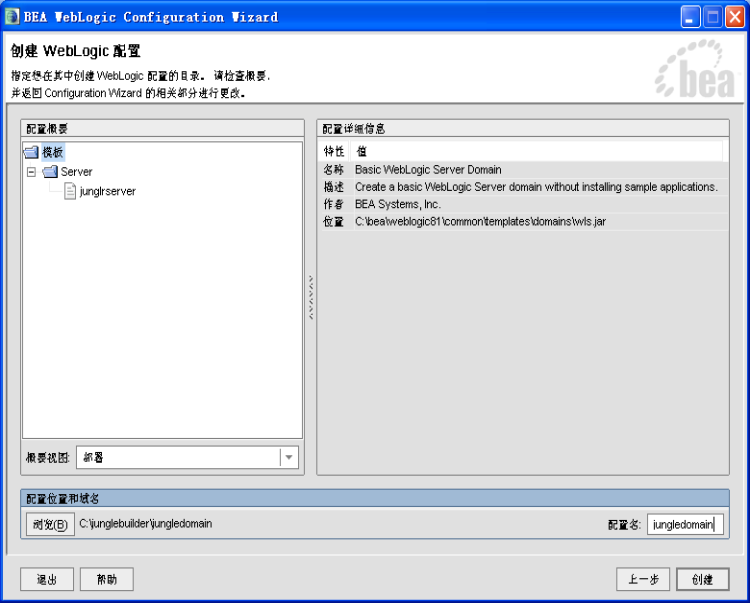
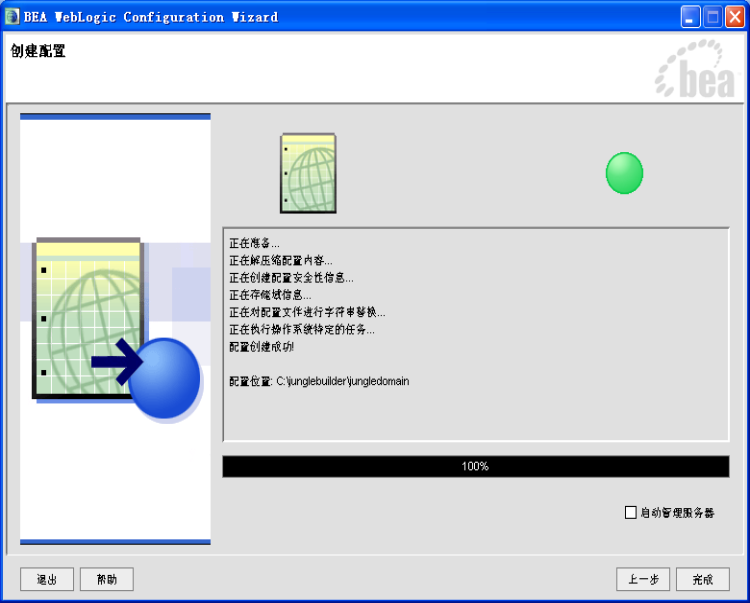
10
.创建,完成
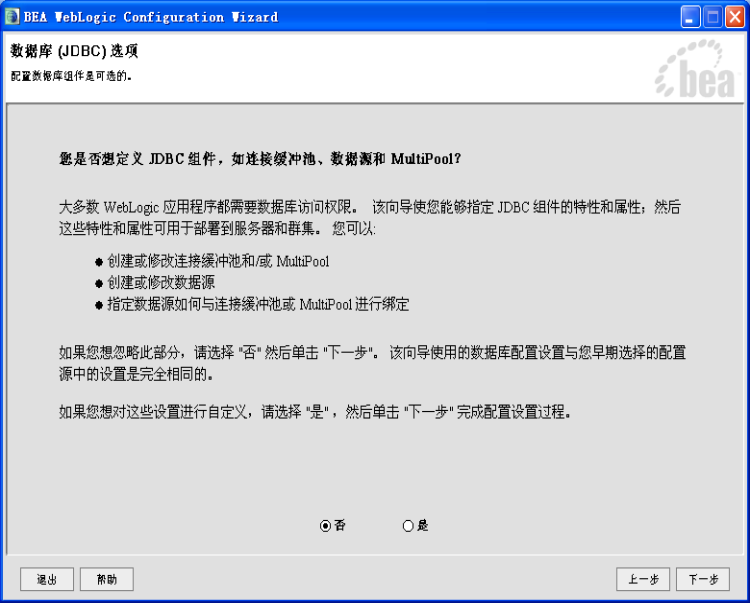
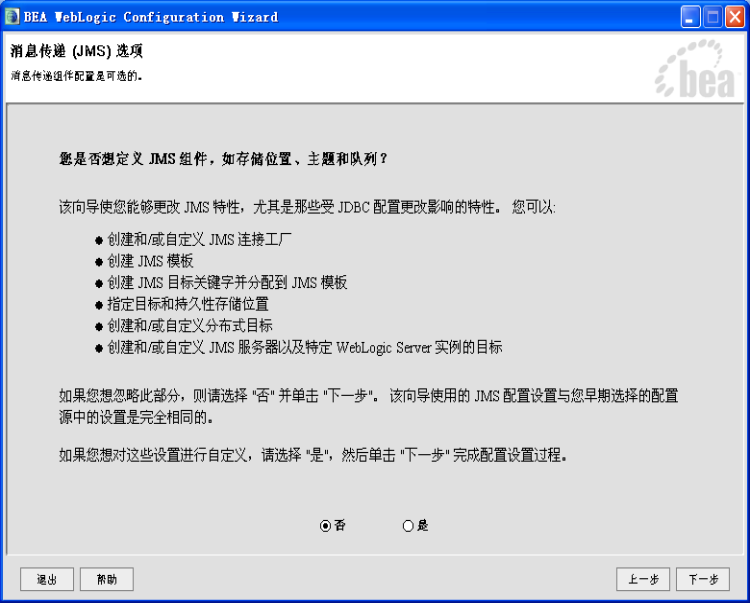
4.配置服务
4.1服务配置:
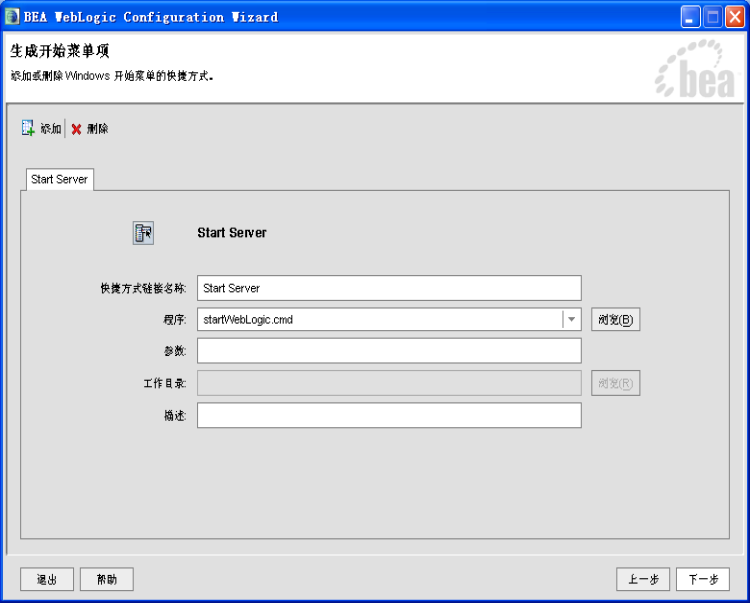
4.1.1启动口令配置文件:
在管理服务器的主目录中,例如:
/bea/user_projects/domains/mydomain
,创建文件
boot.properties
加入两行
username=weblogic
password=weblogic
4.1.2启动命令配置
在启动命令
startWebLogic.sh
最后加上
-DINDIGO_HOME=/bea/app
4.1.3系统环境设置
no -p -o udp_sendspace=32768
4.2集群服务配置:
4.2.1代理服务器配置----代理服务
增加代理服务proxyServer,端口为6001 SSL端口为6002,代理服务部署在此服务上
代理服务创建同被管理服务,首先在
中创建新的服务proxyServer,端口为6001 SSL端口为6002

创建代理服务启动命令startp.sh,操作同被管理服务启动命令创建,修改ADMIN_URL=为
ADMIN_URL=http://10.158.173.72:6101
,SERVER_NAME=为SERVER_NAME=
proxyServer
,增加
MEM_ARGS="-Xms512m -Xmx512m"(大小值要一样,具体值根据各地实际情况定,建议值768m或1024m,与被管服务相同);将proxy代理服务部署在proxy代理服务上面
部署一个
web
应用
proxy.war
proxy.war
中的
web.xml
的地址需要作相应修改
,
参与
cluster
的服务器都需要加上。例如:
<param-name>WebLogicCluster</param-name>
<param-value>localhost1:9001|localhost2:9001</param-value>
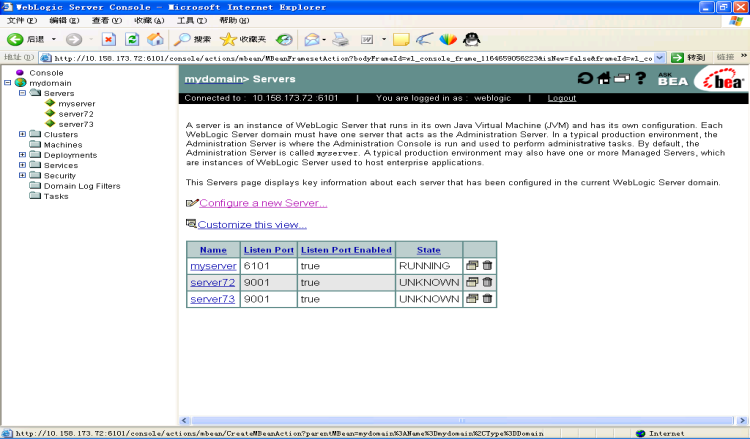
4.2.2管理服务器配置----cluster
1.http://
管理服务器
:6101/console
2.
新建一个
cluster
name = myCluster(
任意
)
clusteraddress =
被管理服务器
1:9001,
被管理服务器
2:9001
multicast Address = 237.0.0.1
multicast Port = 6000(
不能和
6001--
管理服务器和
9001--
被管理服务器重复
)
4.2.3管理服务器配置----managed server
1.http://
管理服务器
:6101/console
2.
新建一个
server
属于上面所建的
cluster
cluster = myCluster
name = MyServer1
listen address =
当前物理机器
ip
port = 6001
4.2.4被管理服务器配置
1.
从已建domain目录中,拷贝startManagedWebLogic.sh为startm.sh
2.
修改startm.sh文件,有五处要修改,下面有全部拷贝及其修改说明。
3.
用nohup ./startm.sh&启动
4.
如果要在别的物理服务器新建被管理服务器,在该服务器上安装bea,bea_home选择同样的目录
5.
从已建domain目录拷贝setEnv.sh,startm.sh,serializedsystemini.dat到该被管理服务器同样目录中
6.
修改startm.sh文件中SERVER_NAME= cluster中配置的服务器名
7.chmod 777 *
8.
用nohup ./starm.sh&启动
///
startm.sh
共五处要修改,修改完成后用如下命令启动:
nohup ./startm.sh&
///
#!/bin/sh
# ****************************************************************************
# This script is used to start a managed WebLogic Server for the domain in the
# current working directory. This script reads in the SERVER_NAME and
# ADMIN_URL as positional parameters, sets the SERVER_NAME variable, then
# starts the server.
#
# Other variables that startWLS takes are:
#
# WLS_USER - cleartext user for server startup
 最低0.47元/天 解锁文章


 2360
2360

 被折叠的 条评论
为什么被折叠?
被折叠的 条评论
为什么被折叠?
 到【灌水乐园】发言


