


远程控制开关-Nodemcu+Relay
硬件
nodemcu一个
继电器一个
杜邦线3根
继电器信号端接在nodemcu的D1
注:D1–>GPIO 5
软件
1.安装 Arduino
2.开发版管理器里面添加: http://arduino.esp8266.com/stable/package_esp8266com_index.json
3.安装esp8266 开发版 ----开发环境
4.安装ArduinoJson ----解析JSON格式
代码
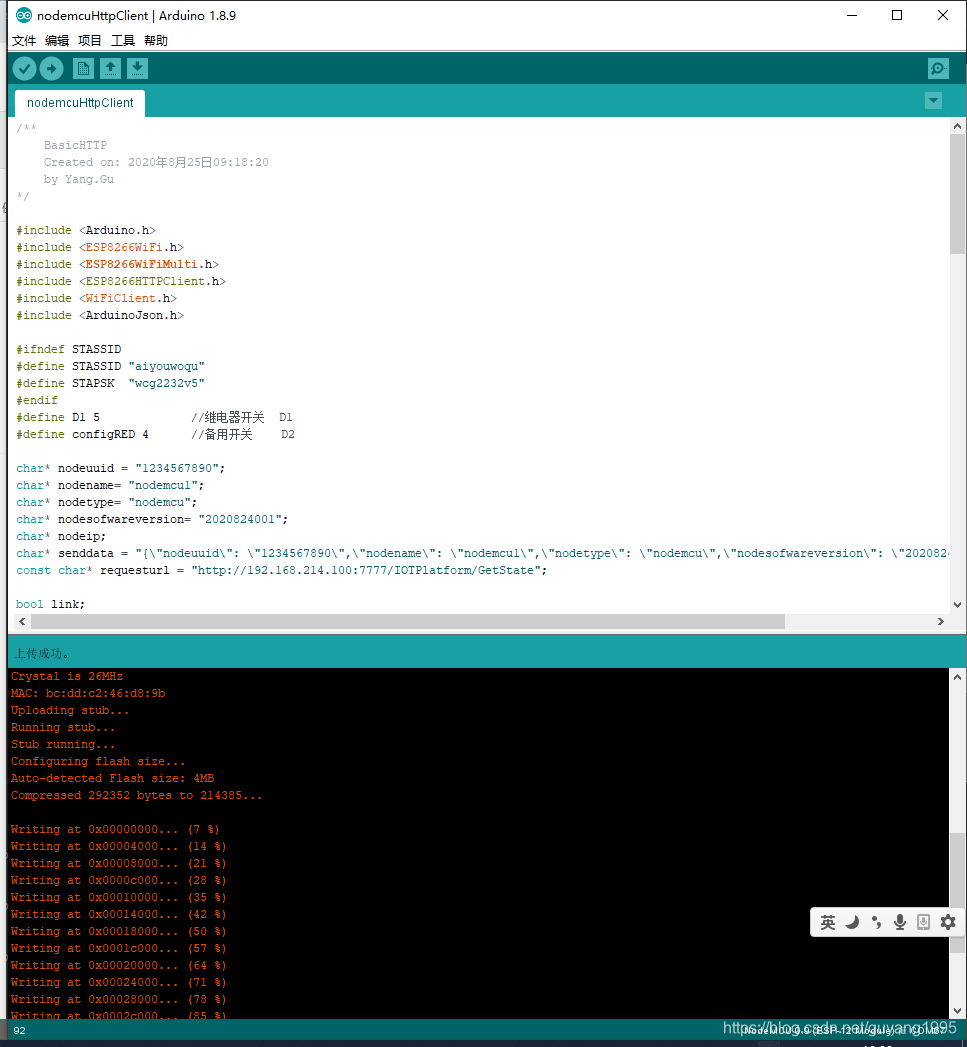
客户端源代码
/**
    BasicHTTP
    Created on: 2020年8月25日09:18:20
    by Yang.Gu 13482198105@163.com
*/


#include <Arduino.h>
#include <ESP8266WiFi.h>
#include <ESP8266WiFiMulti.h>
#include <ESP8266HTTPClient.h>
#include <WiFiClient.h>
#include <ArduinoJson.h>

#ifndef STASSID
#define STASSID "aiyouwoqu"
#define STAPSK  "wcg2232v5"
#endif
#define D1 5             //继电器开关  D1
#define configRED 4      //备用开关    D2


char* nodeuuid = "1234567890";
char* nodename= "nodemcu1";
char* nodetype= "nodemcu";
char* nodesofwareversion= "2020824001";
char* nodeip;
char* senddata = "{\"nodeuuid\": \"1234567890\",\"nodename\": \"nodemcu1\",\"nodetype\": \"nodemcu\",\"nodesofwareversion\": \"2020824001\",\"nodeip\": \"\"}";

bool link;
const char* requesturl = "http://192.168.214.100:7777/IOTPlatform/GetState";
ESP8266WiFiMulti WiFiMulti;

void setup() {
  Serial.begin(115200);
  pinMode(D1,OUTPUT);
  // Serial.setDebugOutput(true);
  Serial.println();
  Serial.println();
  Serial.println();
  for (uint8_t t = 4; t > 0; t--) {
    Serial.printf("[SETUP] WAIT %d...\n", t);
    Serial.flush();
    delay(1000);
  }
  connectwifi();
  link = true;
  digitalWrite(configRED, HIGH);
}
bool connectwifi()
{
  WiFi.mode(WIFI_STA);
  WiFi.begin(STASSID, STAPSK);
  while (WiFi.status() != WL_CONNECTED) {
    delay(500);
    Serial.print(".");
  }
}
void loop() {
     String AAA = httppost();
     DynamicJsonDocument doc(1024);
     deserializeJson(doc, AAA);
     JsonObject obj = doc.as<JsonObject>();
     String D1FromDB = obj["nodestate"];
     if(D1FromDB=="1")
     {
      if(link==false)
      {
        link = true;
        digitalWrite(D1, HIGH);
      }
     }
     else if(D1FromDB=="0")
     {
      if(link==true)
      {
        link = false;
        digitalWrite(D1, LOW);
      }
     }
     else
     {}
     Serial.printf("D1FromDB:%s\n",D1FromDB.c_str());
     delay(5000);
}
String httppost()
{
    WiFiClient client;
    HTTPClient http;
    String payload;
    Serial.print("[HTTP] begin...\n");
    if (http.begin(client,requesturl )) {
      Serial.println("###request start###");
      Serial.print("[HTTP] POST...\n");
      http.addHeader("Content-Type", "application/json;charset=UTF-8");


      Serial.printf(senddata);
      int httpCode = http.POST(senddata);
      if (httpCode > 0) {
        Serial.printf("[HTTP] POST... code: %d\n", httpCode);
        if (httpCode == HTTP_CODE_OK || httpCode == HTTP_CODE_MOVED_PERMANENTLY) {
          payload = http.getString();
          Serial.println(payload);
          Serial.println("###request end###");
        }
      } else {
        Serial.printf("[HTTP] GET... failed, error: %s\n", http.errorToString(httpCode).c_str());
      }
      http.end();
    } else {
      Serial.printf("[HTTP} Unable to connect\n");
      connectwifi();
    }
    return payload;
}
服务端源代码
from flask import request, Flask, jsonify
import json
import random
import pymysql
import peewee
from peewee import *
import datetime

mysqlhost = 'store.guyang.site'
mysqlport = 13306
mysqluser = 'root'
mysqlpasswd = '123456'
mysqldb = 'home'

# db = MySQLDatabase(mysqldb, user=mysqluser,password = mysqlpasswd, host=mysqlhost, port=13306)
db = pymysql.connect(host=mysqlhost, port=13306, user=mysqluser, passwd=mysqlpasswd, db=mysqldb, charset='utf8')
cursor = db.cursor()
class d_heartbeat(peewee.Model):
    no=peewee.IntegerField()
    uuid=peewee.CharField()
    hostname=peewee.CharField()
    appname=peewee.CharField()
    version=peewee.CharField()
    ip=peewee.CharField()
    mac=peewee.CharField()
    regiesttime=peewee.DateTimeField()
    lastupdate=peewee.DateTimeField()
    nodetype=peewee.CharField()

    class Meta:
        database = db

class d_nodeinfo(peewee.Model):
    nodeuuid = peewee.CharField()
    nodename = peewee.CharField()
    state = peewee.CharField()
    value = peewee.CharField()
    updatetime = peewee.DateTimeField()

    class Meta:
        database = db

def after_request(response):
    response.headers['Access-Control-Allow-Origin'] = '*'
    response.headers['Access-Control-Allow-Methods'] = 'PUT,GET,POST,DELETE'
    response.headers['Access-Control-Allow-Headers'] = 'Content-Type,Authorization'
    return response

app = Flask(__name__)
#app.config['JSON_AS_ASCII'] = False
app.after_request(after_request)

@app.route("/IOTPlatform/GetState", methods=['GET','POST'])
def IOTPlatform_GetState():
    requestvalue = request.get_json()
    print(requestvalue)
    nodeuuid = requestvalue["nodeuuid"]
    nodename = requestvalue["nodename"]
    nodetype = requestvalue["nodetype"]
    nodesofwareversion = requestvalue["nodesofwareversion"]
    nodeip = request.remote_addr
    try:
        #data = d_heartbeat.get_or_none(d_heartbeat.uuid==nodeuuid)
        # print("nodeuuid:"+nodeuuid)
        sql = 'select * from d_heartbeat where uuid = %s;'
        cursor.execute(sql,[nodeuuid])
        data = cursor.fetchall()
        # print("6543")
        if len(data)<1:
            #_nodeinfo = d_heartbeat(uuid=nodeuuid,hostname=nodename,nodetype=nodetype,version=nodesofwareversion,ip=nodeip,lastupdate="now()")
            #_nodeinfo.save()
            print("uuid is new , do insert action")
            sql ='insert into d_heartbeat (uuid,hostname,nodetype,version,ip,lastupdate) values (%s,%s,%s,%s,%s,now());'
            cursor.execute(sql,[nodeuuid,nodename,nodetype,nodesofwareversion,nodeip])
        else:
            print("uuid is already existed, do update action")
            sql ='update d_heartbeat set ip = %s , lastupdate = now() where uuid = %s;'
            cursor.execute(sql,[nodeip,nodeuuid])
        db.commit()
    except:
        print("heart update action err occur")
        db.rollback()


    resnodestate = ""
    resnodeuuid = ""
    resnodename = ""

    try:
        sql = 'select * from d_nodeinfo where nodeuuid = %s;'
        cursor.execute(sql,[nodeuuid])
        data = cursor.fetchall()
        if len(data)<1:
            print("this uuid is new a one,need to be assigned ")
        elif len(data) == 1:
            for row in data:
                resnodeuuid = row[1]
                resnodename = row[2]
                resnodestate = row[3]
        else:
            print("this uuid has mutiple datas in DB ,need to check")

        db.commit()
    except:
        print("heart update action err occur")
        db.rollback()
    return {"nodeuuid":resnodeuuid,"nodename":resnodename,"nodestate":resnodestate,"datetime":datetime.datetime.now()}

if __name__ == "__main__":
    app.run(debug=True, host='0.0.0.0',port=7777)

数据库


流程介绍
原本是想用 aspnetcore+MQTT+MongoDB做接口和存储,但是搭建环境什么的做下来发现目前没有必要,而且复杂。目前就先用最简单的搭建一套,先用起来。
mongoDB 用 mysql替换
mqtt协议不搭了,直接通过httpapi
aspnetcore 用python flask代替
最后方案是:
- MySql+Flask+NodeMCU+Relay
- 目标最终效果:
- 发心跳到数据库
- 自动新建
- 保持更新
- 读取数据库中关于自身的状态
- 改变自己的针脚状态
- 发心跳到数据库
总结
以上功能均能实现
目前只是搭建了一个框架,日后较多功能还需要在这个上面扩展。
优化
1.一定几率连数据库出现问题,导致之后数据库连接不上
2.增加页面显示心跳功能
3.增加页面控制功能
4.目前延时5秒钟,需要缩短延时
5.后台或者前台,增加定时任务


 146
146


 被折叠的 条评论
为什么被折叠?
被折叠的 条评论
为什么被折叠?
 到【灌水乐园】发言


