


android自定义View(一):扩展方式(继承)带有预置数据 和 删除键的自定义EditText
android不仅提供了多种系统已经设计好的view,而且还支持多种方式自定义view来实现用户的个性化需求,接下来将分别介绍三种自定义view的实现方法,带有简单的实例。
- 三种自定义view的方式
- 自定义EditText
三种自定义view的方式
1,扩张方式(继承)--对现有的view控件进行扩展
2,组合方式--把已有的控件重新组合
3,重写(绘制)--通过重新的绘制实现全新的控件
自定义EditText
主要代码如下:
public class MyEditText extends EditText {
    Drawable clearDrawable;
    Boolean flag = false;
    String tempString = "";
    Context context;
    AttributeSet attrs;

    public MyEditText(Context context, AttributeSet attrs, int defStyleAttr) {
        super(context, attrs, defStyleAttr);
        this.context = context;
        this.attrs = attrs;
        init();
    }

    public MyEditText(Context context, AttributeSet attrs) {
        this(context, attrs ,android.R.attr.editTextStyle);
    }

    public MyEditText(Context context) {
        this(context , null);
    }

    private void init(){
        TypedArray ta = context.obtainStyledAttributes(attrs ,R.styleable.myedit);
        tempString = ta.getString(R.styleable.myedit_pretext);
        ta.recycle();
        clearDrawable = getCompoundDrawables()[2];
        if(clearDrawable == null){
            clearDrawable = getResources().getDrawable(R.drawable.ic_launcher);
        }
        clearDrawable.setBounds(0, 0, clearDrawable.getIntrinsicWidth(), clearDrawable.getIntrinsicHeight());
    }

    @Override
    protected void onDraw(Canvas canvas) {

        System.out.println("-----------MyEditText onDraw ------------");
        super.onDraw(canvas);
        String textString = getText().toString();
        //设置预置数据
        if(!flag){
            textString =tempString + textString ;
            if(textString != null && !textString.equals("null")){
                setText(textString);
            }

            setSelection(getText().length());
            flag = true;

        }
        //设置EditView的四个方向上的图片
        if(getText().length()>0){
            setCompoundDrawables(getCompoundDrawables()[0], getCompoundDrawables()[1], clearDrawable, getCompoundDrawables()[3]);
        }else{
              setCompoundDrawables(getCompoundDrawables()[0], getCompoundDrawables()[1], null, getCompoundDrawables()[3]);
        }
    }

    @Override
    public boolean onTouchEvent(MotionEvent event) {
        if(event.getAction() == MotionEvent.ACTION_UP){
            if(getCompoundDrawables()[2] != null){
                //通过计算 确定点击事件是否在图片上
                boolean delete = event.getX() > (getWidth()-getTotalPaddingRight()) && event.getX() <(getWidth()-getPaddingRight());
                if(delete){
                    setText("");
                }
            }
        }

        return super.onTouchEvent(event);
    }
}
相应的xml布局文件:
<com.melo.learnandroid.defindview.MyEditText
android:layout_width="match_parent"
android:layout_height="wrap_content"
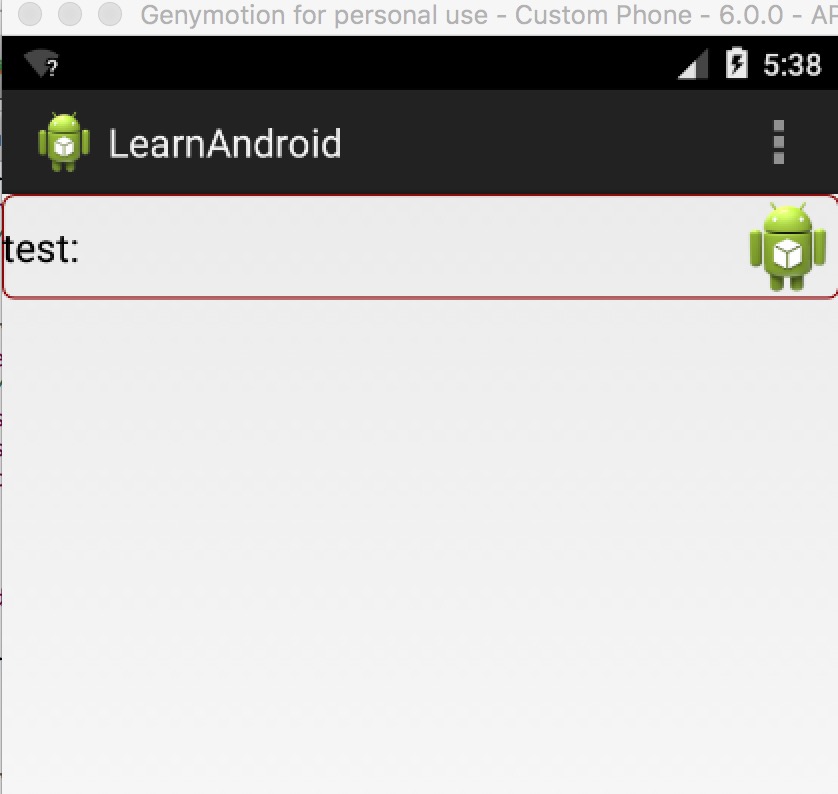
custom:pretext = "test:"
android:background="@drawable/edittextselect"/>
接下来就解释一下代码
在xml文件中有
custom:pretext = “test:”这句,当然要用这个还有的有一句声明
在根view上
xmlns:custom=”http://schemas.android.com/apk/res-auto”
这个连个custom是对应的
相应的attrs .xml文件
<?xml version="1.0" encoding="utf-8"?>
<resources>
    <declare-styleable name="myedit">
        <attr name="pretext" format="string"/>
    </declare-styleable>
</resources>
代码已经全部贴上了。


 被折叠的 条评论
为什么被折叠?
被折叠的 条评论
为什么被折叠?
 到【灌水乐园】发言


