


 本文介绍了如何在SpringBoot项目中集成UReport2,包括Maven配置、DataSource设置、报表预览与导出的方法。重点讲解了配置文件的使用和访问控制URL的结构。
SpringBoot+ureport2
源码下载
springboot集成UReport2源码_ureport2-互联网文档类资源-CSDN下载
正文
//maven依赖
        <dependency>
            <groupId>org.springframework.boot</groupId>
            <artifactId>spring-boot-starter-web</artifactId>
        </dependency>
        <!--ureport-->
        <dependency>
            <groupId>com.syyai.spring.boot</groupId>
            <artifactId>ureport-spring-boot-starter</artifactId>
            <version>2.2.9</version>
        </dependency>
        <dependency>
            <groupId>mysql</groupId>
            <artifactId>mysql-connector-java</artifactId>
            <version>5.1.46</version>
        </dependency>
        <dependency>
            <groupId>org.springframework.boot</groupId>
            <artifactId>spring-boot-starter-jdbc</artifactId>
        </dependency>
配置类
import com.bstek.ureport.console.UReportServlet;
import com.bstek.ureport.definition.datasource.BuildinDatasource;
import org.slf4j.Logger;
import org.slf4j.LoggerFactory;
import org.springframework.boot.autoconfigure.EnableAutoConfiguration;
import org.springframework.boot.web.servlet.ServletRegistrationBean;
import org.springframework.context.annotation.Bean;
import org.springframework.context.annotation.Configuration;
import org.springframework.context.annotation.ImportResource;
import javax.annotation.Resource;
import javax.sql.DataSource;
import java.sql.Connection;
import java.sql.SQLException;
@ImportResource("classpath:ureport-console-context.xml")//不加项目能够启动但是会导致加载数据源报错或加载不了
@Configuration
@EnableAutoConfiguration
public class UreportConfig implements BuildinDatasource {
@Resource
DataSource dataSource;
private Logger log = LoggerFactory.getLogger(getClass());
@Bean //定义ureport的启动servlet
public ServletRegistrationBean buildUreportServlet(){
return new ServletRegistrationBean(new UReportServlet(),"/ureport/*");
}
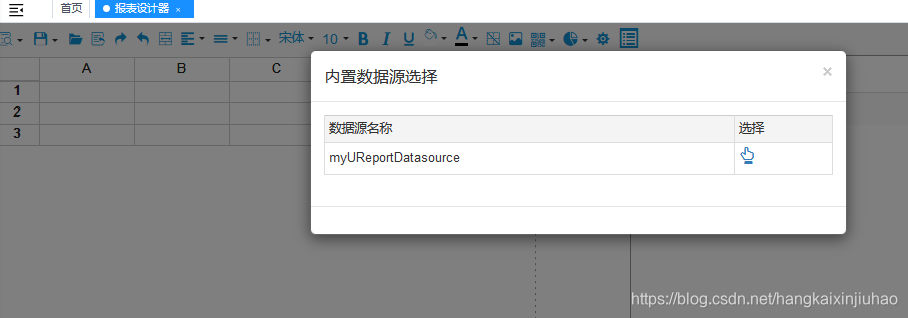
@Override
public String name() {
return "System";
}
@Override
public Connection getConnection() {
try {
return dataSource.getConnection();
} catch (SQLException e) {
log.error("Ureport 数据源获取连接失败!");
e.printStackTrace();
}
return null;
}
}配置文件 在类路径下建一个ureport.properties 配置报表保存路径
ureport.disableHttpSessionReportCache=false

#UReport2默认报表存储
ureport.disableFileProvider=false
ureport.fileStoreDir=d:/ureportfiles
ureport.debug=true
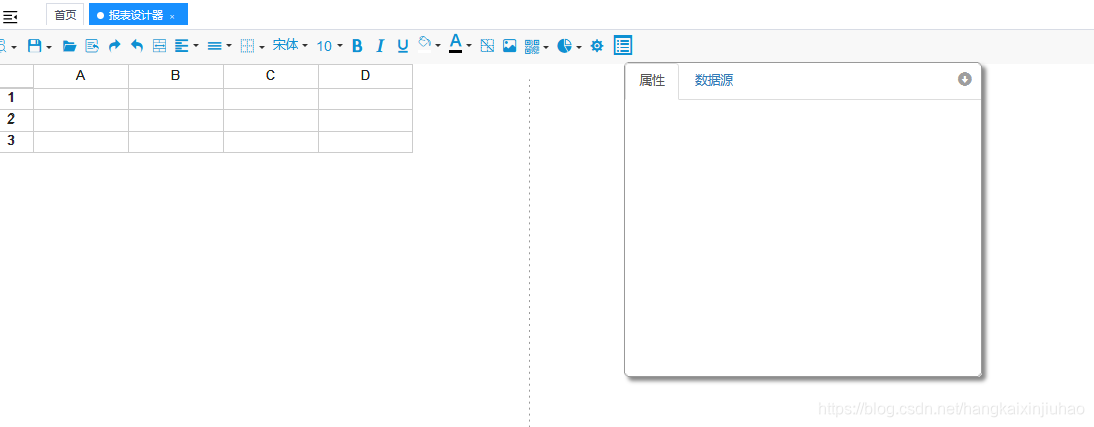
http://localhost:8080/ureport/designer
在上面的URL中有个名为“_u”的参数,它是用来指定当前要预览的报表模版名称,如果是对正在设计器中的报表进行预览,那么它的值就是“p”,这是一个约定的值,表示要预览的是正在设计器中的报表,所以可以看到我们演示时预览的URL都是这样:http://localhost:8080/ureport2-demo/ureport/preview?_u=p 。如果预览的不是正在设计器中设计的模版,那么只需要给出具体的报表名称即可,需要注意的是,这里的报表名称要以其ReportProvider中要求的前缀开始,比如http://localhost:8080/ureport2-demo/ureport/preview?_u=classpath:test.ureport.xml等。
重要:
直接访问地址:localhost:8080/ureport/preview?_u=file:文件名
localhost:8080/ureport/preview?_u=file:xiangmu.ureport.xml
报表预览后,通过预览页面上方工具栏中一排按钮,可以实现报表的PDF打印、导出Word、Excel、PDF等,对应的相关URL如下:
| URL | 说明 |
|---|---|
| http://ip/host[:port]/[context-path]/ureport/pdf/show?_u=报表名称 | 这个URL将向浏览器写入一个PDF文件流,在Chrome、Firefox、Edge、Safari这些浏览器中将会直接在线 显示PDF文件内容,这样可以实现在线浏览PDF并打印输出 |
| http://ip/host[:port]/[context-path]/ureport/word?_u=报表名称 | 导出对应报表的Word文件 |
| http://ip/host[:port]/[context-path]/ureport/excel?_u=报表名称 | 不分页导出对应报表的Excel文件 |
| http://ip/host[:port]/[context-path]/ureport/excel/paging?_u=报表名称 | 分页导出对应报表的Excel文件 |
| http://ip/host[:port]/[context-path]/ureport/excel/sheet?_u=报表名称 | 分页分Sheet导出对应报表的Excel文件 |
| http://ip/host[:port]/[context-path]/ureport/pdf?_u=报表名称 | 导出对应报表的PDF文件 |


 1万+
1万+

 被折叠的 条评论
为什么被折叠?
被折叠的 条评论
为什么被折叠?
 到【灌水乐园】发言


