


本文出自 “Android_Tutor” 博客
转载地址:http://weizhulin.blog.51cto.com/1556324/311488
在HelloAndroid 基础之上,进行与TextView 文字标签的第一次接触.在此例中,将会在Layout 中创建TextView 对象,并学会定义res/values/string.xml 里的字符串常数,最后通过TextView 的setText 方法,在预加载程序之初,更改TextView 文字.
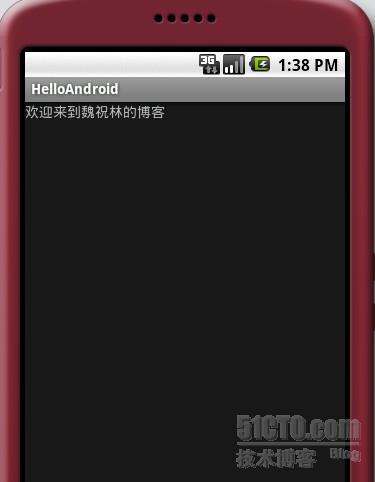
首先看一下运行结果如下图:
 650) this.width=650;" onsubmit onchange onunload onselect onreset>
首先"欢迎来到魏祝林的博客"这几个字是从什么地方来的呢,我们是在res->values->string.xml里面加了如下一句(黑体):
- <?xml version="1.0" encoding="utf-8"?>
- <resources>
- <string name="hello">Hello World, HelloAndroid!</string>
- <string name="app_name">HelloAndroid</string>
- <string name="textView_text">欢迎来到魏祝林的博客</string>
- </resources>
而加载"欢迎来到魏祝林的博客"是在main.xml (定义手机布局界面的)里加入的,如下面代码,其中我们闺将@string/hello 改成了@string/textView_text .
- <?xml version="1.0" encoding="utf-8"?>
- <LinearLayout xmlns:android="http://schemas.android.com/apk/res/android"
- android:orientation="vertical"
- android:layout_width="fill_parent"
- android:layout_height="fill_parent"
- >
- <TextView
- android:layout_width="fill_parent"
- android:layout_height="wrap_content"
- android:text="@string/textView_text"
- />
- </LinearLayout>
这样我们运行HelloAndroid.java时,手机画面里将显示"欢迎来到魏祝林的博客"的欢迎界面,貌似我们又是没有写代码,只是在.xml加了一两行搞定,对习惯了编程的同学,感觉有点不适应.其实在HelloAndroid.java写代码也可以完全达到一样的效果.
在这里我们首先将main.xml回归到原样在原样的基础上加上一行见下方(黑体行)这里ID是为了在Java类里,找到TextView对象,并且可以控制它:
- <?xml version="1.0" encoding="utf-8"?>
- <LinearLayout xmlns:android="http://schemas.android.com/apk/res/android"
- android:orientation="vertical"
- android:layout_width="fill_parent"
- android:layout_height="fill_parent"
- >
- <TextView
- android:id="@+id/myTextView"
- android:layout_width="fill_parent"
- android:layout_height="wrap_content"
- android:text="@string/hello"
- />
- </LinearLayout>
在主程序HelloAndroid.java里代码如下:
- package com.android.test;
- import android.app.Activity;
- import android.os.Bundle;
- import android.widget.TextView;
- public class HelloAndroid extends Activity {
- private TextView myTextView;
- public void onCreate(Bundle savedInstanceState) {
- super.onCreate(savedInstanceState);
- //载入main.xml Layout,此时myTextView:text为hello
- setContentView(R.layout.main);
- //使用findViewById函数,利用ID找到该TextView对象
- myTextView = (TextView)findViewById(R.id.myTextView);
- String welcome_mes = "欢迎来到魏祝林的博客";
- //利用setText方法将TextView文字改变为welcom_mes
- myTextView.setText(welcome_mes);
- }
- }
两种方法都可以达到一样的效果,不过我在此建议用第一种比较规范一点.


 393
393


 被折叠的 条评论
为什么被折叠?
被折叠的 条评论
为什么被折叠?
 到【灌水乐园】发言


