


学习内容:
React Native 是一个用于构建基于 Web 的交互界面的 JavaScript 库,因此会有更丰富的 UI 体验效果,同时也能够很好地调用底层框架的UI使用。
是使用JavaScript与React编写原生移动应用,可以开发出混合APP
第一篇笔记主要复习RN基础知识:RN项目结构、jsx、样式与标签。
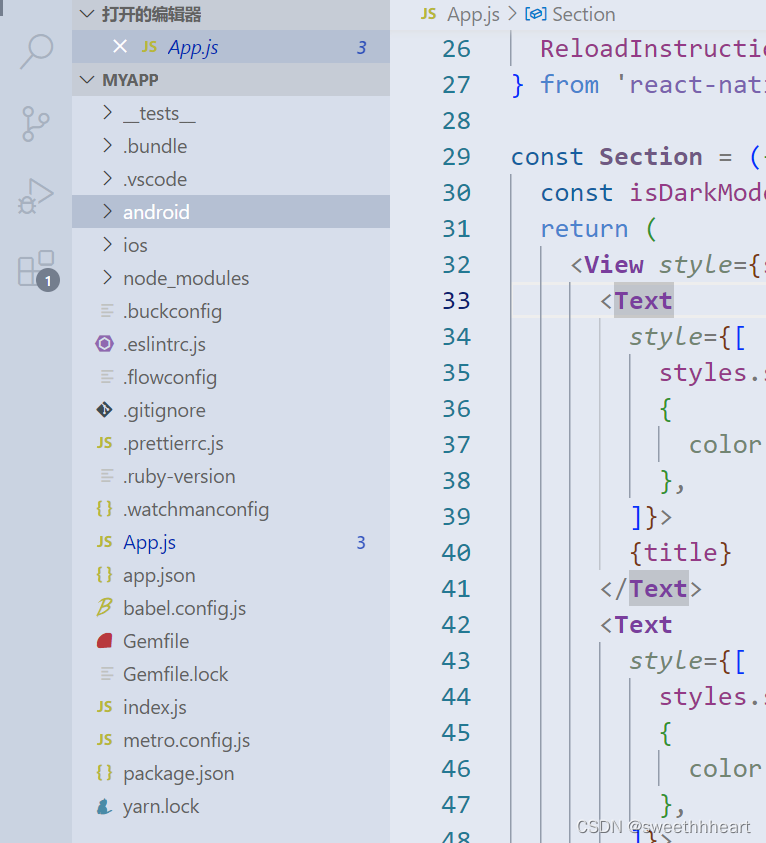
RN目录结构
- .eslintrc.js:eslint的配置文件
- .prettierrc.js:格式化配置文件,默认不动
- App.js :项目根组件
- index.js :项目的入口文件,比较少会编辑到
- pakage.json:第三方包的文件
jsx
React中写组件的代码格式,全称JavaScript xml,是JavaScript与xml混合模式
import React from 'react';
import { View, Text } from 'react-native';

const Index = () => <View>
  <Text>JSX</Text>
</View>

export default Index;
样式
flex布局
所有容器默认都是
flexbox
并且是纵向排列 也就是flex-direction:column
注:
1、文本不能只用view标签,必须要用text标签包裹起来,不然报错
2、flex属性控制宽度(横向布局)/高度(纵向布局)
3、flexDirection:'row' 横向排列
import React from 'react';
import { View, Text } from 'react-native';

const Index = () => <View style = {{backgroundColor:"aqua",flex:1,flexDirection:'row'}}>
  <Text>JSX1</Text>
  <Text>JSX2</Text>
</View>

export default Index;
样式继承
在rn中样式没有继承,加样式需要在标签里添加style = {{}}
单位
不加px像素单位,直接写数字就可以根据屏幕大小调整,加px会报错
不加vw vh单位,加了也报错
可以加百分比单位width:"50%"
获取屏幕宽度与高度
Dimensions:用于获取设备屏幕的宽高
import React from 'react';
import { View, Text,Dimensions } from 'react-native';
const windowWidth = Dimensions.get('window').width;
const windowHeight = Dimensions.get('window').height;
const Index = () => <View
  style = {{backgroundColor:"aqua",
  // flex:1,
  flexDirection:'row',
  // rn中的样式没有继承 加样式需要在对应标签里直接加
  color:"red",
  width:"50%",
  //修改高度时需要将flex=1删去
  height:"50%"
}}>
  <Text style={{color:"red"}}>JSX1</Text>
  <Text>JSX2</Text>
  <View style={{width:windowWidth/2,height:windowHeight/2,backgroundColor:"yellow"}}><Text>屏幕宽度和高度的一半</Text></View>
</View>

export default Index;
变换
const Index = () => <View>
  //放大两倍 向下移动200个像素
  <Text style={{backgroundColor:"aqua",transform:[{translateY:200},{scale:2}]}}>JSX1</Text>
</View>
标签
主要列出RN与web的不同之处
View
- 相当于div
- 不支持修改字体大小和颜色
- 不能直接放文本内容
- 不能直接绑定点击事件(一般用
TouchableOpacity代替)
Text
- 文本标签 可以设置字体大小、颜色
- 支持绑定点击事件
TouchableOpacity
- 可以绑定点击事件Onpress
- 可以设置点击时的透明度
- 相当于块级容器
//声明一个函数
const handlePress = ()=>{
  //弹窗
  alert("触屏")
}
//不要透明 activeOpacity={1}
const Index = () => <TouchableOpacity onPress={handlePress}>
  <Text>TouchableOpacity</Text>
</TouchableOpacity>
Image
渲染本地图片与网络图片,代码写法不同
GIF与WebP格式需要特殊设置
渲染本地图片
const Index = () => <View>
  //渲染本地图片
  <Image source={require("./images/11.png")}/>
  <Image source={require("./images/smallshu.jpg")}/>
</View>
渲染网络图片
//渲染网络图片 一定要加宽高 否则不能显示
  <Image style = {{width:200,height:300}} source={{uri:""}}></Image>
处理GIF
默认情况下 Android 是不支持 GIF 和 WebP 格式的。需要在android/app/build.gradle文件中根据需要手动添加以下模块:
dependencies {
  // 如果你需要支持Android4.0(API level 14)之前的版本
  implementation 'com.facebook.fresco:animated-base-support:1.3.0'

  // 如果你需要支持GIF动图
  implementation 'com.facebook.fresco:animated-gif:2.0.0'

  // 如果你需要支持WebP格式,包括WebP动图
  implementation 'com.facebook.fresco:animated-webp:2.1.0'
  implementation 'com.facebook.fresco:webpsupport:2.0.0'

  // 如果只需要支持WebP格式而不需要动图
  implementation 'com.facebook.fresco:webpsupport:2.0.0'
}
const Index = () => <View>
<Image source={require("./images/11.gif")}></Image>
</View>
注意这里修改了android文件夹下的内容,需要重启项目才能应用。
ImageBackground
一个可以使用图片作背景的容器,相当于div+背景图片
需要指定宽高,否则变成由内容撑开的容器
const Index = () => <ImageBackground source={require("./images/bai.jpeg")}
style={{width: '100%', height: '100%'}}>
<Text>Inside</Text>
</ImageBackground>
TextInput
可以通过onChangeText事件来获取输入框的值,默认样式没有边框
//声明事件函数
const handleChangeText = (text) =>{
  alert(text)
}
const Index = () => <TextInput onChangeText={handleChangeText}>

</TextInput>


 783
783


 被折叠的 条评论
为什么被折叠?
被折叠的 条评论
为什么被折叠?
 到【灌水乐园】发言


