


前提:我的SpringBoot 项目的版本是
<parent>

    <groupId>org.springframework.boot</groupId>

    <artifactId>spring-boot-starter-parent</artifactId>

    <version>2.7.18-SNAPSHOT</version>

    <relativePath /> <!-- lookup parent from repository -->

</parent>
一、导入jar包
<dependency>

    <groupId>io.springfox</groupId>

    <artifactId>springfox-boot-starter</artifactId>

    <version>3.0.0</version>

</dependency>
二、编写SwaggerConfig 配置类
代码:
package com.hjxjpa.springbootjpa.config;
import org.springframework.context.annotation.Bean;
import org.springframework.context.annotation.Configuration;
import springfox.documentation.builders.ApiInfoBuilder;
import springfox.documentation.builders.PathSelectors;
import springfox.documentation.builders.RequestHandlerSelectors;
import springfox.documentation.oas.annotations.EnableOpenApi;
import springfox.documentation.service.ApiInfo;
import springfox.documentation.spi.DocumentationType;
import springfox.documentation.spring.web.plugins.Docket;
@EnableOpenApi
@Configuration
public class SwaggerConfig {
@Bean
Docket createRestApi() {
return new Docket(DocumentationType.OAS_30)
.apiInfo(apiInfo())
.select()
.apis(RequestHandlerSelectors.basePackage("com.hjxjpa.springbootjpa.web"))
.paths(PathSelectors.any())
.build();
}
private ApiInfo apiInfo() {
System.out.println("apiInfo已经被执行了..................");
return new ApiInfoBuilder()
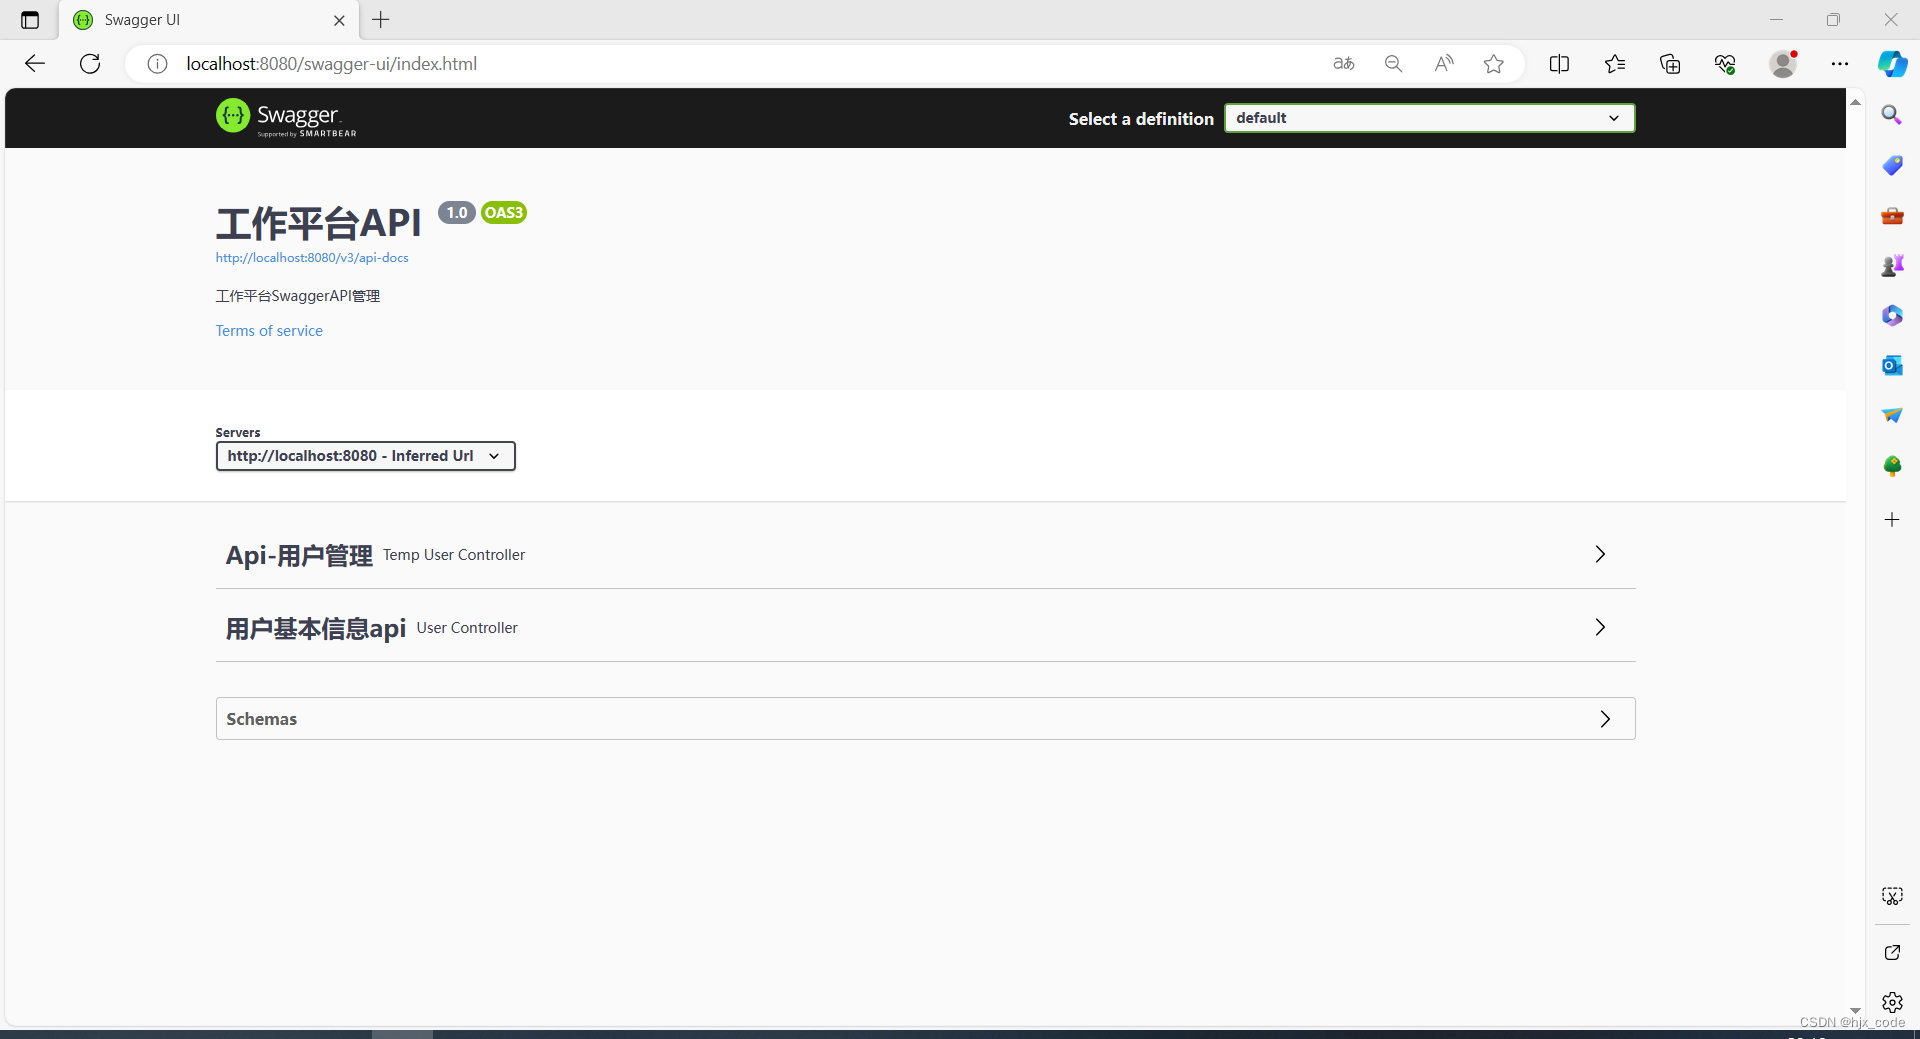
.title("工作平台API ")
.description("工作平台SwaggerAPI管理")
.termsOfServiceUrl("htpp://127.0.0.1/")
.version("1.0")
.build();
}
}
三、在controller类中添加注解
代码:
package com.hjxjpa.springbootjpa.web;

import java.util.List;

import org.springframework.beans.factory.annotation.Autowired;
import org.springframework.web.bind.annotation.GetMapping;
import org.springframework.web.bind.annotation.RequestMapping;
import org.springframework.web.bind.annotation.RestController;

import com.hjxjpa.springbootjpa.entity.TempUserEntity;
import com.hjxjpa.springbootjpa.service.TempUserService;

import io.swagger.annotations.Api;
import io.swagger.annotations.ApiOperation;

@Api(tags = "Api-用户管理")
@RestController
@RequestMapping("/api/tempUser")
public class TempUserController {
    @Autowired
    TempUserService tempUserService;

    @ApiOperation(value = "用户列表",notes = "用户管理列表")
    @GetMapping("/user")
    public List<TempUserEntity> getUsers(){
        return tempUserService.getUsers();
    }

}
四、配置mvc 路径访问策略
在配置文件中加入以下配置,否则看不到接口内容:
spring.mvc.pathmatch.matching-strategy=ant-path-matcher 五、查看效果
http://localhost:8080/swagger-ui/index.html
以上就是swagger集成到springboot项目的基本操作,希望对伙伴们有帮助 !


 4万+
4万+

 被折叠的 条评论
为什么被折叠?
被折叠的 条评论
为什么被折叠?
 到【灌水乐园】发言


