


 博客介绍了Android帧式布局的相关内容。帧式布局是层叠式布局,后添加控件会层叠在先添加的控件上。还给出了常用属性,并通过新建文件、修改布局资源文件、输入代码等步骤进行案例演示,展示了运行代码后的效果。
目录
布局特点
帧式布局是一种层叠式的布局,后添加的控件会层叠在先添加的控件上。
常用属性
| 属性 | 含义 |
| scrollbars | 滚动条(none、horizontal、vertical) |
| layout_marginTop | 上边距 |
| layout_marginBottom | 下边距 |
| layout_marginLeft | 左边距 |
| layout_marginRight | 右内边距 |
| paddingLeft | 左内边距 |
| paddingRighe | 右内边距 |
| paddingTop | 上内边距 |
| paddingBottom | 下内边距 |
| background | 背景 |
案例演示
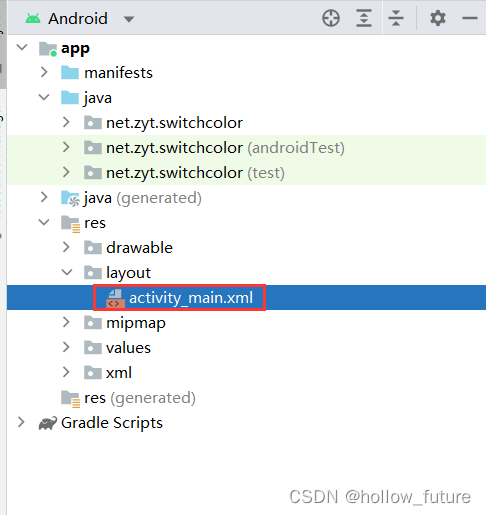
新建一个文件,打开主布局资源文件activity_main改为线性布局并在里面添加各种控件
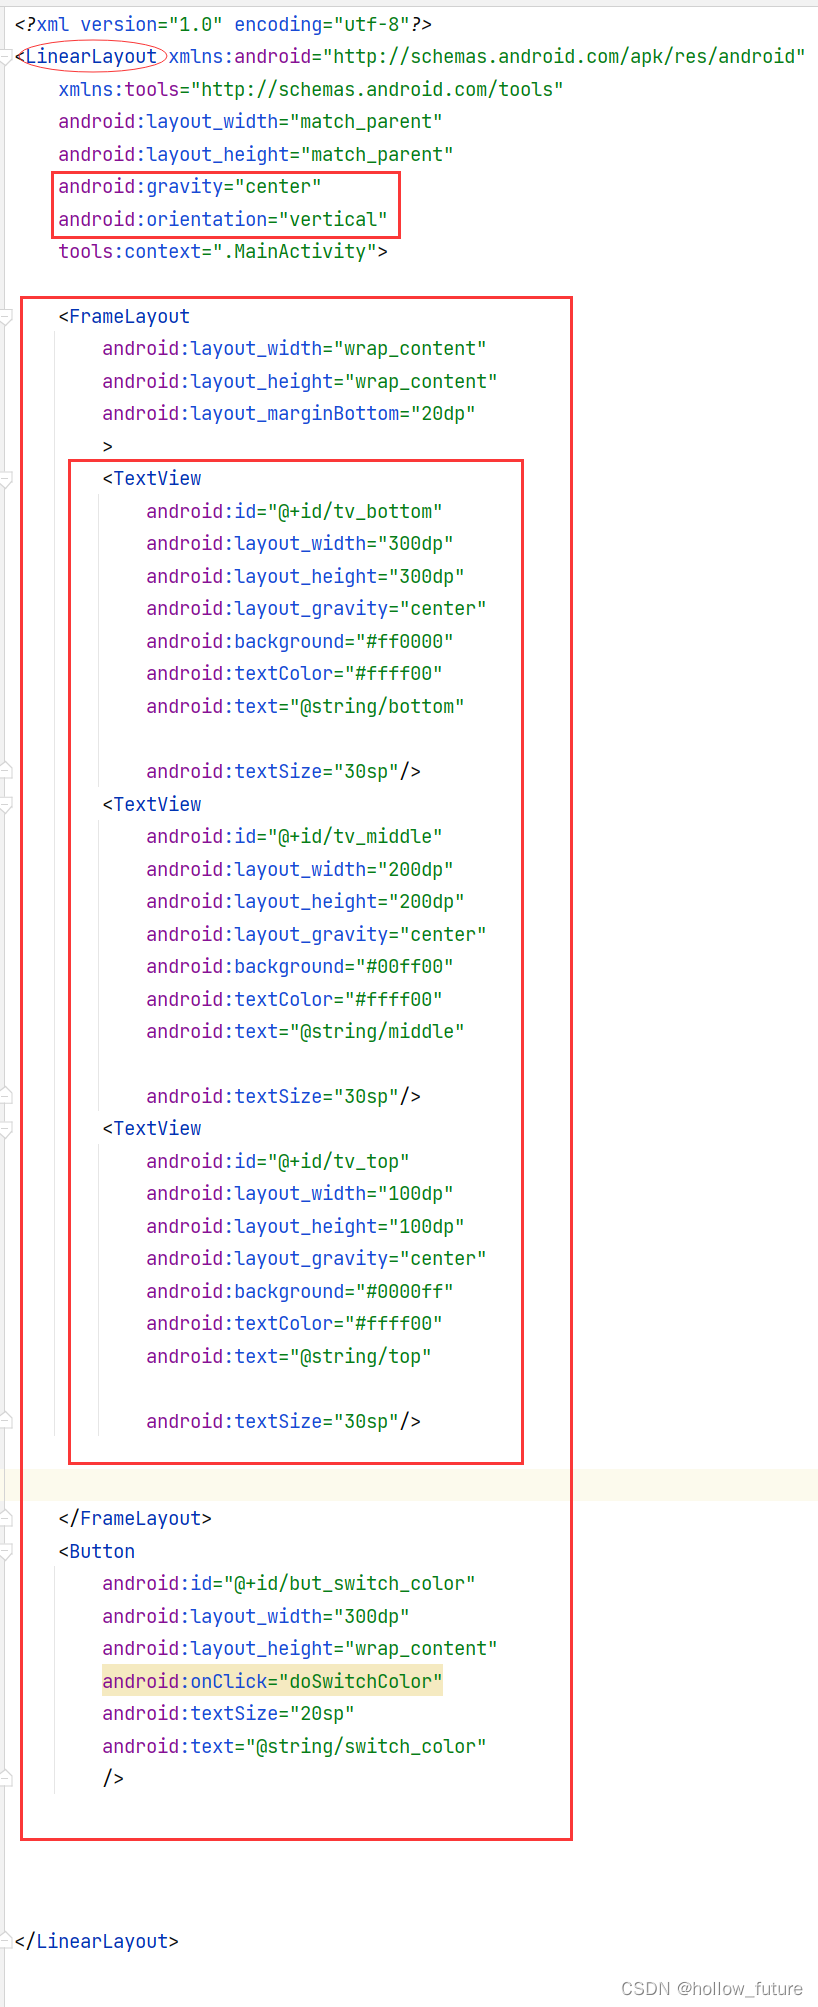
具体代码:
<?xml version="1.0" encoding="utf-8"?>
<LinearLayout xmlns:android="http://schemas.android.com/apk/res/android"
    xmlns:tools="http://schemas.android.com/tools"
    android:layout_width="match_parent"
    android:layout_height="match_parent"
    android:gravity="center"
    android:orientation="vertical"
    tools:context=".MainActivity">

    <FrameLayout
        android:layout_width="wrap_content"
        android:layout_height="wrap_content"
        android:layout_marginBottom="20dp"
        >
        <TextView
            android:id="@+id/tv_bottom"
            android:layout_width="300dp"
            android:layout_height="300dp"
            android:layout_gravity="center"
            android:background="#ff0000"
            android:textColor="#ffff00"
            android:text="@string/bottom"

            android:textSize="30sp"/>
        <TextView
            android:id="@+id/tv_middle"
            android:layout_width="200dp"
            android:layout_height="200dp"
            android:layout_gravity="center"
            android:background="#00ff00"
            android:textColor="#ffff00"
            android:text="@string/middle"

            android:textSize="30sp"/>
        <TextView
            android:id="@+id/tv_top"
            android:layout_width="100dp"
            android:layout_height="100dp"
            android:layout_gravity="center"
            android:background="#0000ff"
            android:textColor="#ffff00"
            android:text="@string/top"

            android:textSize="30sp"/>


    </FrameLayout>
    <Button
        android:id="@+id/but_switch_color"
        android:layout_width="300dp"
        android:layout_height="wrap_content"
        android:onClick="doSwitchColor"
        android:textSize="20sp"
        android:text="@string/switch_color"
        />


</LinearLayout>
打开字符串资源文件strings.xml输入:

具体代码:
<resources>
    <string name="app_name">帧式</string>
    <string name="top">顶层</string>
    <string name="middle">中层</string>
    <string name="bottom">底层</string>
    <string name="switch_color">切换颜色</string>

</resources>
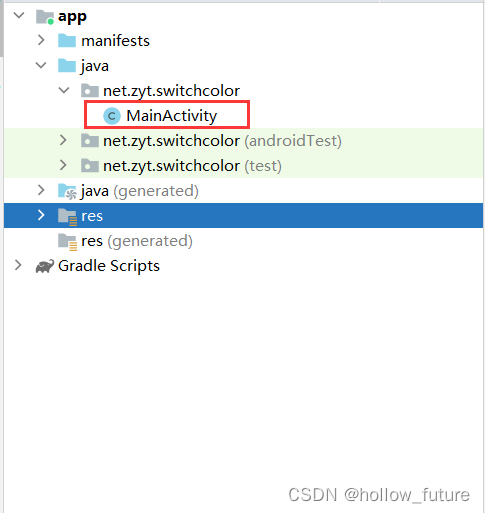
打开主界面MainActivity文件
输入:
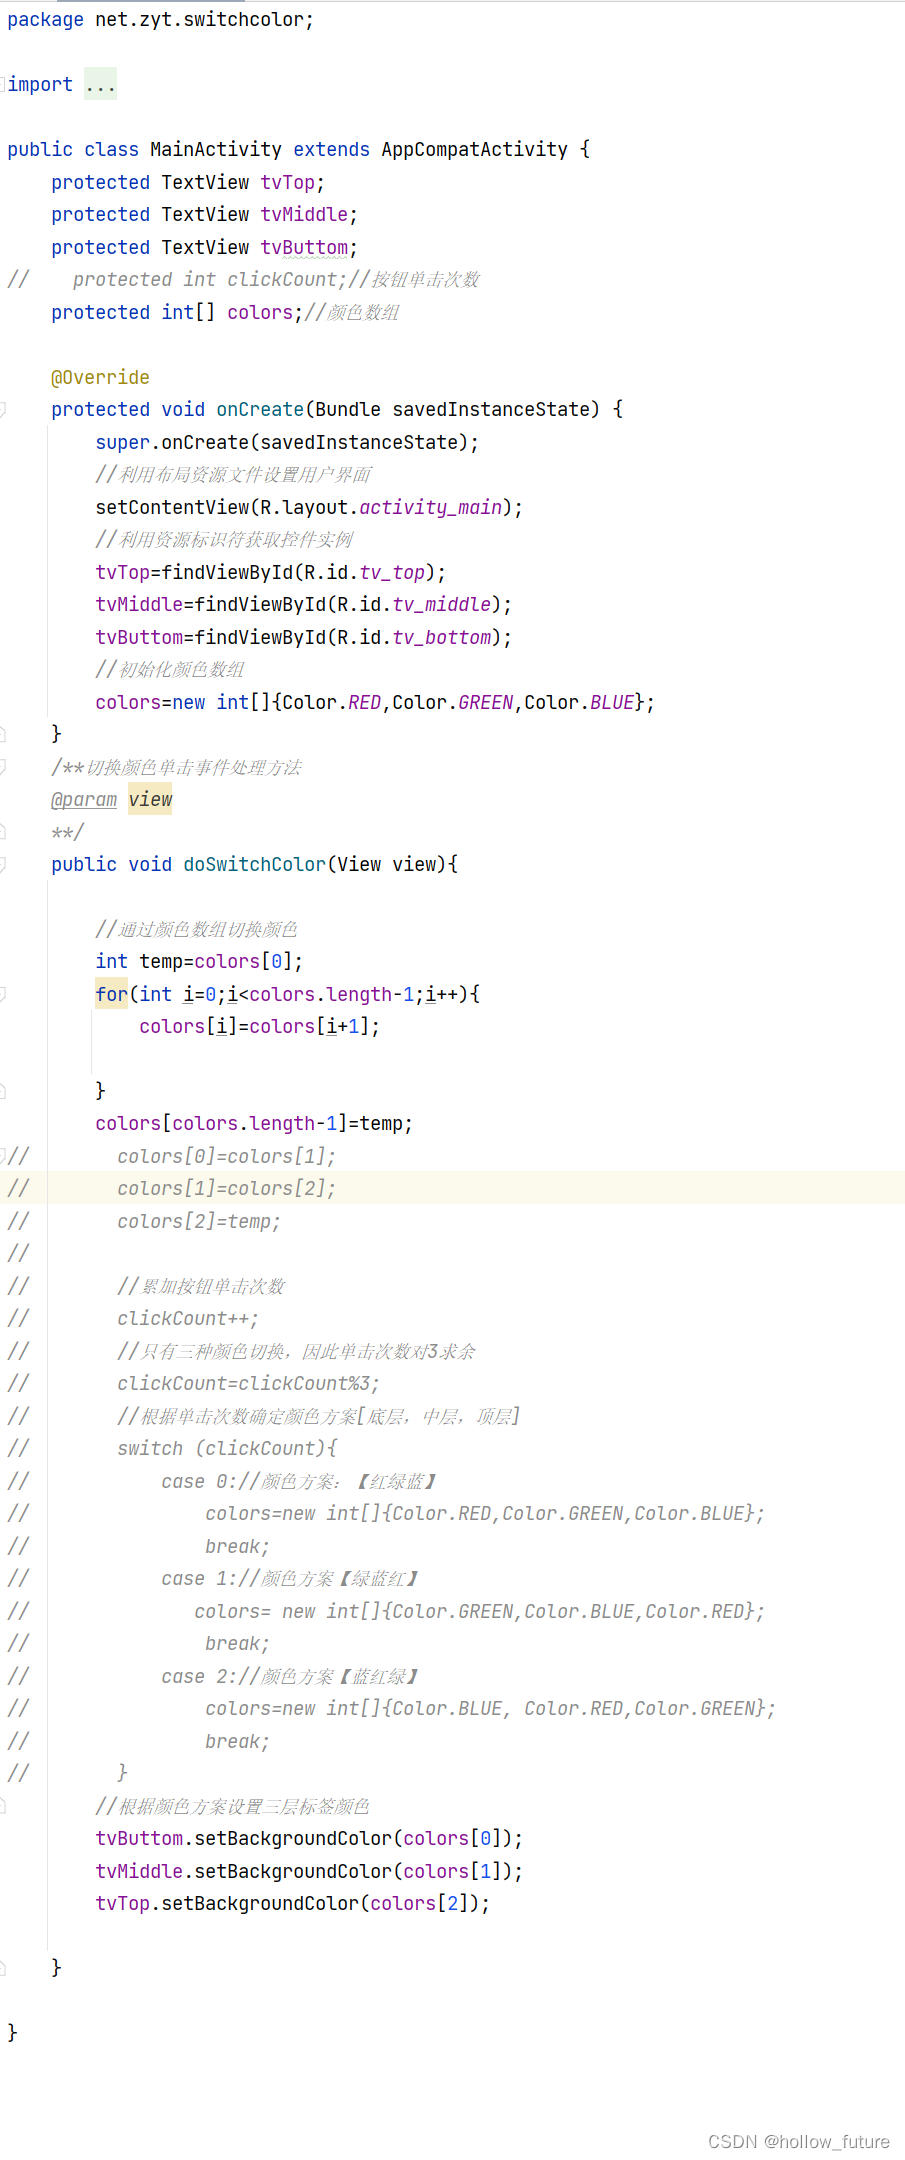
具体代码:
package net.zyt.switchcolor;

import androidx.appcompat.app.AppCompatActivity;

import android.graphics.Color;
import android.os.Bundle;
import android.view.View;
import android.widget.TextView;

public class MainActivity extends AppCompatActivity {
    protected TextView tvTop;
    protected TextView tvMiddle;
    protected TextView tvButtom;
    protected int[] colors;//颜色数组

    @Override
    protected void onCreate(Bundle savedInstanceState) {
        super.onCreate(savedInstanceState);
        //利用布局资源文件设置用户界面
        setContentView(R.layout.activity_main);
        //利用资源标识符获取控件实例
        tvTop=findViewById(R.id.tv_top);
        tvMiddle=findViewById(R.id.tv_middle);
        tvButtom=findViewById(R.id.tv_bottom);
        //初始化颜色数组
        colors=new int[]{Color.RED,Color.GREEN,Color.BLUE};
    }
    /**切换颜色单击事件处理方法
    @param view
    **/
    public void doSwitchColor(View view){

        //通过颜色数组切换颜色
        int temp=colors[0];
        for(int i=0;i<colors.length-1;i++){
            colors[i]=colors[i+1];

        }
        colors[colors.length-1]=temp;

        //根据颜色方案设置三层标签颜色
        tvButtom.setBackgroundColor(colors[0]);
        tvMiddle.setBackgroundColor(colors[1]);
        tvTop.setBackgroundColor(colors[2]);

    }

}
运行代码最后效果:


 966
966

 被折叠的 条评论
为什么被折叠?
被折叠的 条评论
为什么被折叠?
 到【灌水乐园】发言


