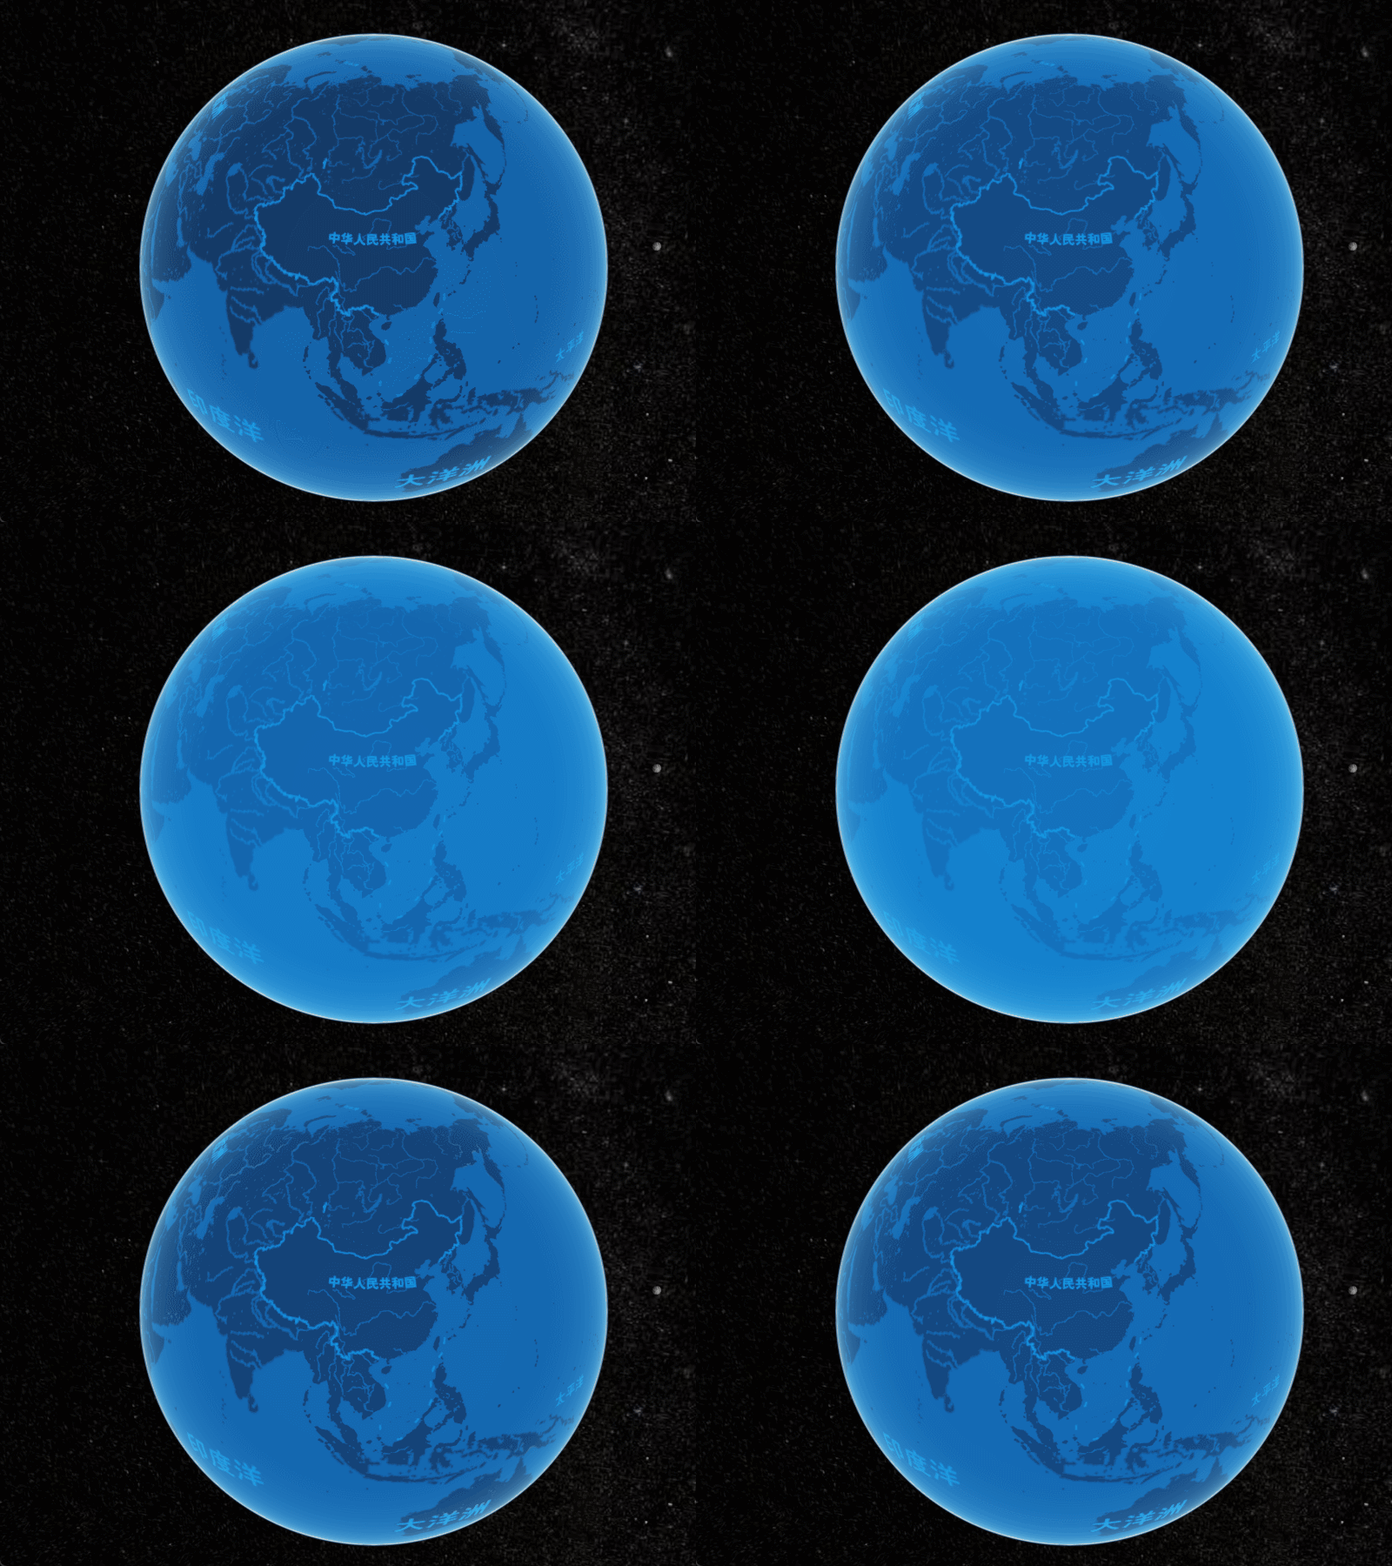
通过设置底图参数在一定程度上可以修改底图样式,但是想要调试出比较满意的底图还是很困难,因为cesium底图参数里并没有集成反色和滤镜,所以想要调出比较好看的底图,需要修改cesium源码的图层参数,添加反色和滤镜。这对与初学者并不友好,这里通过劫持源码渲染shader的方式(这并不是一个好主意),附加上反色和滤镜,尽可能的不去修改源码,这种方式需在初始时设置好滤镜颜色,因为缓存的原因,想动态修改滤镜颜色不太容易。后续有时间再讲讲如何修改源码,这里先按下不表。这里给出对高德电子地图添加反色和滤镜的完整示例。
1 完整示例代码
FilterLayer.vue
<!--
 * @Description:
 * @Author: maizi
 * @Date: 2023-04-03 11:34:28
 * @LastEditTime: 2024-07-19 11:54:30
 * @LastEditors: maizi
-->

<template>
  <div id="container">
  </div>
</template>

<script>
import * as MapWorks from './js/MapWorks'
export default {
  name: 'FilterLayer',
  data(){
    return {
    }
  },
  mounted() {
    this.init();
  },
  beforeDestroy(){
    //实例被销毁前调用,页面关闭、路由跳转、v-if和改变key值
    MapWorks.destroy();
  },

  methods:{
    init(){
      let container = document.getElementById("container");
      MapWorks.initMap(container)
      MapWorks.addGdLayer()
    }
  }

}
</script>

<style lang="scss" scoped>
#container {
  width: 100%;
  height: 100%;
  background: rgba(7, 12, 19, 1);
  overflow: hidden;
  background-size: 40px 40px, 40px 40px;
  background-image: linear-gradient(hsla(0, 0%, 100%, 0.05) 1px, transparent 0), linear-gradient(90deg, hsla(0, 0%, 100%, 0.05) 1px, transparent 0);
}


</style>
MapWorks.js
/*
 * @Description:
 * @Author: maizi
 * @Date: 2023-04-03 17:34:21
 * @LastEditTime: 2024-07-19 11:55:10
 * @LastEditors: maizi
 */

import GUI from 'lil-gui';
import AmapImageryProvider from './AmapImageryProvider'
// 初始视图定位在中国
Cesium.Camera.DEFAULT_VIEW_RECTANGLE = Cesium.Rectangle.fromDegrees(90, -20, 110, 90);

let viewer = null;
let tileLayer = null;
const gui = new GUI();
const params = {
  alpha: 1.0,
  nightAlpha: 1.0,
  dayAlpha: 1.0,
  brightness: 0.6,
  contrast: 1.8,
  hue: 1,
  saturation: 0,
  gamma:  0.3
}

const filterParams = {
  bInvertColor: true,
  bFilterColor: true,
  filterColor: '#0044aa'
}

function initMap(container) {
  viewer = new Cesium.Viewer(container, {
    animation: false,
    baseLayerPicker: false,
    fullscreenButton: false,
    geocoder: false,
    homeButton: false,
    infoBox: false,
    sceneModePicker: false,
    selectionIndicator: false,
    timeline: false,
    navigationHelpButton: false,
    scene3DOnly: true,
    orderIndependentTranslucency: false,
    contextOptions: {
      webgl: {
        alpha: true
      }
    }
  })
  viewer._cesiumWidget._creditContainer.style.display = 'none'
  viewer.scene.fxaa = true
  viewer.scene.postProcessStages.fxaa.enabled = true
  if (Cesium.FeatureDetection.supportsImageRenderingPixelated()) {
    // 判断是否支持图像渲染像素化处理
    viewer.resolutionScale = window.devicePixelRatio
  }
  // 移除默认影像
  removeAll()
  // 地形深度测试
  viewer.scene.globe.depthTestAgainstTerrain = true
  // 背景色
  viewer.scene.globe.baseColor = new Cesium.Color(0.0, 0.0, 0.0, 0)

   //gui面板
   initGui()
}

function initGui() {
  gui.title('参数设置')
  gui.add(params, 'alpha', 0, 1).step(0.01).onChange(function (value) {
    tileLayer.alpha = params.alpha
  })
  gui.add(params, 'nightAlpha', 0, 1).step(0.01).onChange(function (value) {
    tileLayer.nightAlpha = params.nightAlpha
  })
  gui.add(params, 'dayAlpha', 0, 1).step(0.01).onChange(function (value) {
    tileLayer.dayAlpha = params.dayAlpha
  })
  gui.add(params, 'brightness', 0, 1).step(0.01).onChange(function (value) {
    tileLayer.brightness = params.brightness
  })
  gui.add(params, 'contrast', 0, 2).step(0.01).onChange(function (value) {
    tileLayer.contrast = params.contrast
  })
  gui.add(params, 'hue', 0, 1).step(0.01).onChange(function (value) {
    tileLayer.hue = params.hue
  })
  gui.add(params, 'saturation', 0, 1).step(0.01).onChange(function (value) {
    tileLayer.saturation = params.saturation
  })
  gui.add(params, 'gamma', 0, 10).step(0.01).onChange(function (value) {
    tileLayer.gamma = params.gamma
  })
}

function addGdLayer() {
  const layerProvider = new AmapImageryProvider({
    type: 'vec_label_w'
  });
  tileLayer = viewer.imageryLayers.addImageryProvider(layerProvider);

  tileLayer.brightness = 0.6
  tileLayer.contrast = 1.8
  tileLayer.gamma = 0.3
  tileLayer.hue = 1
  tileLayer.saturation = 0
  filterLayer(filterParams)
}

function filterLayer(options) {
  const {bInvertColor, bFilterColor, filterColor }  = options
  const color =  new Cesium.Color.fromCssColorString(filterColor);
  const filterRGB = [
    Math.round(color.red * 255),
    Math.round(color.green * 255),
    Math.round(color.blue * 255)
  ]
  let fragShader = viewer.scene.globe._surfaceShaderSet.baseFragmentShaderSource.sources
  for (let i = 0; i < fragShader.length; i++) {
    const strS = 'color = czm_saturation(color, textureSaturation);\n#endif\n'
    let strT = 'color = czm_saturation(color, textureSaturation);\n#endif\n'
    if (bInvertColor) {
      strT += `
        color.r = 1.0 - color.r;
        color.g = 1.0 - color.g;
        color.b = 1.0 - color.b;
      `
    }
    if (bFilterColor) {
      strT += `
        color.r = color.r * ${filterRGB[0]}.0/255.0;
        color.g = color.g * ${filterRGB[1]}.0/255.0;
        color.b = color.b * ${filterRGB[2]}.0/255.0;
      `
    }
    fragShader[i] = fragShader[i].replace(strS, strT)
  }
}

function removeAll() {
  viewer.imageryLayers.removeAll();
}

function destroy() {
  viewer.entities.removeAll();
  viewer.imageryLayers.removeAll();
  viewer.destroy();
}

function setView(coords,hpr) {
  viewer.scene.camera.flyTo({
    destination: Cesium.Cartesian3.fromDegrees(coords[0], coords[1], coords[2]),
    orientation: {
      heading: Cesium.Math.toRadians(hpr.heading),
      pitch: Cesium.Math.toRadians(hpr.pitch),
      roll: Cesium.Math.toRadians(hpr.roll),
    }
  });
}


export {
  initMap,
  addGdLayer,
  setView,
  removeAll,
  destroy
}
AmapImageryProvider.js 的完整代码在cesium加载高德地图并纠偏一篇中已给出。
2 运行结果


 2262
2262

 被折叠的 条评论
为什么被折叠?


