


 本文详细介绍了Go语言中html/template包的使用,包括模板的基本语法、从HelloWorld示例到结构体、map、内置变量、注释和自定义函数的综合应用,以及更复杂模板如嵌套和条件渲染的实战演示。
Go text/template 是 Go 语言标准库中的一个模板引擎,用于生成文本输出。它使用类似于 HTML 的模板语言,可以将数据和模板结合起来,生成最终的文本输出。
Go html/template包实现了数据驱动的模板,用于生成可防止代码注入的安全的HTML内容。
它提供了和text/template包相同的接口,Go语言中输出HTML的场景都应使用html/template这个包。
1 使用方法
html/template 为go的内置包直接 import “html/template” 即可,模板引擎的使用一般三个步骤,定义,解析,渲染。
模板语法都包含在 {
{和}} 中间,其中 {
{.}} 中的点表示当前对象。对象可以是变量、内置变量、控制结构、内部函数、自定义函数,注释等等。
2 从Hello World开始
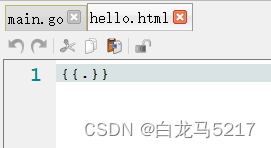
2.1 创建一个html模板文件
模板文件名为 hello,html,内容如下:
{

  {.}}
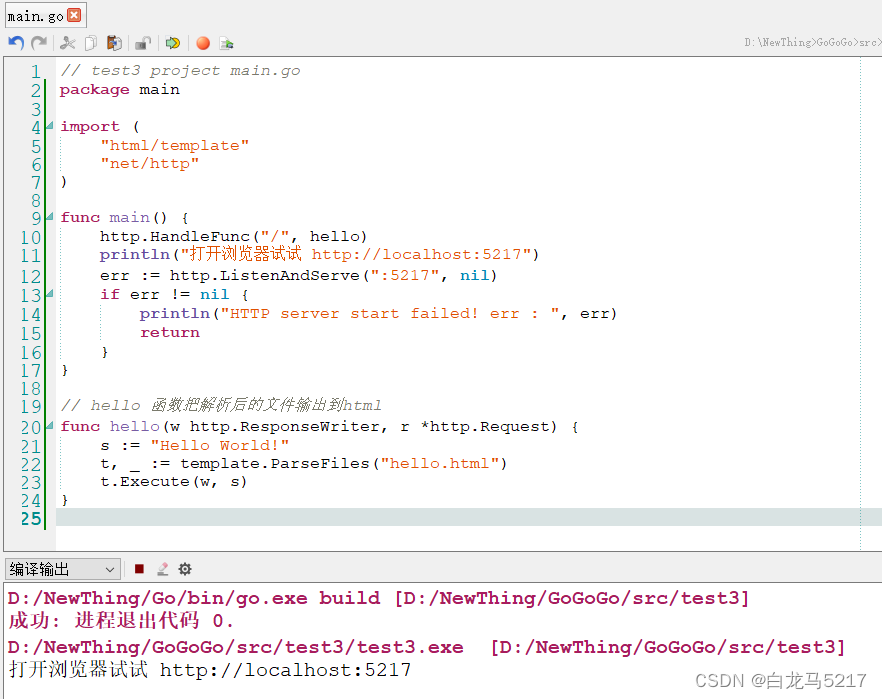
2.2 解析模板并输出到浏览器
// test3 project main.go
package main

import (
	"net/http"
	"html/template"
)

func main() {


	http.HandleFunc("/", hello)
	println("打开浏览器试试 http://localhost:5217")
	err := http.ListenAndServe(":5217", nil)
	if err != nil {


		println("HTTP server start failed! err : ", err)
		return
	}
}

// hello 函数把解析后的文件输出到html
func hello(w http.ResponseWriter, r *http.Request) {


	s := "Hello World!"
	t, _ := template.ParseFiles("hello.html")
	t.Execute(w, s)
}
运行一下:
浏览器查看:
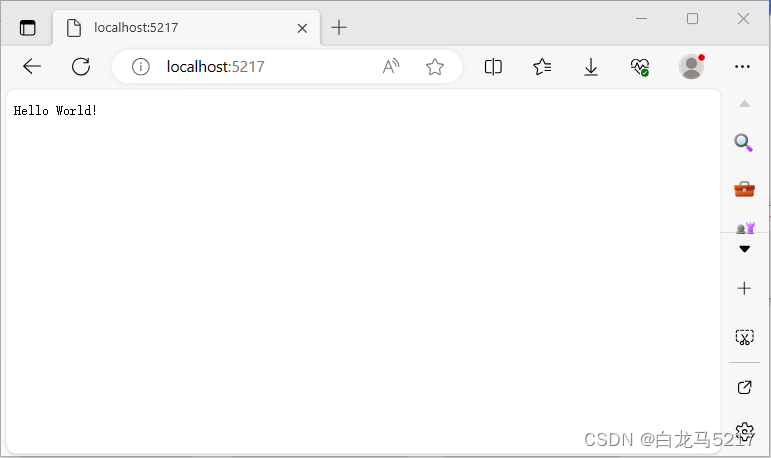
是不是很简单啊。
3 一个综合使用的例子
这个例子包括解析结构体,map,内置变量,注释,内置函数,自定义函数等。
3.1 创建一个html模板
其实文件名叫啥都是,比如html.tmpl
<!DOCTYPE html>
<html lang="en">
<head>
    <meta charset="UTF-8">
    <title>golang html demo</title>
</head>
<body>
    <div>
      <p>王子:</p>
        <p>Hello {

  {.m1.name}}</p>
        <p>年龄: {

  {.m1.age}}</p>
        <p>性别: {

  {.m1.gender}}</p>

      <p>公主:</p>
      {

  {/* with 省略写法 */}}
      {

  {with .u1}}
        <p>Hello {

  { .Name}}</p>
        <p>年龄: {

  { .Age}}</p>
        <p>性别: {

  { .Gender}}</p>
      {

  {end}}
    </div>
    <div>
     <p>内置变量:</p>
      {

  {/* 定义内置变量*/}}
      {

  {$i := 100}}
      {

  {$x := .u1.Age}}
      {

  {/* 在页面显示内置变量*/}}
      {

  {$i}}
      {

  {$x}}
    </div>

    <div>
      <p>内置函数:</p>
      {

  {/*内置函数*/}}
      {

  {$a := 0}}
      {

  {$b := 1}}
      {

  {or $a $b}}
      {

  {and $a $b}}
      {

  {len .m1}}
 最低0.47元/天 解锁文章


 1万+
1万+

 被折叠的 条评论
为什么被折叠?
被折叠的 条评论
为什么被折叠?
 到【灌水乐园】发言


