


参考:http://www.cnblogs.com/Bonker/p/4252588.html
一,安装Nginx
apt-get install nginx
1,配置nginx
nginx所有的配置在 /etc/nginx/nginx.conf中
nginx.conf配置里面包括了
include /etc/nginx/conf.d/*.conf;
include /etc/nginx/sites-enabled/*;
这两个配置,所以这里面的配置也是有效的。
错误日志 error_log /var/log/nginx/error.log;
这里我们把配置写在 /etc/nginx/sites-available/default中
#打开配置文件
sudo vim /etc/nginx/sites-available/default
#root /usr/share/nginx/html; 这是网页的根目录,默认里面有一个index.html页面
首先,在 index 后添加 index.php:
server {
	listen 88 default_server;
	listen [::]:88 default_server ipv6only=on;

	root /usr/share/nginx/html;
        #修改这里,在 index 后添加 index.php
	index index.php index.html index.htm;

	# Make site accessible from http://localhost/
	server_name localhost;
        ....
然后,可以再去掉如下注释,看清楚是哪里哦:
	# pass the PHP scripts to FastCGI server listening on 127.0.0.1:9000
	#
	location ~ \.php$ {
	#	fastcgi_split_path_info ^(.+\.php)(/.+)$;
	#	# NOTE: You should have "cgi.fix_pathinfo = 0;" in php.ini
	#
	#	# With php5-cgi alone:
	#	fastcgi_pass 127.0.0.1:9000;
	#	# With php5-fpm:
		fastcgi_pass unix:/var/run/php5-fpm.sock;
		fastcgi_index index.php;
		include fastcgi_params;
	}
二 安装php
sudo apt-get install php5-fpm
sudo apt-get install php5-gd  # Popular image manipulation library; used extensively by Wordpress and it's plugins.
sudo apt-get install php5-cli   # Makes the php5 command available to the terminal for php5 scripting
sudo apt-get install php5-curl    # Allows curl (file downloading tool) to be called from PHP5
sudo apt-get install php5-mcrypt   # Provides encryption algorithms to PHP scripts
sudo apt-get install php5-mysql   # Allows PHP5 scripts to talk to a MySQL Database
sudo apt-get install php5-readline  # Allows PHP5 scripts to use the readline function
php的一些命令如下:
查看php5运行进程
ps -waux | grep php5

打开关闭php5进程
sudo service php5-fpm stop
sudo service php5-fpm start
sudo service php5-fpm restart
sudo service php5-fpm status
//这一步不做了,因为nginx的配置文件里我是改成fastcgi_pass unix:/var/run/php5-fpm.sock;
//因为我发现在有双网卡的机子上设置127.0.0.1貌似不行
#配置php5监听端口 /etc/php5/fpm/pool.d/www.conf
#listen = /var/run/php5-fpm.sock 改为#listen = 127.0.0.1:9000
接着进行重启
#这一句虽然没必要但可以给你检查配置文件的错误
sudo nginx -s reload
#重启 php5-fpm
sudo /etc/init.d/php5-fpm restart
#重启 nginx
sudo /etc/init.d/nginx restart
测试
#修改权限
sudo chmod 777 /usr/share/nginx/html/
#新建测试文件
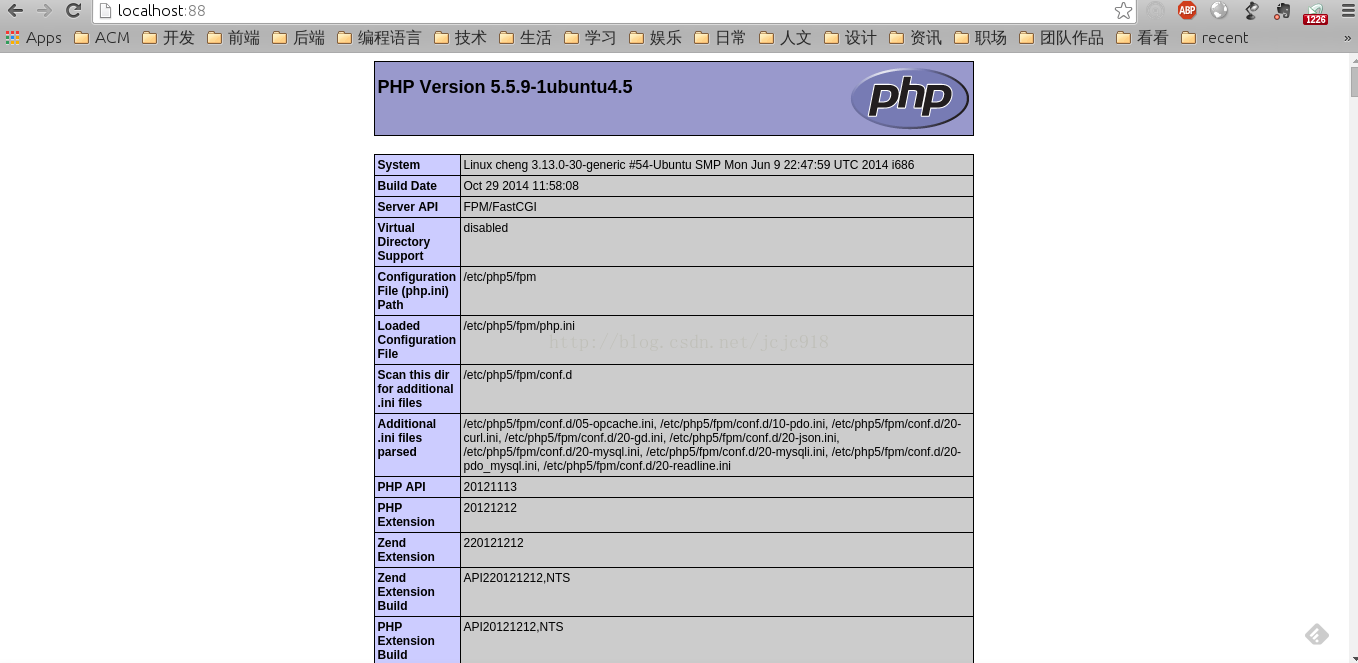
vim /usr/share/nginx/html/index.php在文件中输入以下内容就好:
<?php

phpinfo();

?>
打开浏览器,再次输入地址,localhost ,看到如下界面则成功:


 79
79

 被折叠的 条评论
为什么被折叠?
被折叠的 条评论
为什么被折叠?
 到【灌水乐园】发言


