


1. 使用@Value方式注入
因为Spring boot源自Spring,所以Spring Boot同样可以使用Component+@Value注解的方式进行属性注入。
因为在application.properties文件中主要存放系统配置。自定义的配置不建议放在该文件中,所以我们可以自定义properties文件来存放自定义配置。
1.1首先防止中文乱码
在application.properties中添加如下代码:
server.tomcat.uri-encoding=UTF-8
spring.http.encoding.charset=UTF-8
spring.http.encoding.enabled=true
spring.http.encoding.force=true
spring.messages.encoding=UTF-8
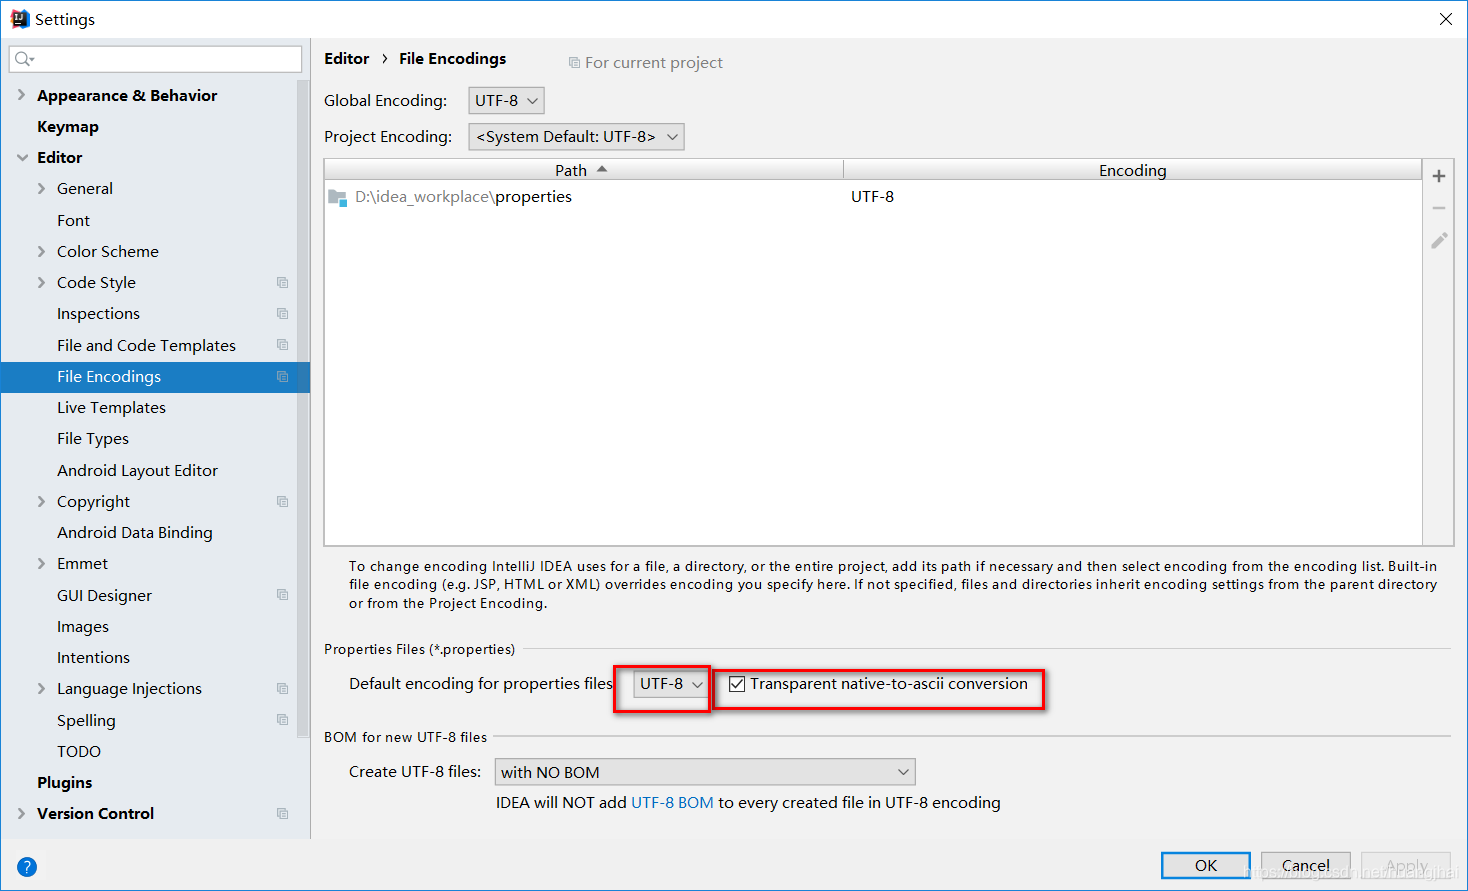
File -> Settings -> Editor -> File Encodings
将Properties Files (*.properties)下的Default encoding for properties files设置为UTF-8,将Transparent native-to-ascii conversion前的勾选上
1.2 配置文件
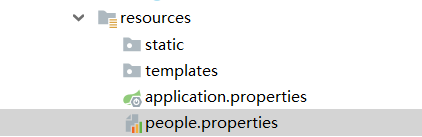
例如:在resources目录下,创建people.peoperties文件
内容如下:
people.id=1
people.name=张三
people.gender=男
1.3 创建对应的实体类
这里需要注意的是:启动本项目时不会自动加载上面的配置文件,所以我们需要使用@PropertySource来引入该配置文件
如果是在XML配置,则需要通过以下方式引用该配置文件
<context:property-placeholder location="classpath:book.properties"/>
@Component
@PropertySource("classpath:people.properties")
public class People {
   @Value("${people.id}")
   private long id;
  @Value("${people.name}")
   private String name;
  @Value("${people.gender}")
   private String gender;

  public long getId() {
    return id;
  }

  public void setId(long id) {
    this.id = id;
  }

  public String getName() {
    return name;
  }

  public void setName(String name) {
    this.name = name;
  }

  public String getGender() {
    return gender;
  }

  public void setGender(String gender) {
    this.gender = gender;
  }
  }
创建Controller类进行测试
@RestController
public class ShowController {
  @Autowired
  People people;

  @RequestMapping(value="/show",produces = "text/plain;charset=UTF-8")
  public String show(){
    return "名字:"+people.getName()+" "+"性别:"+people.getGender();
  }
}
启动项目,浏览器访问,结果如下:

2. 类型安全的属性注入
当工作量大时,采用Spring中的配置方式就很容易出错。使用Spring Boot的@ConfigurationProperties(prefix="")就能有效解决这个问题
使用这个注解,将实体类修改,内容如下:
@Component
@PropertySource("classpath:people.properties")
@ConfigurationProperties(prefix="people")
public class People {
   private long id;
   private String name;
   private String gender;
   //省略Getter和Setter方法
通过引入@ConfigurationProperties(prefix=“people”)注解,启动项目后,Spring容器中对应的数据就自动注入到对象的属性中。
3. 静态属性注入
在Spring中不支持我们通过@Autowired注入对象给一个静态变量,这是因为静态变量属于类的层次,而Spring的依赖注入是对象的层次,类的加载在Spring 的IoC容器产生对象之前。当我们像这样写的时候:
@Autowired
private static clazz clazz;
我们调用的时候就会抛出运行时异常java.lang.NullPointerException,。
那么,怎么可以实现给静态属性注入值呢?
因为Spring支持setter方法注入,我们可以在非静态的setter方法注入静态变量。如下:
@Component
@PropertySource("classpath:people.properties")
public class FileUtils{

   private static long id;

  @Value("${people.id}")
  public void setId(long id) {
    this.id = id;
  }
}
如果需要注入对象,就需要在setter方法上添加@Autowired注解,实现步骤:
- 在类定义上要添加@Component注解, 告诉Spring这个类需要扫描
- setter方法上添加@Autowired注解
- setter方法定义不能添加static关键字,否则自动注入失败
像这样:
@Component
public class FileUtils{

   private static StorageClient1 client1;

   @Autowired
   @Qualifier("storageClient1")
  public void setClient1(StorageClient1 client1) {
    FastDFSUtil.client1 = client1;
  }
}


 749
749


 被折叠的 条评论
为什么被折叠?
被折叠的 条评论
为什么被折叠?
 到【灌水乐园】发言


