


Springboot 与 newrelic 配置流程
1. 在newrelic官网注册账号(免费期为15-30天):
https://newrelic.com,注册登录
api key 快捷链接
https://one.newrelic.com/admin-portal/api-keys/home
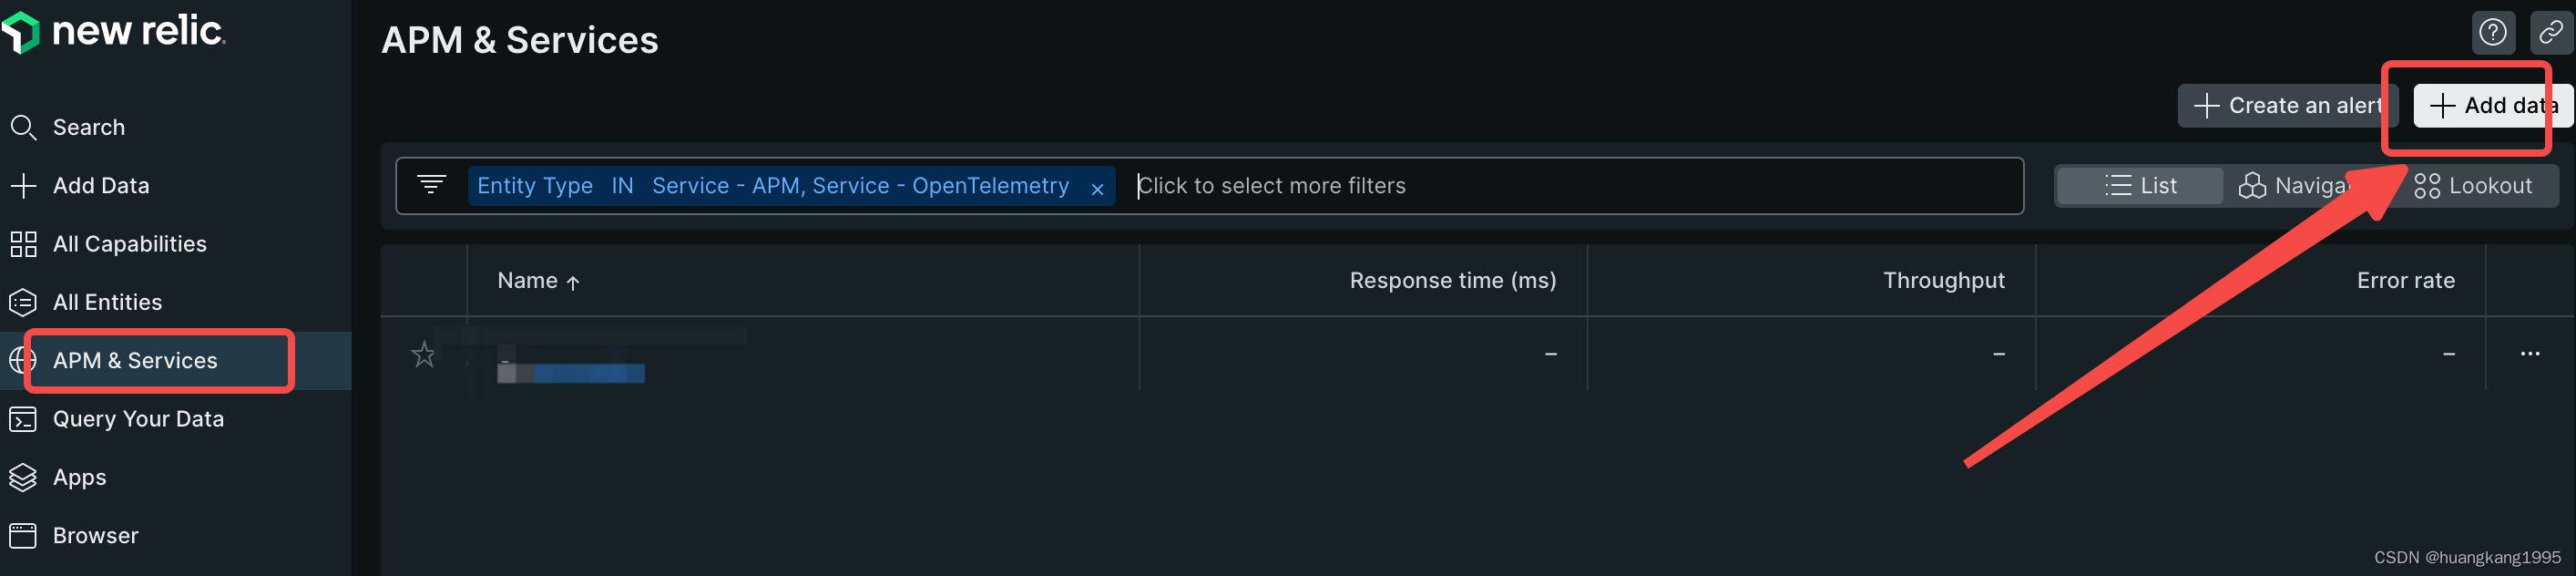
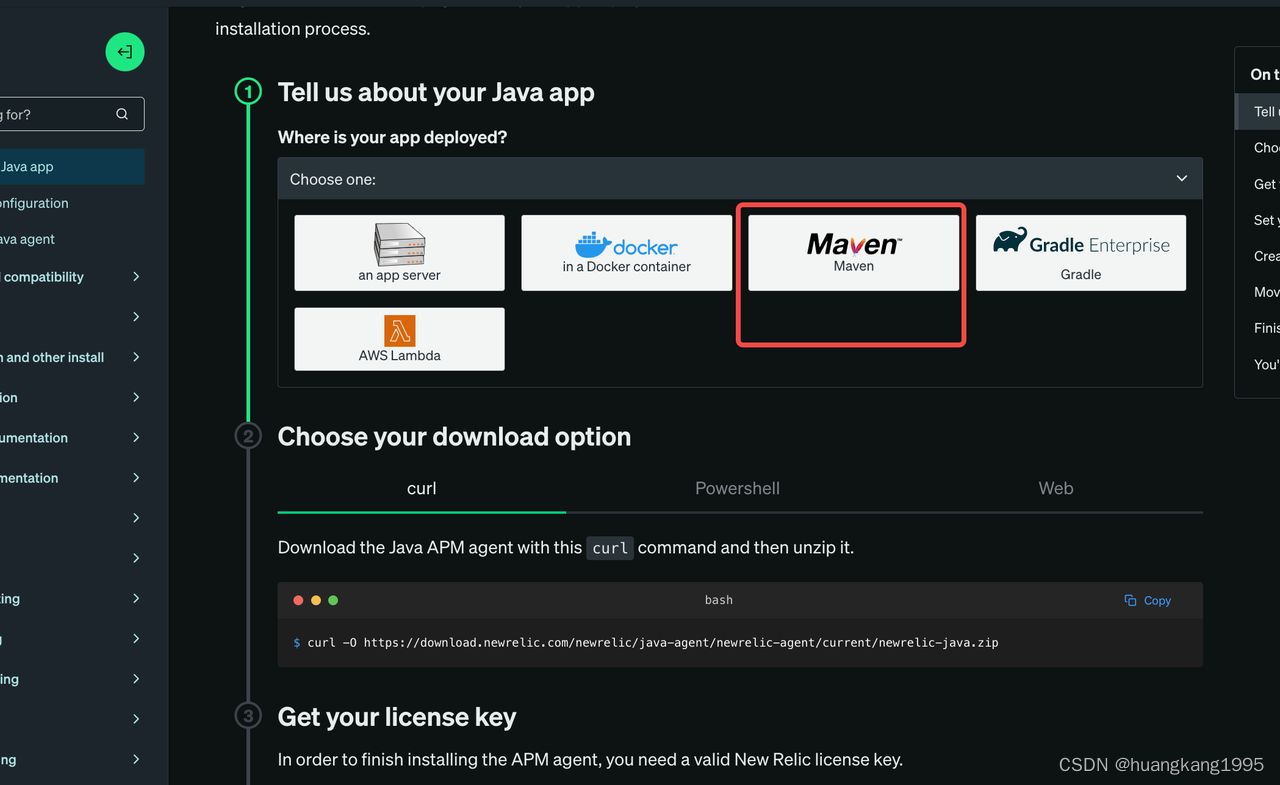
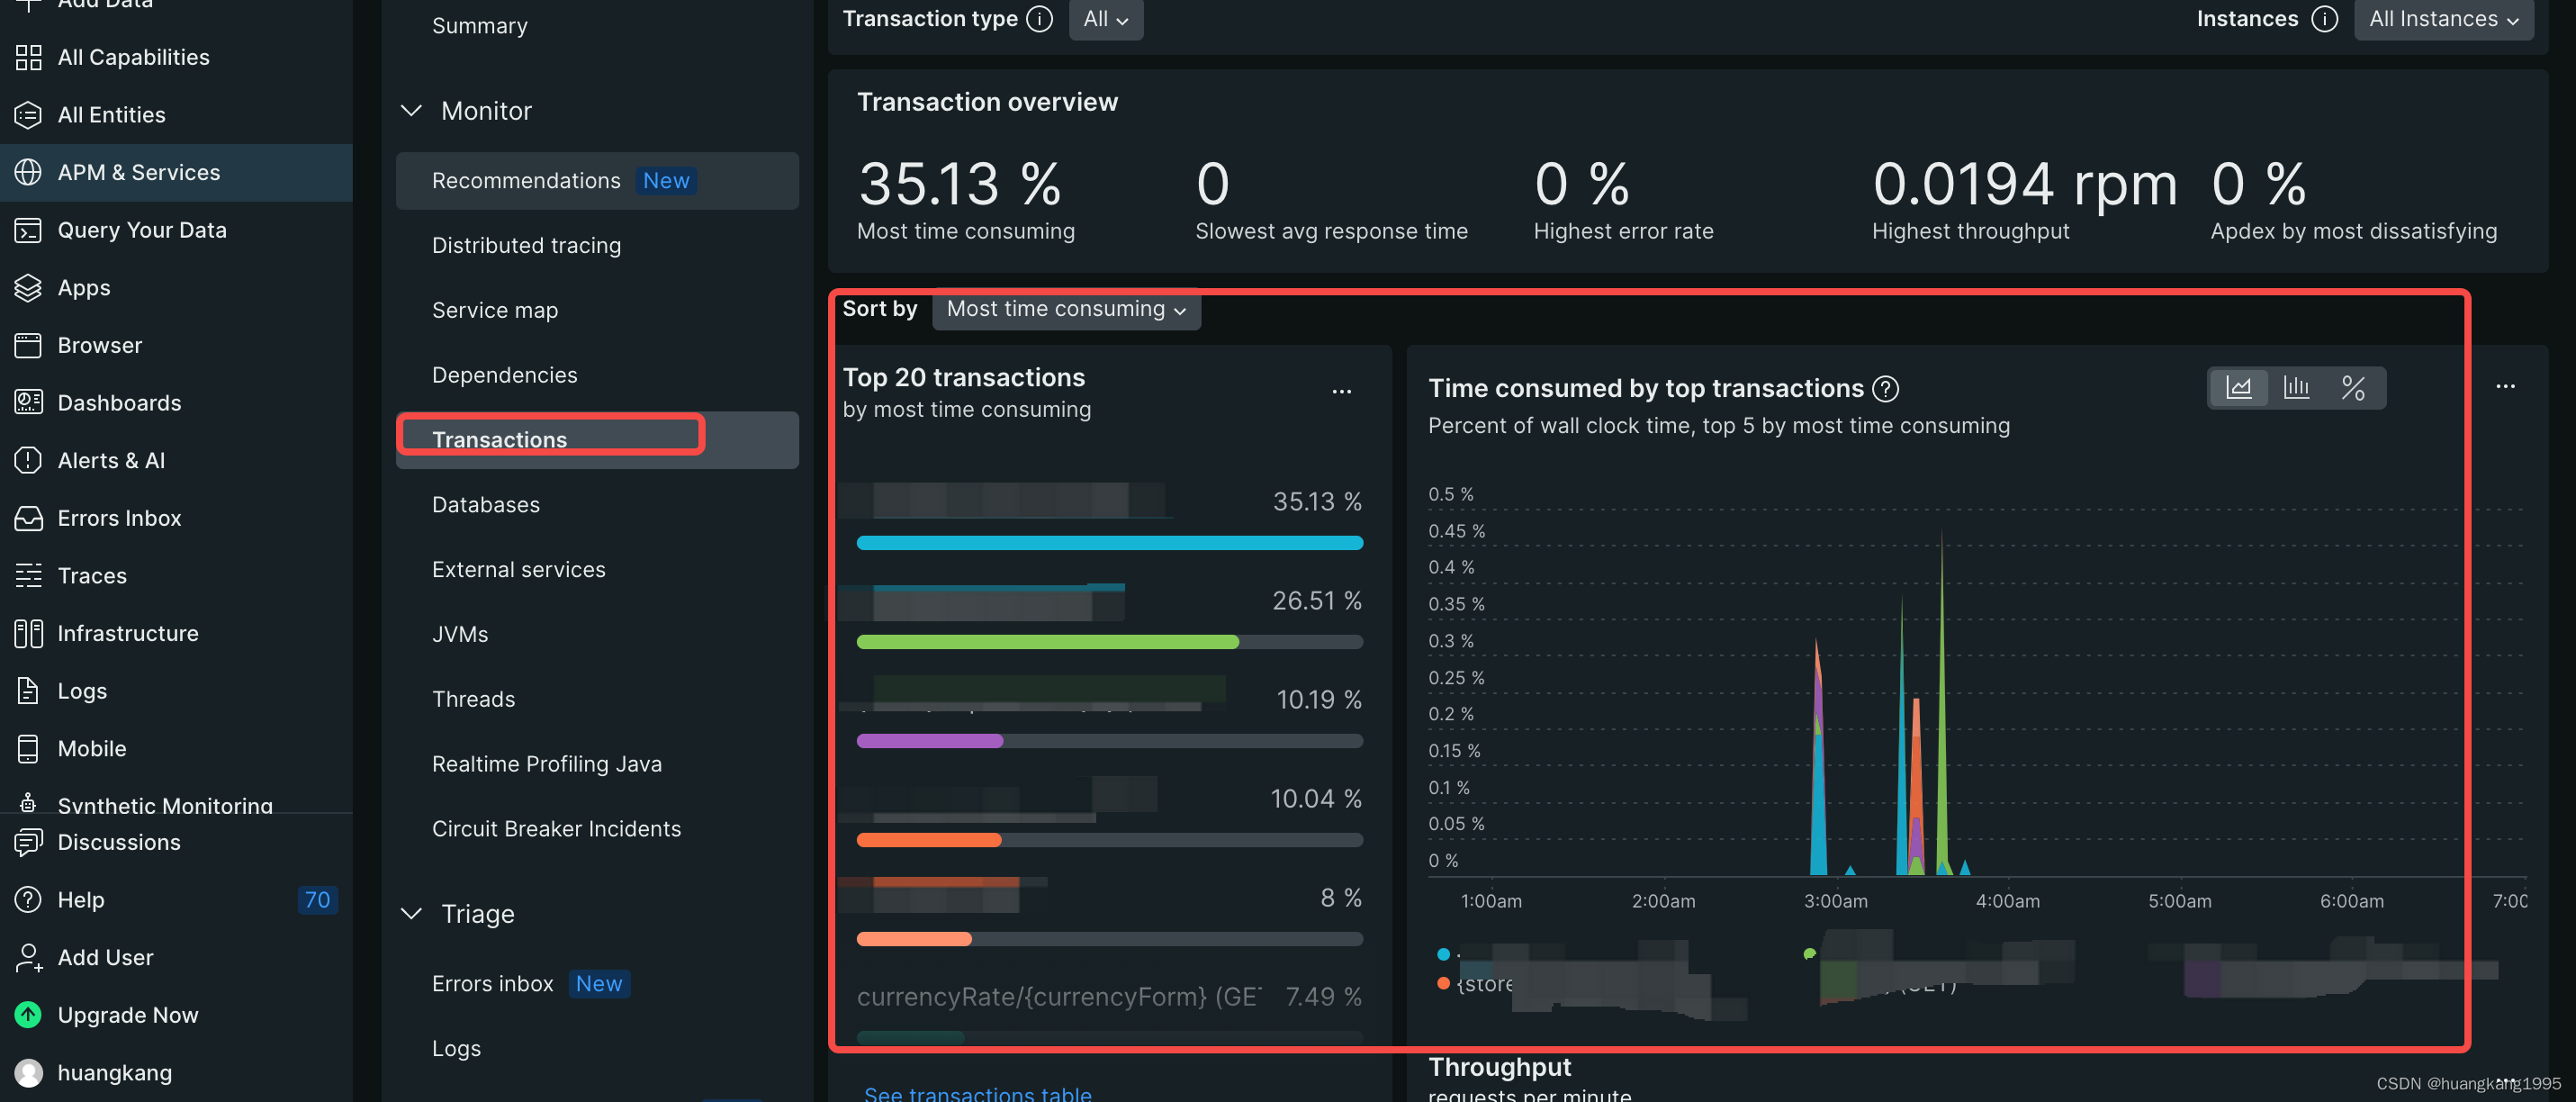
2. 左侧点击菜单 APM & Services
选择 add data 后面就是选择 可参考下面的步骤
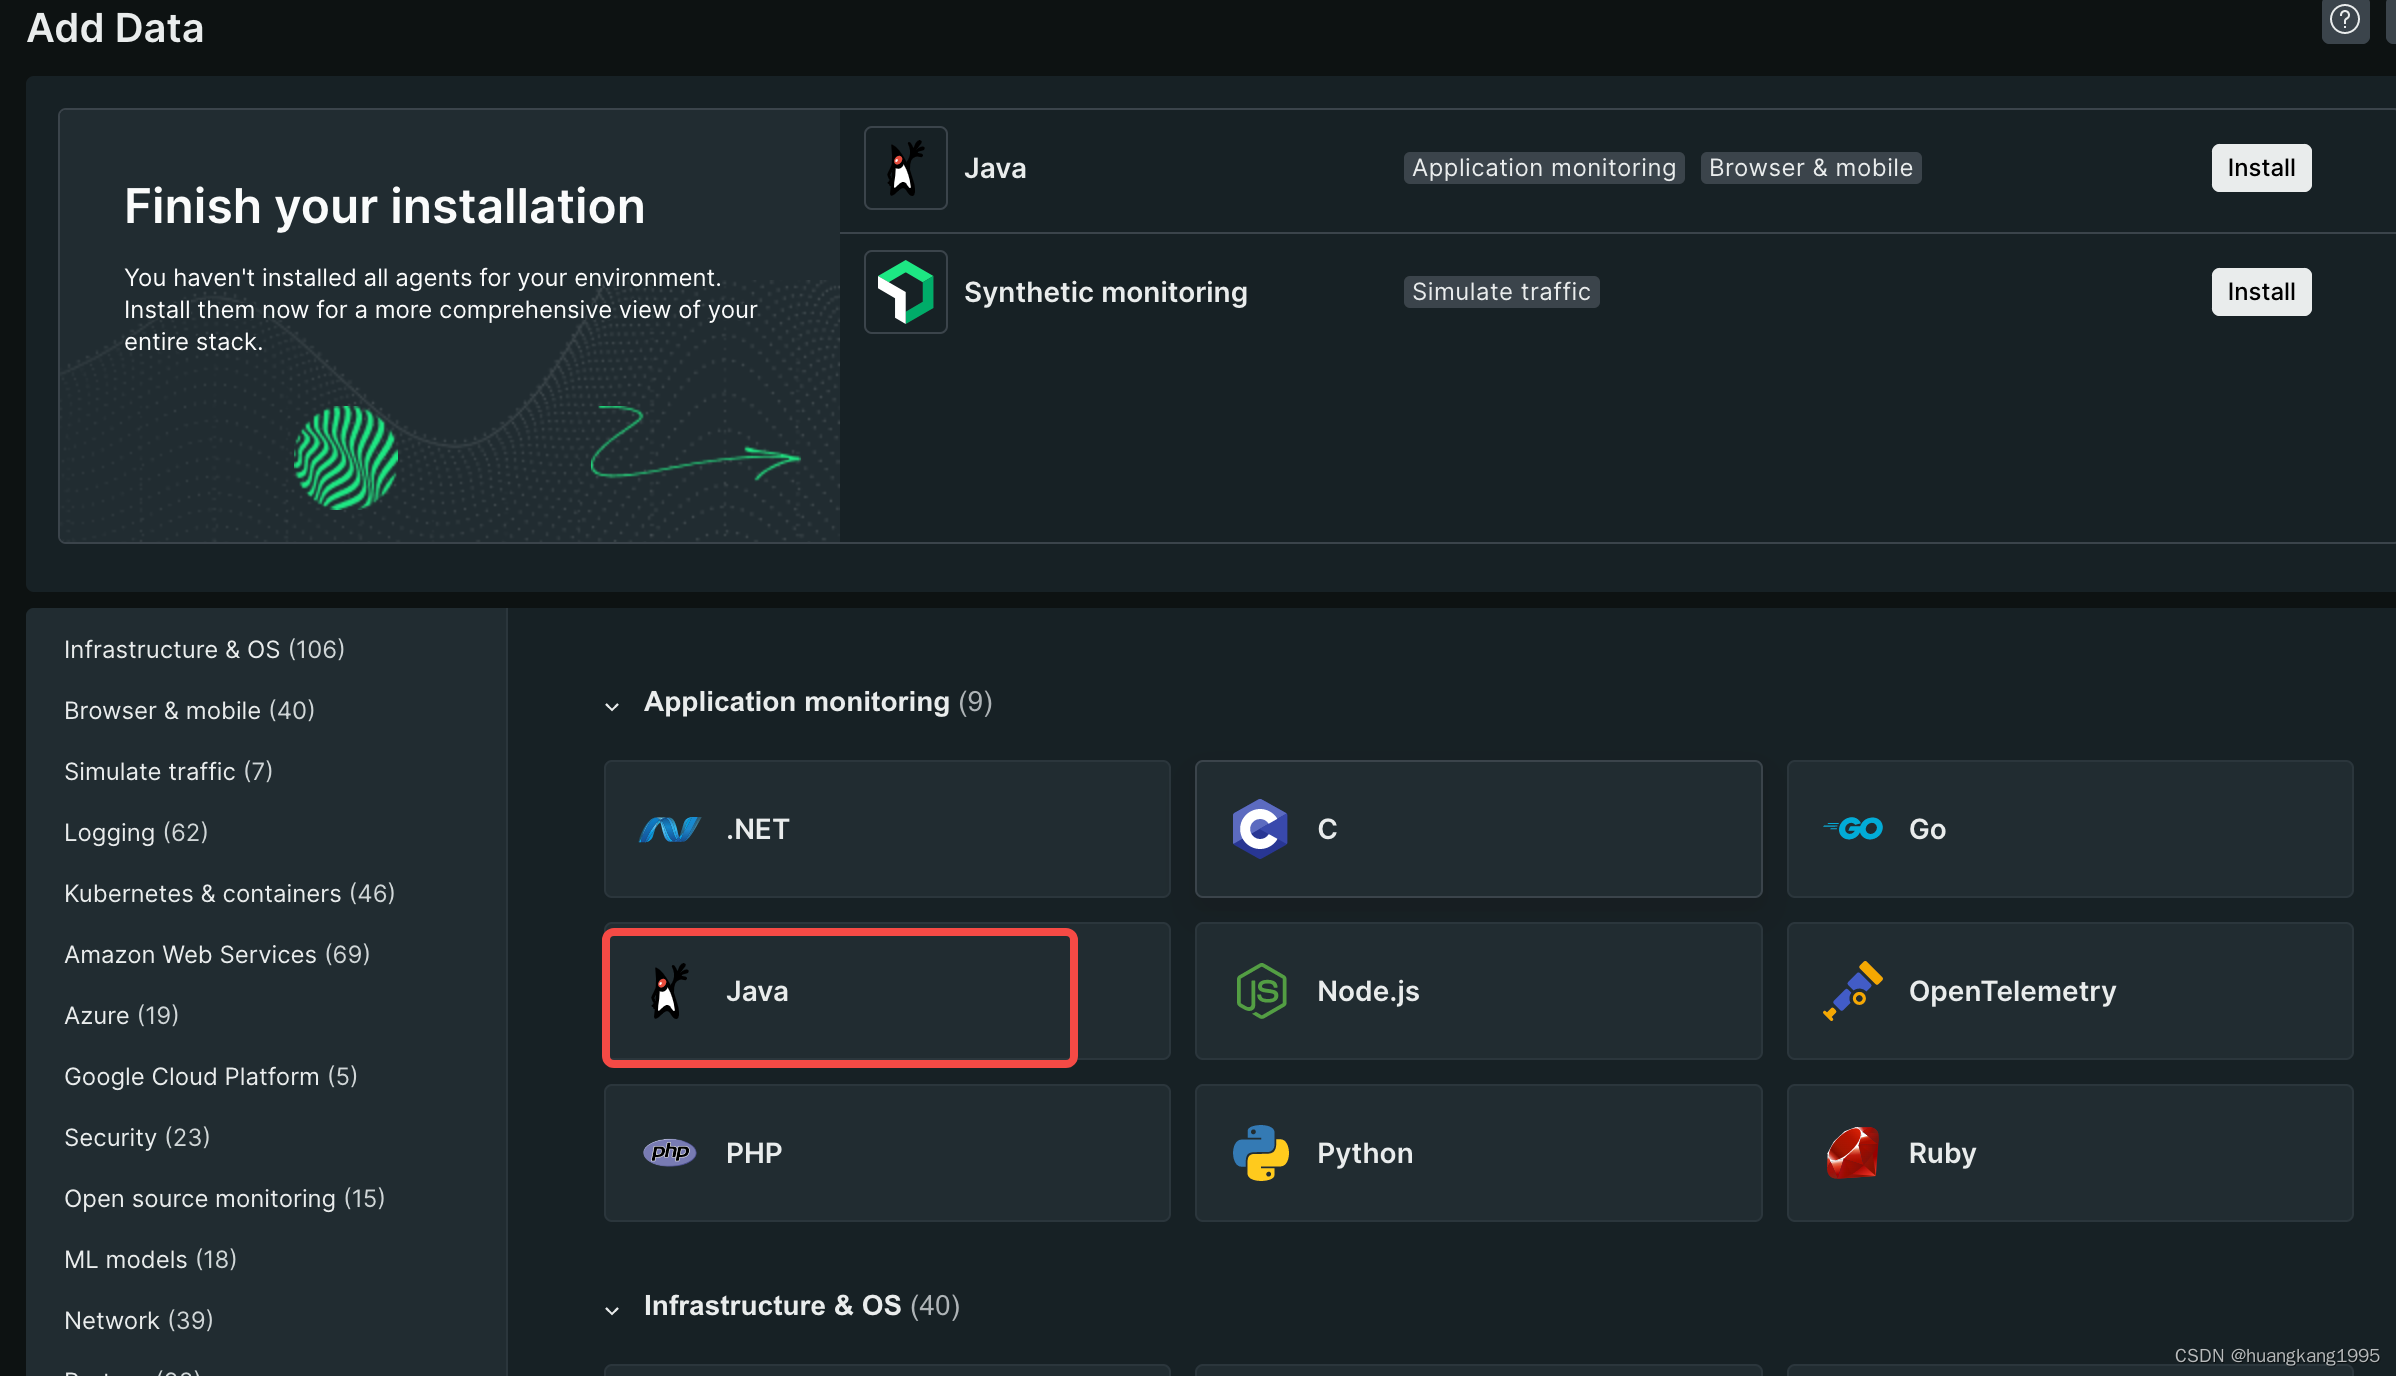
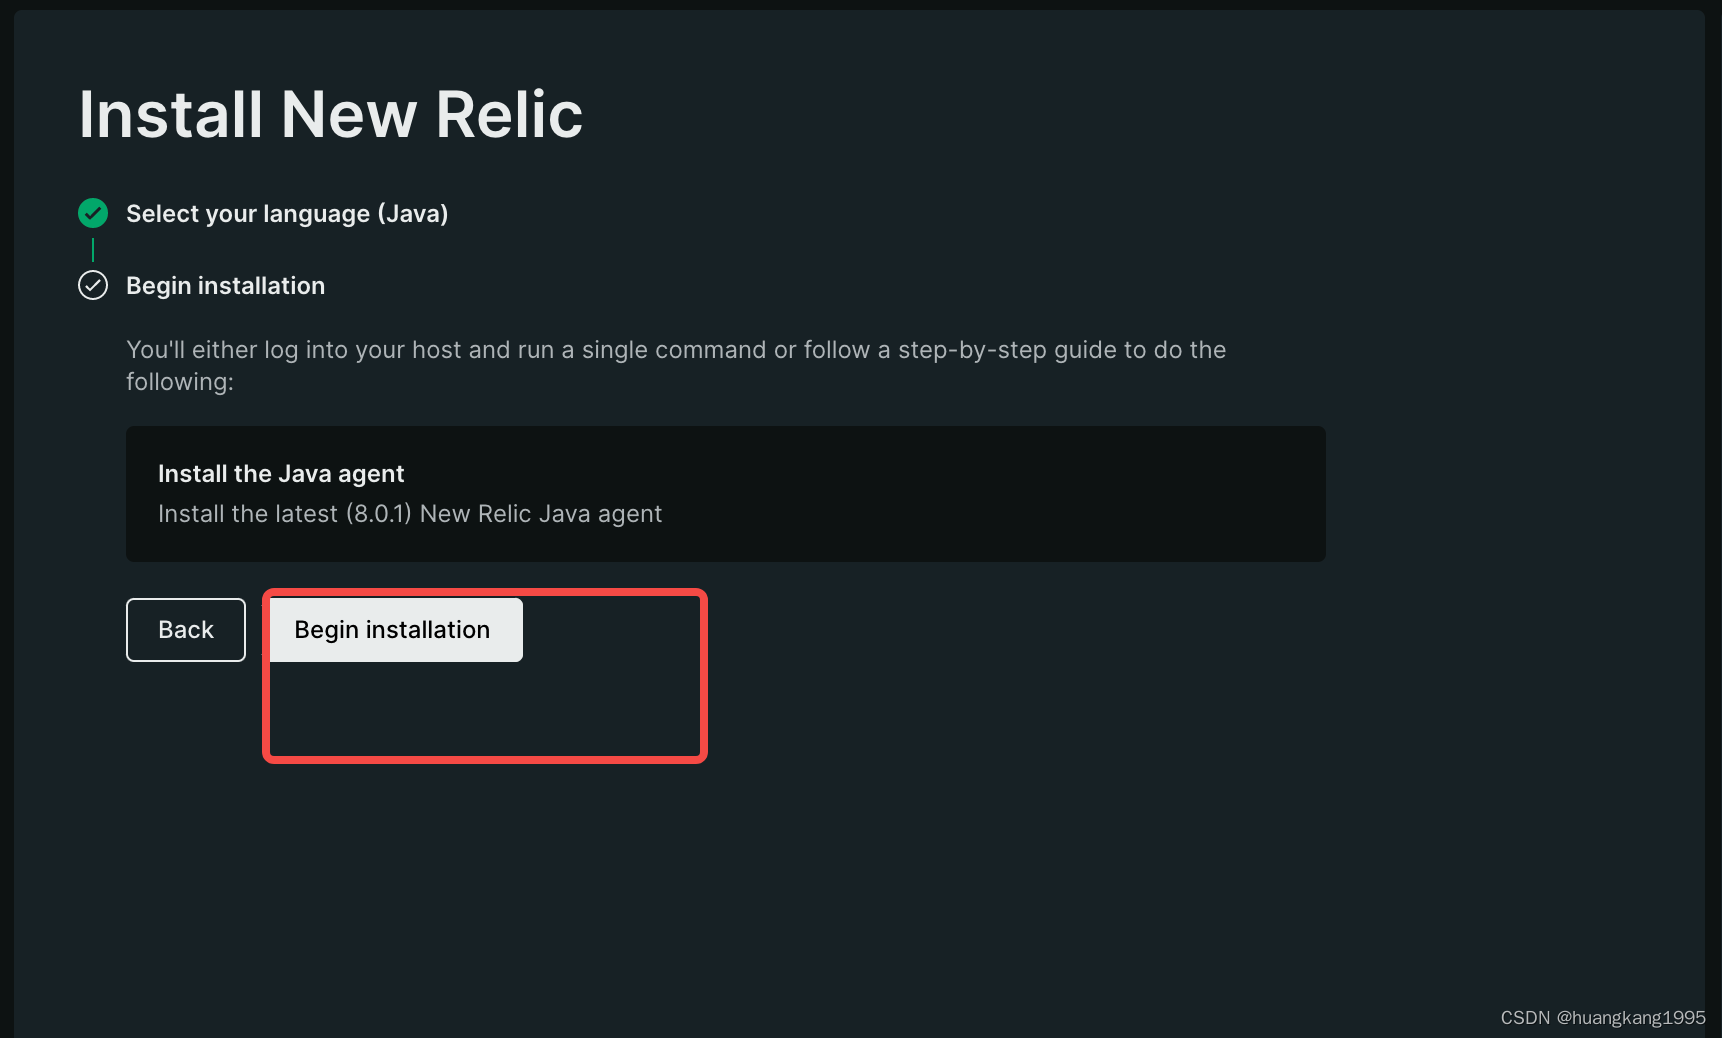
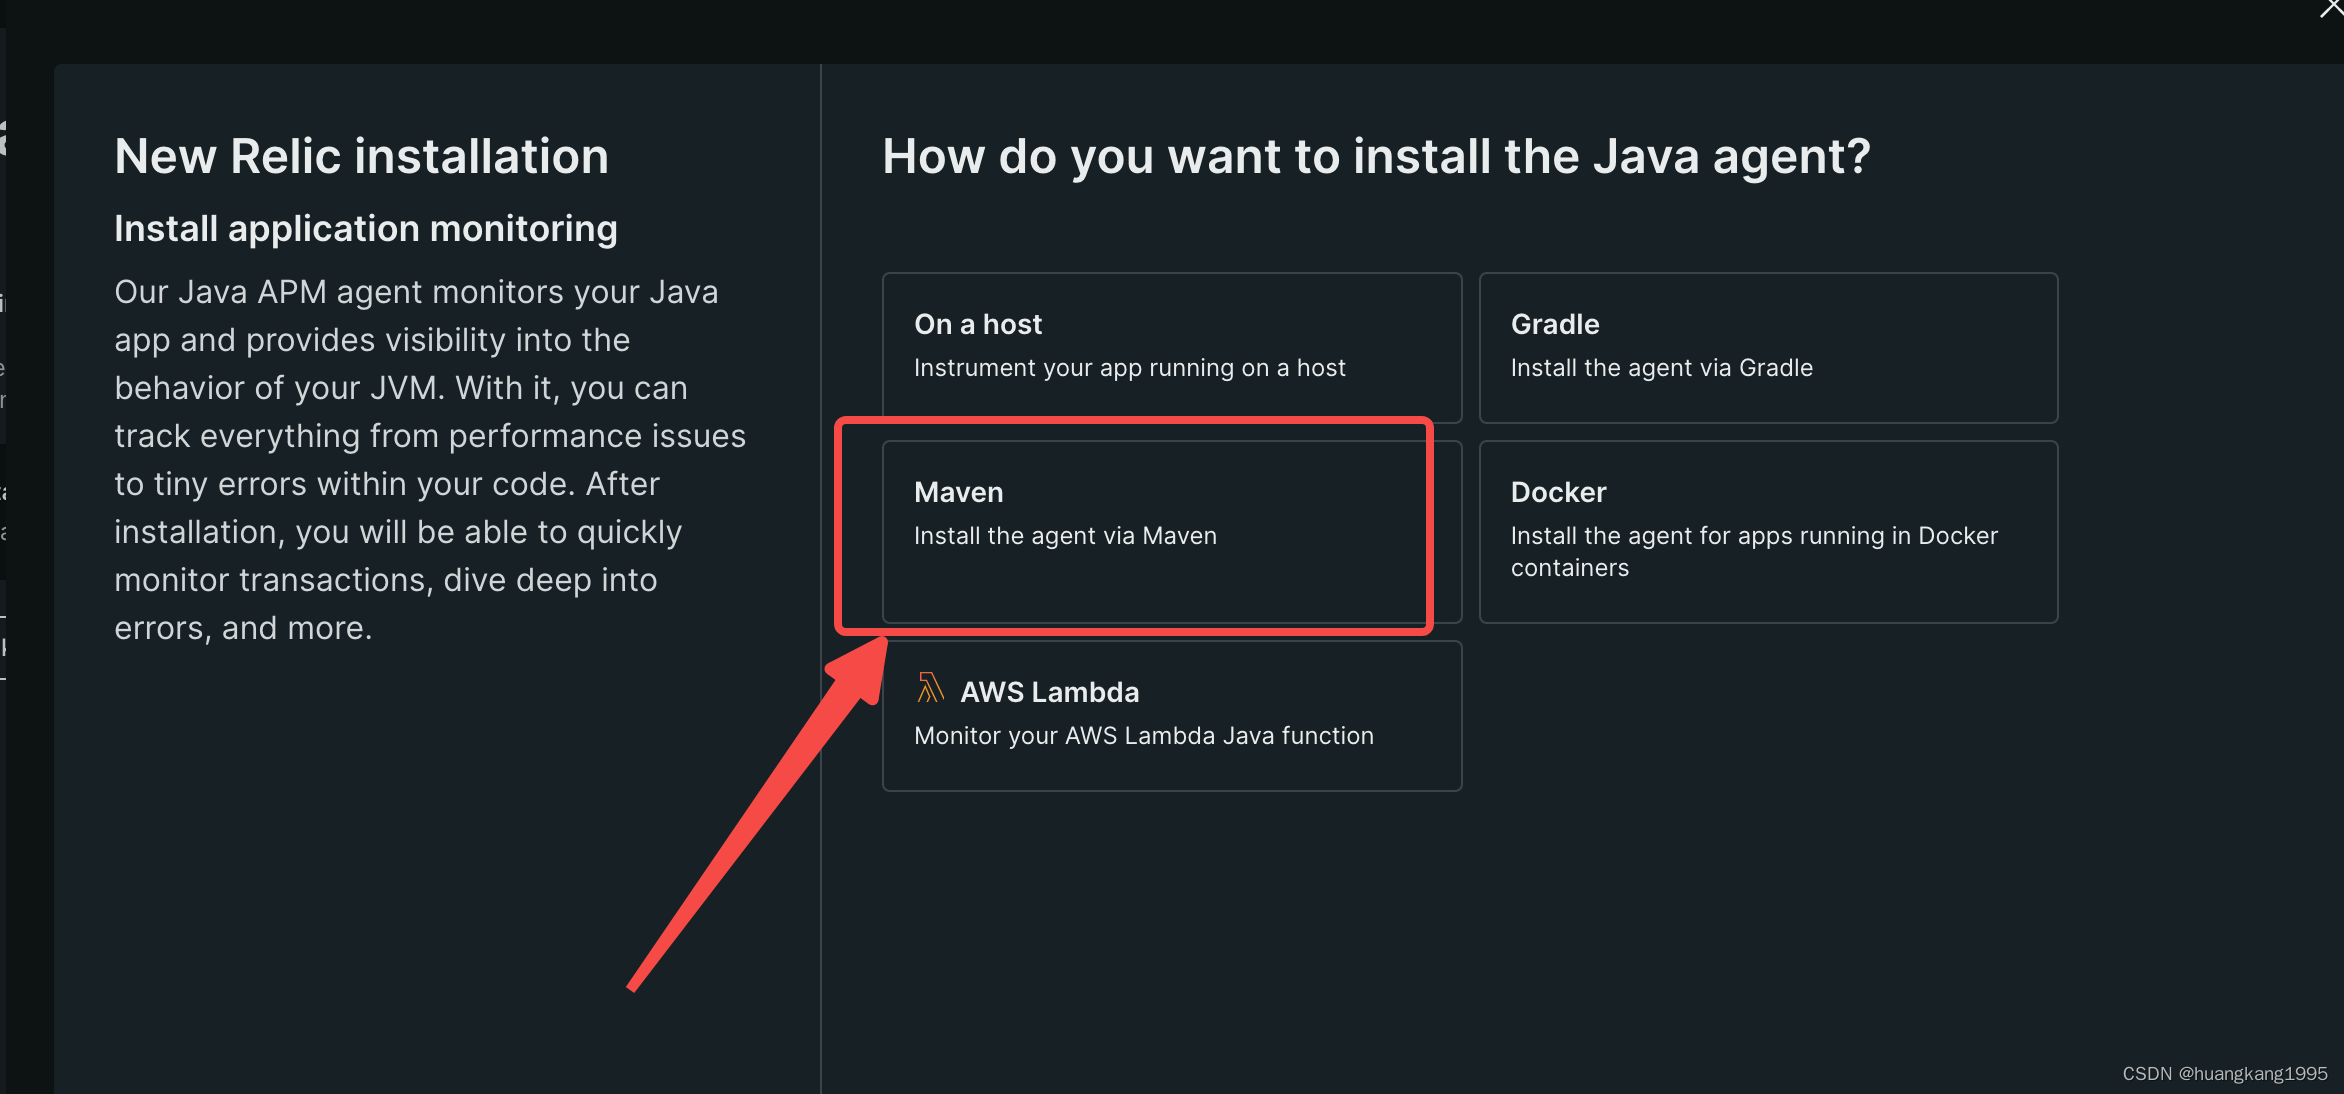
3. 配置pom
会自动跳到官方文档
或者直接使用 https://docs.newrelic.com/install/java/
相当于根据2的步骤 推荐了官方配置步骤
pom.xml文件的配置
配置扩展项
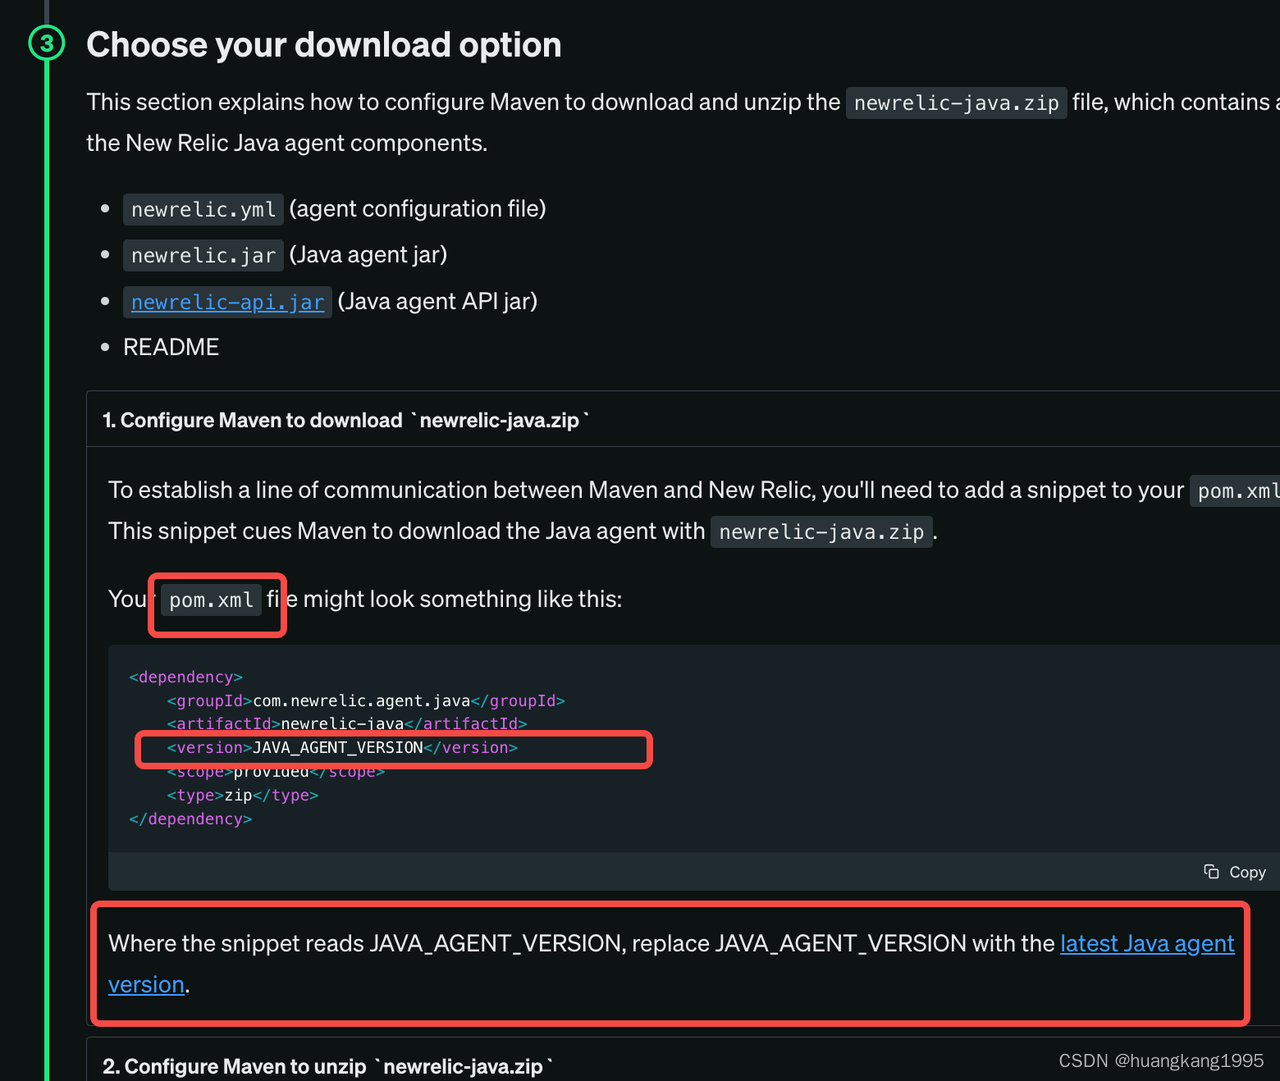
<dependency>
    <groupId>com.newrelic.agent.java</groupId>
    <artifactId>newrelic-java</artifactId>
    <version>JAVA_AGENT_VERSION</version>
    <scope>provided</scope>
    <type>zip</type>
</dependency>

这个步骤 是下载newrelic的jar包的zip文件
JAVA_AGENT_VERSION  这个地方需要我们更改对应的版本 可参考下面链接 选择版本
https://docs.newrelic.com/docs/release-notes/agent-release-notes/java-release-notes/
配置 plugin(解压zip文件 mvn clean package 时才会操作)
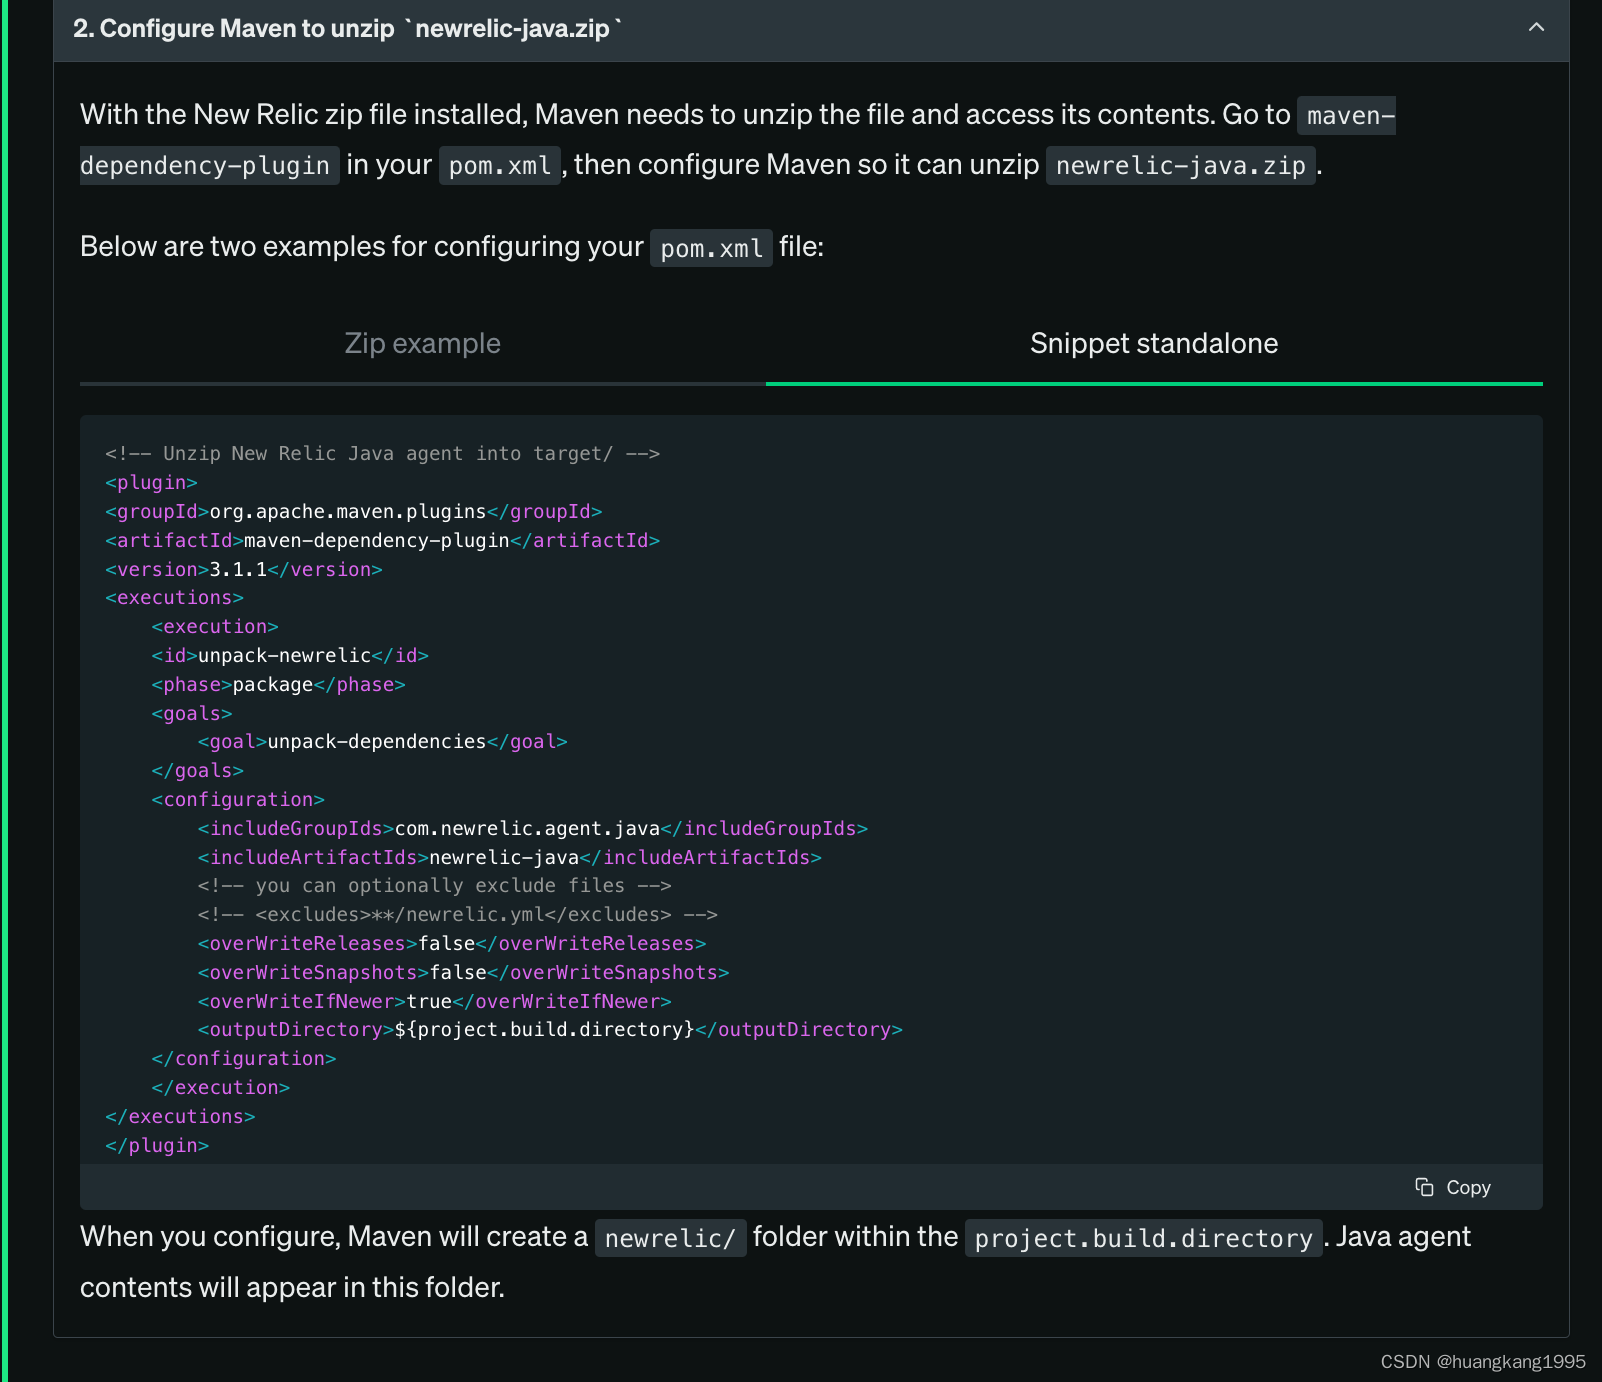
<!-- Unzip New Relic Java agent into target/ -->
<plugin>
<groupId>org.apache.maven.plugins</groupId>
<artifactId>maven-dependency-plugin</artifactId>
<version>3.1.1</version>
<executions>
    <execution>
    <id>unpack-newrelic</id>
    <phase>package</phase>
    <goals>
        <goal>unpack-dependencies</goal>
    </goals>
    <configuration>
        <includeGroupIds>com.newrelic.agent.java</includeGroupIds>
        <includeArtifactIds>newrelic-java</includeArtifactIds>
        <!-- you can optionally exclude files -->
        <!-- <excludes>**/newrelic.yml</excludes> -->
        <overWriteReleases>false</overWriteReleases>
        <overWriteSnapshots>false</overWriteSnapshots>
        <overWriteIfNewer>true</overWriteIfNewer>
        <outputDirectory>${project.build.directory}</outputDirectory>
    </configuration>
    </execution>
</executions>
</plugin>
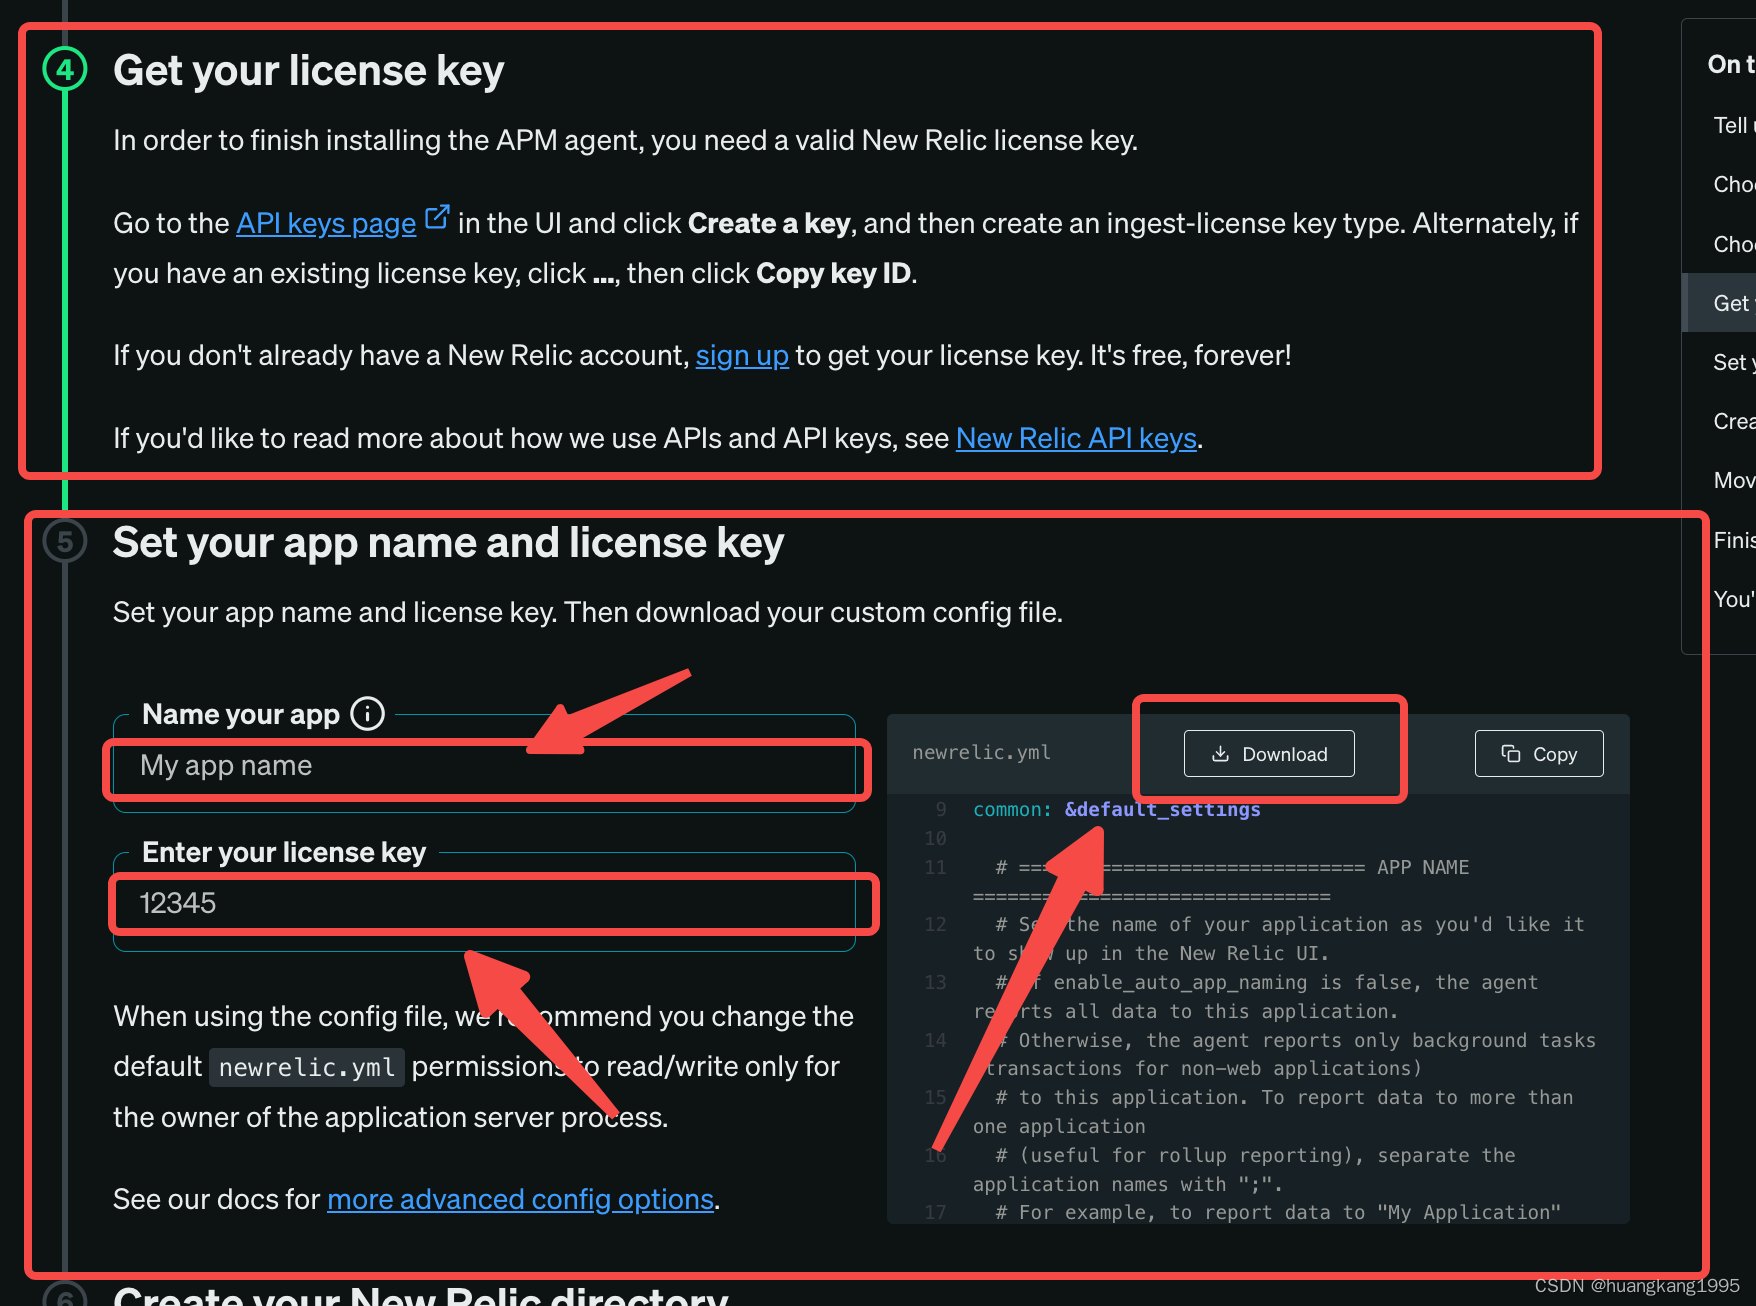
4. 配置秘钥并下载配置文件
https://one.newrelic.com/admin-portal/api-keys/home 秘钥地址
然后填写第5步
App name 后期可修改
然后点击 下载
将下载的newrelic.yml 文件复制到springboot下 项目 /src/main/resources目录下
5. 官方的6-7-8比较鸡肋 项目不方便做手动移动文件 我们直接忽略 下面会用编程实现
6. 终端运行
mvn clean package
打开项目 target 目录已经可以看到 newrelice目录
然后我们打开newrelic.yml 文件 发现还是sample(未配置的)文件 并没有将我们的newrelic.yml文件同步过去
7. 修改pom 以编程的方式将 newrelic.yml文件
请确保
第4步 已经将 newrelic.yml 放到 src/main/resources/
第6步 已经存在newrelice目录
将代码copy到springboot pom.xml 然后再运行第6步 命令 可以看到newrelic.yml 已经是我们配置的文件了
<plugin>
    <artifactId>maven-resources-plugin</artifactId>
    <executions>
        <execution>
            <id>copy-dependencies</id>
            <phase>package</phase>
            <goals>
                <goal>copy-resources</goal>
            </goals>
            <configuration>
                <!-- 资源文件输出目录 -->
                <outputDirectory>${project.build.directory}/newrelic</outputDirectory>
                <resources>
                    <resource>
                        <directory>src/main/resources/</directory>
                        <includes>
                            <include>newrelic.yml</include>
                        </includes>
                    </resource>
                </resources>
            </configuration>
        </execution>
    </executions>
</plugin>
8. 运行生成的jar包
修改xxx 为自己项目的jar包
java -javaagent:target/newrelic/newrelic.jar -jar target/xxx.jar
9. 查看是否同步成功
大功告成!
登录newrelic 后台 APM & Services 查找您的应用程序名称(这可能需要几分钟时间)。
10. 链路追踪
上面只是追踪到了 接口函数部分
接口后面的方法运行并没有追踪
这一块 newrelic 并没有自动追踪 需要我们使用 newrelic的 agent api扩展
Pom.xml 引入 版本号 和 上面的一致
<dependency>
    <groupId>com.newrelic.agent.java</groupId>
    <artifactId>newrelic-api</artifactId>
    <version>8.0.0</version>
    <scope>provided</scope>
</dependency>
在我们想要埋点的方法添加注解 示例
@Trace(dispatcher = true)
public Optional<xxxx> xxxx(xxxx){
    xxxxxx
}


 431
431


 被折叠的 条评论
为什么被折叠?
被折叠的 条评论
为什么被折叠?
 到【灌水乐园】发言


