


随着时代的发展,我们用到蓝牙的地方越来越多,android也从api18开始支持BLE4.0, 今天博客的主题就是BLE4.0,主要就是介绍如何使用以及运作的流程。
在蓝牙方面的资料,还是比较少的,我感觉android对于蓝牙封装上面还是不是很友好。希望以后会改进吧,对于这样,我们只能打开官方文档查阅资料了。
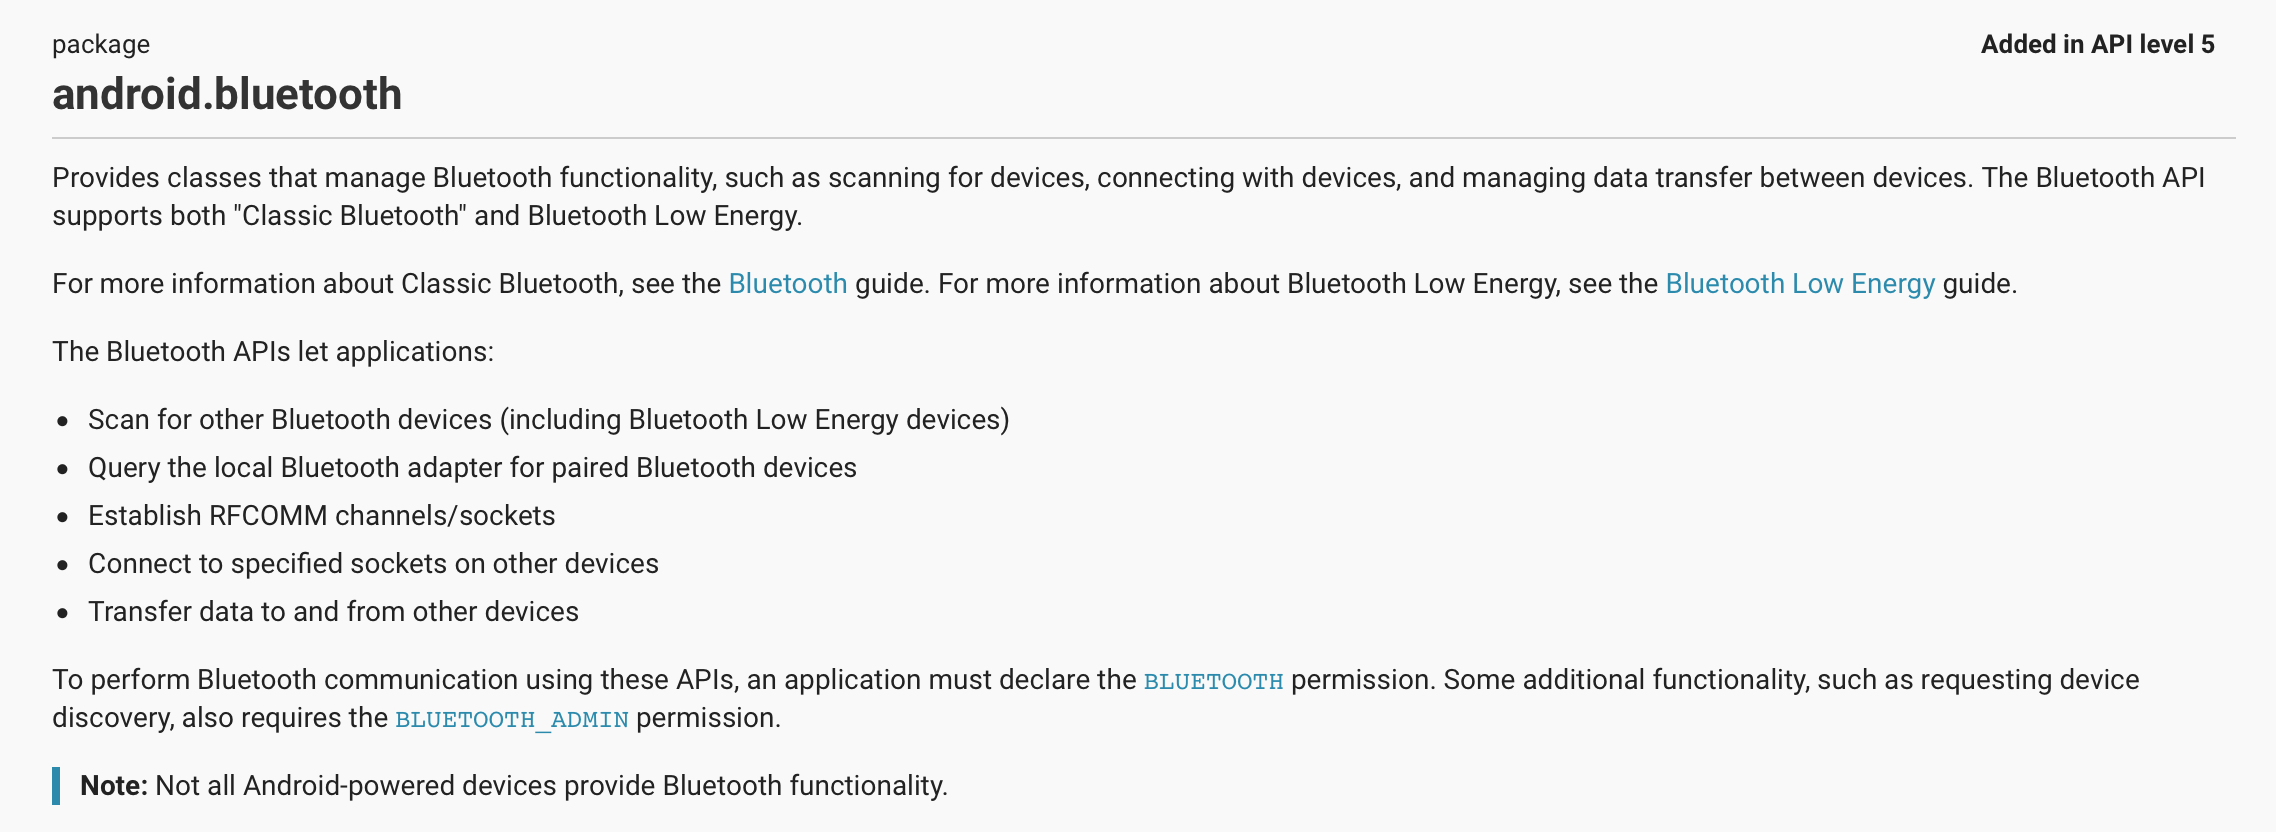
打开bluetooth包,我们可以看到这个包是从API5添加进去的,然后就是Google对其的一番介绍,现在分为经典蓝牙和低功耗蓝牙(BLE4.0), 然而现在都是BLE4.0,所以我们直接去看BLE4.0.
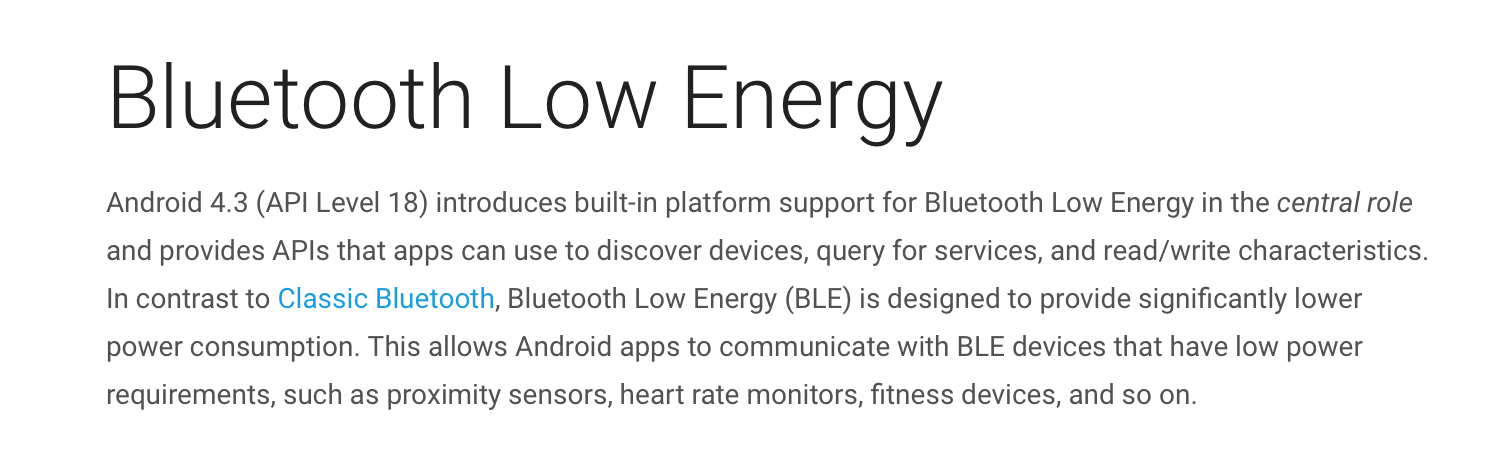
大概就是低功耗蓝牙是从api18开始添加进去的,可以用于一些设备的使用…
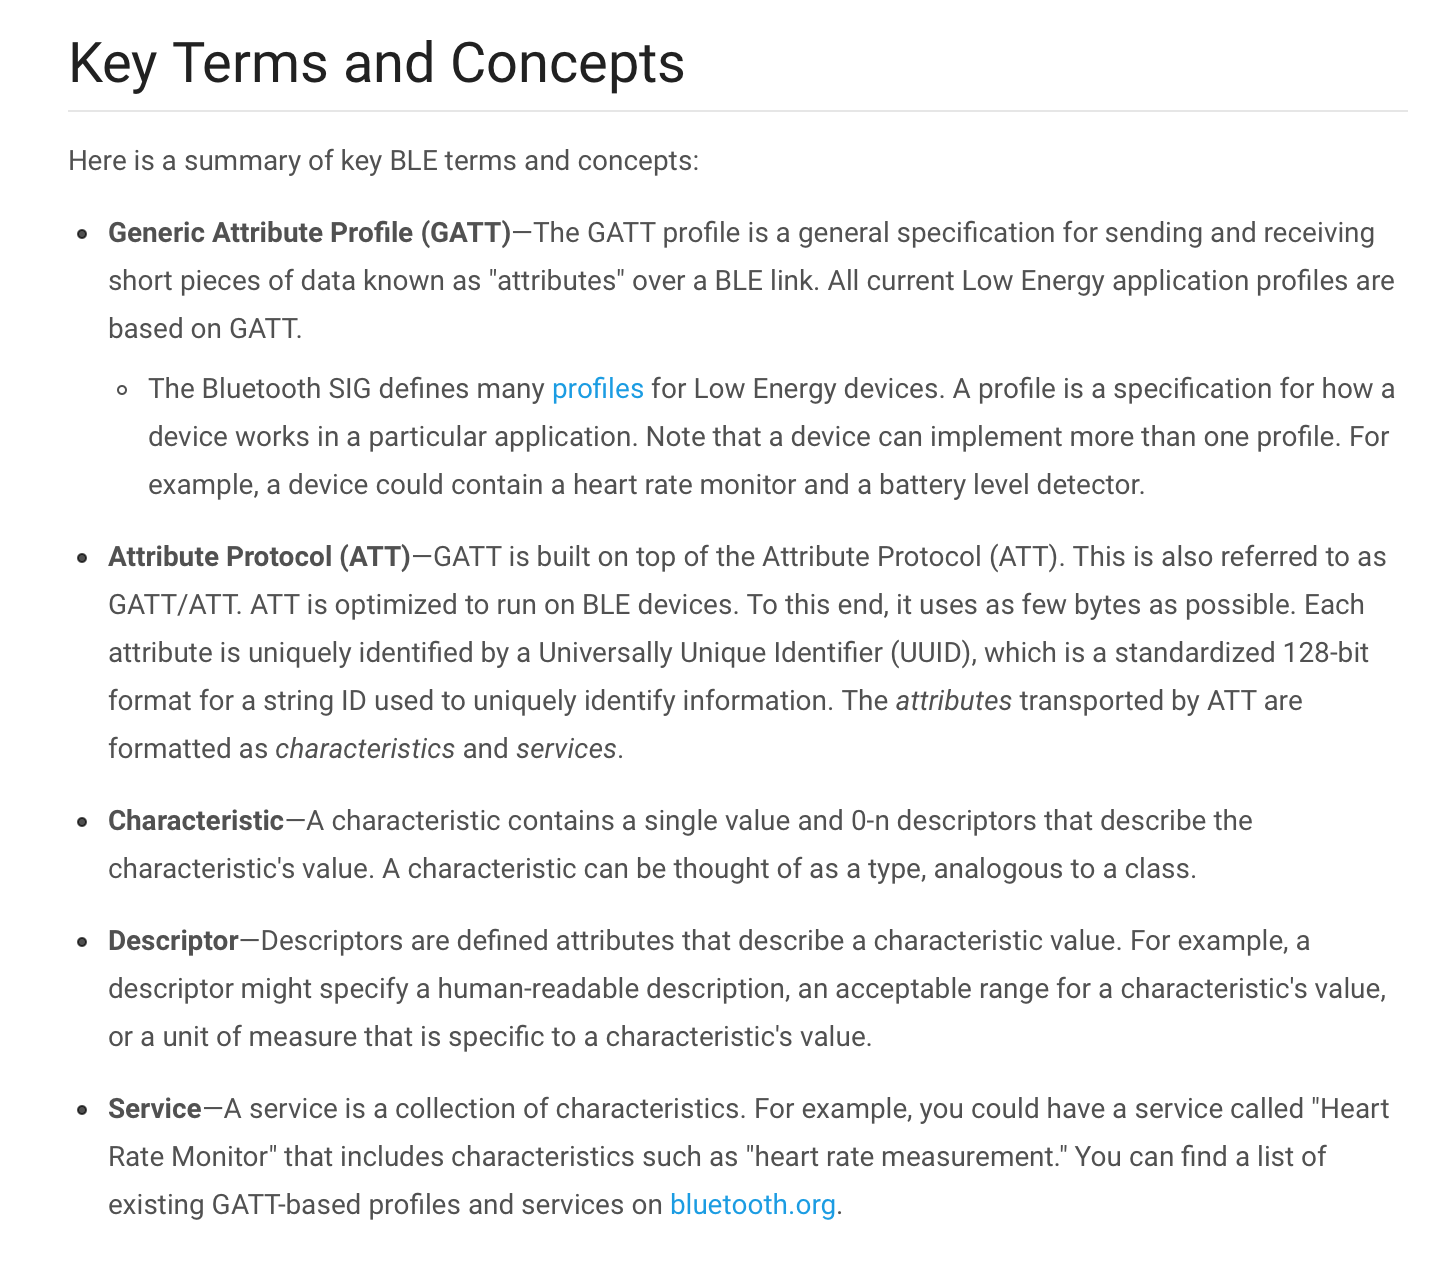
提供了一些概念的介绍
首先在使用蓝牙之前需要在清单文件中添加权限
<uses-permission android:name="android.permission.BLUETOOTH"/>
<uses-permission android:name="android.permission.BLUETOOTH_ADMIN"/>
然后Google给我们提供了关键类的查看
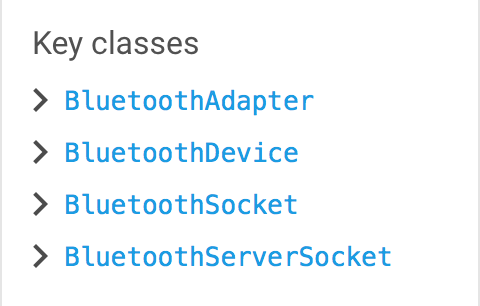
我们先来看BluetoothAdapter
这个类就是ble连接主要大类之一,好多关键操作都在这个类中进行操作。
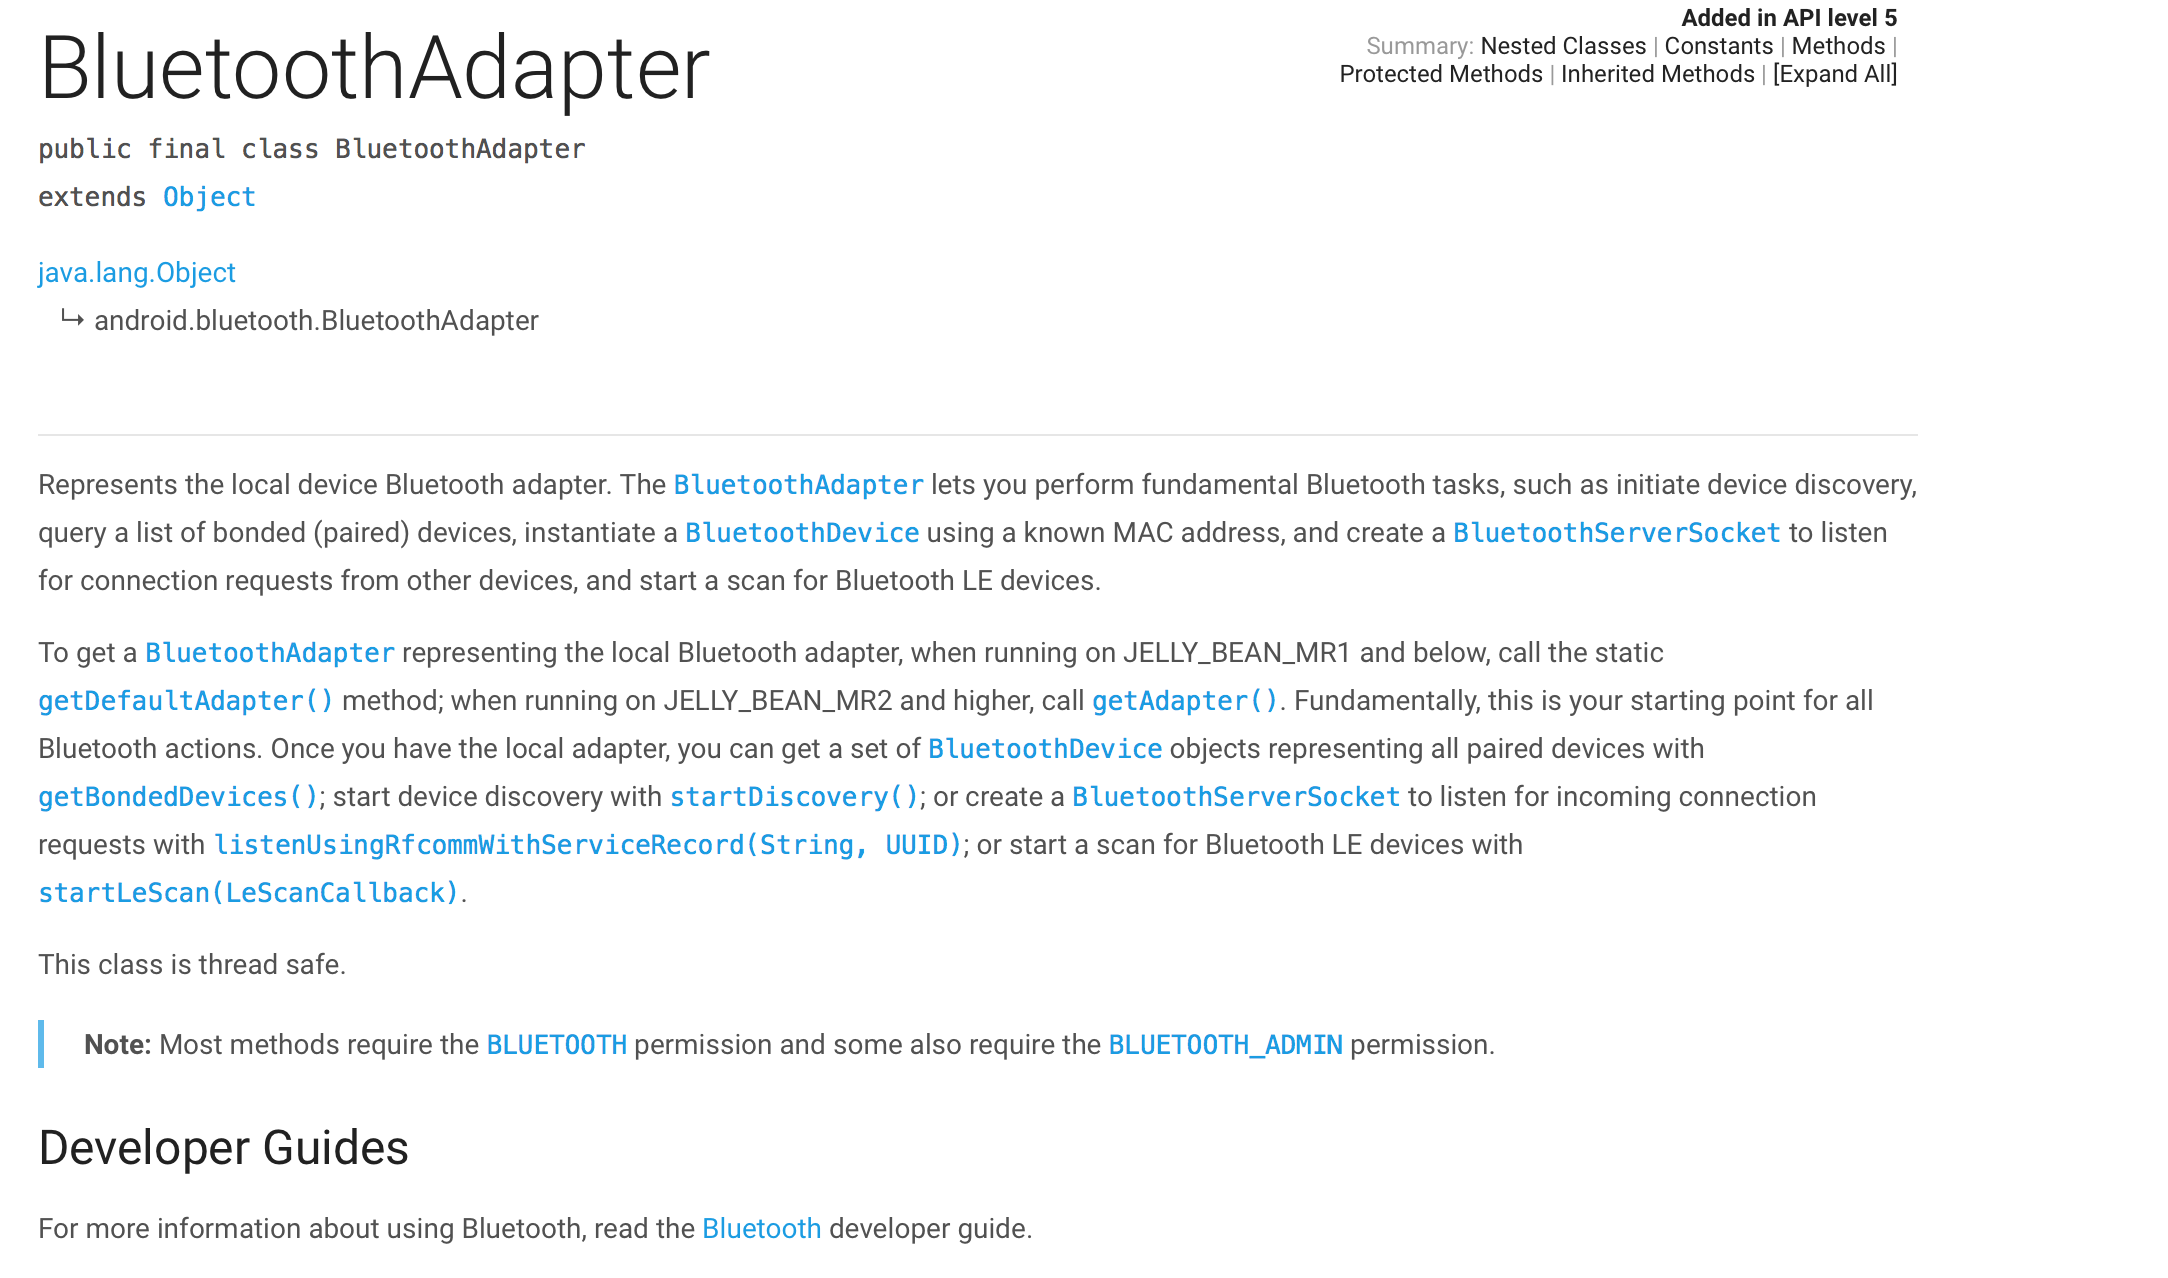
官方给的描述就是这是一个蓝牙适配器。可以实例化bluetoothDevice和BluetoothSocket
下面我来介绍下如何使用:在使用BLE4.0之前最好友好的检查一下蓝牙是否可用,是否支持BLE4.0设备。
    /**
     * 设备是否支持BLE4.0
     * @time 2016/6/17 0017 10:59
     */
    public boolean judgeBuletooh() {
        if (!getPackageManager().hasSystemFeature(PackageManager.FEATURE_BLUETOOTH_LE)) {
            return false;
        } else {
            return true;
        }
}//检查是否支持BLE4.0
if (!judgeBuletooh()) {
Toast.makeText(context, "您的设备不支持ble4.0", Toast.LENGTH_SHORT).show();
finish();
}
//检查是否支持蓝牙
if (bluetoothAdapter == null) {
Toast.makeText(context, "您的设备不支持bluetooth", Toast.LENGTH_SHORT).show();
finish();
return;
}
//开启蓝牙
bluetoothAdapter.enable();
bluetoothLe = new MyBluetoothLe(this);
if (!bluetoothLe.initialize()) {
Toast.makeText(context, "初始化MyBluetoothLe失败", Toast.LENGTH_SHORT).show();
finish();
}获取bluetoothAdapter有两种途径
bluetoothManager = (BluetoothManager) getSystemService(Context.BLUETOOTH_SERVICE);bluetoothAdapter = bluetoothManager.getAdapter();这样就获得了bluetoothAdapter了,然后我们就可以开启蓝牙了
bluetoothAdapter.enable();开启蓝牙后扫描设备
bluetoothAdapter.startLeScan(LeScanCallback callback);扫描设备,里面穿了一个参数LeScanCallback, 我们去文档上找找这是个什么东西。
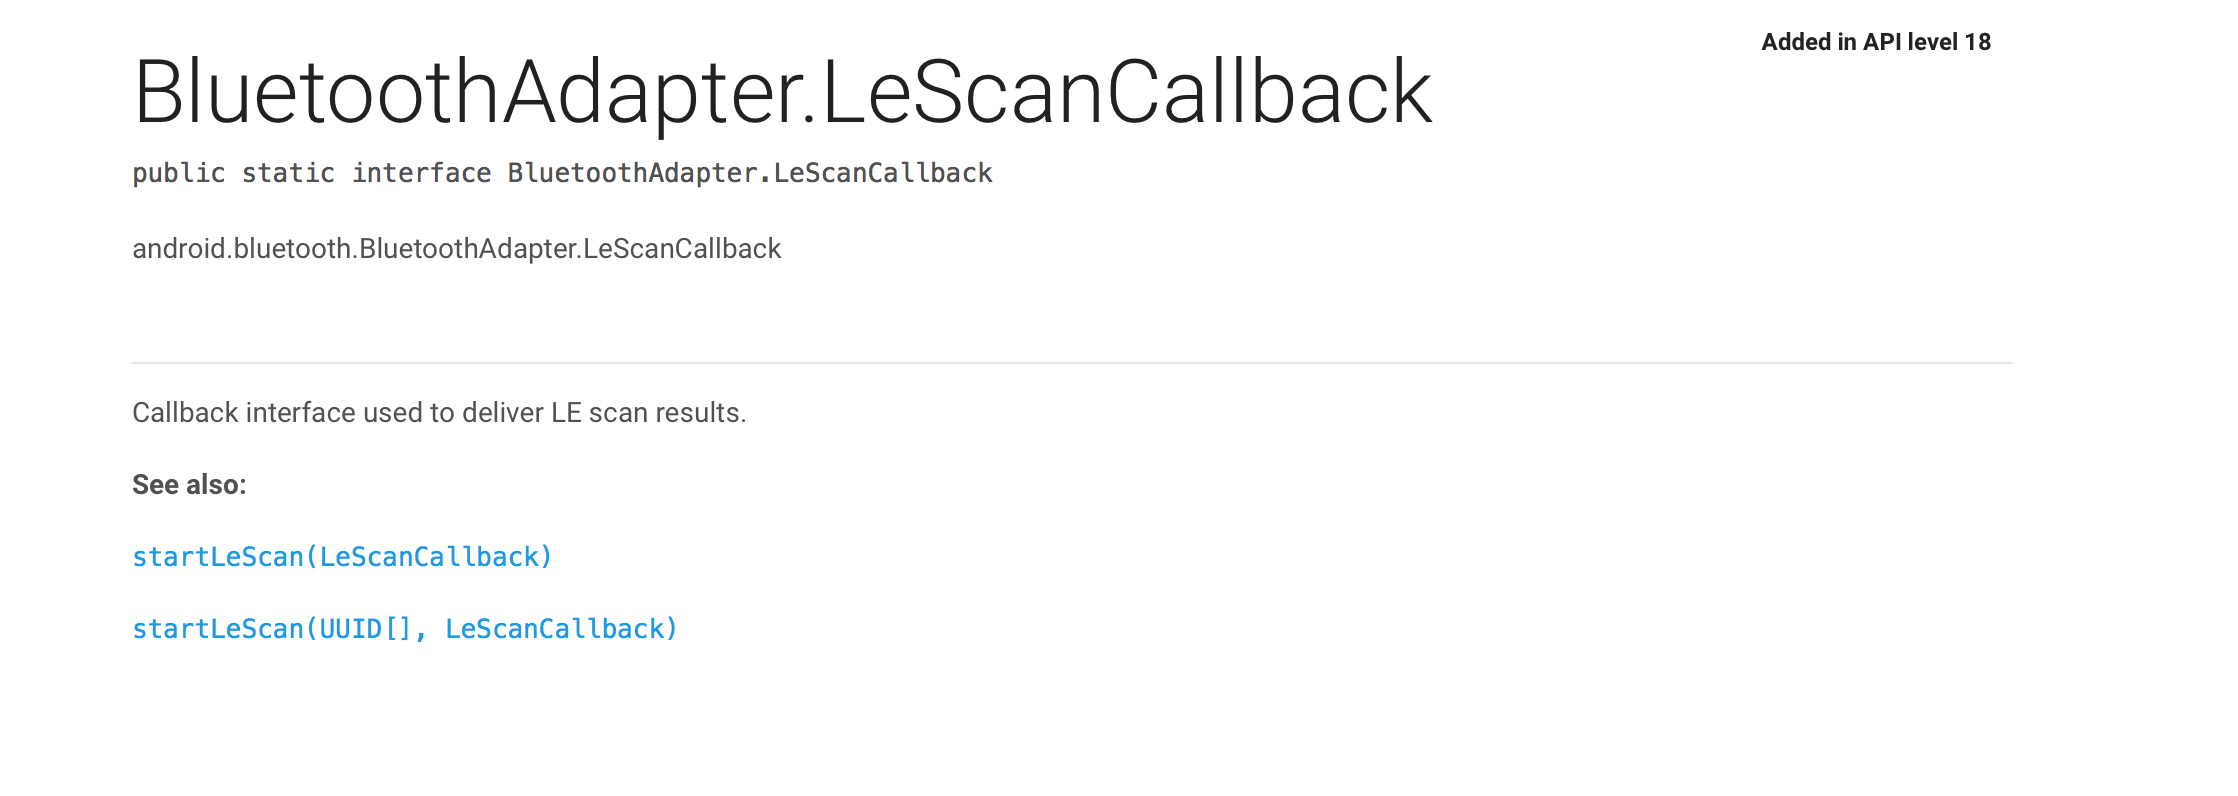
官方文档上显示回调接口用来实现扫描结果。
显而易见,那么我们就写一个LeScanCallback
private BluetoothAdapter.LeScanCallback leScanCallback = new BluetoothAdapter.LeScanCallback() {
        @Override
        public void onLeScan(final BluetoothDevice device, final int rssi, final byte[] scanRecord) {

});
重写了LeScanCallback实现了里面的onLeSean方法,让我们看看这些参数都是什么,第一个就是扫描到的设备,第二个就是蓝牙的rssi值,这个值就是测试蓝牙设备与终端的距离,第三个就是扫描的设备提供的内容,这时候我们可以创建一个集合了,然后添加进去,将扫描的设备动态的显示出来。
我们扫描的做好了,那么我们应该找到了设备准备进行连接了。需要连接首先是要找到要连接的设备的,这个设备是BluetoothDevice类型的,我们再来看看文档上对这个类的说明。
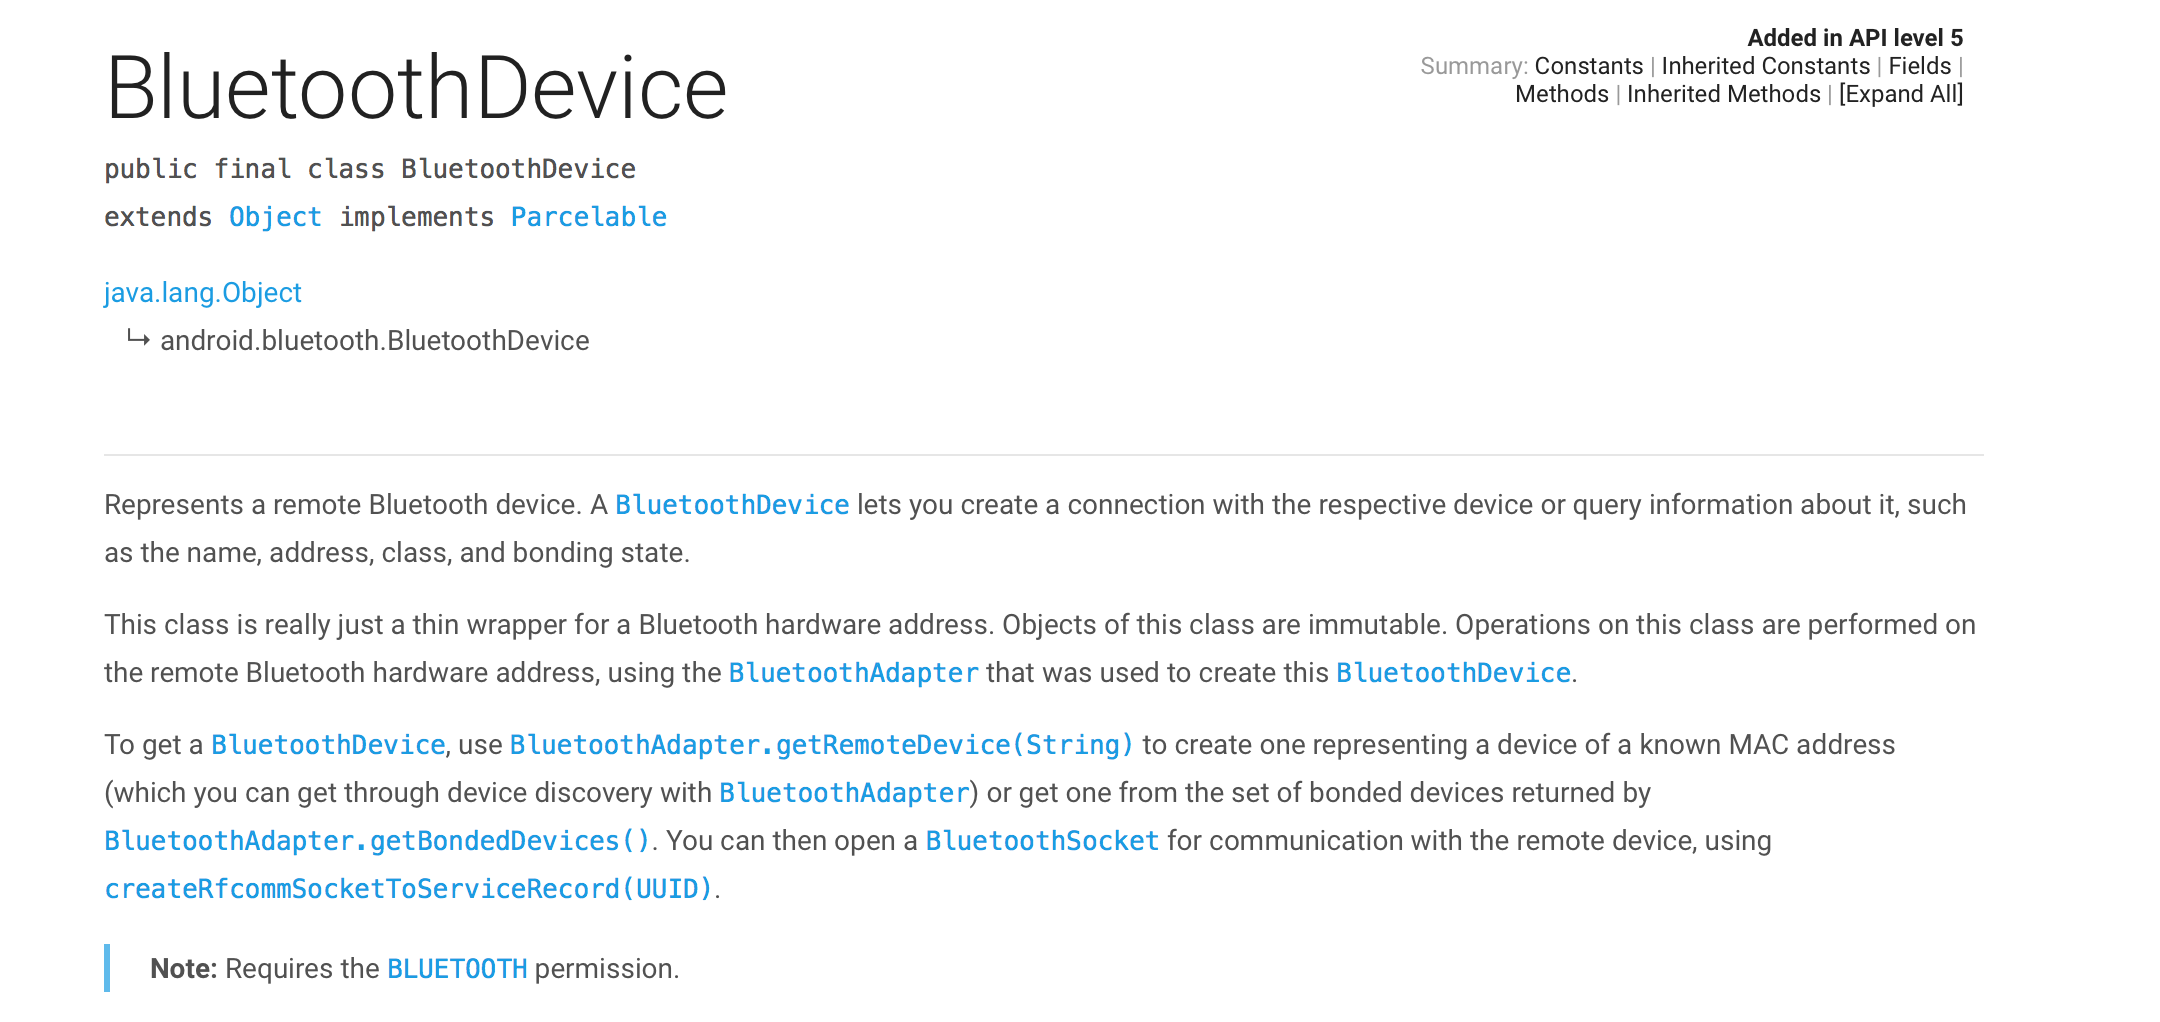
官方的意思就是说这代表着一个远程的蓝牙设备,你可以获取它的信息。等等等…

它有一个getAddress() 方法就是获取地址值
然后我们再看BluetoothDevice提供的连接方法

传入一个上下文,是否自动连接,以及一个BluetoothGattCallback回调
我们再来看看BluetoothGattCallback回调
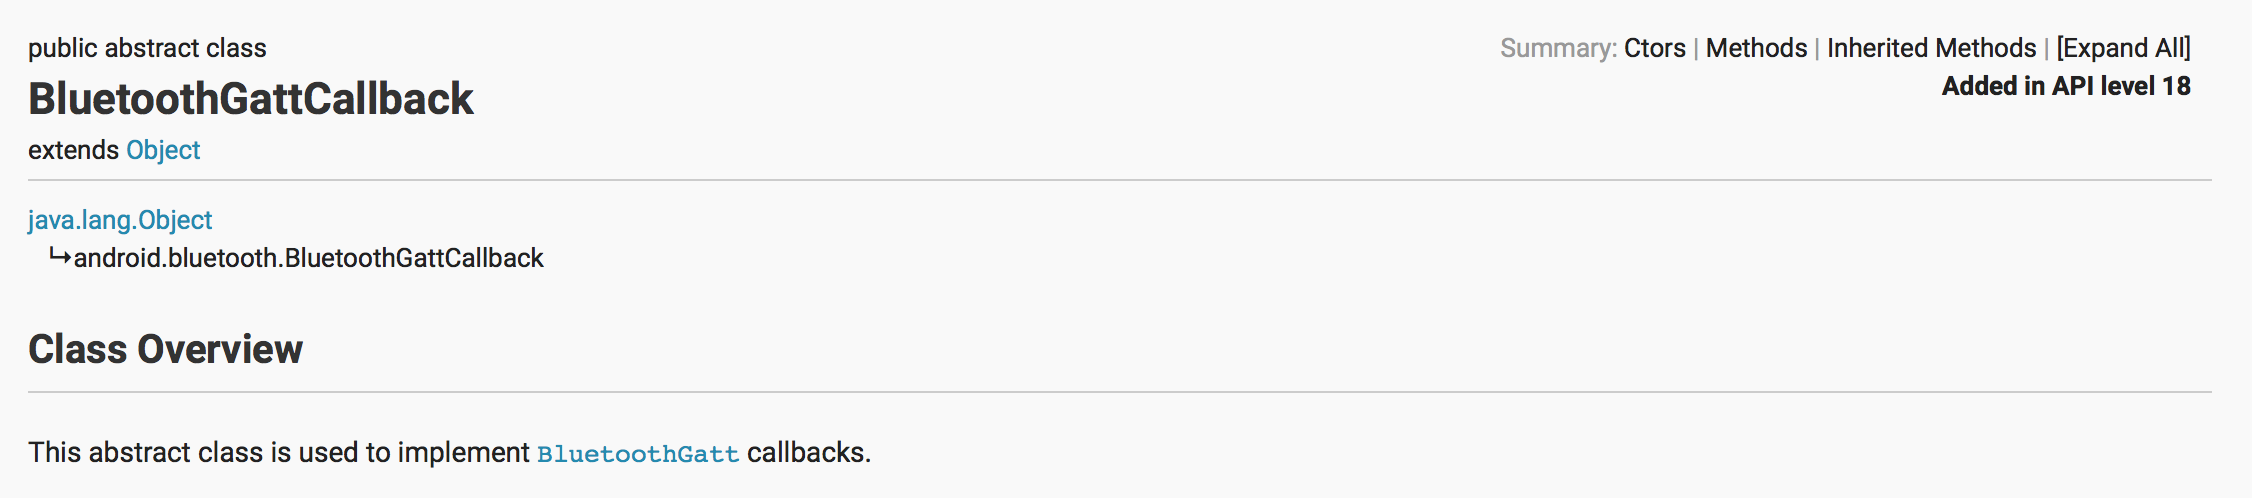
官方解释:这是一个抽象类用来实现BluetoothGatt回调
我们来写一个BluetoothGatt
private BluetoothGattCallback gattCallback = new BluetoothGattCallback() {
        @Override
        public void onConnectionStateChange(BluetoothGatt gatt, int status, int newState) {
      if(newState == BluetoothProfile.STATE_CONNECTED){

       }else if(newState ==BluetoothProfile.STATE_DISCONNECTED){

        }else if(newState == BluetoothProfile.STATE_CONNECTING){

           }else if(newState == BluetoothProfile.STATE_DISCONNECTING){

                }
            }
        }

        @Override
        public void onServicesDiscovered(BluetoothGatt gatt, int status) {

        }

        @Override
        public void onCharacteristicRead(BluetoothGatt gatt, BluetoothGattCharacteristic characteristic, int status) {

        }

        @Override
        public void onCharacteristicWrite(BluetoothGatt gatt, BluetoothGattCharacteristic characteristic, int status) {

        }

        @Override
        public void onCharacteristicChanged(BluetoothGatt gatt, BluetoothGattCharacteristic characteristic) {

        }

        @Override
        public void onDescriptorWrite(BluetoothGatt gatt, BluetoothGattDescriptor descriptor, int status) {

     };
重写了辣么多方法,看着真恐怖哈,其实每个方法都很重要,慢慢解释。
public void onConnectionStateChange(BluetoothGatt gatt, int status, int newState) {
这个说白了就是监听蓝牙的状态的,我上面吧一些状态写出来了,直接用newState判断即可。
public void onServicesDiscovered(BluetoothGatt gatt, int status)这个方法就是发现服务后的回调
public void onCharacteristicRead(BluetoothGatt gatt, BluetoothGattCharacteristic characteristic, int status)这个方法就是读取特征操作的结果回调
public void onCharacteristicWrite(BluetoothGatt gatt, BluetoothGattCharacteristic characteristic, int status)这个方法就是写入特种操作结果回调
public void onCharacteristicChanged(BluetoothGatt gatt, BluetoothGattCharacteristic characteristic)这个方法就是特征发生改变的时候回调
public void onDescriptorWrite(BluetoothGatt gatt, BluetoothGattDescriptor descriptor, int status)这个方法就是对这个描述符号写操作的回调
这里面每个方法都有一个共同的参数就是BluetoothGatt
我们再来看一看这个类是干什么的。
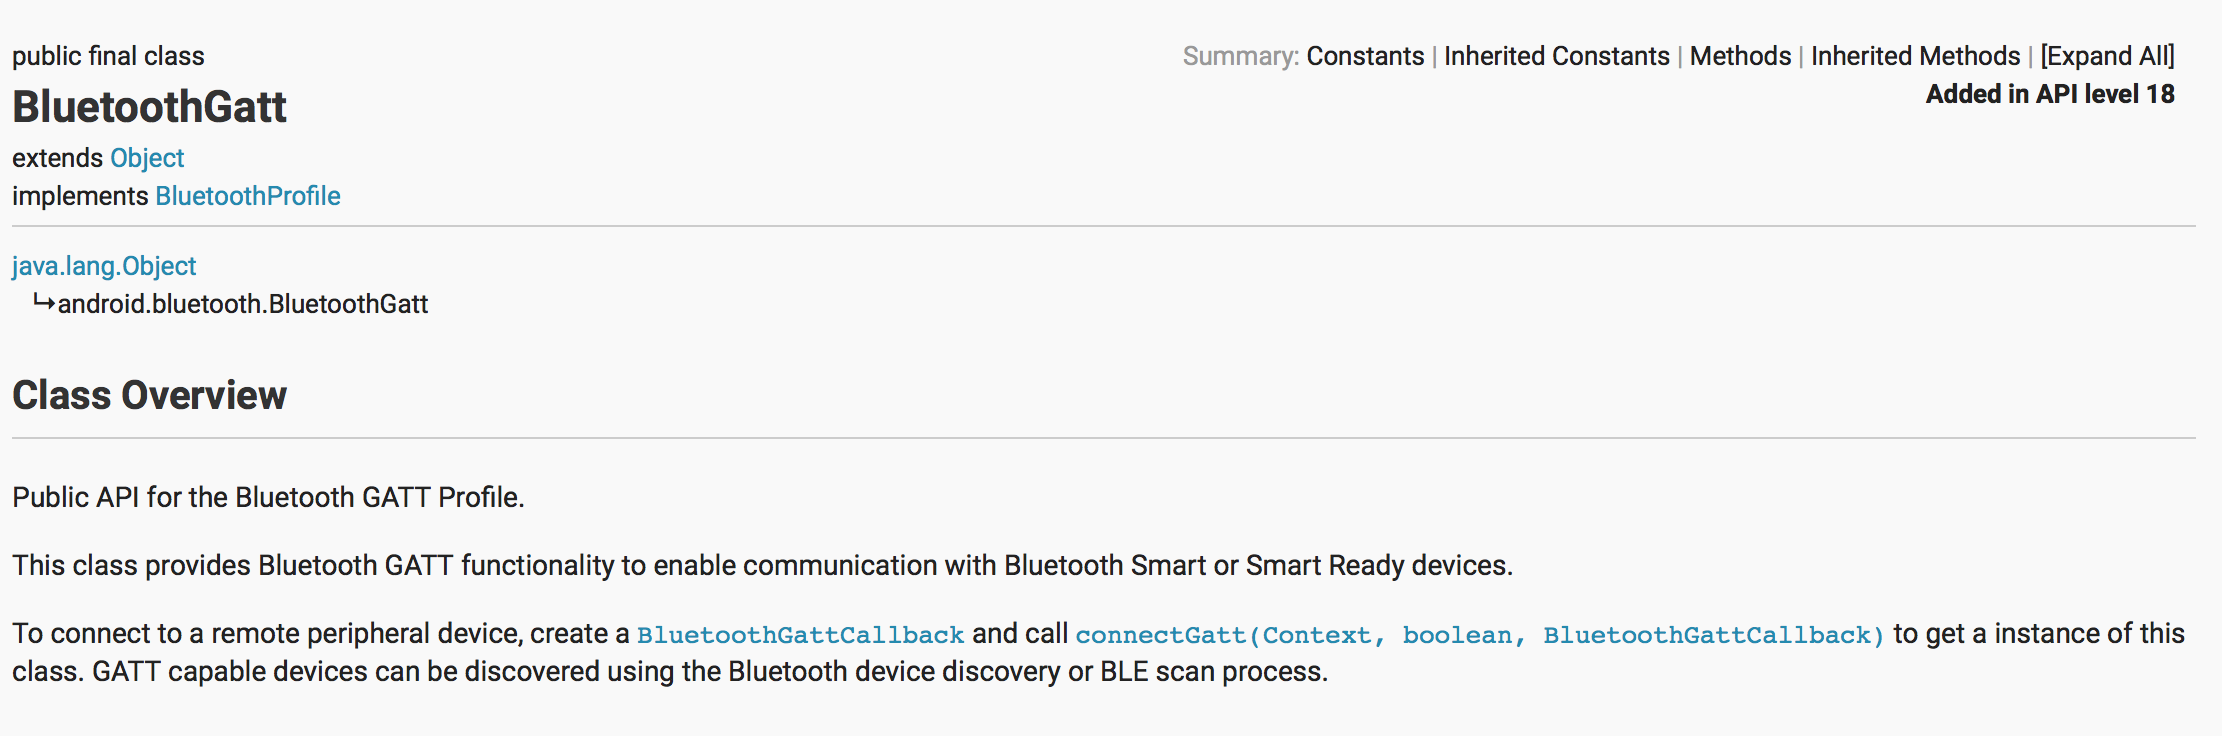
Google说这个类提供了启动蓝牙连接设备,发现设备,以及扫描过程
我们可以在onConnectionStateChange 查看蓝牙的状态并作出相应的操作,
写入特征与读取都可以在对应的方法中写出业务逻辑即可。
记得连接成功后一定要关闭扫描。
另外,当断开后再立马开始扫描会容易使蓝牙崩溃掉,还有Google提供的蓝牙自动连接并不稳定,节省资源再对应的生命周期方法中关闭掉蓝牙停止扫描。


 2702
2702


 被折叠的 条评论
为什么被折叠?
被折叠的 条评论
为什么被折叠?
 到【灌水乐园】发言


