


vue3 中 使用 router
项目初始化见 [如何创建你的第一个 Vue3 应用脚手架]<
https://www.toutiao.com/article/7296870015364874787/>
Vue Router 官网
https://router.vuejs.org/zh/introduction.html
1、安装router
安装最新版本
1、 npm
npm install vue-router@latest
2、yarn
yarn add vue-router@latest
PS E:\hkz_dev\vue3\vue3-vite-ts> yarn add vue-router@latest
yarn add v1.22.17
info No lockfile found.
warning package-lock.json found. Your project contains lock files generated by tools other than Yarn. It is advised not to mix package managers in order to avoid resolution inconsistencies caused by unsynchronized lock files. To clear this warning, remove package-lock.json.
[1/4] Resolving packages...
[2/4] Fetching packages...
[3/4] Linking dependencies...
[4/4] Building fresh packages...
success Saved lockfile.
warning Your current version of Yarn is out of date. The latest version is "1.22.19", while you're on "1.22.17".
info To upgrade, run the following command:
$ curl --compressed -o- -L <https://yarnpkg.com/install.sh> | bash
success Saved 38 new dependencies.
info Direct dependencies
├─ @vitejs/plugin-vue@4.4.0
├─ typescript@5.2.2
├─ vite@4.5.0
├─ vue-router@4.2.5
├─ vue-tsc@1.8.22
└─ vue@3.3.7
info All dependencies
├─ @esbuild/win32-x64@0.18.20
├─ @jridgewell/sourcemap-codec@1.4.15
├─ @vitejs/plugin-vue@4.4.0
├─ @volar/language-core@1.10.10
├─ @volar/source-map@1.10.10
├─ @volar/typescript@1.10.10
├─ @vue/compiler-dom@3.3.7
├─ @vue/compiler-sfc@3.3.7
├─ @vue/devtools-api@6.5.1
├─ @vue/language-core@1.8.22
├─ @vue/reactivity-transform@3.3.7
├─ @vue/reactivity@3.3.7
├─ @vue/runtime-core@3.3.7
├─ @vue/runtime-dom@3.3.7
├─ @vue/server-renderer@3.3.7
├─ @vue/shared@3.3.7
├─ balanced-match@1.0.2
├─ brace-expansion@2.0.1
├─ computeds@0.0.1
├─ csstype@3.1.2
├─ de-indent@1.0.2
├─ esbuild@0.18.20
├─ he@1.2.0
├─ lru-cache@6.0.0
├─ minimatch@9.0.3
├─ nanoid@3.3.6
├─ path-browserify@1.0.1
├─ picocolors@1.0.0
├─ postcss@8.4.31
├─ rollup@3.29.4
├─ semver@7.5.4
├─ typescript@5.2.2
├─ vite@4.5.0
├─ vue-router@4.2.5
├─ vue-template-compiler@2.7.15
├─ vue-tsc@1.8.22
├─ vue@3.3.7
└─ yallist@4.0.0
Done in 3.65s.
指定版本
1、 npm
npm install vue-router@4
2、yarn
yarn add vue-router@4
2、配置Vue Router
在src文件夹新建一个router文件夹,在该文件夹下新建index.js文件
在index.ts中引入vue-router中的createRouter 和 createWebHashHistory 方法,引入页面文件
代码如下:
import { createRouter, createWebHistory, createWebHashHistory } from 'vue-router'

// 页面组件通过import引入,如果使用懒加载方式则无需在此通过import引入
// import HomeView from '../views/HomeView.vue'
import HomeView from '../views/HomeView.vue'

const router = createRouter({
  //createWebHashHistory(), // history 模式则使用 createWebHistory()
  history: createWebHashHistory(import.meta.env.BASE_URL),
  routes: [
    // 组件引用方式有两种,只需选择一种方式即可
    {
      path: '/',
      name: 'home',
      component: HomeView
    },
    {
      path: '/about',
      name: 'about',
      // route level code-splitting
      // this generates a separate chunk (About.[hash].js) for this route
      // which is lazy-loaded when the route is visited.
      component: () => import('../views/AboutView.vue')
    }
  ]
})

export default router
3、创建各个视图
创建目录 views,在当前目录下创建两个文件 HomeView.vue 和 AboutView.vue。
HomeView.vue
<script setup lang="ts">
import WelcomeItem from '../components/WelcomeItem.vue'
</script>

<template>
  <main>
    <WelcomeItem>
      <template #heading>Documentation</template>
      Vue’s
      <a href="https://vuejs.org/" target="_blank" rel="noopener">official documentation</a>
      provides you with all information you need to get started.
    </WelcomeItem>
  </main>
</template>
AboutView.vue
<template>
  <div class="about">
    <h1>This is an about page</h1>
  </div>
</template>

<style>
@media (min-width: 1024px) {
  .about {
    min-height: 50vh;
    display: flex;
    align-items: center;
  }
}
</style>
创建组建 WelcomeItem
WelcomeItem.vue 【里面使用到了 slot 插槽,自己可以去查查这方面的知识。后面我这边会讲解】。
<template>
  <div class="item">
    <i>
      <slot name="icon"></slot>
    </i>
    <div class="details">
      <h3>
        <slot name="heading"></slot>
      </h3>
      <slot></slot>
    </div>
  </div>
</template>

<style scoped>
.item {
  margin-top: 2rem;
  display: flex;
  position: relative;
}

.details {
  flex: 1;
  margin-left: 1rem;
}

i {
  display: flex;
  place-items: center;
  place-content: center;
  width: 32px;
  height: 32px;

  color: var(--color-text);
}

h3 {
  font-size: 1.2rem;
  font-weight: 500;
  margin-bottom: 0.4rem;
  color: var(--color-heading);
}

@media (min-width: 1024px) {
  .item {
    margin-top: 0;
    padding: 0.4rem 0 1rem calc(var(--section-gap) / 2);
  }

  i {
    top: calc(50% - 25px);
    left: -26px;
    position: absolute;
    border: 1px solid var(--color-border);
    background: var(--color-background);
    border-radius: 8px;
    width: 50px;
    height: 50px;
  }

  .item:before {
    content: ' ';
    border-left: 1px solid var(--color-border);
    position: absolute;
    left: 0;
    bottom: calc(50% + 25px);
    height: calc(50% - 25px);
  }

  .item:after {
    content: ' ';
    border-left: 1px solid var(--color-border);
    position: absolute;
    left: 0;
    top: calc(50% + 25px);
    height: calc(50% - 25px);
  }

  .item:first-of-type:before {
    display: none;
  }

  .item:last-of-type:after {
    display: none;
  }
}
</style>
4、 改App.vue如下
在App.vue中使用组件来渲染要显示的组件,在Tabbar组件中使用组件生成链接
<template>
    <div class="wrapper">
      <nav>
        <router-link to="/">home</router-link> |
        <router-link to="/about">About</router-link>
      </nav>
    </div>
  <Router-view/>
  <HelloWorld msg="You did it!" />
</template>

<script setup lang="ts">
import HelloWorld from './components/HelloWorld.vue'
</script>

<style lang="less" scoped>
.logo {
  height: 6em;
  padding: 1.5em;
  will-change: filter;
  transition: filter 300ms;
}
.logo:hover {
  filter: drop-shadow(0 0 2em #646cffaa);
}
.logo.vue:hover {
  filter: drop-shadow(0 0 2em #42b883aa);
}

#app {
  font-family: Avenir, Helvetica, Arial, sans-serif;
  -webkit-font-smoothing: antialiased;
  -moz-osx-font-smoothing: grayscale;
  text-align: center;
  color: #2c3e50;
}

nav {
  padding: 30px;

  a {
    font-weight: bold;
    color: #2c3e50;

    &.router-link-exact-active {
      color: #42b983;
    }
  }
}
</style>
5、 改 main.ts
注册路由:在main.ts中导入上面创建的路由文件,并使用app.use注册路由
import { createApp } from 'vue'
import './style.css'
import App from './App.vue'
import router from './router'

const app =  createApp(App).use(router)
app.mount('#app')
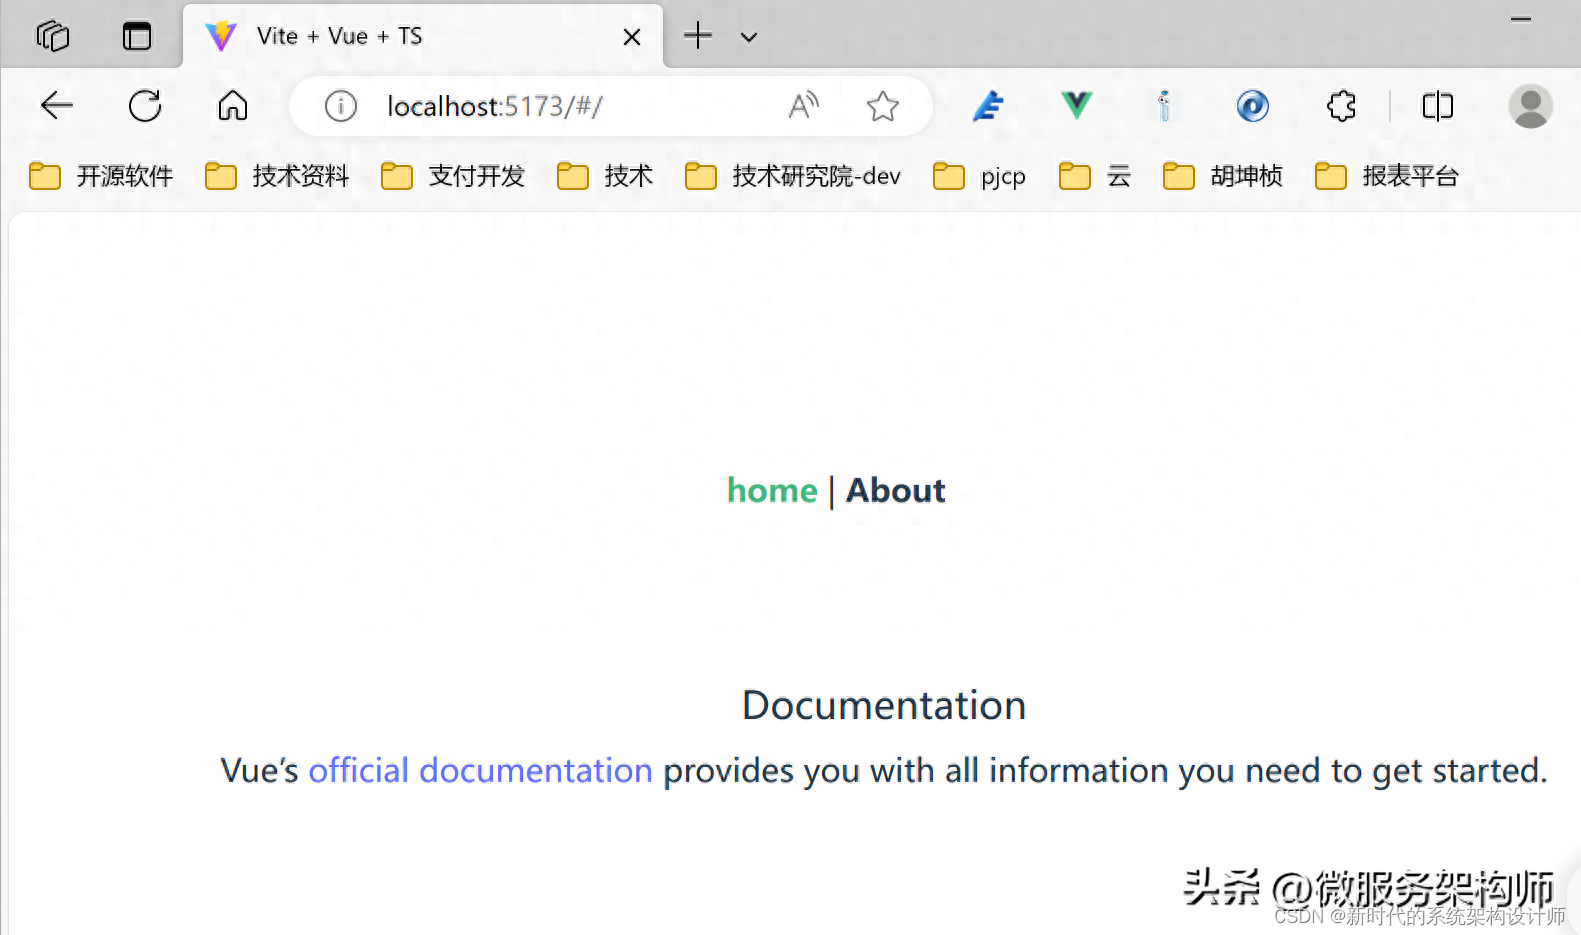
至此,我们就完成了路由的配置与搭建,运行程序,刷新浏览器,可以看到页面已经可以正常跳转,实现了路由功能。
运行:
yarn
yarn dev
npm
npm run dev
运行结果:
6、 Vue Router的基本概念
路由器:Vue Router 提供了一个路由器,用于管理应用程序中的路由。Vue Router 实例化一个 Vue Router 对象,注册路由规则,并以它为中心连接其他组件。路由:路由是分发到不同组件的 URL 地址。在 Vue Router 中,路由通常是由 path 规则和相应的组件定义的。当浏览器的 URL 匹配到路由的 path 后,相应的组件将会被加载到页面中。路由的信息可以从 route 对象中获取。路由规则:路由规则是由 path、component、name、meta、props 等属性组成的。其中,path 表示 URL 的路径,component 表示要渲染的组件,name 表示路由名称,meta 表示路由的元数据,props 表示路由 props 数据。路由规则可以注册到 Vue Router 中。导航守卫:导航守卫是在路由跳转时执行的钩子函数,用于控制路由的访问权限、处理路由跳转前后的逻辑等。在 Vue Router 中,对于选项式 API,常用的导航守卫有 beforeRouteEnter、beforeRouteUpdate、beforeRouteLeave 等;对于使用组合 API 和 setup 函数来编写组件的,可以通过 onBeforeRouteUpdate 和 onBeforeRouteLeave 分别添加 update 和 leave 守卫。
7、routes中的配置项介绍
在 Vue Router 中,路由规则的配置是通过 routes 属性来实现的。routes 属性中常用的配置如下:
- 1、name:路由规则的名字。可以用于编程式导航和组件内部的路由跳转。
- 2、path:路由的路径,可以包含动态参数和正则表达式。例如,/user/:id 表示用户页面,:id 是一个动态参数。
- 3、redirect:路由的重定向规则。例如,{ path: '/', redirect: '/home' } 表示路由根路径的重定向。
- 4、component:路由对应的组件。可以是一个普通的组件类或异步加载的组件。
- 5、children:当前路由的子路由。可以是一个路由规则数组,也可以是一个函数,动态生成路由规则。
- 6、meta:路由的元信息,用于描述路由的一些额外信息。例如,路由是否需要登录、权限鉴定等。
- 7、components:路由对应的多个命名视图组件。
8、目录结构
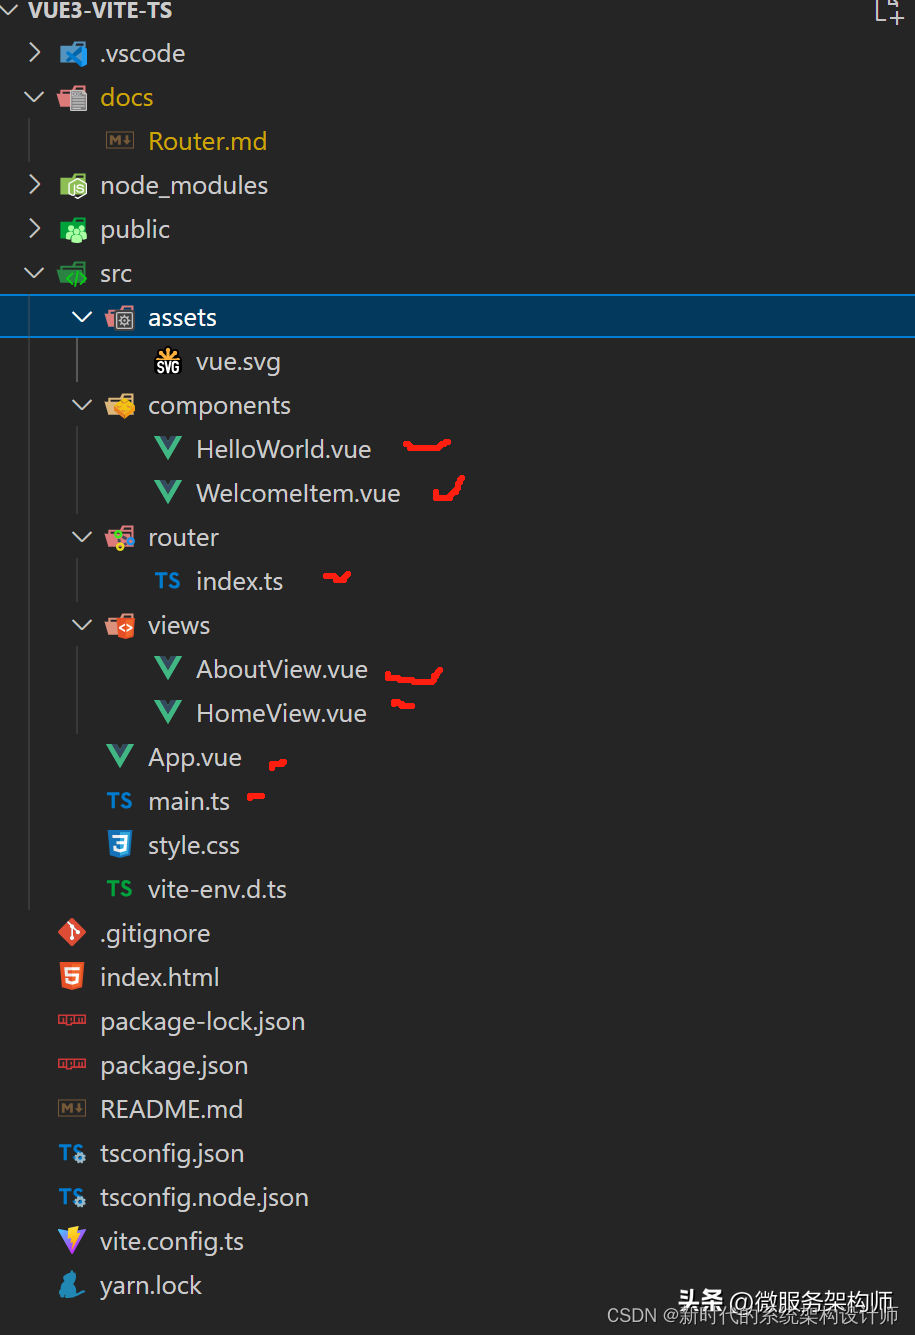
以上项目源代码,关注并私信留言:源代码,逐一回复,给源代码下载地址。
============ 补充说明 begin====================
yarn 补充说明
Yarn是Facebook最近发布的一款依赖包安装工具。Yarn是一个新的快速安全可信赖的可以替代NPM的依赖管理工具。
Yarn是Facebook最近发布的一款依赖包安装工具。Yarn是一个新的快速安全可信赖的可以替代NPM的依赖管理工具。
在官方介绍里有这么一句话
Yarn is a package manager for your code. It allows you to use and share code with other developers from around the world. Yarn does this quickly, securely, and reliably so you don't ever have to worry.
关键意思就是,快速,安全,可靠。你下载的包将不再重新下载。而且确保在不同系统中可以正常工作。
- npm 的方式
- npm install -g yarn
- 安装完成后,你可以测试下自己的版本
- yarn --version
配置环境
在node.js安装目录下新建两个文件夹 yarn_global和yarn_cache
- yarn config set global-folder "D:\xx\nodejs\yarn_global"
- yarn config set cache-folder "D:\xx\nodejs\yarn_cache"
查看相关路径,如果都在D:\xx...,则正确
- 其他指令
- 查看当前npm包的全局安装路径 npm prefix -g
- 查看 yarn 全局bin位置 yarn global bin
- 查看 yarn 全局安装位置 yarn global dir
- 查看 yarn 全局cache位置 yarn cache dir
- 开始使用
- 输入命令: yarn init
- 加一些依赖:yarn add gulp-less
- 如果你要移除的话,可以使用yarn remove package_nameyarn remove gulp-less
- 升级更新某个依赖可以使用这个:yarn upgrade [package]
============ 补充说明 begin====================


 3517
3517


 被折叠的 条评论
为什么被折叠?
被折叠的 条评论
为什么被折叠?
 到【灌水乐园】发言


