


一、部署方案
| 主机名 | graphd 进程数量 | storaged 进程数量 | metad 进程数量 |
| master | 1 | 1 | 1 |
| slaves1 | 1 | 1 | 1 |
| slaves2 | 1 | 1 | 1 |
二、下载rpm安装包,并copy到三台主机同一位置
wget https://oss-cdn.nebula-graph.com.cn/package/nightly/2021.11.24/nebula-graph-2021.11.24-nightly.el7.x86_64.rpm三、安装rpm,三台主机都执行
rpm -ivh nebula-graph-3.0.2.el7.x86_64.rpm --prefix=/opt/softWare/nebulaGraph--prefix:代表安装位置配置;
四、配置
配置文件在安装目录下的etc文件夹下;
1、master配置
nebula-metad.conf
########## networking ##########
# Comma separated Meta Server addresses
--meta_server_addrs=master:9559,slaves1:9559,slaves2:9559
# Local IP used to identify the nebula-metad process.
# Change it to an address other than loopback if the service is distributed or
# will be accessed remotely.
--local_ip=master
# Meta daemon listening port
--port=9559
nebula-storaged.conf
########## networking ##########
# Comma separated Meta server addresses
--meta_server_addrs=master:9559,slaves1:9559,slaves2:9559
# Local IP used to identify the nebula-storaged process.
# Change it to an address other than loopback if the service is distributed or
# will be accessed remotely.
--local_ip=master
# Storage daemon listening port
--port=9779
nebula-graphd.conf
########## networking ##########
# Comma separated Meta Server Addresses
--meta_server_addrs=master:9559,slaves1:9559,slaves2:9559
# Local IP used to identify the nebula-graphd process.
# Change it to an address other than loopback if the service is distributed or
# will be accessed remotely.
--local_ip=master
# Network device to listen on
--listen_netdev=any
# Port to listen on
--port=9669
2、slaves1配置
nebula-metad.conf
########## networking ##########
# Comma separated Meta Server addresses
--meta_server_addrs=master:9559,slaves1:9559,slaves2:9559
# Local IP used to identify the nebula-metad process.
# Change it to an address other than loopback if the service is distributed or
# will be accessed remotely.
--local_ip=slaves1
# Meta daemon listening port
--port=9559
nebula-storaged.conf
########## networking ##########
# Comma separated Meta server addresses
--meta_server_addrs=master:9559,slaves1:9559,slaves2:9559
# Local IP used to identify the nebula-storaged process.
# Change it to an address other than loopback if the service is distributed or
# will be accessed remotely.
--local_ip=slaves1
# Storage daemon listening port
--port=9779
nebula-graphd.conf
########## networking ##########
# Comma separated Meta Server Addresses
--meta_server_addrs=master:9559,slaves1:9559,slaves2:9559
# Local IP used to identify the nebula-graphd process.
# Change it to an address other than loopback if the service is distributed or
# will be accessed remotely.
--local_ip=slaves1
# Network device to listen on
--listen_netdev=any
# Port to listen on
--port=9669
3、slaves2配置
nebula-metad.conf
########## networking ##########
# Comma separated Meta Server addresses
--meta_server_addrs=master:9559,slaves1:9559,slaves2:9559
# Local IP used to identify the nebula-metad process.
# Change it to an address other than loopback if the service is distributed or
# will be accessed remotely.
--local_ip=slaves2
# Meta daemon listening port
--port=9559
nebula-storaged.conf
########## networking ##########
# Comma separated Meta server addresses
--meta_server_addrs=master:9559,slaves1:9559,slaves2:9559
# Local IP used to identify the nebula-storaged process.
# Change it to an address other than loopback if the service is distributed or
# will be accessed remotely.
--local_ip=slaves2
# Storage daemon listening port
--port=9779
nebula-graphd.conf
########## networking ##########
# Comma separated Meta Server Addresses
--meta_server_addrs=master:9559,slaves1:9559,slaves2:9559
# Local IP used to identify the nebula-graphd process.
# Change it to an address other than loopback if the service is distributed or
# will be accessed remotely.
--local_ip=slaves2
# Network device to listen on
--listen_netdev=any
# Port to listen on
--port=9669
五、启动集群
首先进入script目录;
master/slaves1:
[root@master scripts]# ./nebula.service start allslaves2:
[root@slaves2 scripts]# ./nebula.service start storaged

[root@slaves2 scripts]# ./nebula.service start graphd
六、进程查看
master:

slaves1:

slaves2:

七、客户端连接
1、下载客户端
Releases · vesoft-inc/nebula-console · GitHub
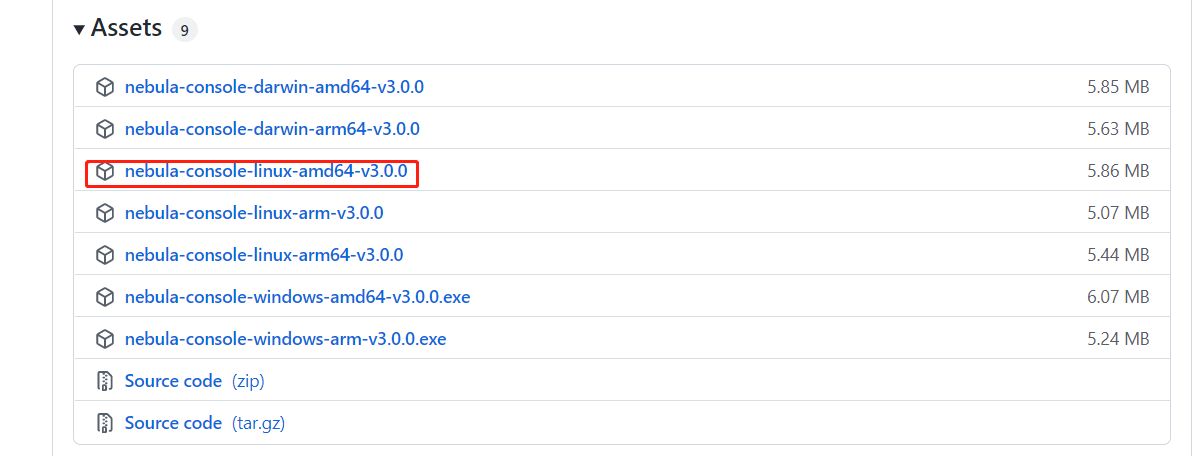
2、将下载的文件重命名为nebula-console,并分别放到三台主机安装目录的bin下,并赋予如下权限:chmod a+x nebula-console
3、在任意一台主机连接
[root@master bin]# ./nebula-console --addr master --port 9669 -u root -p nebula

Welcome to Nebula Graph!

(root@nebula) [(none)]>


 2355
2355


 被折叠的 条评论
为什么被折叠?
被折叠的 条评论
为什么被折叠?
 到【灌水乐园】发言


