


2440烧写方式
1.1 使用并口烧写
1.2 使用OpenJTAG烧写
OpenJTAG支持将二进制代码烧写到FLASH中。它的烧写工具是oflash。oflash烧写完成后会自动复位。
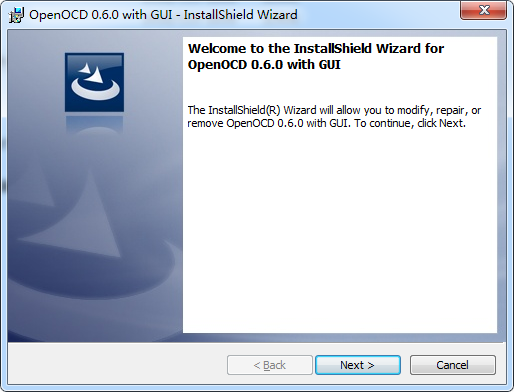
1.2.1 安装oflash
光盘资料\windows\tools目录下,双击01.OpenOCD with GUI setup.exe进行安装。
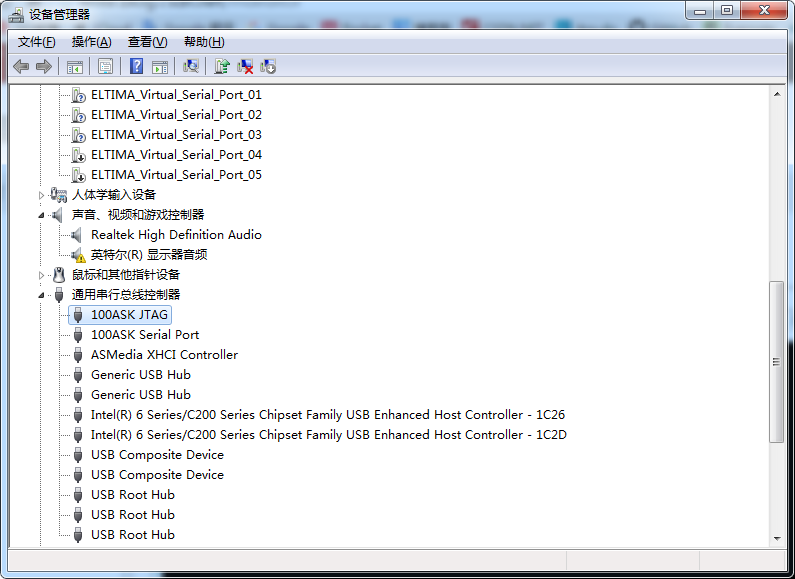
驱动安装成功后,设备管理器中会增加100ASK JTAG
安装完成后,在命令行中输入oflash进行测试。
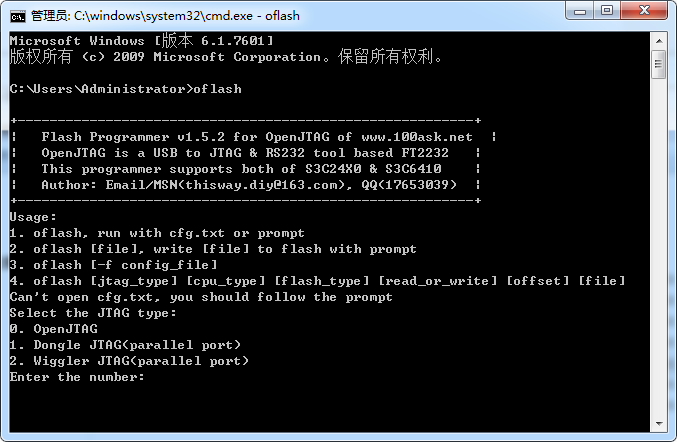
常用的命令格式是2和4.
命令2:oflash file name
按照提示,一步一步进行操作。
命令4:oflash [jtag_type] [cpu_type] [flash_type] [read_or_write] [offset] [file]
设定好参数后,只需一步操作,即可全部完成,其实本质是一样的,只是没有提示信息。
输入x退出oflash。
1.2.2 烧写步骤
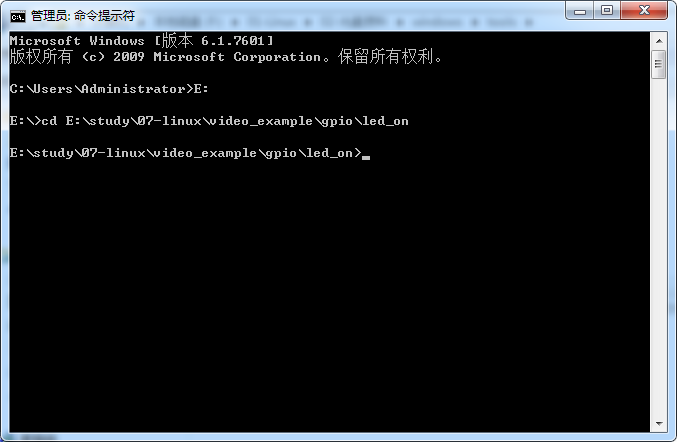
- 启动命令行
- 切换到bin文件目录
连接OpenJTAG,并打开开发板电源
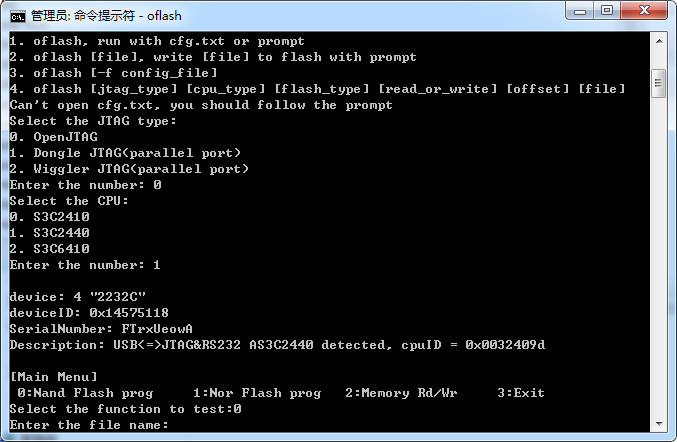
命令行下输入oflash
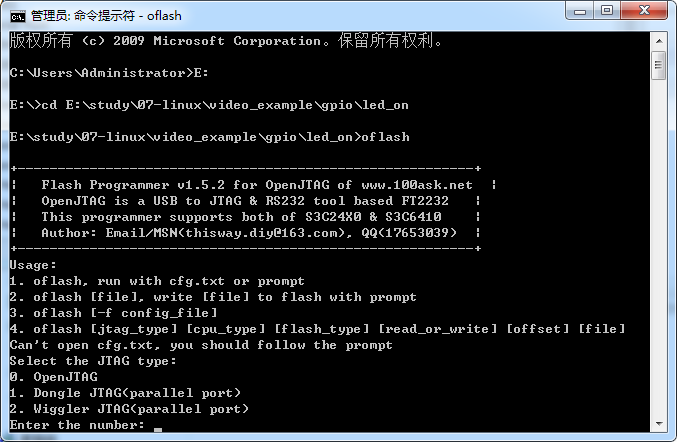
- 选择JTAG类型。输入0,选择使用OpenJTAG
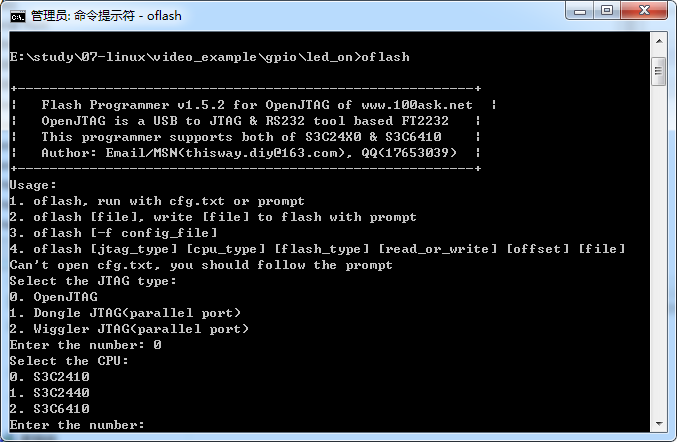
- 选择CPU类型,输入1,选择2440
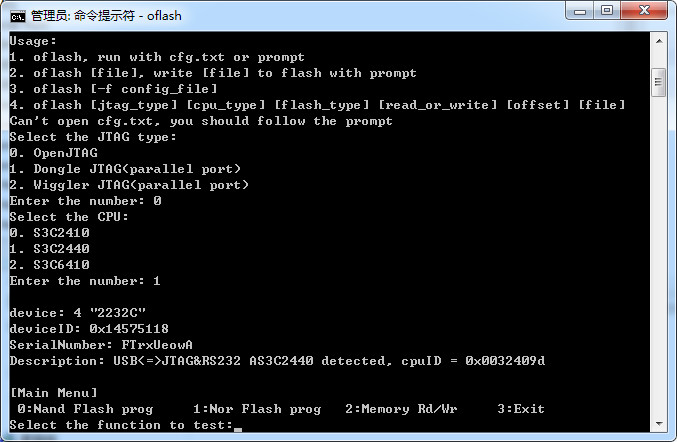
- 输入0,选择Nand Flash下载
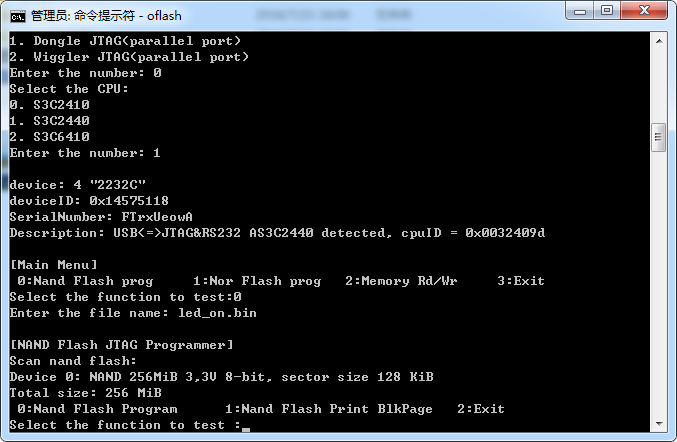
输入文件名
输入0,选择Nand Flash写入
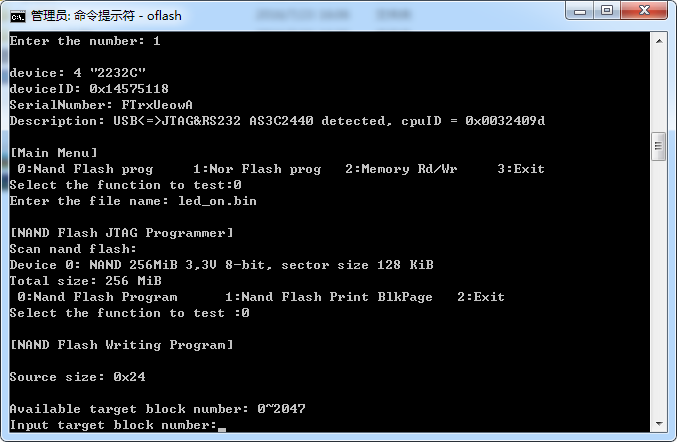
- 选择Nand flash地址,输入0,下载到Nand flash的0地址上
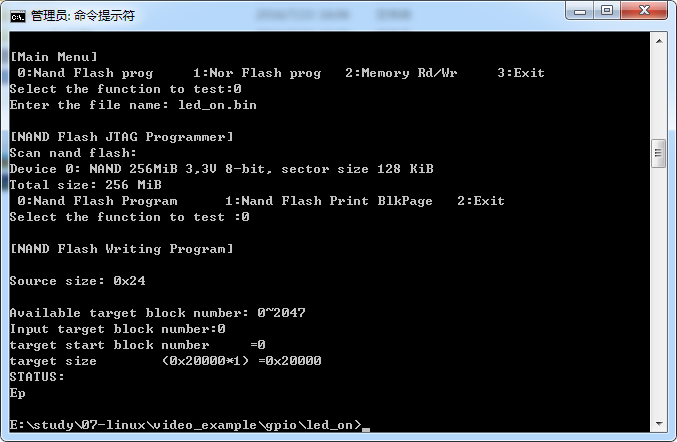
- 烧写完成后,板卡自动重启,检查LED是否被点亮
1.3 JLINK烧写
JLINK只能烧写NOR FLASH
1.4 使用NOR FLASH上的uboot烧写
- oflash将uboot烧写到NOR FLASH中
- 设置NOR启动
- 拔掉OPENJTAG
- 使用串口
- 拨码开关NOR NAND,选择NOR
- 重新上电
- 插上USB线(不是串口)
使用DNW下载bin文件
5.1. 插上USB线,准备发送
5.2.重启,载menu菜单下输入k
+---------------------------------------------+
| S3C2440A USB Downloader ver R0.03 2004 Jan  |
+---------------------------------------------+
USB: IN_ENDPOINT:1 OUT_ENDPOINT:3
FORMAT: <ADDR(DATA):4>+<SIZE(n+10):4>+<DATA:n>+<CS:2>
NOTE: Power off/on or press the reset button for 1 sec
      in order to get a valid USB device address.

Hit any key to stop autoboot:  0

##### 100ask Bootloader for OpenJTAG #####
[n] Download u-boot to Nand Flash
[k] Download Linux kernel uImage
[j] Download root_jffs2 image
[y] Download root_yaffs image
[d] Download to SDRAM & Run
[z] Download zImage into RAM
[g] Boot linux from RAM
[f] Format the Nand Flash
[s] Set the boot parameters
[b] Boot the system
[r] Reboot u-boot
[q] Quit from menu
Enter your selection: k
USB host is connected. Waiting a download.
5.3. 打开dnw.exe
5.4. 发送uImage文件
发送完成后,串口会输出信息
Enter your selection: k
USB host is connected. Waiting a download.

Now, Downloading [ADDRESS:30000000h,TOTAL:1848730]
RECEIVED FILE SIZE: 1848730 (902KB/S, 2S)

NAND erase: device 0 offset 0x60000, size 0x200000
Erasing at 0x240000 -- 100% complete.
OK

NAND write: device 0 offset 0x60000, size 0x1c3590

Writing data at 0x223000 -- 100% complete.
 1848720 bytes written: OK
5.5. u-boot菜单下输入b,启动内核
starting pid 772, tty '/dev/s3c2410_serial0': '/bin/sh'
#
# ls
bin         lib         mnt         root        tmp
dev         linuxrc     opt         sbin        usr
etc         lost+found  proc        sys
#
#
1.5 tftp下载
设置uboot
- OpenJTAG> set ipaddr 192.168.1.17
- OpenJTAG> set serverip 192.168.1.4
启动tftp服务
- uboot
tftp 30000000 lcd.bin
nand erase bootloader
nand write 30000000 bootloader
oflash 0 1 1 1 0 u-boot.bin


 2446
2446

 被折叠的 条评论
为什么被折叠?
被折叠的 条评论
为什么被折叠?
 到【灌水乐园】发言


