


回顾:
整合JDBC
新建SpringBoot项目:
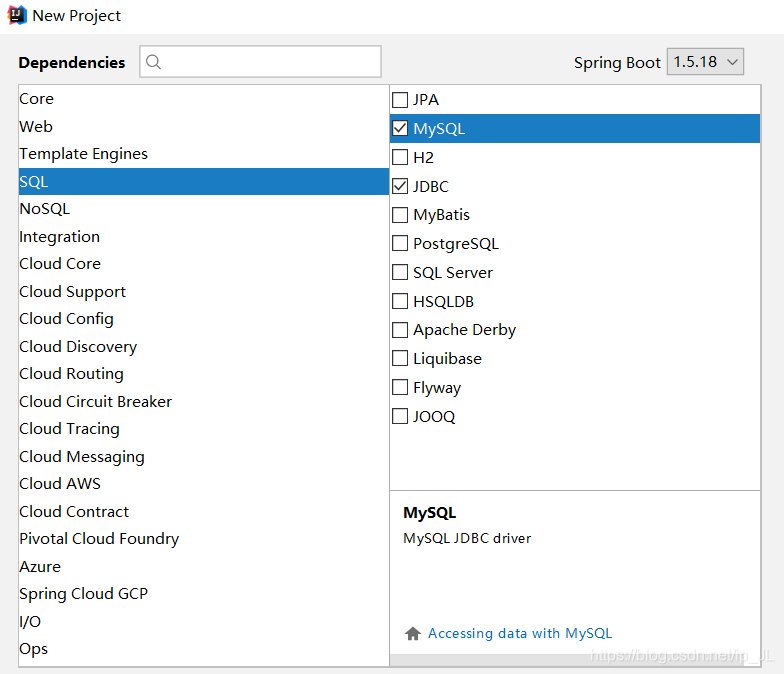
默认配置:
spring:
  datasource:
    username: root
    password: root
    url: jdbc:mysql://192.168.5.133:3306/jdbc
    driver-class-name: com.mysql.jdbc.Driver
测试代码:
@Test
public void contextLoads() throws SQLException{

    System.out.println(dataSource);
    Connection connection = dataSource.getConnection();
    System.out.println(connection);
    connection.close();
}
说明默认使用的是org.apache.tomcat.jdbc.pool.DataSource的数据源
默认支持:
org.springframework.boot.autoconfigure.jdbc
org.springframework.boot.autoconfigure.jdbc.DataSourceConfiguration
org.apache.tomcat.jdbc.pool.DataSource
org.apache.commons.dbcp.BasicDataSource
com.zaxxer.hikari.HikariDataSource
org.apache.commons.dbcp2.BasicDataSource
自定义数据类型(如: c3p0)
static class Generic {
    Generic() {
    }

    @Bean
    public DataSource dataSource(DataSourceProperties properties) {
    //使用builder创建数据源(自行看源码即可)
        return properties.initializeDataSourceBuilder().build();
    }
}
org.springframework.boot.autoconfigure.jdbc.DataSourceAutoConfiguration
DataSourceInitializer --> ApplicationListener
runSchemaScripts(); //运行建表语句
runDataScripts(); //运行插入数据语句
源码里面说明了只需要将文件命名为schema-*.sql(默认是schema.sql)并放在classpath路径下即可被识别
也可以使用配置的方式: spring.datasource.schema=classpath:department.sql
配置自定义数据源:
<!--引入阿里的druid数据源
-->
<dependency>
    <groupId>com.alibaba</groupId>
    <artifactId>druid</artifactId>
    <version>1.1.8</version>
</dependency>
配置文件: spring.datasource.type=com.alibaba.druid.pool.DruidDataSource
#其他配置
initialSize: 5
minIdle: 5
maxActive: 20
maxWait: 60000
timeBetweenEvictionRunsMillis: 60000
minEvictableIdleTimeMillis: 300000
validationQuery: SELECT 1 FROM DUAL
testWhileIdle: true
testOnBorrow: false
testOnReturn: false
poolPreparedStatements: true
#配置监控统计拦截的filters,去掉后监控界面sql无法统计,'wall'用于防火墙
filters: stat,wall,log4j
maxPoolPreparedStatementPerConnectionSize: 20
useGlobalDataSourceStat: true
connectionProperties: druid.stat.mergeSql=true;druid.stat.slowSqlMillis=500
新建配置类DruidConfig:
@Configuration
public class DruidConfig {

    @ConfigurationProperties("spring.datasource")
    @Bean
    public DruidDataSource druid(){
        return new DruidDataSource();
    }

    /**
     * 配置druid的监控
     */
    //1.配置一个管理后台的servlet
    @Bean
    public ServletRegistrationBean statViewServlet(){
        ServletRegistrationBean bean = new ServletRegistrationBean(new StatViewServlet(), "/druid/*");
        Map<String, String> initParams = new HashMap<>();
        initParams.put("loginUsername", "admin");
        initParams.put("loginPassword", "root");
        initParams.put("allow", "");  //默认允许所有
        initParams.put("deny", "173.0.0.88");  //拒绝本机访问
        bean.setInitParameters(initParams);
        return bean;
    }

    //2.配置web监控的filter
    @Bean
    public FilterRegistrationBean webStatFilter(){
        FilterRegistrationBean bean = new FilterRegistrationBean();
        bean.setFilter(new WebStatFilter());
        Map<String, String> initParams = new HashMap<>();
        initParams.put("exclusions", "*.js,*.css,/druid/*");  //排除指定拦截地址
        bean.setInitParameters(initParams);
        bean.setUrlPatterns(Arrays.asList("/*"));
        return bean;
    }
}
访问 http://localhost:8080/druid/login.html

整合MyBatis
1) 注解版方式
新建SpringBoot项目:
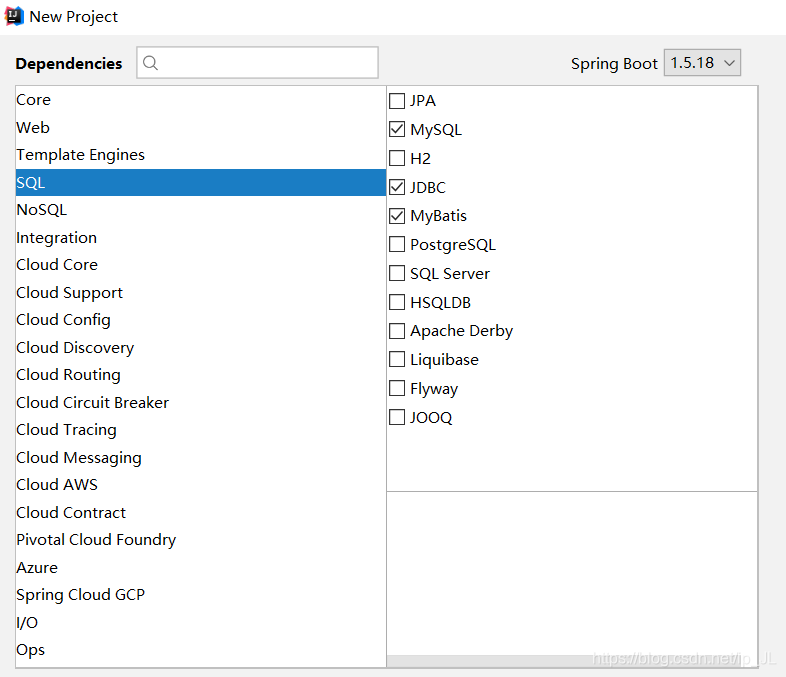
同JDBC一样需要配置文件和druid的配置类
新建操作数据库的Mapper接口:
@Mapper//指定这是一个操作数据库的mapper
public interface DepartmentMapper {

    //将sql语句直接写在方法上
    @Select("select * from department where id=#{id}")
    public Department getDeptById(Integer id);

    @Delete("delete from department where id=#{id}")
    public int delDept(Integer id);

    @Options(useGeneratedKeys = true, keyProperty = "id") //使用自增的id, 并指定对象中的id是主键
    @Insert("insert into department(departmentName) value(#{departmentName})")
    public int insertDept(Department department);

    @Update("update department d set d.departmentName=#{departmentName} where id=#{id}")
    public int updateDept(Department department);
}
ps: 此时@Mapper的注解是必须要在接口上使用的, 但有很多个mapper接口时, 则每个都要去写上该注解则比较麻烦, 可以使用@MapperScan("<包路径>") 注解放在启动类上即可扫描该包路径下的所有mapper类.
新建Controller类:
@RestController
public class DeptController {
@Autowired
DepartmentMapper departmentMapper;
@GetMapping("dept/{id}")
public Department getDeptById(@PathVariable("id") Integer id){
return departmentMapper.getDeptById(id);
}
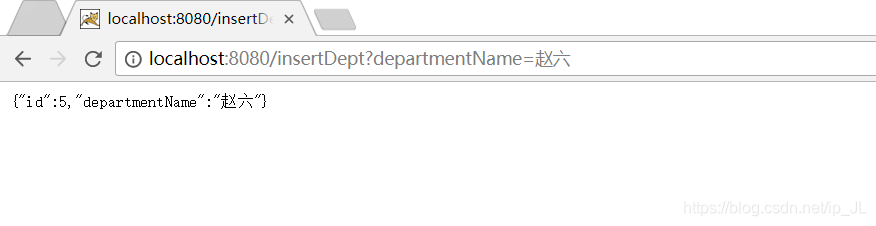
@GetMapping("/insertDept")
public Department insertDept(Department department){
departmentMapper.insertDept(department);
return department;
}
}访问http://localhost:8080/insertDept/departmentName=赵六
修改驼峰匹配模式: 新建自定义配置类 MyBatisConfig
@org.springframework.context.annotation.Configuration
public class MyBatisConfig {

    @Bean
    public ConfigurationCustomizer configurationCustomizer(){
        return new ConfigurationCustomizer() {
            @Override
            public void customize(Configuration configuration) {
                configuration.setMapUnderscoreToCamelCase(true);
            }
        };
    }
}
当数据库时xxx_xxx, 而实体类是xxxXxx时, 依旧能进行匹配.
2) 配置文件方式
1) 目录结构:

① EmployeeMapper.xml
官网的配置文件框架:
<?xml version="1.0" encoding="UTF-8" ?>
<!DOCTYPE mapper
        PUBLIC "-//mybatis.org//DTD Mapper 3.0//EN"
        "http://mybatis.org/dtd/mybatis-3-mapper.dtd">
<mapper namespace="org.mybatis.example.BlogMapper">
    <select id="selectBlog" resultType="Blog">
select * from Blog where id = #{id}
</select>
</mapper>
修改之后:
<?xml version="1.0" encoding="UTF-8" ?>
<!DOCTYPE mapper
        PUBLIC "-//mybatis.org//DTD Mapper 3.0//EN"
        "http://mybatis.org/dtd/mybatis-3-mapper.dtd">
<mapper namespace="com.idea.springboot.mapper.EmployeeMapper">
    <select id="getEmpById" resultType="com.idea.springboot.bean.Employee">
        select * from employee where id=#{id}
    </select>

    <insert id="insertEmp">
        insert into employee(lastName,email,gender,d_id) values (#{lastName},#{email},#{gender},#{dId})
    </insert>
</mapper>
② mybatis-config.xml
官网的配置文件框架:
<?xml version="1.0" encoding="UTF-8" ?>
<!DOCTYPE configuration
        PUBLIC "-//mybatis.org//DTD Config 3.0//EN"
        "http://mybatis.org/dtd/mybatis-3-config.dtd">
<configuration>
    <environments default="development">
        <environment id="development">
            <transactionManager type="JDBC"/>
            <dataSource type="POOLED">
                <property name="driver" value="${driver}"/>
                <property name="url" value="${url}"/>
                <property name="username" value="${username}"/>
                <property name="password" value="${password}"/>
            </dataSource>
        </environment>
    </environments>
    <mappers>
        <mapper resource="org/mybatis/example/BlogMapper.xml"/>
    </mappers>
</configuration>
修改之后:
<?xml version="1.0" encoding="UTF-8" ?>
<!DOCTYPE configuration
        PUBLIC "-//mybatis.org//DTD Config 3.0//EN"
        "http://mybatis.org/dtd/mybatis-3-config.dtd">
<configuration>
    <settings>
        <setting name="mapUnderscoreToCamelCase" value="true"/>
    </settings>
</configuration>
controller测试:
@RestController
public class EmpController {

    @Autowired
    EmployeeMapper employeeMapper;

    @GetMapping("/emp/{id}")
    public Employee getEmpById(@PathVariable("id") Integer id){
        return employeeMapper.getEmpById(id);
    }
}
整合JPA
SpringData: 统一数据访问的API(对其他JPA的再封装)

步骤:
① 编写一个实体类, 配置好和数据库表的映射关系.
@Entity//表示JPA这是一个实体类(和数据表映射的类)
@Table(name = "tbl_user")//和指定的数据库表对应(如果省略, 默认表名就是类名小写user)
public class User {

    @Id//表明这是主键
    @GeneratedValue(strategy = GenerationType.IDENTITY)//自增主键
    private Integer id;

    @Column(name = "last_name",length = 50)//表明这是和数据库表中的一列
    private String lastName;

    @Column//省略默认列名就是属性名
    private String email;

    public Integer getId() {
        return id;
    }

    public void setId(Integer id) {
        this.id = id;
    }

    public String getLastName() {
        return lastName;
    }

    public void setLastName(String lastName) {
        this.lastName = lastName;
    }

    public String getEmail() {
        return email;
    }

    public void setEmail(String email) {
        this.email = email;
    }
}
② 编写dao接口, 操作实体类对应的数据库表, 该接口需要继承JpaRepository接口.
public interface UserRepository extends JpaRepository<User, Integer> {
}
③ 基础的配置(其他都是自动配置好)
spring:
  jpa:
    hibernate:
#      update: 更新或创建数据库表(没有则创建, 有则更新)
      ddl-auto: update
#      true: 控制台展示sql
    show-sql: true
④ controller测试
@RestController
public class UserController {

    @Autowired
    UserRepository userRepository;

    @GetMapping("/user/{id}")
    public User getUser(@PathVariable("id") Integer id){
        User user = userRepository.findOne(id);
        return user;
    }

    @GetMapping("/user")
    public User insertUser(User user){
        User user1 = userRepository.save(user);
        return user1;
    }
}


 3296
3296


 被折叠的 条评论
为什么被折叠?
被折叠的 条评论
为什么被折叠?
 到【灌水乐园】发言


