


OceanBase docker体验
一、环境信息
cat /etc/redhat-release
CentOS Linux release 7.9.2009 (Core)
二、安装Docker
yum-config-manager --add-repo http://mirrors.aliyun.com/docker-ce/linux/centos/docker-ce.repo
安装Docker
yum -y install docker-ce docker-ce-cli containerd.io
验证
systemctl start docker

三、下载OceanBase镜像
修改镜像源
mkdir -p /etc/docker
tee /etc/docker/daemon.json <<-‘EOF’
{
“registry-mirrors”: [“https://yxzrazem.mirror.aliyuncs.com”]
}
EOF
{
“registry-mirrors”: [“https://yxzrazem.mirror.aliyuncs.com”]
}
systemctl daemon-reload
systemctl restart docker
拉取镜像
docker pull obpilot/oceanbase-ce:latest
启动容器
docker run -itd -m 10G -p 2881:3881 -p 2883:3883 --name oceanbase-ce obpilot/oceanbase-ce:latest
四、启动OB集群并创建租户
进入Docker镜像并使用OBD工具启动OB集群
docker exec -it a4560478ccec /bin/bash
obd cluster list
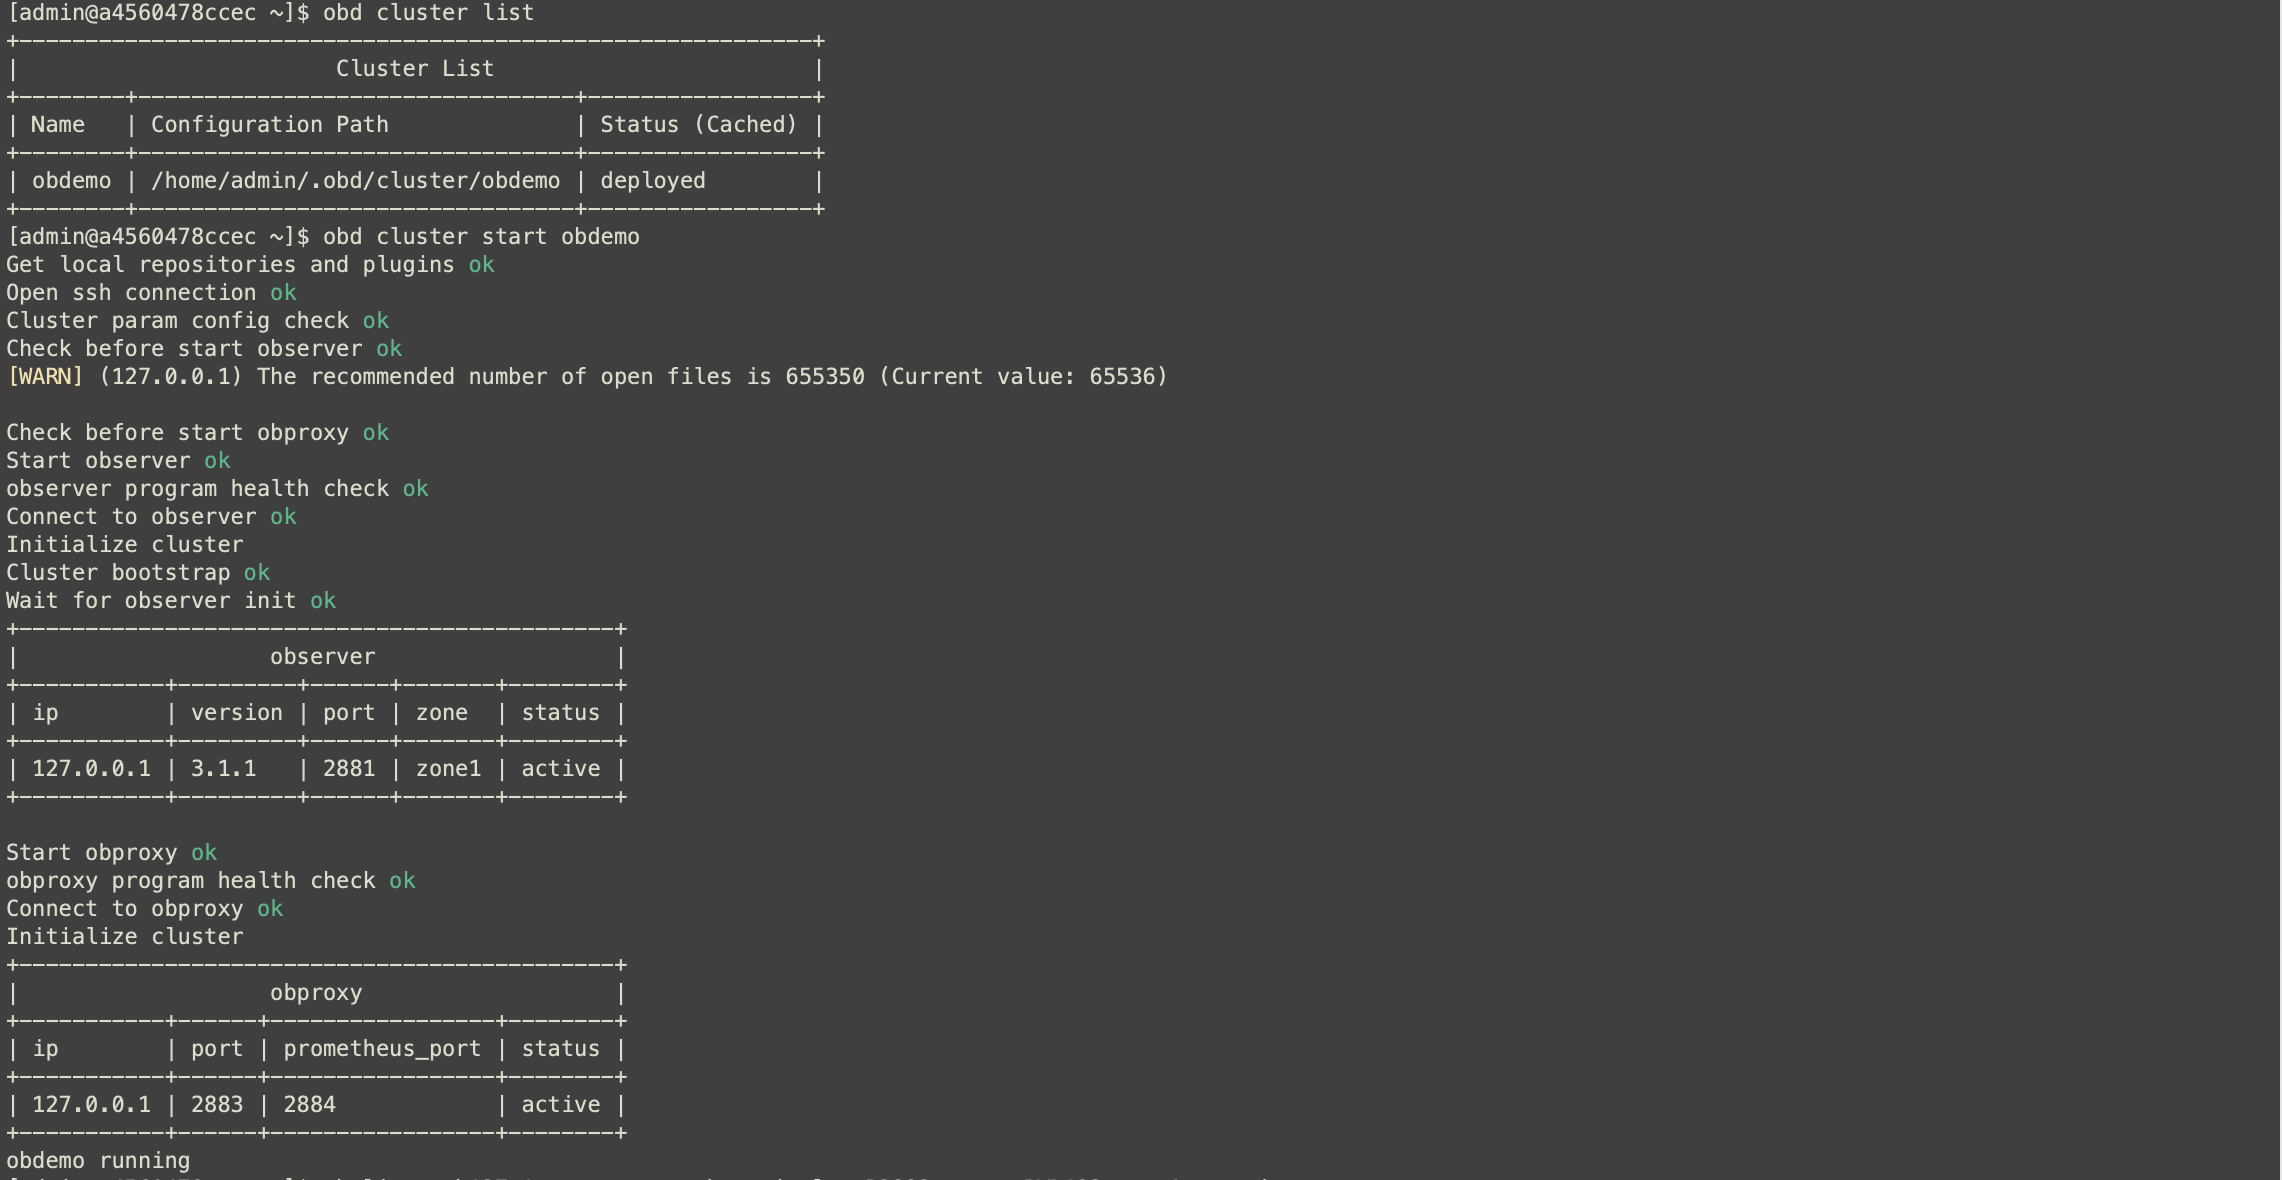
登录OB数据库并创建MySQL租户
obclient -h127.1 -uroot@sys#obce-single -P2883 -prootPWD123 -c -A oceanbase

Query OK, 0 rows affected (22.710 sec)
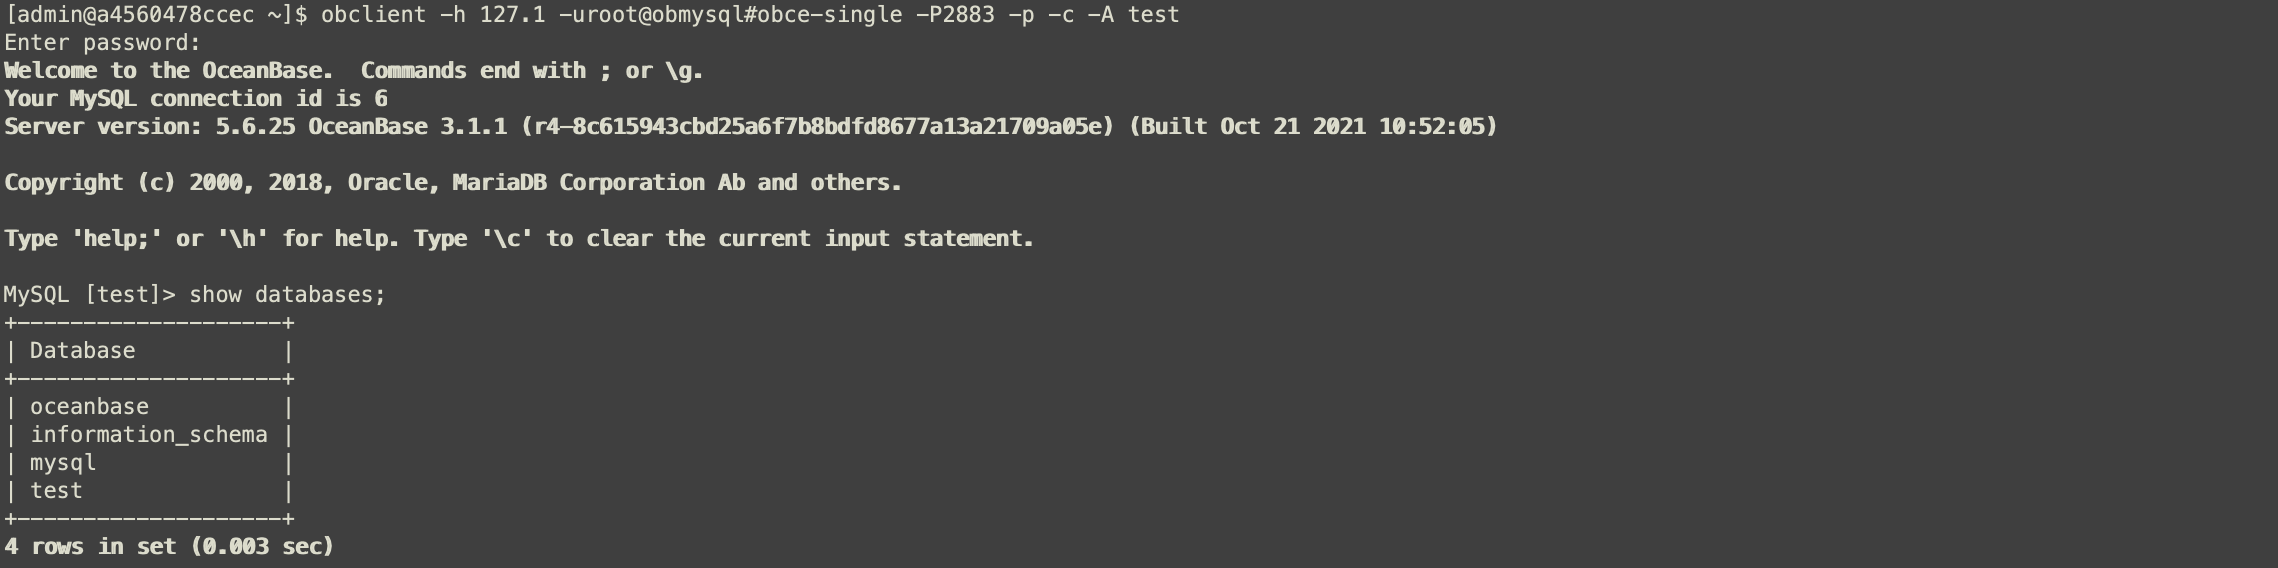
登录MySQL租户
obclient -h 127.1 -uroot@obmysql#obce-single -P2883 -p -c -A test
创建数据库和表:
obclient -h 127.1 -uroot@obmysql#obce-single -P2883 -p -c -A test


 126
126

 被折叠的 条评论
为什么被折叠?
被折叠的 条评论
为什么被折叠?
 到【灌水乐园】发言


