


 本文详细介绍了如何在Windows上下载并安装MySQL 5.0,包括选择安装类型、配置数据库用途、设置并发连接数、网络设定、字符集、服务名称以及密码设置。此外,还提到了MySQL Front的安装过程,以及使用MySQL-Front连接数据库的步骤。
-
http://dev.mysql.com/downloads/file/?id=467608
点击第一个链接地址,进入MySQL官方网站,单击“Downloads”下载Tab页,进入下载界面

-
找到Community并且单击它,出现以下的页面

-
查看Community对应左侧下方选项,单击第四个“MySQL Community Server”

-
进入MySQL选项下载列表,选择Windows(x86,32-bit),MSI Installer

-
单击第五步中列表的“Download”按钮,进入下载页面

-
下载页面有注册登录按钮,也有不用登录的选项(No thanks,just start my download.),选择不用注册登录选项,进入下载状态
下载软件:
MySQL Server 5.0.18 http://dev.mysql.com/downloads/mysql/5.0.html
下载MySQL Server,并安装在本地机器上。
下面两个为Windows图形界面工具。
MySQL Query Browser 1.1.20 http://dev.mysql.com/downloads/query-browser/1.1.html
MySQL Control Center 0.9.4 http://mysql.easynet.be/Downloads/MySQLCC/mysqlcc-0.9.4-win32.zip
配置MySQL步骤:
1. 运行MySQL Server安装目录下bin/MySQLInstanceConfig.exe。出现如下所示的向导界面
 .
.点击“Next”进入下一步。
2. 如果MySQLInstanceConfig在MySQL Server的安装目录下找到my.ini文件,就会询问:是重新配置MySQL还是删除MySQL service(同时删除my.ini文件)。

否则的话,出现下面的配置界面:

Detailed Configuration:自己配置大部分,更好地控制MySQL Server,让它更好地发挥作用。
Standard Configuration:系统配置大部分,不希望关注很多的Server配置。
这里选择“Detailed Configuration”,下一步(Next)。
3. 出现选择服务类型:

Developer Machine:主要为了个人使用,占用系统最少的资源。
Server Machine:主要用于像FTP,email,web服务器等等,耗用系统较多的资源。
Dedicated MySQL Server Machine:只用作MySQL服务器,不运行其他程序。耗用系统所有可用的资源。
个人学习研究用,选“Developer Machine”,下一步(Next)。
4. 出现设置数据库用法:

Multifunctional Database:使得InnoDB和MyISAM存储引擎都可用,且资源平分。
Transactional Database Only:使得InnoDB和MyISAM存储引擎都可用,但是InnoDB使用较多资源。
Non-Transactional Database Only:使InnoDB不可用,所有资源分配给MyISAM。
选择“Multifunctional Database”,下一步(Next)。
5. 设置InnoDB datafile存放位置,默认即可,下一步(Next)。

6. 出现选择并发连接设置对话框:

Decision Support(DSS)/OLAP:不需要大量的并发连接(20个左右)。默认值为100。
Online Transaction Processing(OLTP):需要大量的并发连接,默认值为500。
Manual Setting:个人设定了。
选择“Manual Setting”,从下拉框中选择10,下一步(Next).
7. 网络设定:

默认的端口号为3306,如果端口被占用或不希望使用3306,可以更换。下一步(Next)。
8. 选择缺省的字符集:

Standard Character Set:Latin1为默认的字符集。主要用于西方欧洲国家的语言。
Best Support For Multilingualism:UTF8为默认的字符集。
Manual Selected Default Character Set / Collation:个人设定。(如果你希望数据库支持汉字,请选择gb2312)。
选择缺省的“Standard Character Set”,下一步(Next)。
9. 设置服务名称,最好将“Include Bin Directory in Windows PATH”勾选:

10. 密码的设置,其余为默认:

11. 执行,使配置生效。

配置过程中出现的问题:
1. 在最后一个环节,执行到第四步,出现如下所示的错误。

此时,按Skip跳出,再重新执行MySQLInstanceConfig,重复上次的选项,执行就可以通过了。
这个主要出现在remove instance之后。
2. Client does not support authentication protocol.工具连接数据库时,若出现上述信息,请到命令行方式下对密码进行转换:mysql> SET PASSWORD FOR ‘root’@’localhost’ = OLD_PASSWORD(‘newpassword’);3
.连接MySQL服务器时,如果不是同一台PC机,出现连接不上。在“设置->控制面板->Windows防火墙”,点击“例外”标签,“添加端口”后,出现:
适当设置范围。端口号为先前设定的端口号。
MySQLInstanceConfig的命令行参数:
To use the Instance Configuration Wizard from the command line the following parameters can be used. These parameters have to be set to run from the command line
-n<product name>
-p<path of installation> (no /bin)
-v<version>
Actions to perform
-i (install instance)
-r (remove instance)
-s (stop instance)
-q (be quiet)
-lfilename (write log file)
When launched manually, these can also be submitted
-t<.cnf template filename>
-c<.cnf filename>
Use the following option to define the parameters for the config file generation.
ServiceName=$
AddBinToPath={yes | no}
ServerType={DEVELOPMENT | SERVER | DEDICATED}
DatabaseType={MIXED | INNODB | MYISAM}
ConnectionUsage={DSS | OLTP}
ConnectionCount=#
SkipNetworking={yes | no}
Port=#
StrictMode={yes | no}
Charset=$
RootPassword=$
RootCurrentPassword=$
The return codes of the Wizard in case of an error are.
2 ... Configuration template file cannot be found.
3 ... The Windows service entry cannot be created.
4 ... Could not connect to the Service Control Manager.
5 ... The MySQL service cannot be started.
6 ... The MySQL service cannot be stopped.
7 ... The security settings cannot be applied.
8 ... The configuration file cannot be written.
9 ... The Windows service entry cannot be removed.
Examples:
The following command installs a MySQL Server 5.0 instance from the directory
C:/Programme/MySQL/MySQL Server 5.0 using the service name MySQLCust and settingthe root password to 1234.MySQLInstanceConfig.exe -i -q "-lC:/mysql_install_log.txt" "-nMySQL Server 5.0"
"-pC:/Programme/MySQL/MySQL Server 5.0" -v5.0.13 "-t../../res/my-template.ini" "-cC:/mytest.ini"
ServerType=DEVELOPMENT DatabaseType=MIXED ConnectionUsage=DSS Port=3311
ServiceName=MySQLCust RootPassword=1234If the server can not be started, the exit code is 2.
The following command removes the server instance with the name MySQLCust.
MySQLInstanceConfig.exe -r -q "-lC:/mysql_install_log.txt" "-nMySQL Server 5.0"
"-pC:/Programme/MySQL/MySQL Server 5.0" -v5.0.13 "-cC:/mytest.ini" ServiceName=MySQLCustOutput into the log file:
----------------------------------------
Welcome to the MySQL Server Instance Configuration Wizard 1.0.6
Date: 2005-10-19 21:53:16
Installing service ...
Product Name: MySQL Server 5.0
Version: 5.0.13
Installation Path: C:/Programme/MySQL/MySQL Server 5.0/
Creating configuration file C:/mytest.ini using template ../../res/my-template.ini.
Options:
DEVELOPMENT
MIXED
DSS
STRICTMODE
Variables:
port: 3311
default-character-set: latin1
basedir: "C:/Programme/MySQL/MySQL Server 5.0/"
datadir: "C:/Programme/MySQL/MySQL Server 5.0/Data/"
Creating Windows service entry.
Service Name: "MySQLCust"
Parameters: "C:/Programme/MySQL/MySQL Server 5.0/bin/mysqld-nt" --defaults-file="C:/mytest.ini" MySQLCust.
Windows service MySQLCust installed.
Service started successfully.
The security settings could not be applied to the database because the connection has failed with the following error.
Error Nr. 1045
Access denied for user 'root'@'localhost' (using password: NO)
----------------------------------------
Welcome to the MySQL Server Instance Configuration Wizard 1.0.6
Date: 2005-10-19 21:53:46
Removing Service...
Instance stopped.
Windows Service removed.
Service Name: MySQLCust
Configuration file removed.
Filename: C:/mytest.ini
-
-
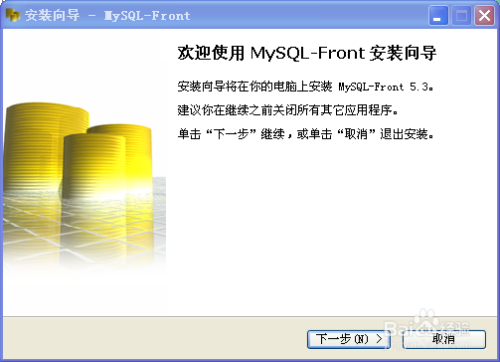
双击运行下载好的MySQL-Front安装程序。

-
出现安装向导界面,如图,点击下一步。
-
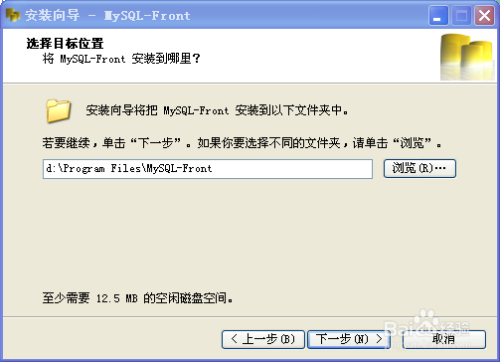
选择安装目录,小编安装在D盘下。点击下一步。
-
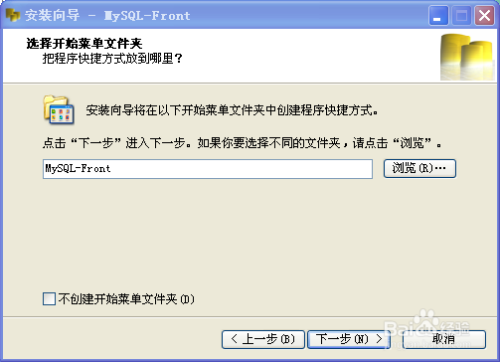
给软件命名一个名字。点击下一步。
-
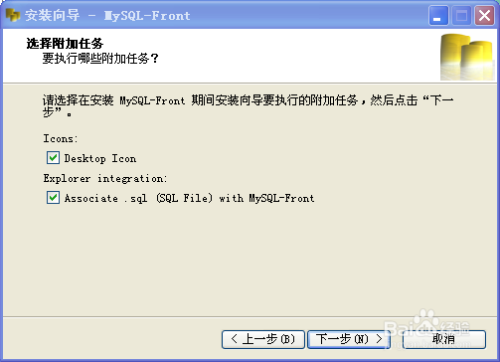
选择是否安装附加任务。Desktop Icon是创建桌面图标。小编按默认勾选,点击下一步。
-
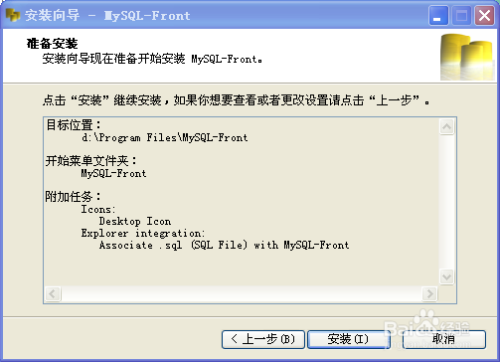
确认前面所选,点击安装。
-
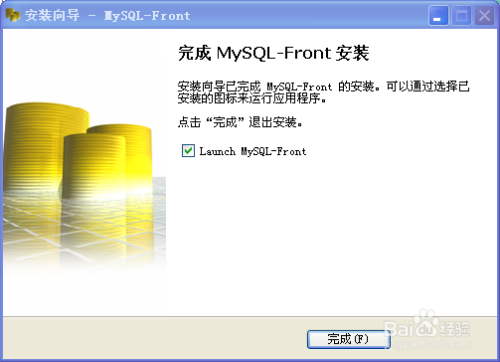
安装完成,如图。勾选Launch MySQL-Front,点击完成。
-
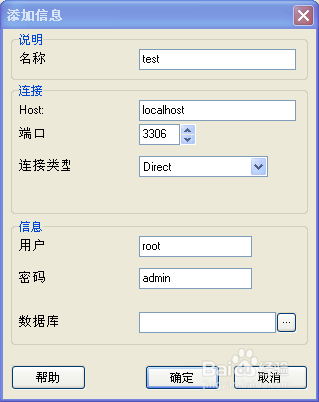
出现,MySQL-Front的运行界面。填写添加信息,名称:test, Host为服务器的ip地址,小编填写localhost为本地ip。端口号默认为3306,连接类型为直连。 用户密码为安装mysql时的用户密码。点击确定。
-
选择刚才建立的登录信息。点击打开。

-
出现如图界面,则证明已经成功登录mysql 数据库。

-
my sql 下载安转&my sql front


 被折叠的 条评论
为什么被折叠?
被折叠的 条评论
为什么被折叠?
 到【灌水乐园】发言


