


1.在MyEclipse10中新建java web项目,加入struts2.3.8 jar包(前面文章中有),拷贝struts.xml文件到src下面
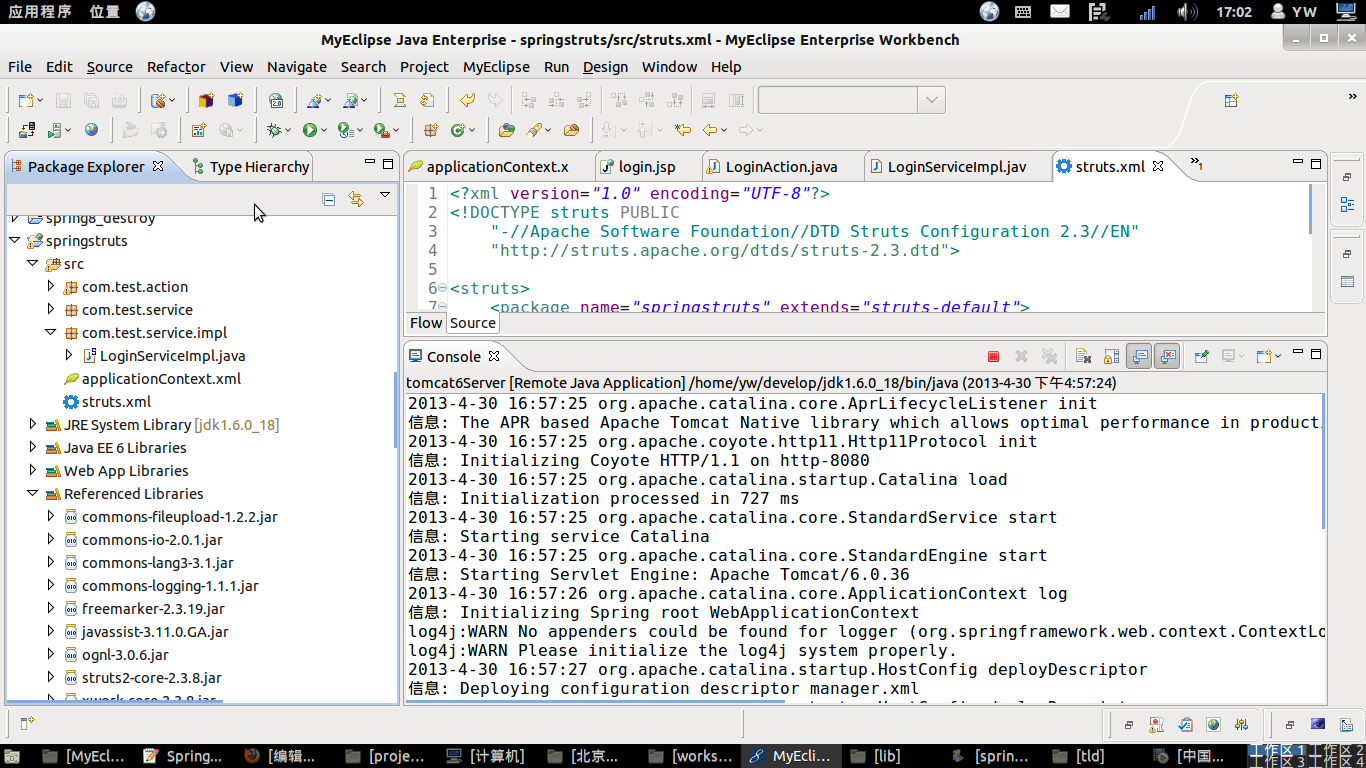
2.修改struts.xml文件
<struts>
<package name="springstruts" extends="struts-default">
</package>
</struts>
3.配置web.xml文件
<filter>
<filter-name>struts2</filter-name>
<filter-class>org.apache.struts2.dispatcher.ng.filter.StrutsPrepareAndExecuteFilter</filter-class>
</filter>
<filter-mapping>
<filter-name>struts2</filter-name>
<url-pattern>/*</url-pattern>
</filter-mapping>
注意:
struts2.1以前

struts2.1以后

4.把context path配置到tomcat里面
打开tomcat\conf\server.xml,
将原来的context path注释掉,
添加:
<Context path="/strutsspring" docBase="/home/yw/workspace/springstruts/WebRoot" reloadable="true" />
5.引入spring的支持
1)选择core,aop,web libraries(因为web开发需要的包多一些)
copy checked(类似hibernate)
next
2)只选Specify new or existing Spring bean configuaration file
但是目录不要放在src下,而是放在WebRoot/WEB-INF目录下
finish
6.整合struts和spring
1)将struts的spring的插件整合进来
struts2-spring-plugin-2.3.8.jar
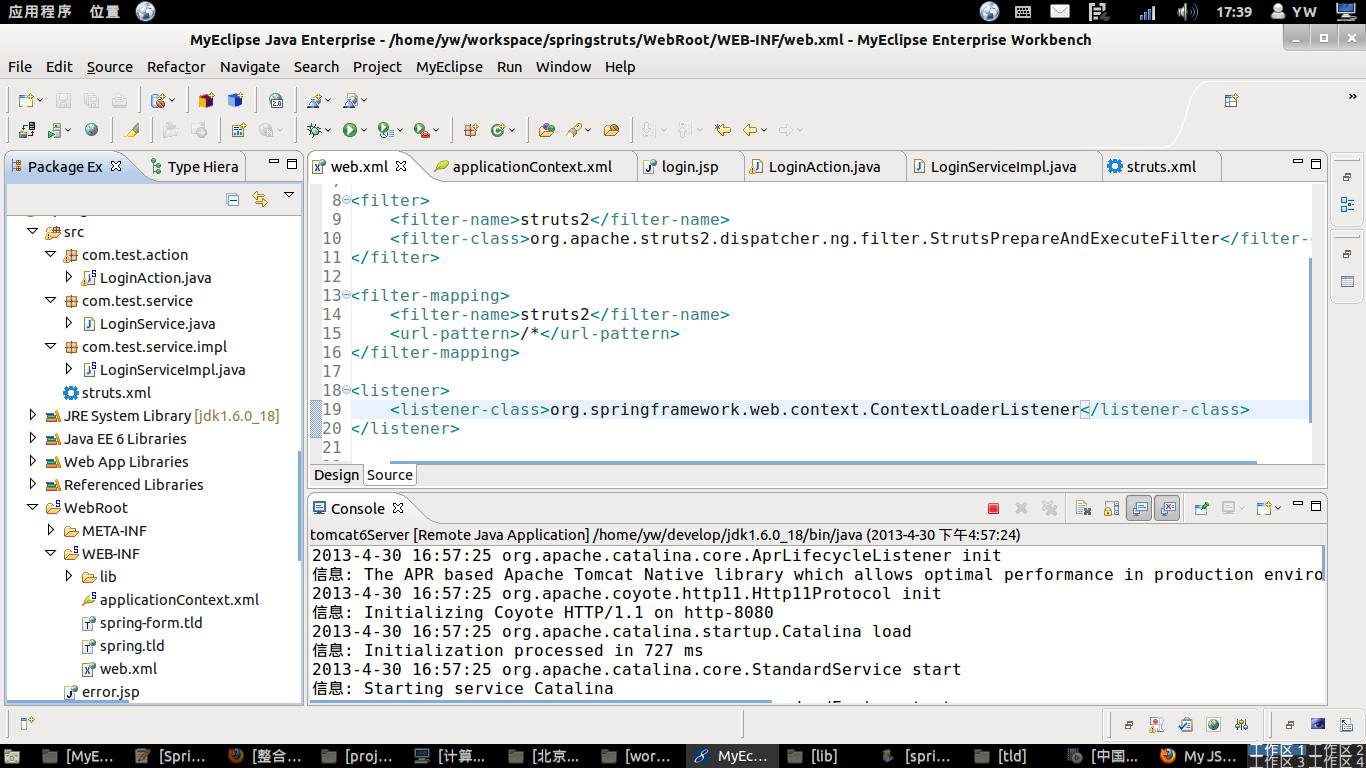
2)修改web.xml
添加Spring的监听器
<listener>
<listener-class>
org.springframework.web.context.ContextLoaderListener
</listener-class>
</listener>
部署applicationContext的xml文件,如果在web.xml中不写任何参数配置信息,默认的路径是”/WEB-INF/applicationContext.xml,在WEB-INF目录下创建的xml文件的名称必须是applicationContext.xml。如果是要自定义文件名可以在web.xml里加入contextConfigLocation这个context参数:
在<param-value> </param-value>里指定相应的xml文件名,如果有多个xml文件,可以写在一起并一“,”号分隔。上面的applicationContext-*.xml采用通配符,比如这那个目录下有applicationContext-yw-set1.xml,applicationContext-action.xml,applicationContext-yw-set2.xml等文件,都会一同被载入。
由此可见applicationContext.xml的文件位置就可以有两种默认实现:
第一种:直接放到/WEB-INF下,之在web.xml中声明一个listener、(如上图中的例子代码)
第二种:放到classpath下,但是要在web.xml中加入<context-param>,来指明你的applicationContext.xml的位置以供web容器来加载。按照 Struts2 整合spring的官方给出的档案,写成:
<!-- Context Configuration locations for Spring XML files --><context-param>
<param-name>contextConfigLocation</param-name>
<param-value>/WEB-INF/applicationContext-*.xml,classpath*:applicationContext-*.xml</param-value>
</context-param>
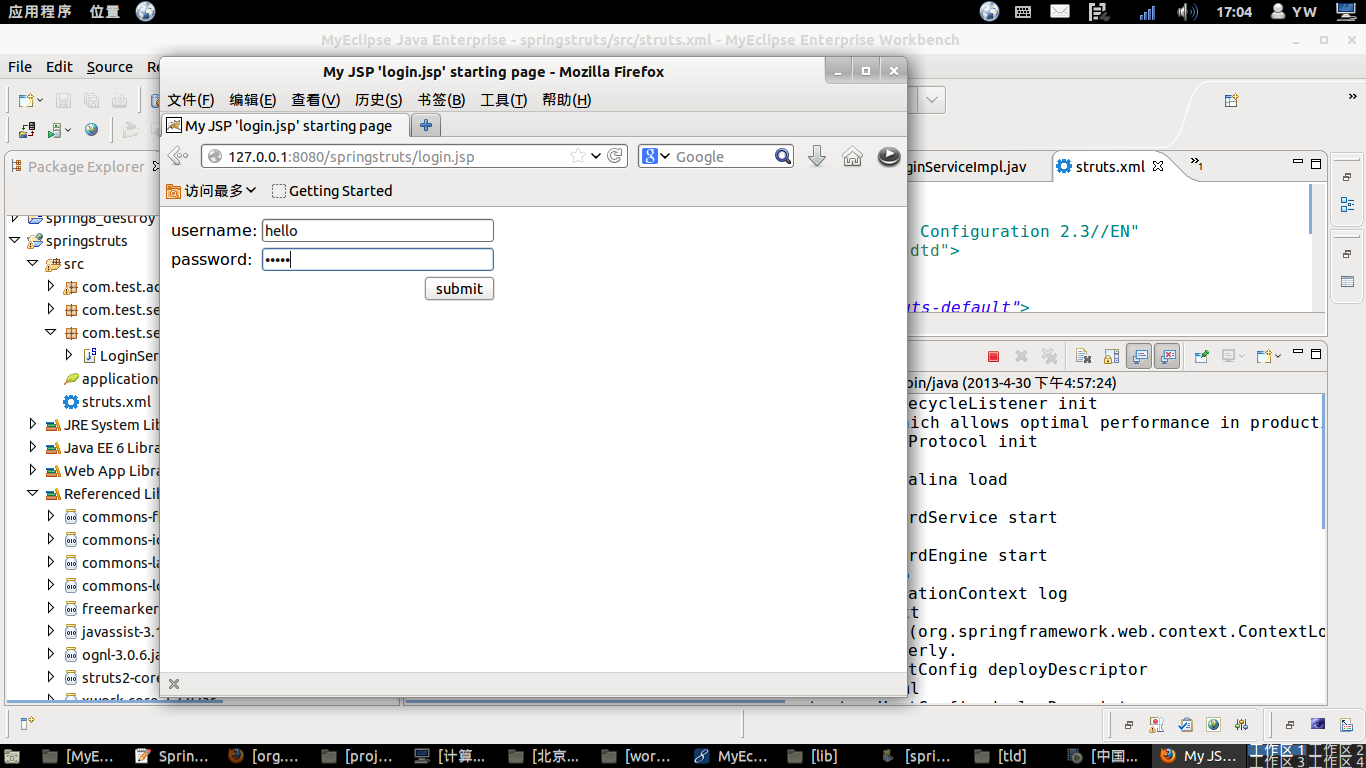
新建login.jsp
加入struts的标签库
<%@ taglib uri="/struts-tags" prefix="s"%>
在<body>里面写个表单
<s:form action="login">
<s:textfield name="username" size="20" label="username"></s:textfield>
<s:password name="password" size="20" label="password"></s:password>
<s:submit value="submit"></s:submit>
</s:form>
配置strust.xml和action
和一般写struts一样,因为要spring注入所以要写setter方法(此处省略)
5)struts.xml里面配置
<struts>下添加(这是以前的写法,下面会修改)
<package name="strutsspring" extends="struts-default">
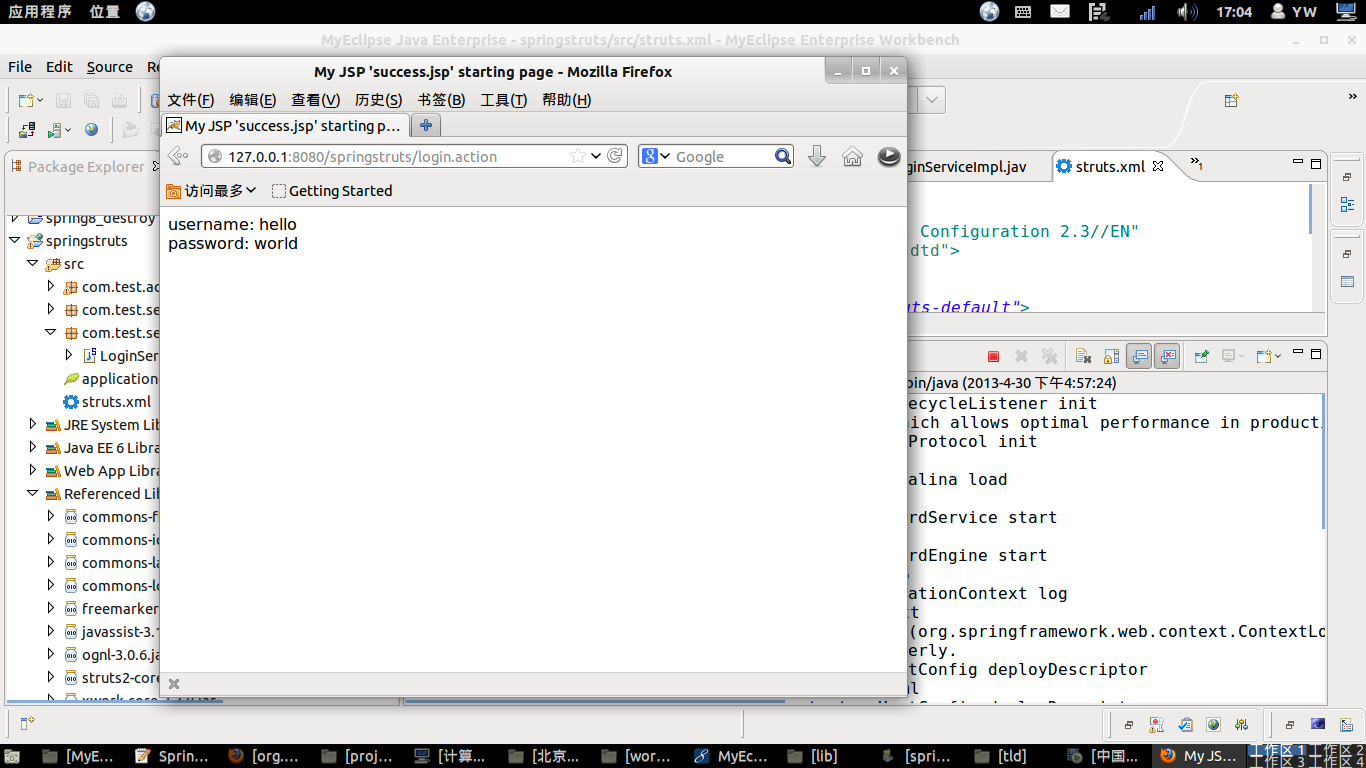
<action name="login" class="com.test.action.LoginAction">
<result name="success">/success.jsp</result>
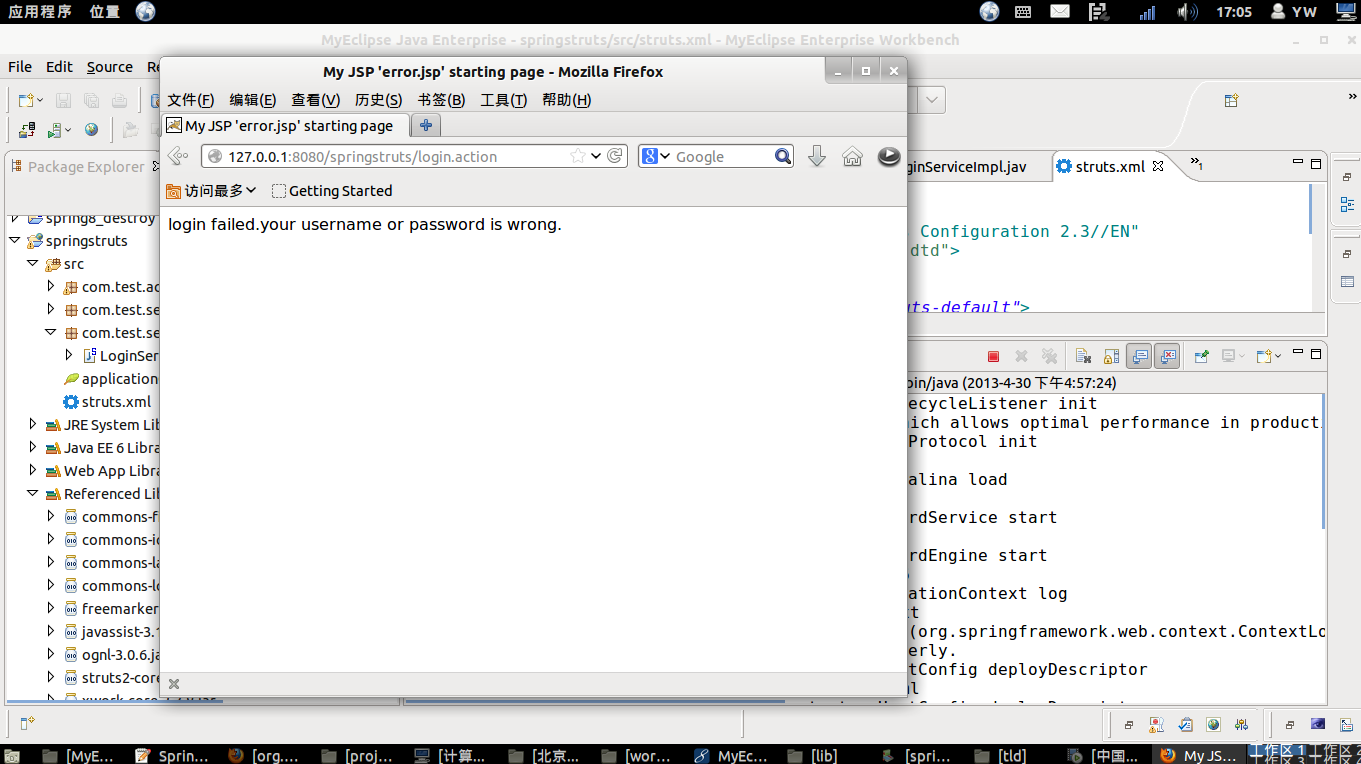
<result name="error">/error.jsp</result>
</action>
</package>
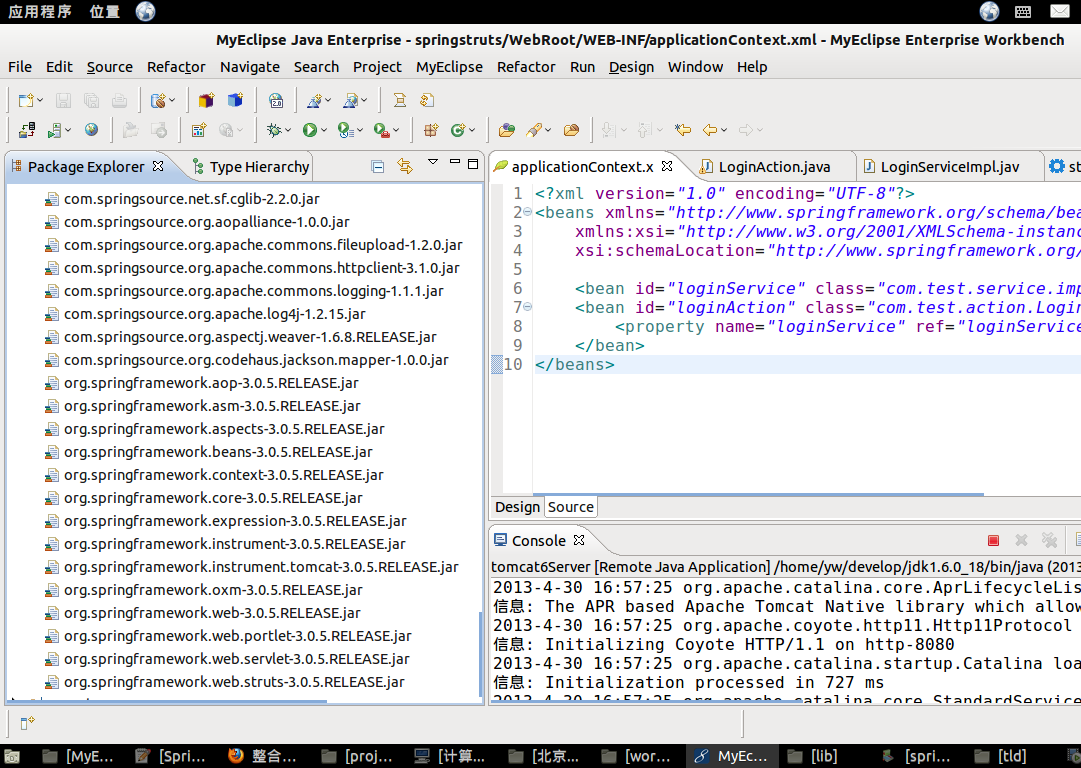
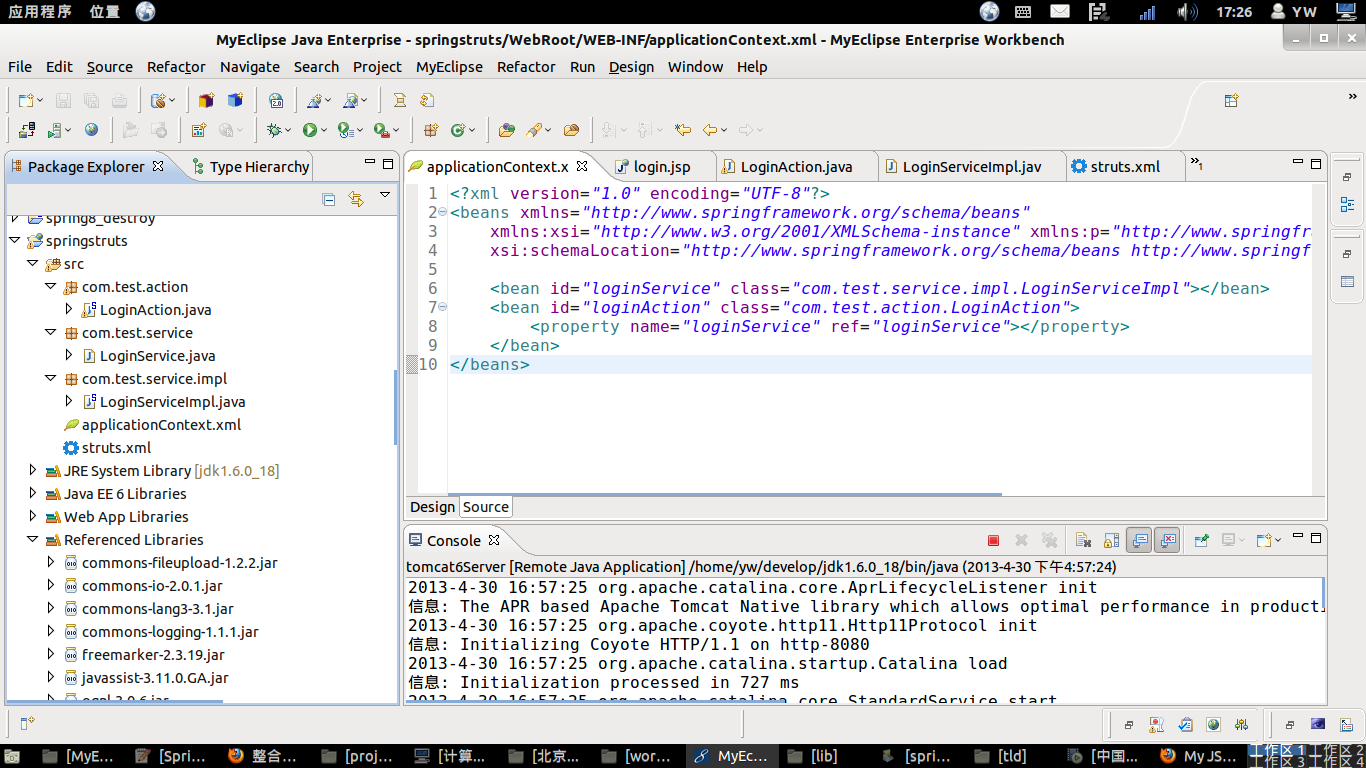
6)spring配置applicationContext.xml
<beans>里面添加
<bean id="loginService" class="com.test.service.impl.LoginServiceImpl"></bean>
<bean id="loginAction" class="com.test.action.LoginAction">
<property name="loginService" ref="loginService"></property>
</bean>
7)将struts.xml里面写的class="com.test.action.LoginAction"改为"loginAction"(是spring的bean里面的id)


 594
594


 被折叠的 条评论
为什么被折叠?
被折叠的 条评论
为什么被折叠?
 到【灌水乐园】发言


