


环境准备
CentOS 7-4:192.168.18.148---->服务器
win 7-1:192.168.18.129---->客户机
在CnetOS 7-4中安装服务:
[root@localhost ~]# yum install bind httpd -y
在CnetOS 7-4中配置DNS服务:
[root@localhost ~]# vim /etc/named.conf
options {
        listen-on port 53 { any; };			#127.0.0.1改为any
        listen-on-v6 port 53 { ::1; };
        directory       "/var/named";
        dump-file       "/var/named/data/cache_dump.db";
        statistics-file "/var/named/data/named_stats.txt";
        memstatistics-file "/var/named/data/named_mem_stats.txt";
        recursing-file  "/var/named/data/named.recursing";
        secroots-file   "/var/named/data/named.secroots";
        allow-query     { any; };			#localhost改为any
#修改完成后按Esc退出插入模式,输入:wq保存退出

[root@localhost ~]# vim /etc/named.rfc1912.zones
#添加以下五行
zone "kgc.com" IN {
        type master;
        file "kgc.com.zone";
        allow-update { none; };
};
#修改完成后按Esc退出插入模式,输入:wq保存退出

[root@localhost ~]# cd /var/named/
[root@localhost named]# cp -p named.localhost kgc.com.zone
[root@localhost named]# vim kgc.com.zone
#删除最后一行之后再插入以下内容
www  IN A       192.168.18.148
[root@localhost named]# systemctl start named
[root@localhost ~]# vim /etc/httpd/conf/httpd.conf
Listen 192.168.18.148:80		#41行删除注释,IP地址为linux的地址
#Listen 80		#42行添加注释
ServerName www.kgc.com:80		#95行作此更改
#修改完成后按Esc退出插入模式,输入:wq保存退出
[root@localhost ~]# systemctl stop firewalld.service
[root@localhost ~]# setenforce 0
[root@localhost ~]# systemctl start httpd
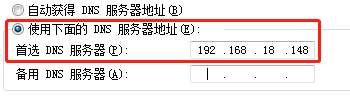
win7-1客户机上的验证操作:
首先在网络适配器中修改DNS解析地址IP:192.168.18.148
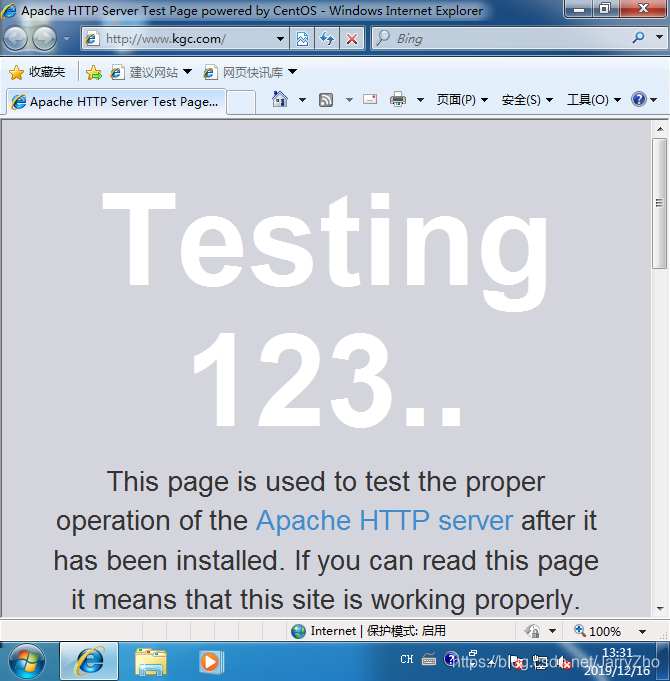
此时可以在浏览器中输入:www.kgc.com访问到Apache测试网页
此时可以回CnetOS 7-4中安装Awstats
[root@localhost ~]# cd /var/log/httpd/
[root@localhost httpd]# cat access_log
192.168.18.129 - - [16/Dec/2019:13:31:15 +0800] "GET / HTTP/1.1" 403 4897 "-" "Mozilla/4.0 (compatible; MSIE 8.0; Windows NT 6.1; WOW64; Trident/4.0; SLCC2; .NET CLR 2.0.50727; .NET CLR 3.5.30729; .NET CLR 3.0.30729; Media Center PC 6.0)"
.......下面省略多行
#此时可以看到129的地址来访问的记录

[root@localhost httpd]# mkdir /aaa
[root@localhost httpd]# mount.cifs //192.168.10.190/rpm /aaa
Password for root@//192.168.10.190/rpm:
[root@localhost httpd]# cd /aaa
[root@localhost aaa]# ls
apr-1.6.2.tar.gz                  hzw.jpeg                   php
apr-util-1.6.0.tar.gz             inotify-tools-3.14.tar.gz  redis-5.0.7.tar.gz
awstats-7.6.tar.gz                jdk                        ruby-2.4.1.tar.gz
[root@localhost aaa]# tar zxvf awstats-7.6.tar.gz -C /opt/
[root@localhost aaa]# cd /opt/
[root@localhost opt]# mv awstats-7.6/ /usr/local/awstats
[root@localhost opt]# cd /usr/local/
[root@localhost local]# ls
awstats  bin  etc  games  include  lib  lib64  libexec  sbin  share  src
[root@localhost local]# cd awstats/tools/
[root@localhost tools]# ls
awstats_buildstaticpages.pl  dolibarr            maillogconvert.pl   xslt
awstats_configure.pl         geoip_generator.pl  nginx
awstats_exportlib.pl         httpd_conf          urlaliasbuilder.pl
awstats_updateall.pl         logresolvemerge.pl  webmin
[root@localhost tools]# ./awstats_configure.pl
......此处省略多行
Enter full config file path of your Web server.
Example: /etc/httpd/httpd.conf
Example: /usr/local/apache2/conf/httpd.conf
Example: c:\Program files\apache group\apache\conf\httpd.conf
Config file path ('none' to skip web server setup):
> /etc/httpd/conf/httpd.conf		#输入Apache的配置文件路径
......此处省略多行
Do you want me to build a new AWStats config/profile
file (required if first install) [y/N] ? y		#确定新建
......此处省略多行
Your web site, virtual server or profile name:
> www.kgc.com		#输入域名
-----> Define config file path
In which directory do you plan to store your config file(s) ?
Default: /etc/awstats
Directory path to store config file(s) (Enter for default):
>		#直接回车
-----> Restart Web server with '/sbin/service httpd restart'
Redirecting to /bin/systemctl restart httpd.service			#此时会重启apache服务
......此处省略多行
Press ENTER to continue...		#直接回车
......此处省略多行
> perl awstats.pl -update -config=www.kgc.com
You can also read your statistics for 'www.kgc.com' with URL:
> http://localhost/awstats/awstats.pl?config=www.kgc.com		#提示访问路径,在地址栏中输入就可以看到日志访问系统的网页
Press ENTER to finish...		#直接回车


#检查Apache配置文件中是否有awstats的模块:
[root@localhost tools]# cd /etc/httpd/conf
[root@localhost conf]# vim httpd.conf
#按大写字母G到末行,可以看到新加入的awstats内容,如下:
#注意需要做权限的修改!!!
Alias /awstatsclasses "/usr/local/awstats/wwwroot/classes/"
Alias /awstatscss "/usr/local/awstats/wwwroot/css/"
Alias /awstatsicons "/usr/local/awstats/wwwroot/icon/"
ScriptAlias /awstats/ "/usr/local/awstats/wwwroot/cgi-bin/"

#
# This is to permit URL access to scripts/files in AWStats directory.
#
<Directory "/usr/local/awstats/wwwroot">
    Options None
    AllowOverride None
#    Order allow,deny	此行需要注释掉
#    Allow from all		此行需要注释掉
     Require all granted		#添加此行,同意所有人进行访问
</Directory>
#修改后按Esc退出插入模式,输入:wq保存退出

[root@localhost conf]# cd /etc/awstats/
[root@localhost awstats]# ls
awstats.www.kgc.com.conf
[root@localhost awstats]# vim awstats.www.kgc.com.conf
LogFile="/var/log/httpd/access_log"		#50行,改为需要监控的access_log日志文件的位置
DirData="/var/lib/awstats"		#220行,分析日志的数据存放位置,默认不存在,需要创建
#修改后按Esc退出插入模式,输入:wq保存退出

[root@localhost awstats]# lcd /var/lib/
[root@localhost lib]# ls
AccountsService 	alsa	alternative		authconfig 		bluetooth
certmonger    chrony       color        colord          dav
......以下省略多项
#此时没有awstats文件,需要手动创建
[root@localhost lib]# mkdir awstats
[root@localhost awstats]# systemctl restart httpd		#重启服务
验证:
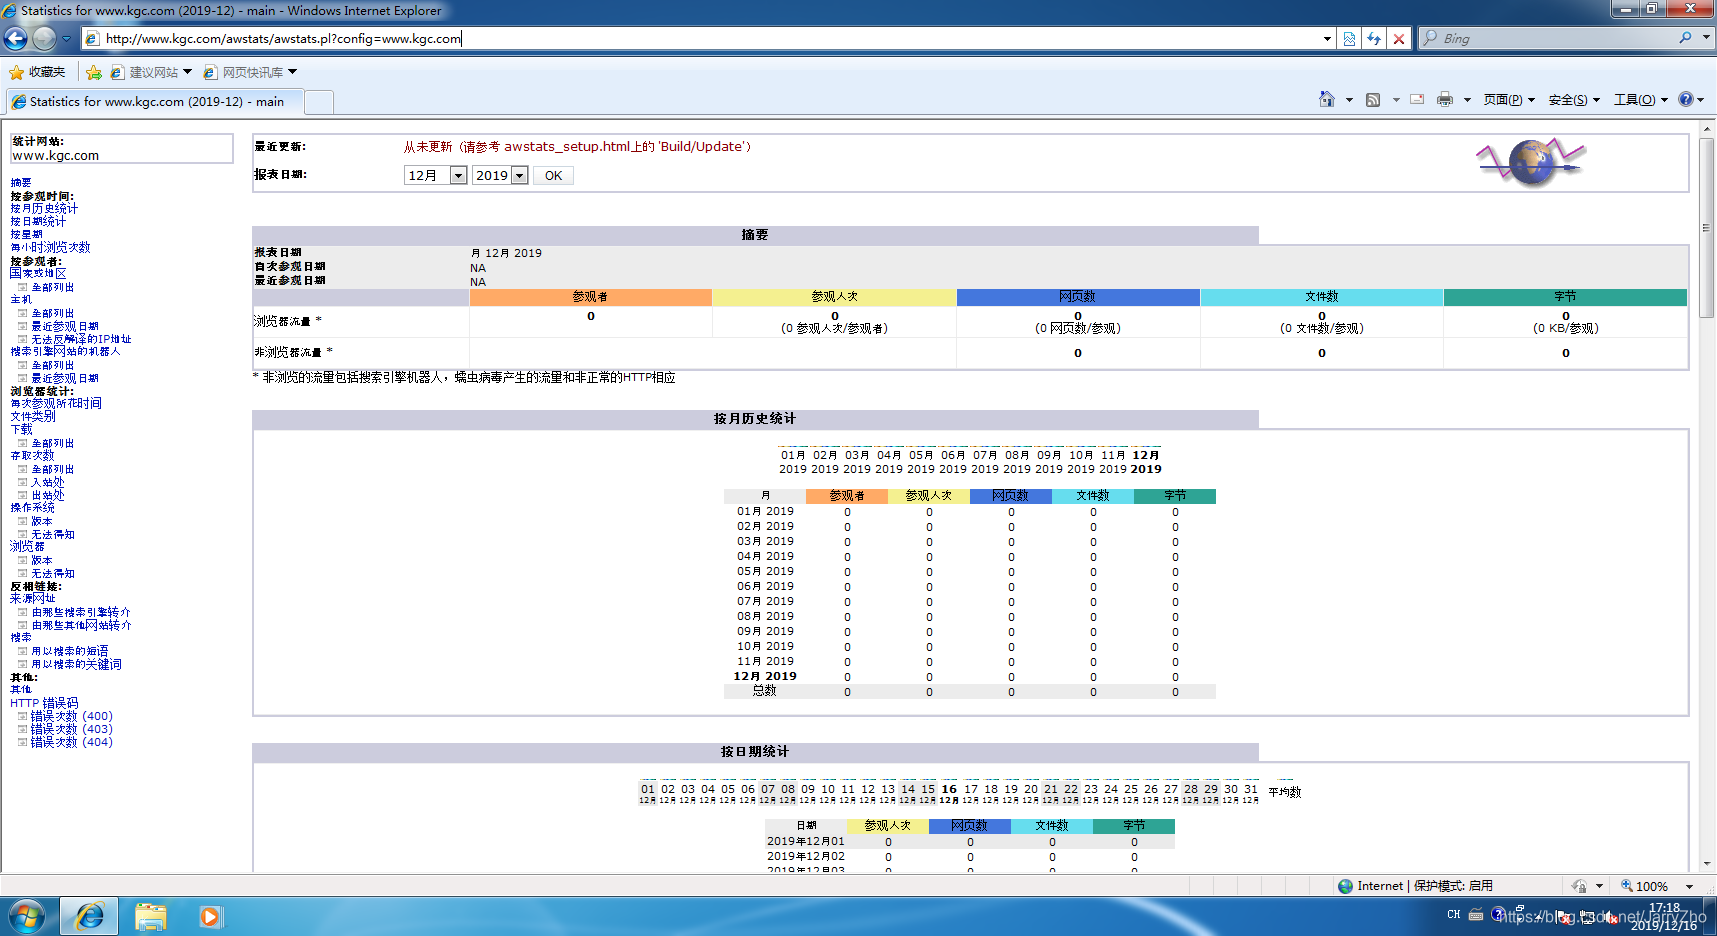
在win 7-1的浏览器地址栏中输入以下网址就可以访问Awstats网页:http://localhost/awstats/awstats.pl?config=www.kgc.com
但是此时访问是没有进行统计的,需要使用第二个工具
[root@localhost awstats]# cd /usr/local/awstats/
[root@localhost awstats]# cd tools/
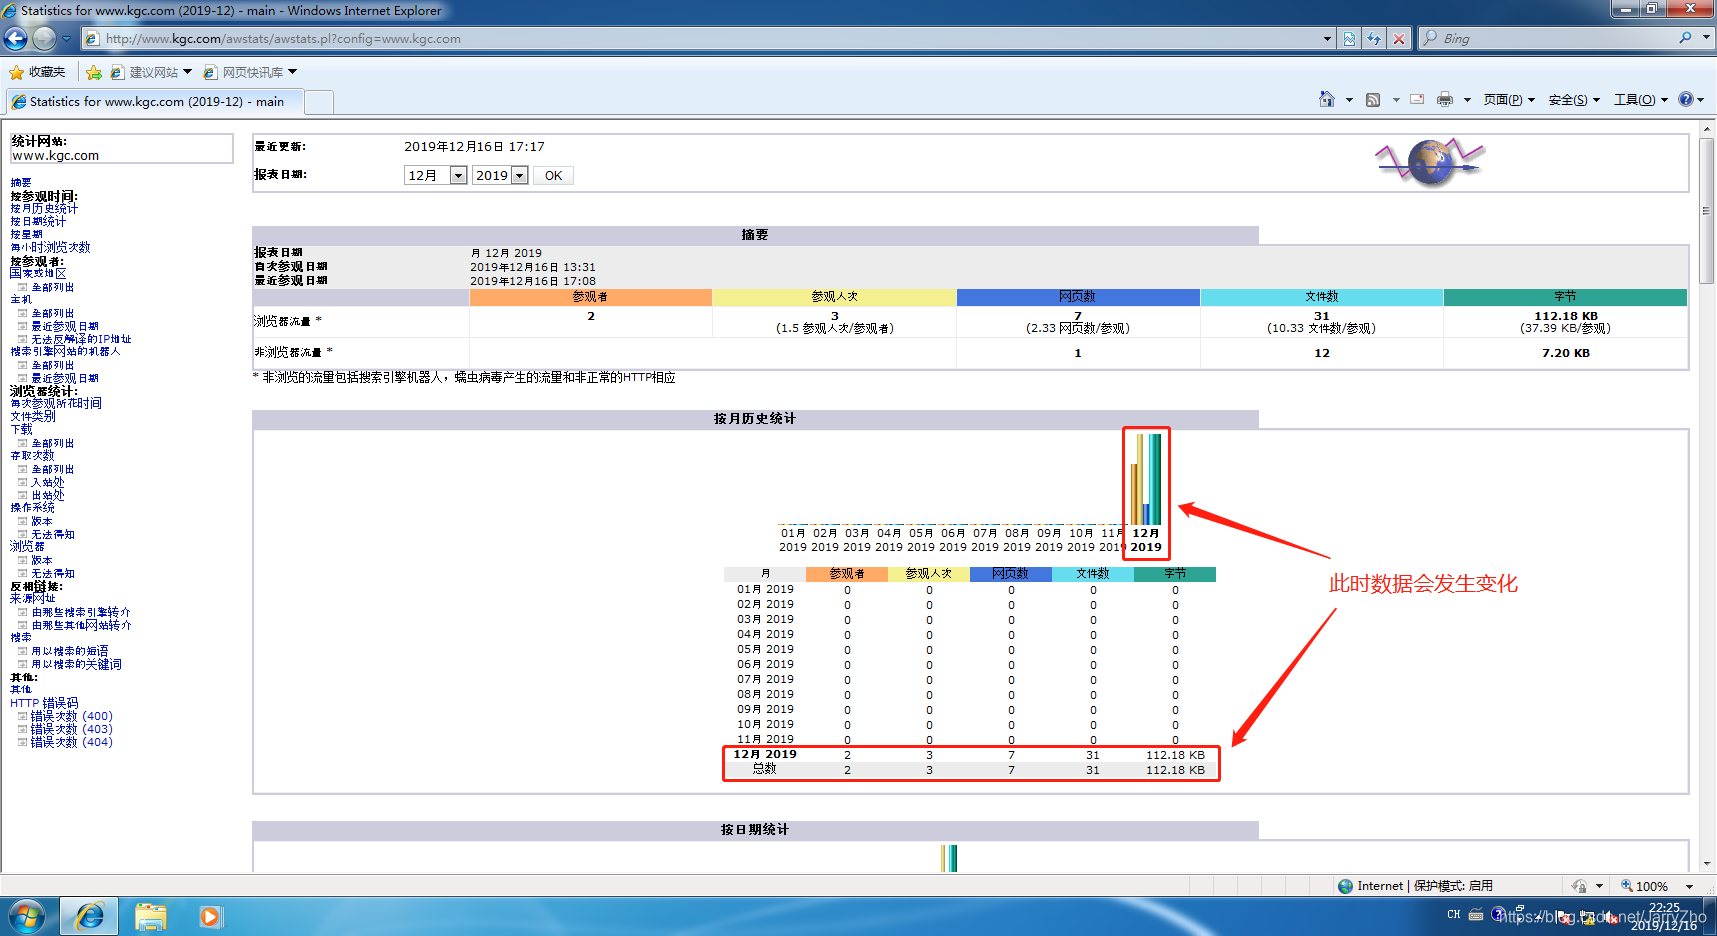
[root@localhost tools]# ./awstats_updateall.pl now #更新数据
Running '"/usr/local/awstats/wwwroot/cgi-bin/awstats.pl" -update -config=www.kgc.com -configdir="/etc/awstats"' to update config www.kgc.com
Create/Update database for config "/etc/awstats/awstats.www.kgc.com.conf" by AWStats version 7.6 (build 20161204)
From data in log file "/var/log/httpd/access_log"...
Phase 1 : First bypass old records, searching new record...
Searching new records from beginning of log file...
Phase 2 : Now process new records (Flush history on disk after 20000 hosts)...
Jumped lines in file: 0
Parsed lines in file: 43
Found 0 dropped records,
Found 0 comments,
Found 0 blank records,
Found 0 corrupted records,
Found 0 old records,
Found 43 new qualified records.
此时统计分析的数据会发生变化:
通过计划性任务自动执行更新数据:
因为每次如果想看最新的日志统计信息,就必须要执行更新数据的脚本,对此我们可已使用周期性计划任务进行优化:
[root@localhost tools]# crontab -e
*/5 * * * * /usr/local/awstats/tools/awstats_updateall.pl now		#每5分钟更新一次
#插入内容后按Esc退出插入模式,输入:wq保存退出

crontab: installing new crontab
#此时会提示有新的计划性任务
[root@localhost tools]# systemctl start crond
您在 /var/spool/mail/root 中有邮件
优化网页地址:
因为url地址长度太长,此处我们可以对此进行优化:
[root@localhost tools]# cd /var/www/html
[root@localhost html]# vim aws.html
<html>
  <head>
    <meta http-equiv=refresh content="0;url=http://www.kgc.com/awstats/awstats.pl?config=www.kgc.com">
  </head>
  <body></body>
</html>
#插入内容后按Esc退出插入模式,输入:wq保存退出


 654
654


 被折叠的 条评论
为什么被折叠?
被折叠的 条评论
为什么被折叠?
 到【灌水乐园】发言


