


最近开发过程中接触一些有关word的操作,于是开始学习了POI-TL,翻了翻网上有关POI-TL的介绍还是不少的。
多学多记嘛,毕竟是9年义务教出的好学生 嘛

目录
一、什么是POI-TL?
POI-TL(poi template language):
java word 的模板引擎 ,对docx格式的文档增加模板语法,简化式处理,支持对段落、页眉、页脚、表格等模板替换
二、POI-TL的使用
2.1 添加依赖
<dependency>
        <groupId>com.deepoove</groupId>
        <artifactId>poi-tl</artifactId>
        <version>1.7.3</version>
</dependency>
2.2 入门示例
在上面2.1添加依赖的基础上,我们还需要执行以下几个步骤:
2.2.1 添加模板
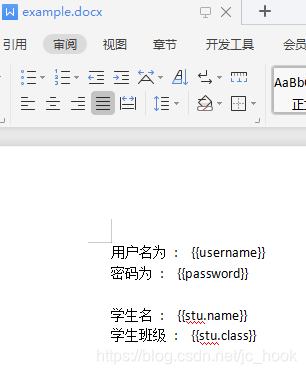
其实就是创建一个word文档用来作为操作的模板,例如:
创建了文档example.docx,内容如下:
2.2.2 代码
以Map类型数据写入,键名需与文档中的标签名一致。(数据也可以是对象)
/**
 * @author jc_hook
 * createTime : 2021-05-13
 */
public class polTLTest {

    public static void main(String[] args) throws IOException {
        //要写入模板的数据
        Map<String,Object> exampleData = new HashMap<>();
        exampleData.put("username","admin");
        exampleData.put("password","123456");
        //存放Student对象数据
        Student stu = new Student();
        stu.setName("jchook");
        stu.setAge(18);
        exampleData.put("stu",stu);

        XWPFTemplate template = XWPFTemplate.compile("E:/example.docx")
                .render(exampleData);
        //文件输出流
        FileOutputStream out = new FileOutputStream("E:/example.docx");
        template.write(out);
        out.flush();
        out.close();
        template.close();
    }
}
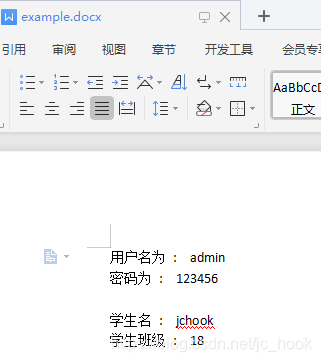
执行效果如下:
2.3 标签
在上面的入门实例中,根据以下这种映射关系将数据写入模板,
| 模板 | 代码 |
|---|---|
| 用户名 : {{username}} | example.put(“username”,“admin”) |
文档中的这种格式就是POI-TL的标签
- 在POI-TL中没有复杂的控制结构和变量赋值,只有标签;
- 标签前后由两个大括号组成
- 标签的内容为:符号+标签名称(符号代表对应的标签类型)
符号与标签类型关系如下:
| 符号 | 标签类型 |
|---|---|
| (无符号,默认) | 文本 |
| @ | 图片 |
| # | 表格 |
| * | 列表 |
下面我再逐一介绍各类型标签的相关使用。

2.3.1 文本
在2.2中已经展示了一般文本的使用,这里就不再赘述。
主要说另外两个文本类型:
超链接文本和有样式的文本
2.3.1.1 超链接文本
/**
 2. @text : 超链接文本显示的内容
 3. @url : 链接地址
**/
HyperLinkTextRenderData(String text,String url);
示例:
public static void main(String[] args) throws IOException {
	//写入模板的数据
	Map<String,Object> exampleData = new HashMap<>();
	HyperLinkTextRenderData hyperLinkTextRenderData = new HyperLinkTextRenderData("百度一下","http://baidu.com");
	exampleData.put("baidu",hyperLinkTextRenderData);
	XWPFTemplate template = XWPFTemplate.compile("E:/example.docx")
	       .render(exampleData);
	//文件输出流
	FileOutputStream out = new FileOutputStream("E:/example.docx");
	template.write(out);
	out.flush();
	out.close();
	template.close();
}
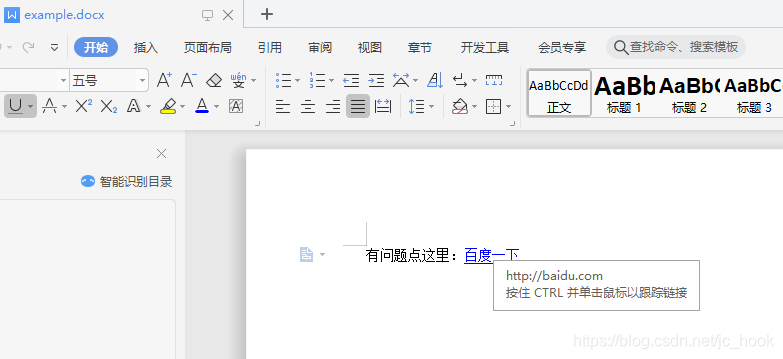
效果:
2.3.1.2 带样式文本
顾名思义,就是带样式的文本。
/**
* @style : 样式
* @text : 文本内容
**/
TextRenderData(com.deepoove.poi.data.style.Style style,String text)

//样式
public Class Style{
	//颜色
	private String color;
	//字体
    private String fontFamily;
    //字号
    private int fontSize;
    //粗体
    private Boolean isBold;
    //斜体
    private Boolean isItalic;
    //删除线
    private Boolean isStrike;
    //下划线
    private Boolean isUnderLine;
    //背景色高亮
    private Enum highlightColor;
    //字间距
    private int characterSpacing;
}
示例:
//写入模板的数据
public static void main(String[] args) throws IOException {
        //写入模板的数据
        Map<String,Object> exampleData = new HashMap<>();
        TextRenderData textRenderData = new TextRenderData();
        //设置样式
        Style style = new Style();
        style.setColor("00FFFF");
        style.setFontSize(18);
        style.setItalic(true);
        textRenderData.setStyle(style);
        //设置文本内容
        textRenderData.setText("有样式的内容");
        exampleData.put("text",textRenderData);

        XWPFTemplate template = XWPFTemplate.compile("E:/example.docx")
                .render(exampleData);
        //文件输出流
        FileOutputStream out = new FileOutputStream("E:/example.docx");
        template.write(out);
        out.flush();
        out.close();
        template.close();
    }
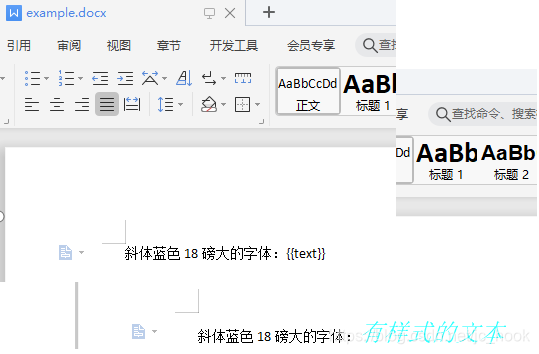
效果:
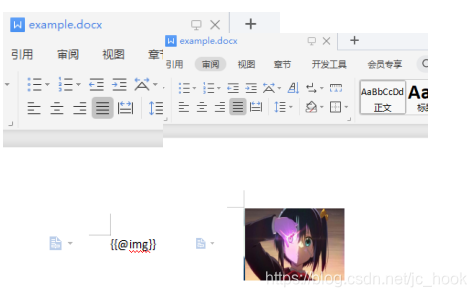
2.3.2 图片
2.3.2.1 插入图片
选择图片插入模板
/**
* @width : 宽
* @height : 高
* @path : 路径
**/
PictureRenderData(int width, int height, String path)
示例:
public static void main(String[] args) throws IOException {
        //写入模板的数据
        Map<String,Object> exampleData = new HashMap<>();
        //插入图片
        exampleData.put("img",new PictureRenderData(140,100,"E:/六花.jpg"));

        XWPFTemplate template = XWPFTemplate.compile("E:/example.docx")
                .render(exampleData);
        //文件输出流
        FileOutputStream out = new FileOutputStream("E:/example.docx");
        template.write(out);
        out.flush();
        out.close();
        template.close();
    }
效果
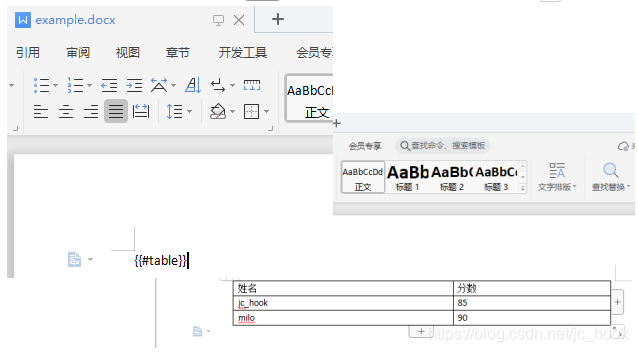
2.3.3 表格
POI-TL默认创建N行N列的表格,支持设置当表格数据为空时的描述内容。
- 行数据
/**
* 行数据
* @cellData:列内容
* */
RowRenderData.build(TextRenderData... cellData);
/**
* 行数据
* @cellStr:列内容
* */
RowRenderData build(String... cellStr);
- 表数据:
/**
* @headers : 表格列标题
* @datas : 表格数据
* */
MiniTableRenderData(RowRenderData headers, List<RowRenderData> datas)
/**
* @datas : 表格数据
* */
MiniTableRenderData(List<RowRenderData> datas)
/**
* 设置无数据时的描述
* @noDatadesc : 无数据时的描述内容
* */
new MiniTableRenderData().setNoDatadesc(String noDatadesc)
- 表格样式
/**
* 设置表格样式
* @style : 样式
* */
new MiniTanleRenderData().setStyle(TableStyle style);

public class TableStyle{
	//背景颜色
	private String backgroundColor;
	//表格对齐
    private Enum align;
}
示例:
public static void main(String[] args) throws IOException {
        //写入模板的数据
        Map<String,Object> exampleData = new HashMap<>();

        //表格标题
        RowRenderData rowRenderData = RowRenderData.build(new TextRenderData("000000","姓名"),new TextRenderData("000000","分数"));
        //表格数据
        RowRenderData row1 = RowRenderData.build("jc_hook","85");
        RowRenderData row2 = RowRenderData.build("milo","90");
        MiniTableRenderData miniTableRenderData = new MiniTableRenderData(rowRenderData, Arrays.asList(row1,row2));
        //设置无数据时描述
        miniTableRenderData.setNoDatadesc("当前无数据");
        exampleData.put("table",miniTableRenderData);
        XWPFTemplate template = XWPFTemplate.compile("E:/example.docx")
                .render(exampleData);
        //文件输出流
        FileOutputStream out = new FileOutputStream("E:/example.docx");
        template.write(out);
        out.flush();
        out.close();
        template.close();
    }
}
效果:
2.3.4 列表
/**
* @numbers : 列表数据
* */
NumbericRenderData(List<? extends RenderData> numbers)
示例:
    public static void main(String[] args) throws IOException {
        //写入模板的数据
        Map<String,Object> exampleData = new HashMap<>();
        exampleData.put("var",new NumbericRenderData(new ArrayList<TextRenderData>(){
            {
                add(new TextRenderData("第一行"));
                add(new TextRenderData("第二行在这里"));
            }
        }));
        XWPFTemplate template = XWPFTemplate.compile("E:/example.docx")
                .render(exampleData);
        //文件输出流
        FileOutputStream out = new FileOutputStream("E:/example.docx");
        template.write(out);
        out.flush();
        out.close();
        template.close();
    }
效果:

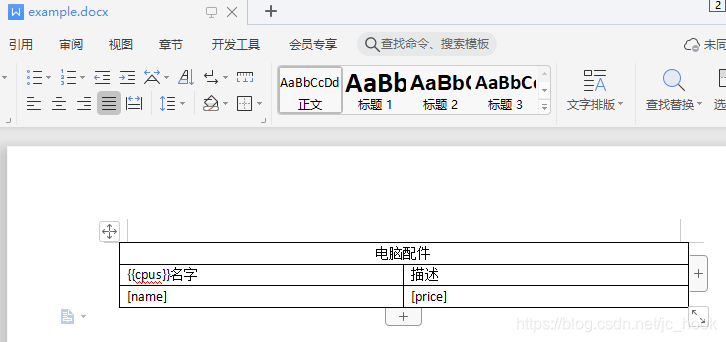
2.3.5 动态表格
入对象集合时,因为集合的数量是动态变化的,即对应表格的行数是根据集合中的对象数量动态增加的。
使用{{}}标记对象,[]标记对象属性;
示例:
- 模板:
代码:
public static void main(String[] args) throws IOException {
    //写入模板的数据
    HashMap<String,Object> example = new HashMap<>();
    List<CPU> cpus = new ArrayList<>();
    CPU cpu = new CPU();
    cpu.setName("R5锐龙2600");
    cpu.setPrice(458);
    cpus.add(cpu);
    cpus.add(cpu);
    example.put("cpus",cpus);

    HackLoopTableRenderPolicy policy = new HackLoopTableRenderPolicy();
    Configure configure = Configure.newBuilder().bind("cpus",policy).build();

    XWPFTemplate template = XWPFTemplate.compile("E:/example.docx",configure)
            .render(example);
    //文件输出流
    FileOutputStream out = new FileOutputStream("E:/example.docx");
    template.write(out);
    out.flush();
    out.close();
    template.close();
}
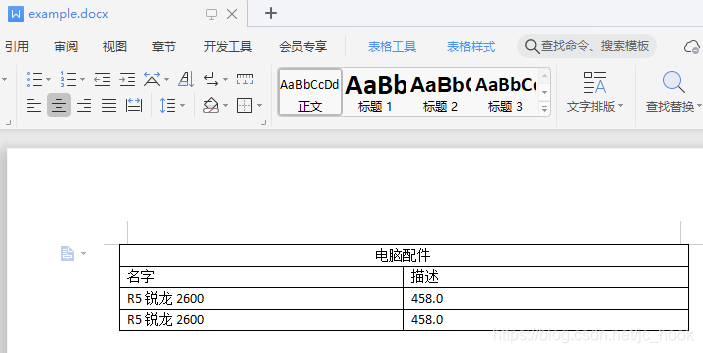
效果:


 1598
1598

 被折叠的 条评论
为什么被折叠?
被折叠的 条评论
为什么被折叠?
 到【灌水乐园】发言


