RxJava的简单使用基本上也了解了,其实还有一个比较好玩的就是java8才有的lambda了。
lambda在android studio下的环境搭建
下载java8
下面就来搭建下这个环境了,因为Android不支持java8,所以需要用到一个开源库, retolambda,点这里。具体怎么使用基本上都有,这里简单地介绍下,首先就是下载java8了:下载java8,点这里。
修改配置工程文件
下载好安装好后,需要修改build.gradle:
// Top-level build file where you can add configuration options common to all sub-projects/modules.
buildscript {
    repositories {
        jcenter()
    }
    dependencies {
        classpath 'com.android.tools.build:gradle:1.5.0'
        classpath 'me.tatarka:gradle-retrolambda:3.2.0'

        // NOTE: Do not place your application dependencies here; they belong
        // in the individual module build.gradle files
    }
}

allprojects {
    repositories {
        jcenter()
    }
}

task clean(type: Delete) {
    delete rootProject.buildDir
}
这里添加了me.tatarka:gradle-retrolambda:3.2.0。
接着是 app目录下的build.gradle:
apply plugin: 'com.android.application'
apply plugin: 'me.tatarka.retrolambda'

android {
    compileSdkVersion 23
    buildToolsVersion "23.0.2"

    defaultConfig {
        applicationId "com.jared.emrxandroidstudy"
        minSdkVersion 15
        targetSdkVersion 23
        versionCode 1
        versionName "1.0"
    }
    buildTypes {
        release {
            minifyEnabled false
            proguardFiles getDefaultProguardFile('proguard-android.txt'), 'proguard-rules.pro'
        }
    }
    compileOptions {
        sourceCompatibility JavaVersion.VERSION_1_8
        targetCompatibility JavaVersion.VERSION_1_8
    }
}

dependencies {
    compile fileTree(dir: 'libs', include: ['*.jar'])
    testCompile 'junit:junit:4.12'
    compile 'com.android.support:appcompat-v7:23.1.1'

    compile 'io.reactivex:rxandroid:1.1.0'
    compile 'io.reactivex:rxjava:1.1.0'
}
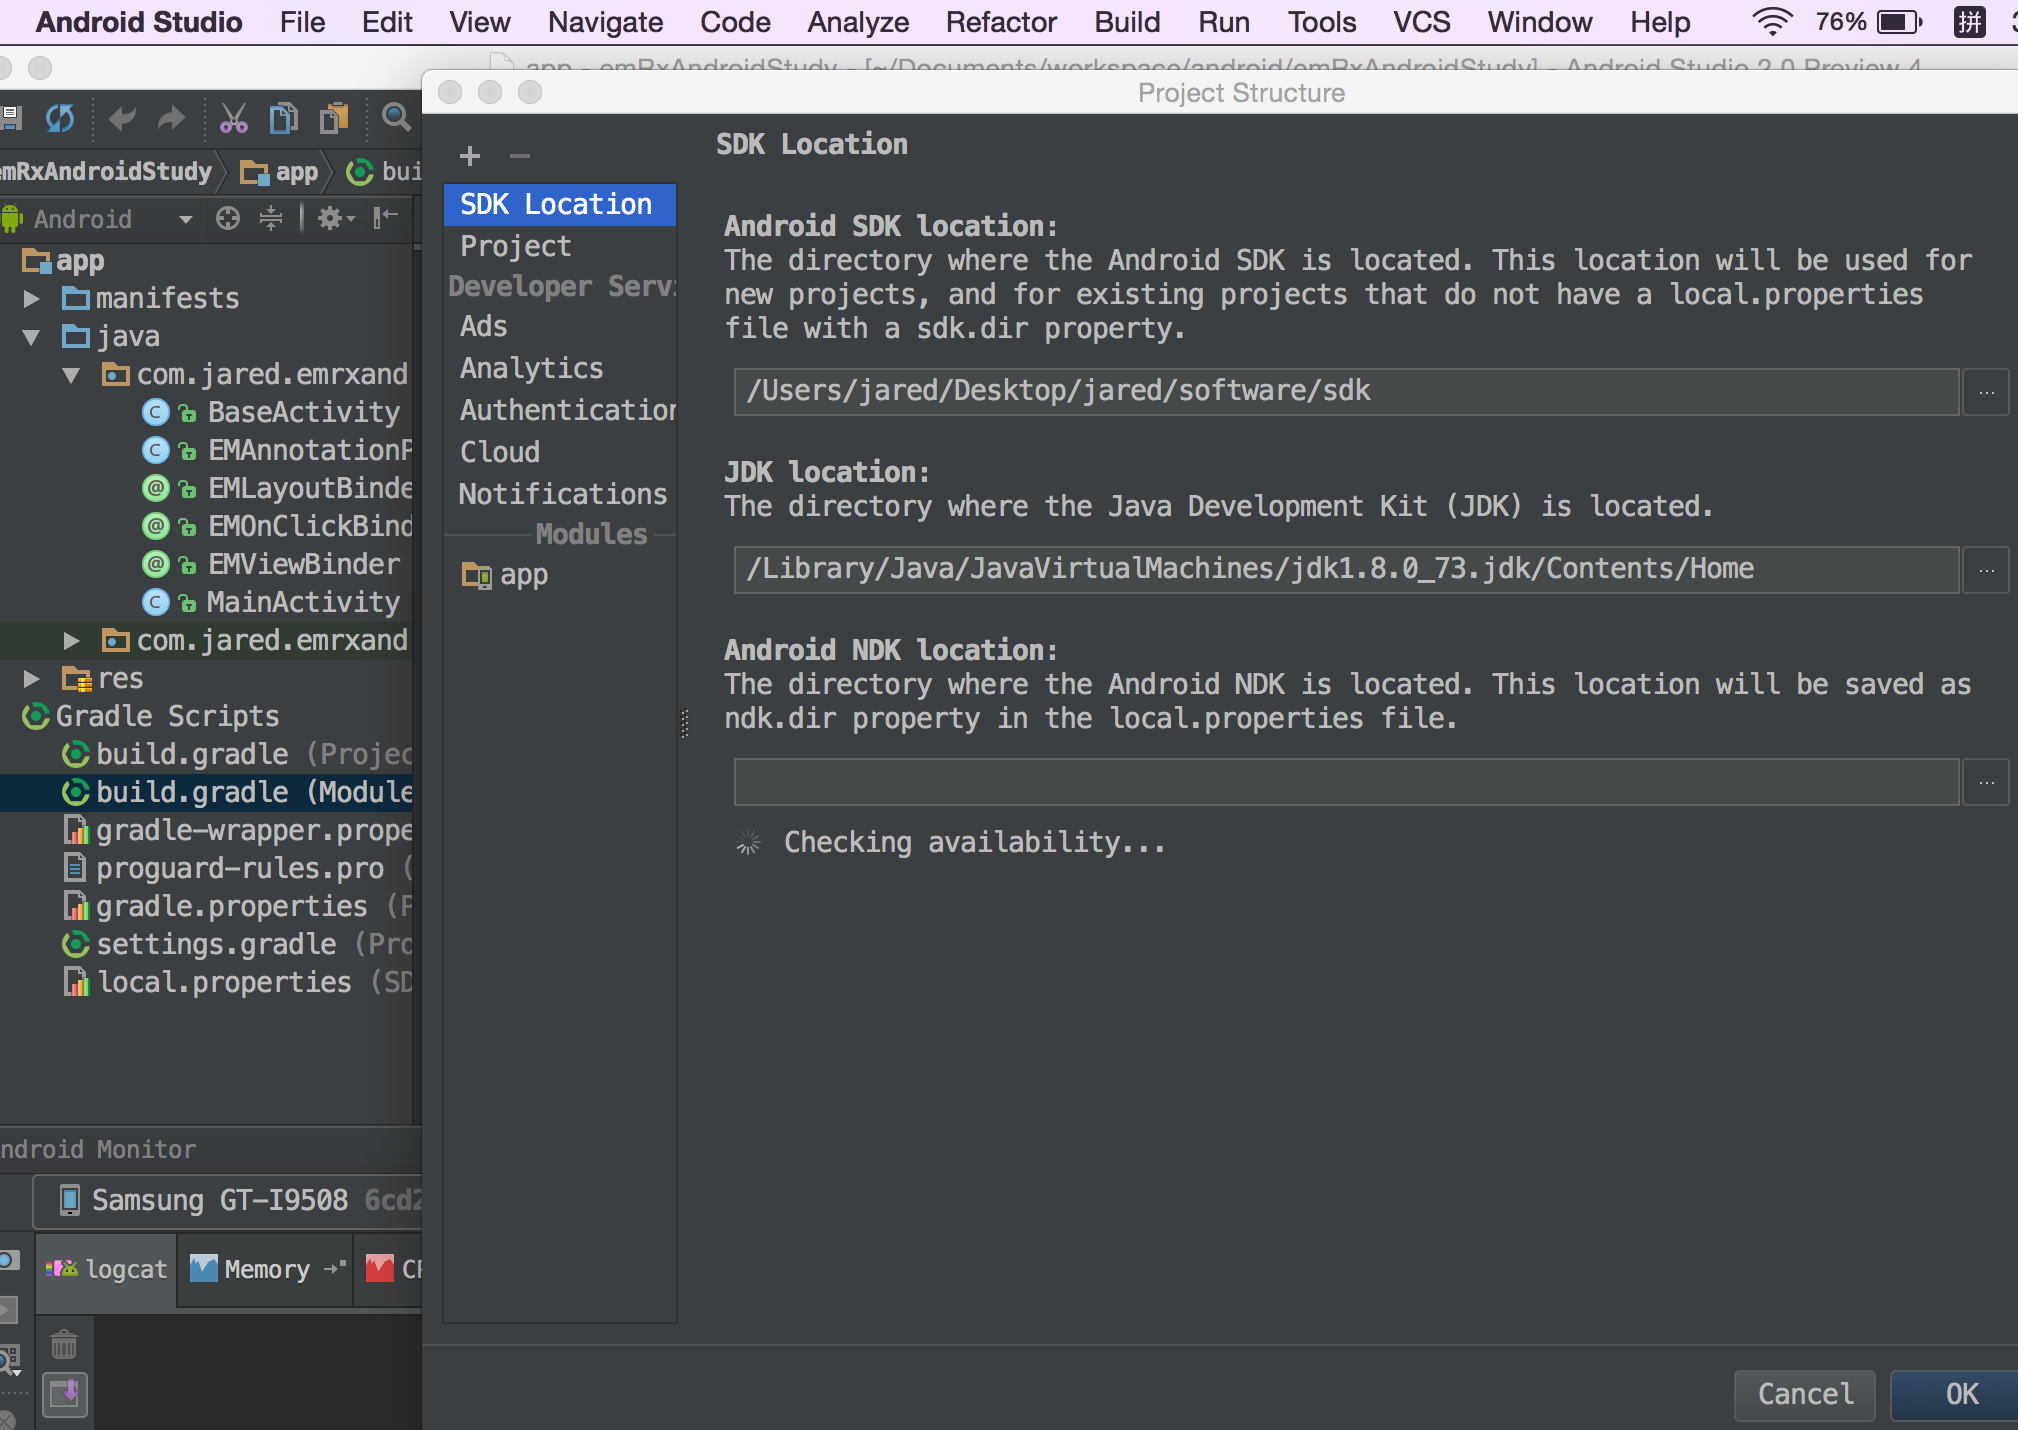
修改工程的jdk版本
添加完后需要修改编译的jdk为java8:
lambda在RxAndroid中简单使用
修改完后,重新启动下工程,然后我们开始基于上一篇的文章继续了。这里对上一篇文章的代码通过lambda简化:
private void createObservableByMap() {
        Log.d(TAG, "createObservableByMap");
        Observable.just(getHello()).map(new Func1<String, String>() {
            @Override
            public String call(String s) {
                return s + " by eastmoon";
            }
        }).subscribe(onNextAction);
    }

onNextAction = new Action1<String>() {
            @Override
            public void call(String s) {
                mHello.setText(s);
            }
        };
简化后如下所示:
private void createObservableBylambda() {
        Log.d(TAG, "createObservableBylambda");
        Observable.just(getHello())
                .map(s -> s + " by eastmoon")
                .subscribe(s -> mHello.setText(s));
    }
lambda在RxAndroid中的使用分析
接下来看看rxAndroid用到的那个例子吧。这里再添下代码:
private void createObservableBylambda() {
        Log.d(TAG, "createObservableBylambda");
        Observable.just(getHello())
                .map(s -> s + " by eastmoon")
                .subscribe(s -> mHello.setText(s));
    }
首先是map方法,因为map方法中重写了call方法,传入的参数为s,函数体里面要做的事情是s+” by eastmoon”,所以就写成了s -> s+” by eastmoon”,由这可知就是s变为了s+” by eastmoon”。同理subscribe方法也一样,传入的需要处理的mHello.setText(s)。
基本上lambda的简单使用ok了,接下去继续学习RxAndroid了。
转自:http://blog.csdn.net/eastmoon502136/article/details/50853569


 137
137

 被折叠的 条评论
为什么被折叠?


