


本地通知
本地通知是由本地应用触发的,它是基于时间行为的一种通知形式,例如闹钟定时、待办事项提醒,又或者一个应用在一段时候后不使用通常会提示用户使用此应用等都是本地通知。
创建一个本地通知通常分为以下几个步骤:
创建UILocalNotification。
设置处理通知的时间fireDate。
配置通知的内容:通知主体、通知声音、图标数字等。
配置通知传递的自定义数据参数userInfo(这一步可选)。
调用通知,可以使用scheduleLocalNotification:按计划调度一个通知,也可以使用presentLocalNotificationNow立即调用通知。
下面就以一个程序更新后用户长期没有使用的提醒为例对本地通知做一个简单的了解。
在这个过程中并没有牵扯太多的界面操作,所有的逻辑都在AppDelegate中:
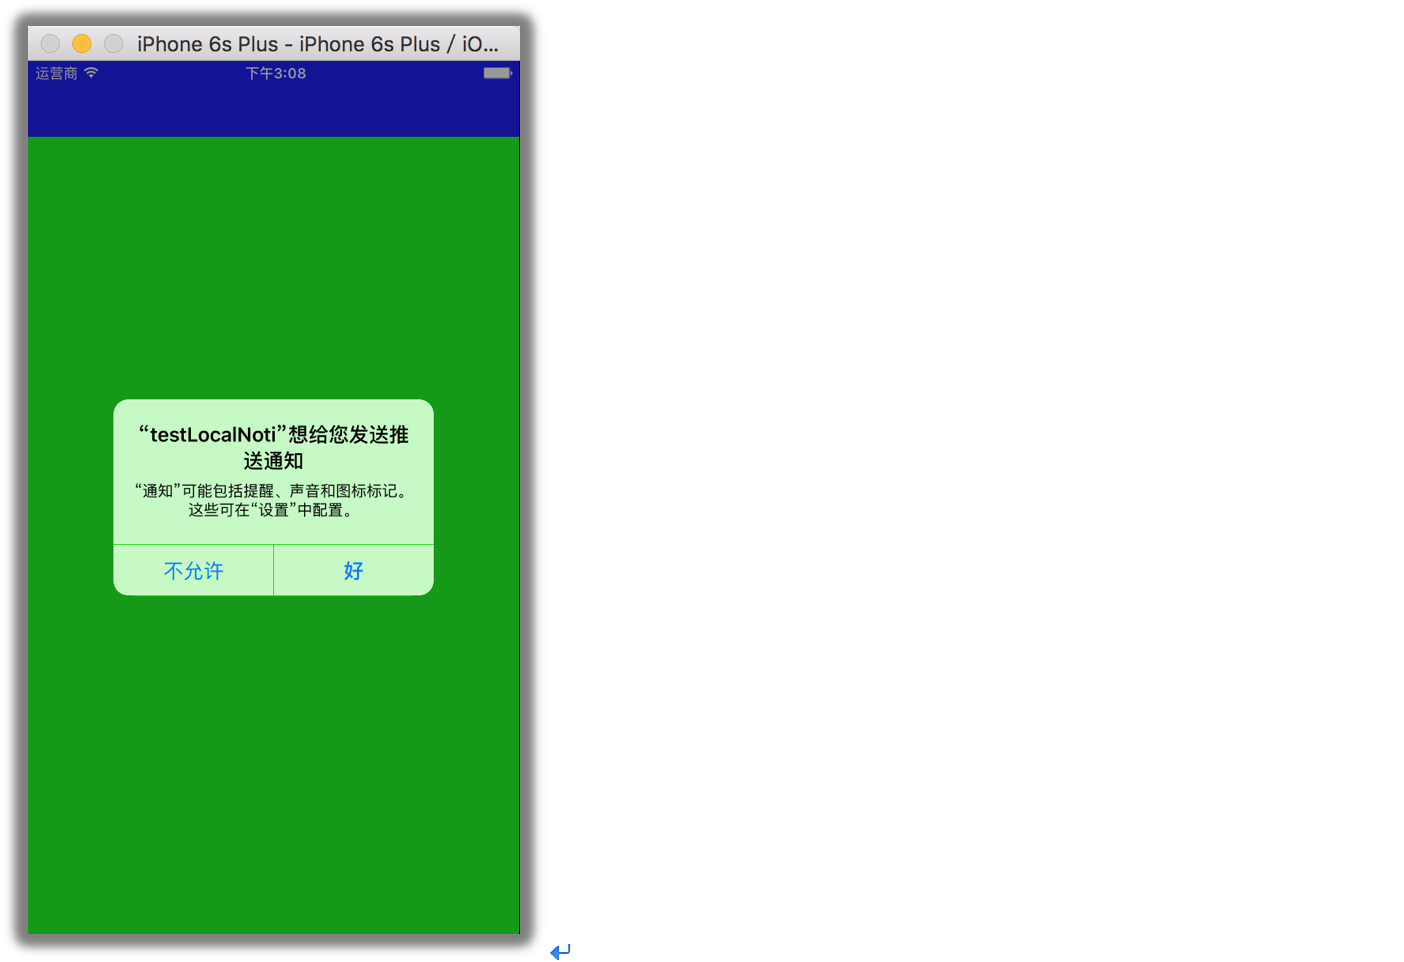
进入应用后如果没有注册通知,需要首先注册通知请求用户允许通知;
一旦调用完注册方法,无论用户是否选择允许通知此刻都会调用应用程序的“已经注册用户通知”代理方法:
- (void)application:(UIApplication *)application didRegisterUserNotificationSettings:(UIUserNotificationSettings *)notificationSettings在这个方法中根据用户的选择:如果是允许通知则会按照前面的步骤创建通知并在一定时间后执行。
代码如下
//
// AppDelegate.m
// testLocalNoti
//
// Created by xiao on 16/7/1.
// Copyright © 2016年 xiao. All rights reserved.
//
#import "AppDelegate.h"
#import "XXNavigationController.h"
@interface AppDelegate ()
@end
@implementation AppDelegate
#pragma mark - 应用代理方法
- (BOOL)application:(UIApplication *)application didFinishLaunchingWithOptions:(NSDictionary *)launchOptions {
_window=[[UIWindow alloc]initWithFrame:[UIScreen mainScreen].bounds];
_window.backgroundColor =[UIColor greenColor];
//设置全局导航条风格和颜色
[[UINavigationBar appearance] setBarTintColor:[UIColor blueColor]];
[[UINavigationBar appearance] setBarStyle:UIBarStyleBlack];
XXNavigationController *mainController=[[XXNavigationController alloc]init];
_window.rootViewController=mainController;
[_window makeKeyAndVisible];
//如果已经获得发送通知的授权则创建本地通知,否则请求授权
//(注意:如果不请求授权在设置中是没有对应的通知设置项的,也就是说如果从来没有发送过请求,即使通过设置也打不开消息允许设置)
if ([[UIApplication sharedApplication]currentUserNotificationSettings].types != UIUserNotificationTypeNone) {
//已经授权 发送本地通知,则直接发送本地通知
[self addLocalNotification];
}else{
//没有授权 则让用户授权
[[UIApplication sharedApplication]registerUserNotificationSettings:[UIUserNotificationSettings settingsForTypes:UIUserNotificationTypeAlert|UIUserNotificationTypeBadge|UIUserNotificationTypeSound categories:nil]];
}
return YES;
}
#pragma mark - 调用过用户注册通知方法之后执行
- (void)application:(UIApplication *)application didRegisterUserNotificationSettings:(UIUserNotificationSettings *)notificationSettings
{
if (notificationSettings.types != UIUserNotificationTypeNone) {
[self addLocalNotification];
}
}
- (void)applicationWillEnterForeground:(UIApplication *)application {
//进入APP后则取消应用消息条数图标
[[UIApplication sharedApplication]setApplicationIconBadgeNumber:0];
}
#pragma mark - 私有方法
#pragma mark - 添加本地通知
-(void)addLocalNotification{
//定义本地通知对象
UILocalNotification *notification=[[UILocalNotification alloc]init];
//设置调用时间
notification.fireDate=[NSDate dateWithTimeIntervalSinceNow:10.0];//通知触发的时间,10s以后
notification.repeatInterval=2;//通知重复次数
//notification.repeatCalendar=[NSCalendar currentCalendar];//当前日历,使用前最好设置时区等信息以便能够自动同步时间
//设置通知属性
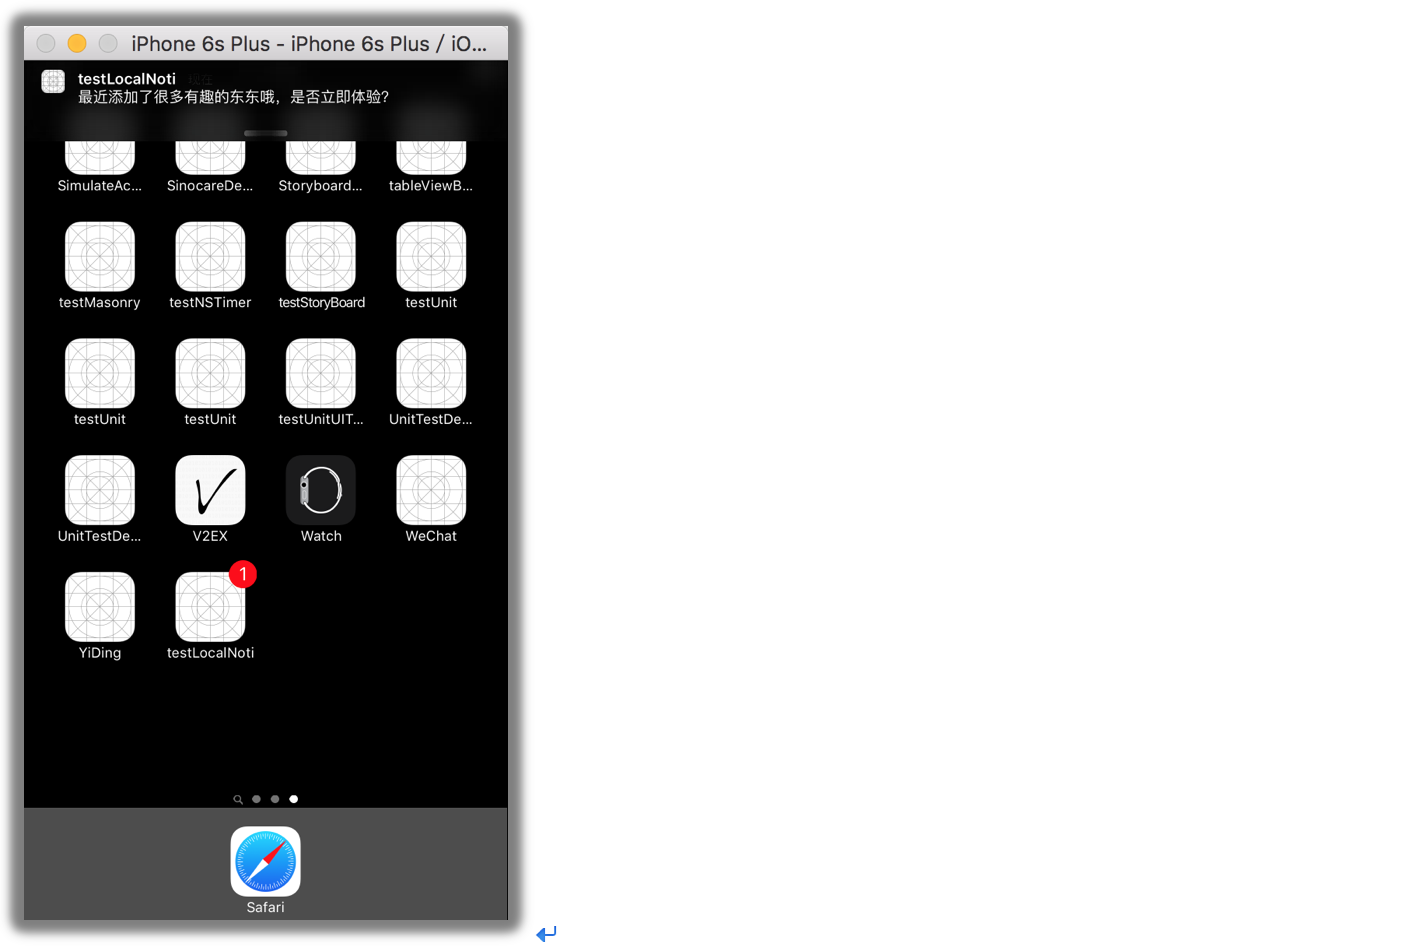
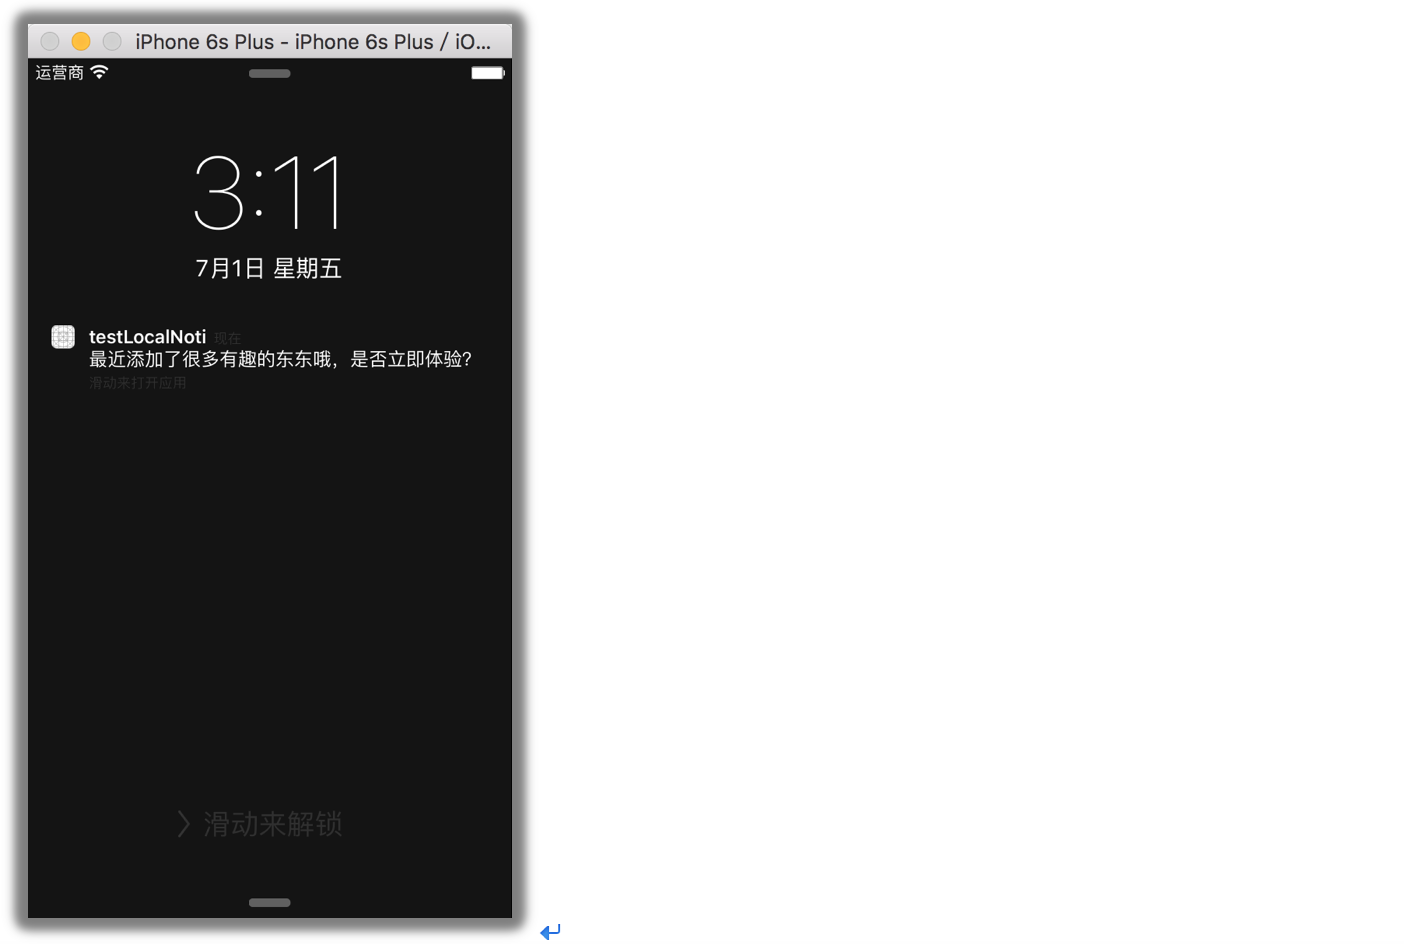
notification.alertBody=@"最近添加了很多有趣的东东哦,是否立即体验?"; //通知主体
notification.applicationIconBadgeNumber=1;//应用程序图标右上角显示的消息数
notification.alertAction=@"打开应用"; //待机界面的滑动动作提示
notification.alertLaunchImage=@"Default";//通过点击通知打开应用时的启动图片,这里使用程序启动图片
//notification.soundName=UILocalNotificationDefaultSoundName;//收到通知时播放的声音,默认消息声音
notification.soundName=@"msg.caf";//通知声音(需要真机才能听到声音)
//设置用户信息
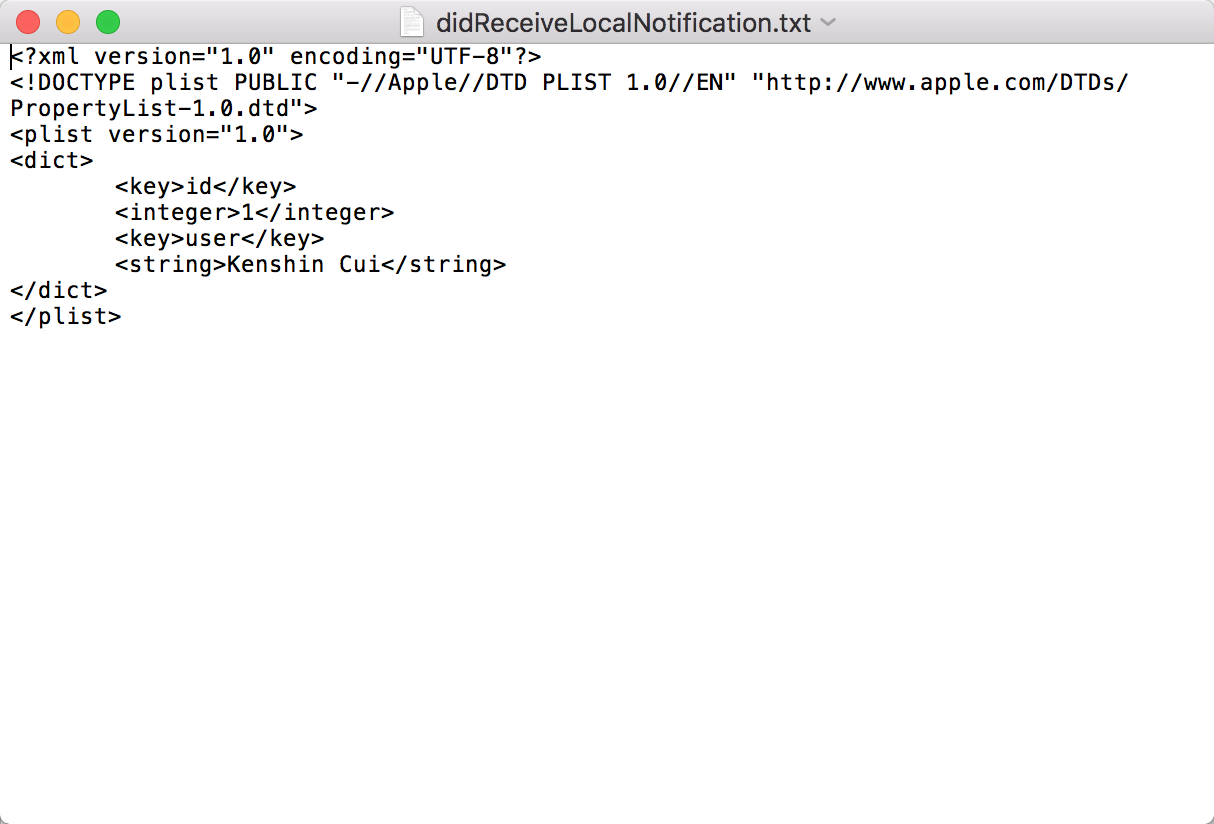
notification.userInfo=@{@"id":@1,@"user":@"Kenshin Cui"};//绑定到通知上的其他附加信息
//调用通知
[[UIApplication sharedApplication] scheduleLocalNotification:notification];
}
#pragma mark - 移除本地通知,在不需要用此通知时记得移除
-(void)removeNotification{
[[UIApplication sharedApplication] cancelAllLocalNotifications];
}
@end
运行结果
注意:
在使用通知之前必须注册通知类型,如果用户不允许应用程序发送通知,则以后就无法发送通知,除非用户手动到iOS设置中打开通知。
本地通知是有操作系统统一调度的,只有在应用退出到后台或者关闭才能收到通知。(注意:这一点对于后面的推送通知也是完全适用的。 )
通知的声音是由iOS系统播放的,格式必须是Linear PCM、MA4(IMA/ADPCM)、µLaw、aLaw中的一种,并且播放时间必须在30s内,否则将被系统声音替换,同时自定义声音文件必须放到main boundle中。
本地通知的数量是有限制的,最近的本地通知最多只能有64个,超过这个数量将被系统忽略。
如果想要移除本地通知可以调用UIApplication的cancelLocalNotification:或cancelAllLocalNotifications移除指定通知或所有通知。
从上面的程序可以看到userInfo这个属性我们设置了参数,那么这个参数如何接收呢?
在iOS中如果点击一个弹出通知(或者锁屏界面滑动查看通知),默认会自动打开当前应用。
由于通知由系统调度那么此时进入应用有两种情况:
如果应用程序已经完全退出那么此时会调用- (BOOL)application:(UIApplication )application didFinishLaunchingWithOptions:(NSDictionary )launchOptions方法;
如果此时应用程序还在运行(无论是在前台还是在后台)则会调用-(void)application:(UIApplication )application didReceiveLocalNotification:(UILocalNotification )notification方法接收消息参数。
当然如果是后者自然不必多说,因为参数中已经可以拿到notification对象,只要读取userInfo属性即可。如果是前者的话则可以访问launchOptions中键为UIApplicationLaunchOptionsLocalNotificationKey的对象,这个对象就是发送的通知,由此对象再去访问userInfo。
为了演示这个过程在下面的程序中将userInfo的内容写入文件以便模拟关闭程序后再通过点击通知打开应用获取userInfo的过程。
#pragma mark 接收本地通知时触发
-(void)application:(UIApplication *)application didReceiveLocalNotification:(UILocalNotification *)notification{
    NSDictionary *userInfo=notification.userInfo;
    [userInfo writeToFile:@"/Users/xiao/Desktop/didReceiveLocalNotification.txt" atomically:YES];
    NSLog(@"didReceiveLocalNotification:The userInfo is %@",userInfo);
}
上面的程序可以分为两种情况去运行:
一种是启动程序关闭程序,等到接收到通知之后点击通知重新进入程序;
另一种是启动程序后,进入后台(其实在前台也可以,但是为了明显的体验这个过程建议进入后台),接收到通知后点击通知进入应用。
另种情况会分别按照前面说的情况调用不同的方法接收到userInfo写入本地文件系统。有了userInfo一般来说就可以根据这个信息进行一些处理,例如可以根据不同的参数信息导航到不同的界面,假设是更新的通知则可以导航到更新内容界面等。
运行结果


 222
222

 被折叠的 条评论
为什么被折叠?
被折叠的 条评论
为什么被折叠?
 到【灌水乐园】发言


