Android Them动态修改主题

目录

动态实时更新主题

第一步:编写attr文件

第二步:定义多个Them 主题颜色 用于切换

第三步:在xml布局中设置颜色

第三步:在代码中设置 重要‼️

 第四步:SP存储,自定义的类 有需要的可以看看


动态实时更新主题

第一步:编写attr文件

在res文件下的values文件中新建一个attr.xm的文件

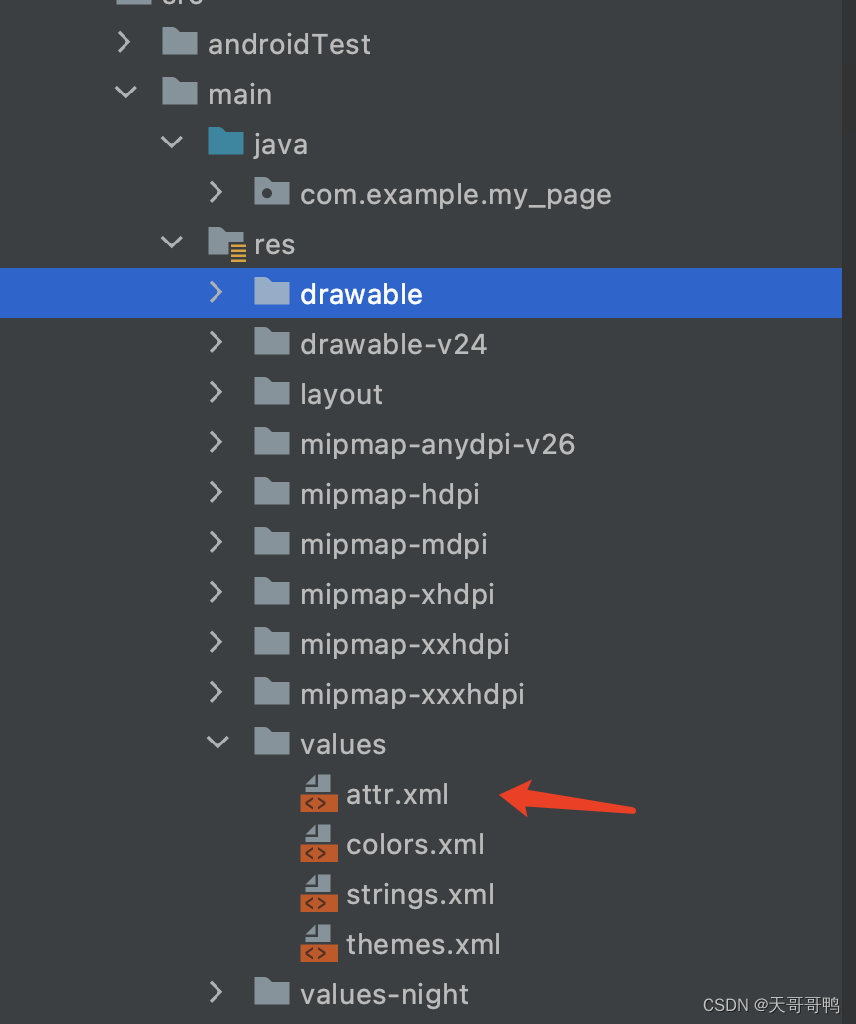
 然后写上你要更换颜色的名字 这是我编写的,是用与更换xml布局中的颜色和在Them中调用这个颜色

<?xml version="1.0" encoding="utf-8"?>
<resources>
    <attr name="title_color" format="color"/>//标题的颜色
    <attr name="back_color" format="color"/>//返回上一个页面的颜色
    <attr name="function_color" format="color"/>//功能菜单项的颜色
    <attr name="bg_color" format="color"/>//背景色
</resources>

第二步:定义多个Them 主题颜色 用于切换

  <style name="Theme.My_Page" parent="Theme.MaterialComponents.DayNight.NoActionBar.Bridge">
        <!-- Primary brand color. -->
        <item name="colorPrimary">@color/white</item>//标题的背景色
        <item name="colorPrimaryVariant">#CDCDCD</item>//状态栏的颜色
        //以上都是系统自带的
        
        //下面是我定义的颜色
        <item name="title_color">@color/black</item>
        <item name="back_color">@color/back1_color</item>
        <item name="function_color">@color/white</item>
        <item name="bg_color">@color/bg1_color</item>
        
        //下面的方法也是系统的 但我不知道代表的是什么意思
        <item name="colorOnPrimary">@color/white</item>
        <!-- Secondary brand color. -->
        <item name="colorSecondary">@color/teal_200</item>
        <item name="colorSecondaryVariant">@color/teal_700</item>
        <item name="colorOnSecondary">@color/black</item>

        <!-- Status bar color. -->
        <item name="android:statusBarColor" tools:targetApi="l">?attr/colorPrimaryVariant</item>
        <!-- Customize your theme here. -->
    </style>


    <style name="Them_Yellow" parent="Theme.MaterialComponents.DayNight.NoActionBar.Bridge">
        <!-- Primary brand color. -->
        <item name="colorPrimary">#FF9800</item>
        <item name="colorPrimaryVariant">#CDCDCD</item>
        <item name="title_color">@color/white</item>
        <item name="back_color">@color/back1_color</item>
        <item name="function_color">#FFE500</item>
        <item name="bg_color">#FFE927</item>

        <item name="colorOnPrimary">@color/white</item>
        <!-- Secondary brand color. -->
        <item name="colorSecondary">@color/teal_200</item>
        <item name="colorSecondaryVariant">@color/teal_700</item>
        <item name="colorOnSecondary">@color/black</item>

        <!-- Status bar color. -->
        <item name="android:statusBarColor" tools:targetApi="l">?attr/colorPrimaryVariant</item>
        <!-- Customize your theme here. -->
    </style>

    <style name="Them_green" parent="Theme.MaterialComponents.DayNight.NoActionBar.Bridge">
        <!-- Primary brand color. -->
        <item name="colorPrimary">#8BC34A</item>
        <item name="colorPrimaryVariant">#CDCDCD</item>
        <item name="title_color">@color/white</item>
        <item name="back_color">@color/back1_color</item>
        <item name="function_color">#89FF00</item>
        <item name="bg_color">#96FF1B</item>

        <item name="colorOnPrimary">@color/white</item>
        <!-- Secondary brand color. -->
        <item name="colorSecondary">@color/teal_200</item>
        <item name="colorSecondaryVariant">@color/teal_700</item>
        <item name="colorOnSecondary">@color/black</item>

        <!-- Status bar color. -->
        <item name="android:statusBarColor" tools:targetApi="l">?attr/colorPrimaryVariant</item>
        <!-- Customize your theme here. -->
    </style>
    <style name="Them_blue" parent="Theme.MaterialComponents.DayNight.NoActionBar.Bridge">
        <!-- Primary brand color. -->
        <item name="colorPrimary">#2196F3</item>
        <item name="colorPrimaryVariant">#CDCDCD</item>
        <item name="title_color">@color/white</item>
        <item name="back_color">#C4E5FF</item>
        <item name="function_color">#2BBDFF</item>
        <item name="bg_color">#41C4FF</item>

        <item name="colorOnPrimary">@color/white</item>
        <!-- Secondary brand color. -->
        <item name="colorSecondary">@color/teal_200</item>
        <item name="colorSecondaryVariant">@color/teal_700</item>
        <item name="colorOnSecondary">@color/black</item>

        <!-- Status bar color. -->
        <item name="android:statusBarColor" tools:targetApi="l">?attr/colorPrimaryVariant</item>
        <!-- Customize your theme here. -->
    </style>

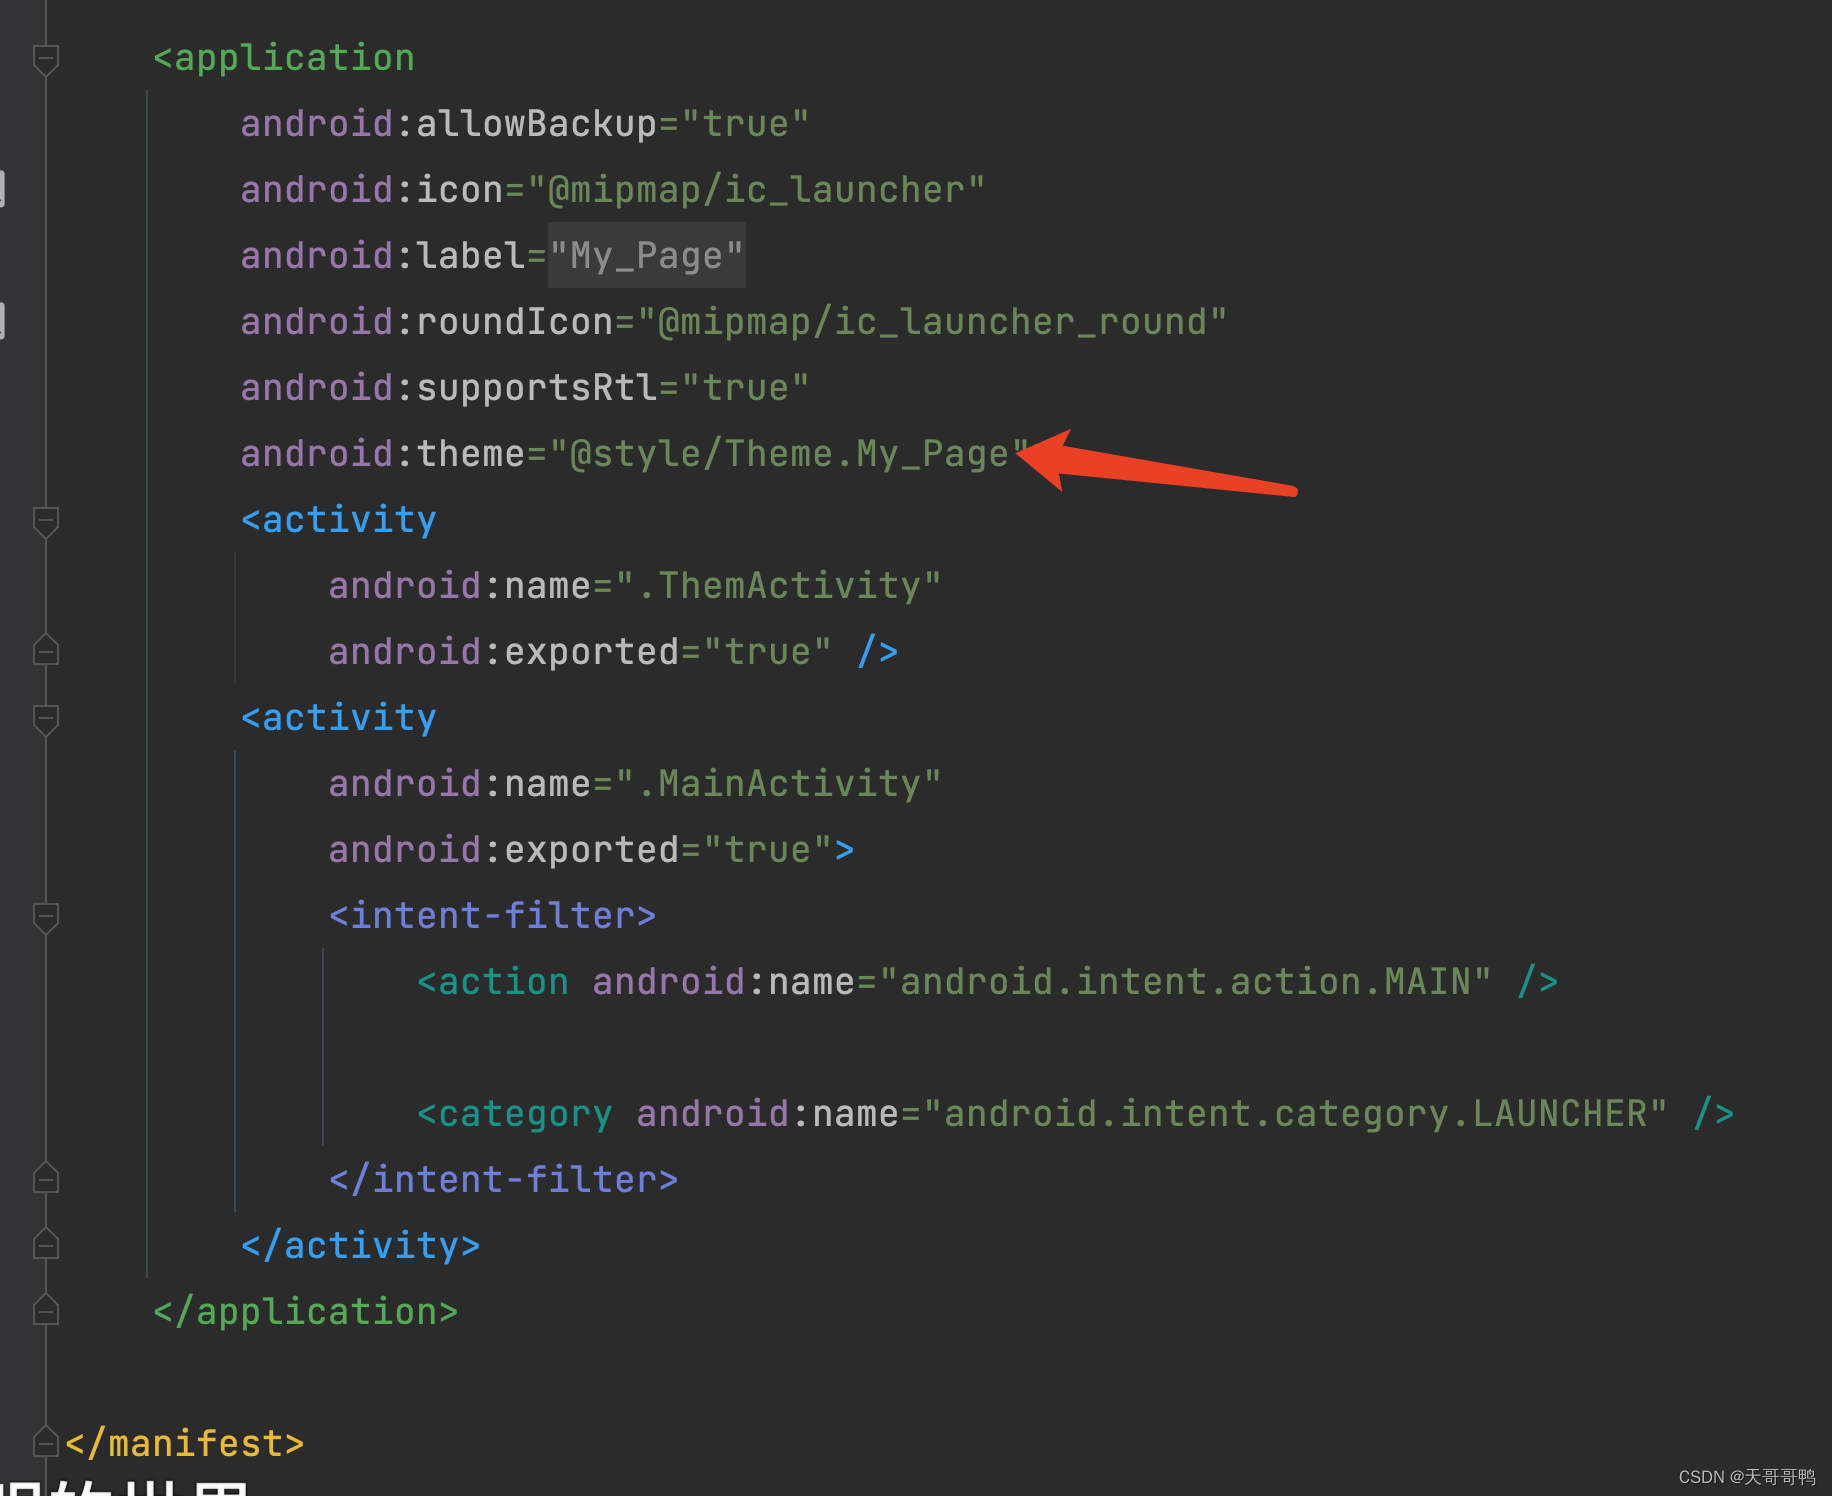
其中 Them.My_Page 默认是系统的主题 在我们的 AndroidManifest.xml文件里
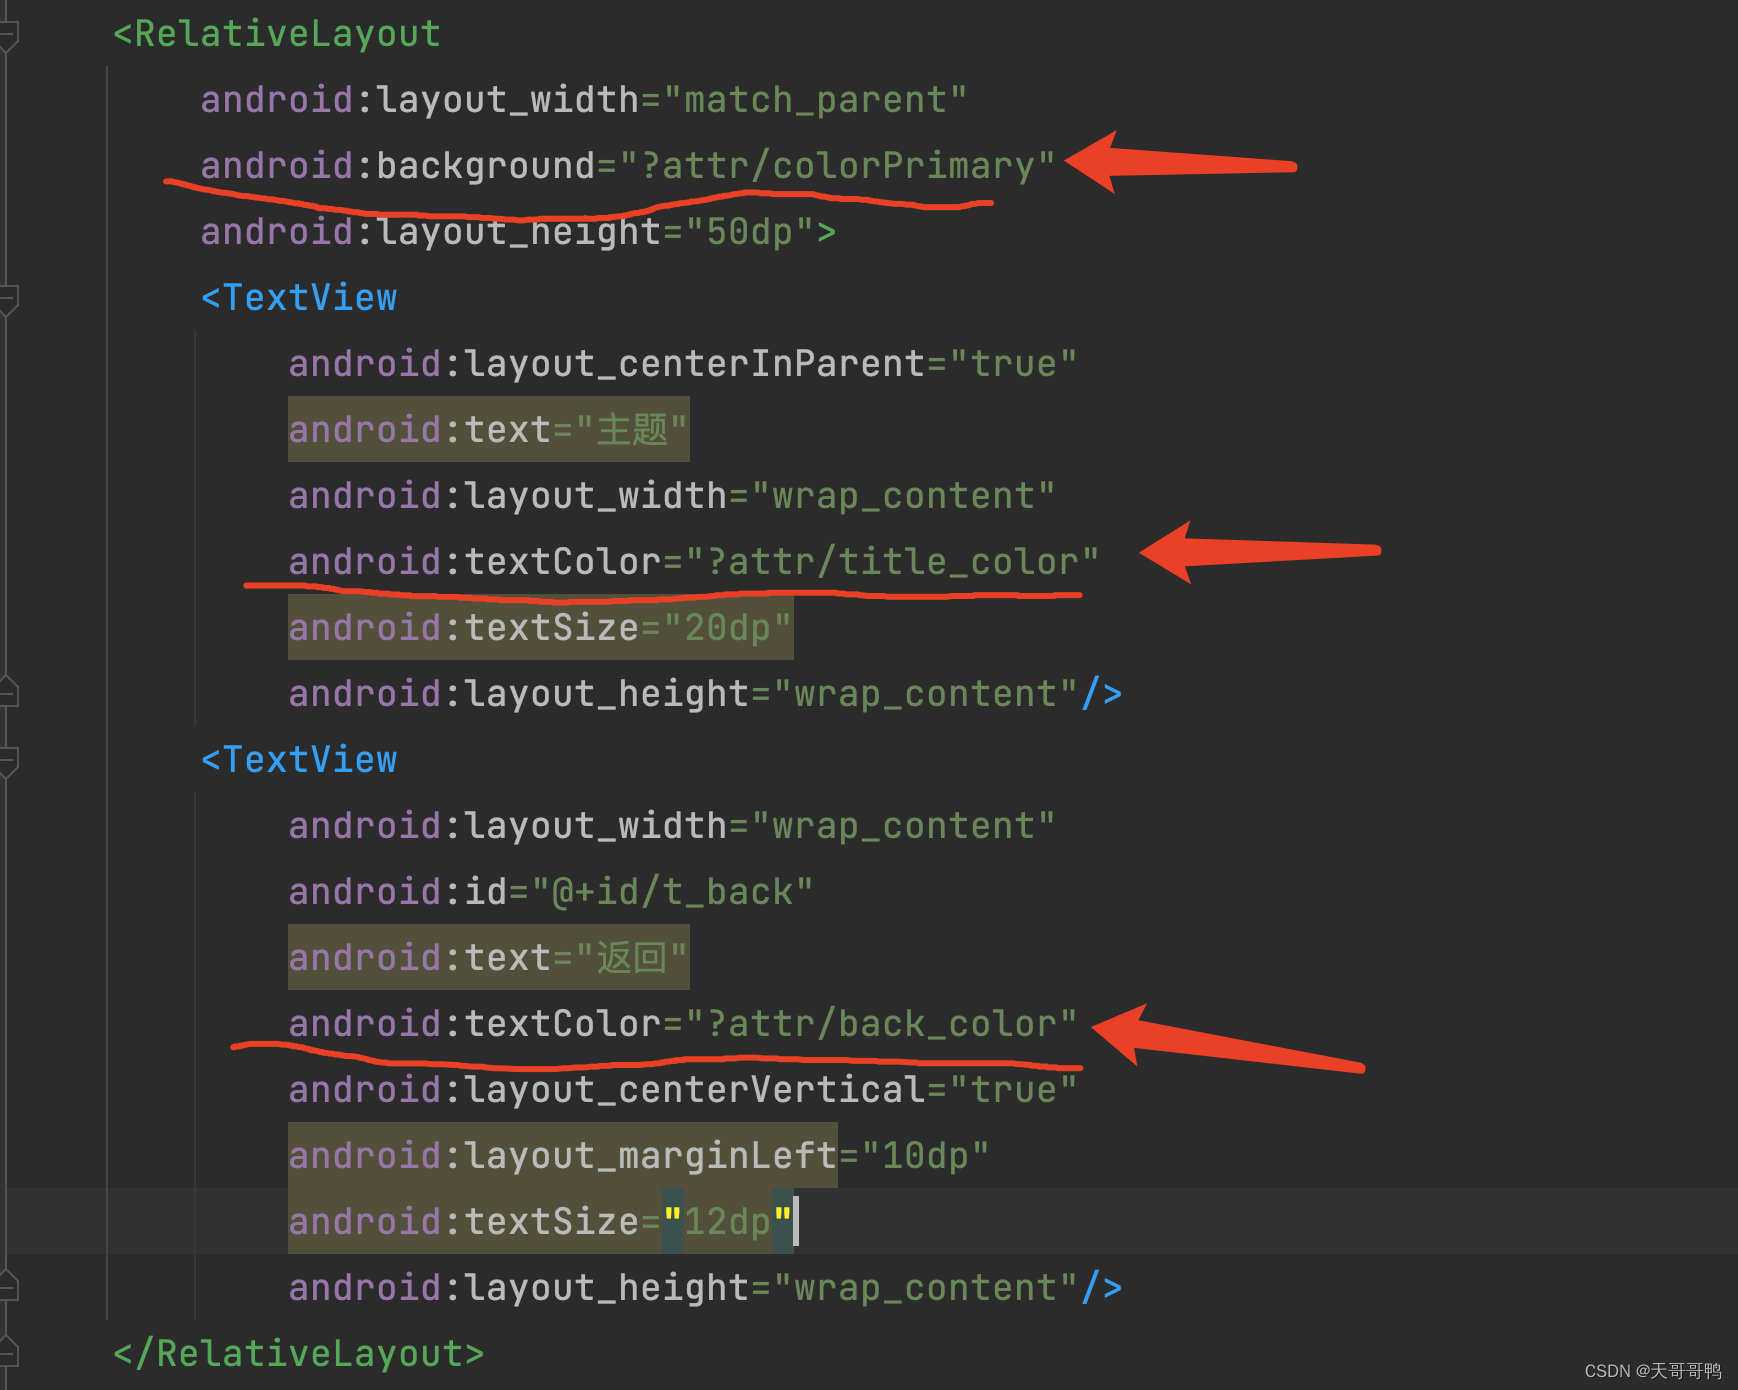
第三步:在xml布局中设置颜色

请根据自己的需要来实现 我来这只是让你理解怎么使用动态更新主题 如果需要源码的话 请私信我 谢谢! 

第三步:在代码中设置 重要‼️

setTheme()方法就是改变当前的主题,他必须要在构建布局前使用,意思就是说必须要
setContentView()前调用

使用方法

                        setTheme(R.style.Theme_My_Page);
                        setContentView(R.layout.activity_them);
                        //重新构建布局后 所有的方法重新运行一遍
                        allMonth();
                        //这是SP存储 是后面的操作所需要的 你要根据自己的需要所定义
                        SP.set(ThemActivity.this,"them",R.style.Theme_My_Page);
                        SP.set(ThemActivity.this,"current",currentIndex);

 第四步:SP存储,自定义的类 有需要的可以看看

public class SP {
    public static SharedPreferences sharedPreferences;

    public static void set(Activity activity, String key, int value) {
        sharedPreferences = activity.getSharedPreferences(key, Context.MODE_PRIVATE);
        SharedPreferences.Editor editor = sharedPreferences.edit();
        editor.putInt(key, value);
        editor.apply();
    }
    public static Integer get (Activity activity,String key){
        return activity.getSharedPreferences(key,Context.MODE_PRIVATE).getInt(key,0);
    }

}

  • 0
    点赞
  • 2
    收藏
    觉得还不错? 一键收藏
  • 1
    评论
Android’s growth is phenomenal. In a very short time span, it has succeeded in becoming one of the top mobile platforms in the market. Clearly, the unique combination of open source licensing, aggressive go-to-market, and trendy interface is bearing fruit for Google’s Android team. Needless to say, the massive user uptake generated by Android has not gone unnoticed by handset manufacturers, mobile network operators, silicon manufacturers, and app developers. Products, apps, and devices “for,” “compatible with,” or “based on” Android seem to be coming out ever so fast. Beyond its mobile success, however, Android is also attracting the attention of yet another, unintended crowd: embedded systems developers. While a large number of embedded devices have little to no human interface, a substantial number of devices that would traditionally be considered “embedded” do have user interfaces. For a goodly number of modern machines, in addition to pure technical functionality, developers creating user-facing devices must also contend with human-computer interaction (HCI) factors. Therefore, designers must either present users with an experience they are already familiar with or risk alienating users by requiring them to learn a lesserknown or entirely new user experience. Before Android, the user interface choices available to the developers of such devices were fairly limited and limiting. Clearly, embedded developers prefer to offer users an interface they are already familiar with. Although that interface might have been window-based in the past—and hence a lot of embedded devices were based on classic window-centric, desktop-like, or desktopbased interfaces—Apple’s iOS and Google’s Android have forever democratized the use of touch-based, iPhone-like graphical interfaces. This shift in user paradigms and expectations, combined with Android’s open source licensing, have created a groundswell of interest about Android within the embedded world.
Android resource fraction refers to the ability to specify resource values as fractions or percentages of a parent resource. This is commonly used in Android development to create responsive layouts that adapt to different screen sizes and resolutions. For example, instead of specifying a fixed width or height for a view, you can use resource fractions to define the size relative to the parent container. This allows the view to scale proportionally when the container's size changes. To use resource fractions in Android, you can define them in XML resource files using the "fraction" unit. For instance, you can set the width of a view to half of the parent container by using a fraction value of "0.5". Here's an example of how you can use resource fractions in an XML layout file: ```xml <LinearLayout android:layout_width="match_parent" android:layout_height="match_parent" android:orientation="vertical"> <View android:layout_width="@fraction/0.5" android:layout_height="0dp" android:layout_weight="1" android:background="@color/red" /> <View android:layout_width="@fraction/0.5" android:layout_height="0dp" android:layout_weight="1" android:background="@color/blue" /> </LinearLayout> ``` In this example, two views are placed inside a LinearLayout with a vertical orientation. Both views have a width defined as half of the parent container, using the "@fraction/0.5" resource value. Using resource fractions can help create more flexible and responsive UI designs in Android applications.

“相关推荐”对你有帮助么?

  • 非常没帮助
  • 没帮助
  • 一般
  • 有帮助
  • 非常有帮助
提交
评论 1
添加红包

请填写红包祝福语或标题

红包个数最小为10个

红包金额最低5元

当前余额3.43前往充值 >
需支付:10.00
成就一亿技术人!
领取后你会自动成为博主和红包主的粉丝 规则
hope_wisdom
发出的红包
实付
使用余额支付
点击重新获取
扫码支付
钱包余额 0

抵扣说明:

1.余额是钱包充值的虚拟货币,按照1:1的比例进行支付金额的抵扣。
2.余额无法直接购买下载,可以购买VIP、付费专栏及课程。

余额充值