


数据的解析与封装在Android开发中是很长见得问题,今天就和大家共同学习一下Json(org.json)的简单应用;就以下面的字符串为实例:
{
"owner": "张三",
"statusCode": 1,
"policyId": "18510060885",
"seqNo": true,
"msg": false,
"status": 0
"insuranceInfo": {
"companyName": "李四",
"companyCode": 12345
"additional": [ { "insuranceCode": "2345", "selected": true, "options": [ { "value": "key", "value": "key" } ], "diffPrice": 567 } ],
"primary": [ {
"amount": 6656,
"insuranceCode": 4566,
"des": "babababa",
"selected": "555",
"buyRate": "45%",
"insuranceName": "王五",
"options": [ { "value": "value", "key": "key" } ] } ],
"totalPrice": { "businessPrice": 345, "exemptPrice": "977" },
},
}
首先建一个Activity项目,xml中包含两个Button按钮和一个TextView,Button1用来显示封装的字符串内容,Button2用来显示解析的内容,代码如下按照上面的层次关系依次进行封装:
JSONObject createJSONObject() {
    jsonObject = new JSONObject();
    try {
        jsonObject.put("status", 0);
        jsonObject.put("statusCode", 1);
        jsonObject.put("msg", false);
        jsonObject.put("seqNo", true);
        jsonObject.put("policyId", "18510060885");
        jsonObject.put("owner", "张三");

        JSONObject insuranceInfo = new JSONObject();
        insuranceInfo.put("companyCode", 12345);
        insuranceInfo.put("companyName", "李四");
        JSONObject totalPrice = new JSONObject();
        totalPrice.put("businessPrice", 345);
        totalPrice.put("exemptPrice", "977");
        insuranceInfo.put("totalPrice", totalPrice);

        JSONArray primary = new JSONArray();
        JSONObject js = new JSONObject();
        js.put("insuranceCode", 4566);
        js.put("amount", 6656);
        js.put("insuranceName", "王五");
        js.put("selected", "555");
        js.put("des", "babababa");
        js.put("buyRate", "45%");

        JSONArray options = new JSONArray();
        JSONObject json = new JSONObject();
        json.put("value", "key");
        json.put("value", "key");
        options.put(json);

        js.put("options", options);

        primary.put(js);
        insuranceInfo.put("primary", primary);

        JSONArray additional = new JSONArray();
        JSONObject addi = new JSONObject();
        addi.put("insuranceCode", "2345");
        addi.put("selected", true);
        addi.put("diffPrice", 567);
        JSONArray option = new JSONArray();
        JSONObject j = new JSONObject();
        j.put("value", "key");
        j.put("value", "key");
        option.put(j);
        addi.put("options", option);
        additional.put(addi);

        insuranceInfo.put("additional", additional);


        jsonObject.put("insuranceInfo", insuranceInfo);
    } catch (JSONException e) {
        e.printStackTrace();
    }
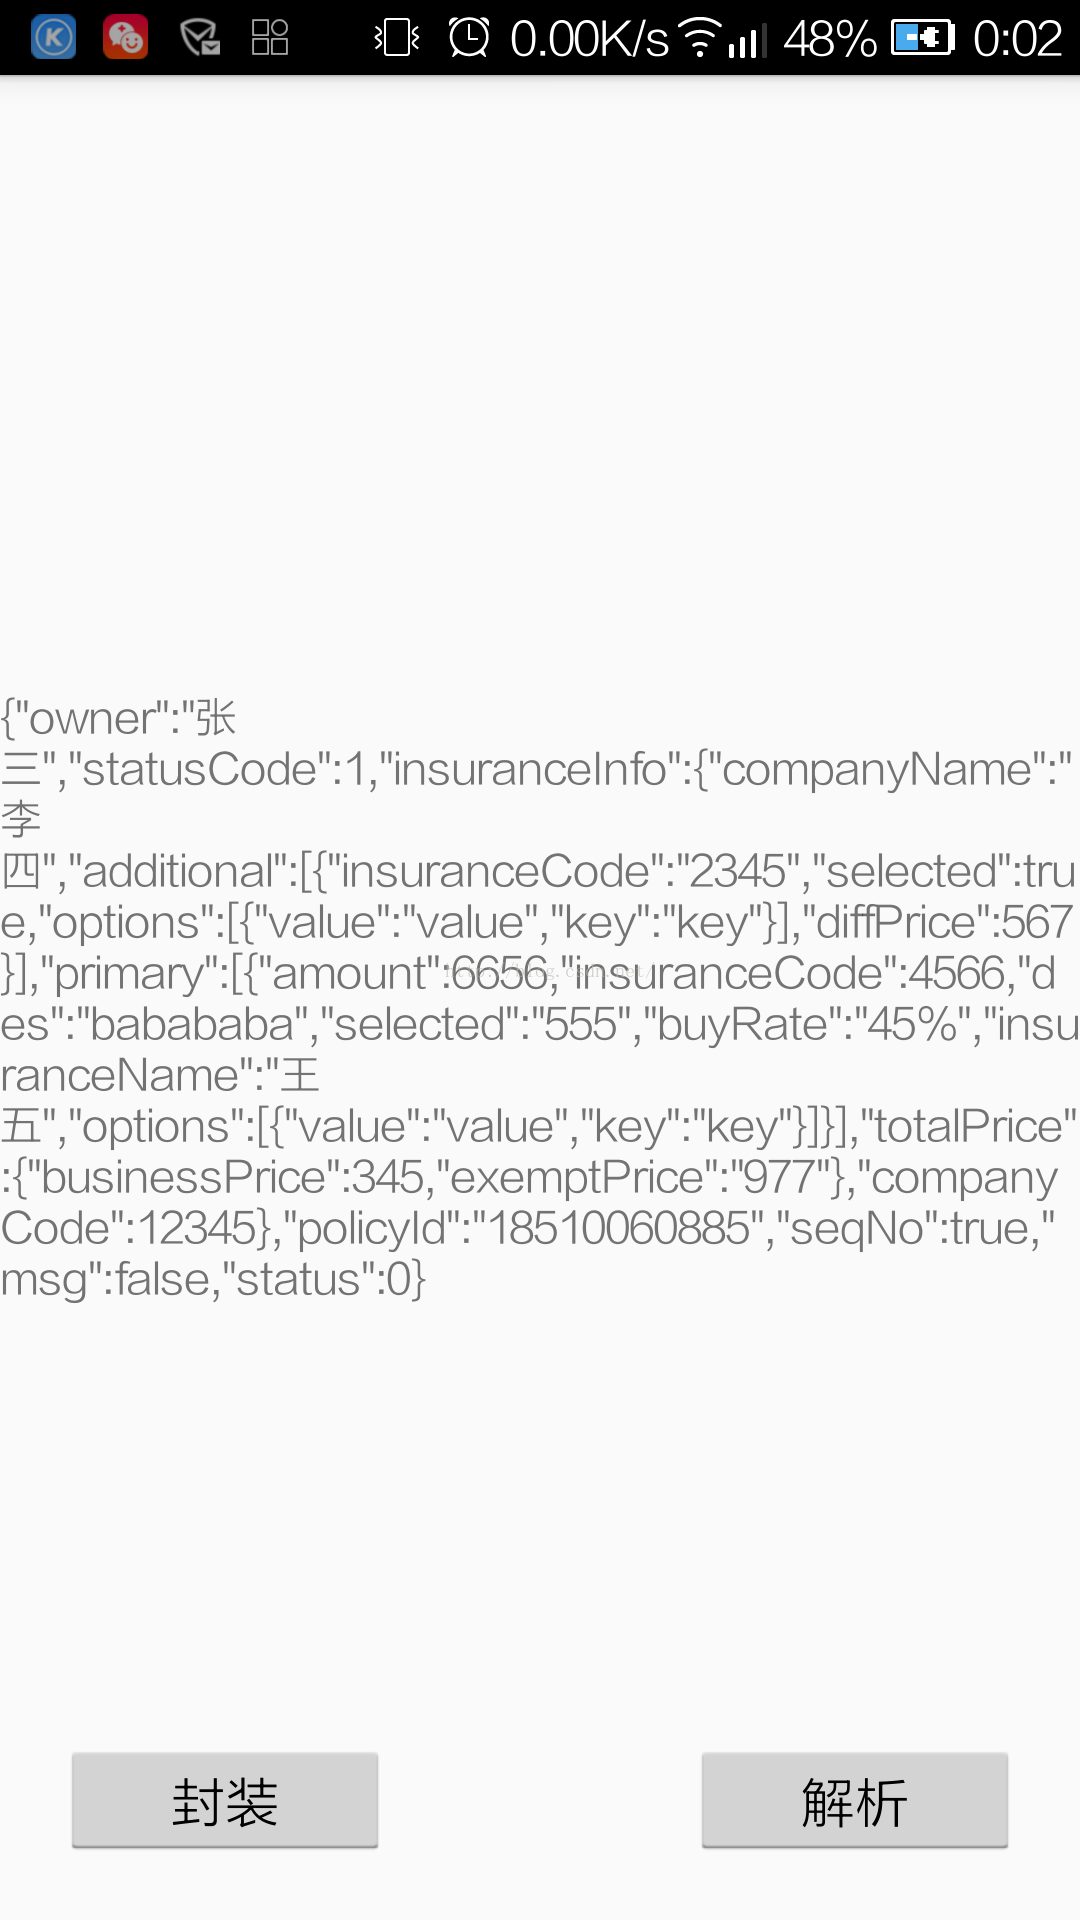
对于层级的嵌套先定义好外层的数据类型再逐一进行添加,最后通过toString()方法在TextView中展示出来如下图。
接下来再把刚才封装的东西解析出来:
这里解析后我只从外到内层取个别字段进行打印
private void jsonAnalysis(JSONObject jsonObject) {
    String string = jsonObject.toString();
    try {
        JSONObject jsonObjec = new JSONObject(string);
        final int status = (int) jsonObjec.opt("status");
        int statusCode = (int) jsonObjec.opt("statusCode");
        boolean msg = (boolean) jsonObjec.opt("msg");
        boolean seqNo = (boolean) jsonObjec.opt("seqNo");
        final String policyld = (String) jsonObjec.opt("policyId");
        String owner = (String) jsonObjec.opt("owner");

        JSONObject insuranceInfo = jsonObjec.optJSONObject("insuranceInfo");
        int companyCode = (int) insuranceInfo.opt("companyCode");
        String companyName = (String) insuranceInfo.opt("companyName");
        JSONObject totalPrice = insuranceInfo.optJSONObject("totalPrice");
        int businessPrice = (int) totalPrice.opt("businessPrice");
        String exemptPrice = (String) totalPrice.opt("exemptPrice");

        JSONArray primary = insuranceInfo.optJSONArray("primary");
        for (int i = 0; i < primary.length(); i++) {
            JSONObject json = primary.getJSONObject(i);
            final int insuranceCode = (int) json.opt("insuranceCode");
            final String insuranceName = (String) json.opt("insuranceName");
            JSONArray options = json.optJSONArray("options");
            for (int j = 0; j < options.length(); j++) {
                JSONObject jS = options.optJSONObject(i);
                String key = (String) jS.opt("key");
                final String value = (String) jS.opt("value");

                button2.setOnClickListener(new View.OnClickListener() {
                    @Override
                    public void onClick(View v) {
                        text.setText(status + "+" + policyld + "+" + insuranceCode + "+" + insuranceName + "+" + value);
                    }
                });
            }

        }


    } catch (JSONException e) {
        e.printStackTrace();
    }
这里需要注意一下,解析时可以使用 opt 与 get这两种形式, 不过一般还是选择opt方法,因为get方法如果其内容为空时会直接抛出异常。导致程序崩溃;


 304
304

 被折叠的 条评论
为什么被折叠?
被折叠的 条评论
为什么被折叠?
 到【灌水乐园】发言


