


 本文介绍了如何实现股票列表中标题栏与内容栏的联动效果,涉及HorizontalScrollView、ScrollView和ListView的使用。通过自定义SyncHorizontalScrollView控件,监听滑动变化,同步不同视图的滚动位置,实现精确联动。文章提供了布局文件和适配器的编写示例,并强调了在Activity中设置ListView高度的重要性。
Demo2
先说一下我在这个控件中遇到的坑,在Activity文件中重写的onCreate方法一定不要写错,是带一个参数的那个方法,
@Override
    public void onCreate(Bundle savedInstanceState) {
        super.onCreate(savedInstanceState);
 }
不是带两个参数的那个
@Override
    public void onCreate(Bundle savedInstanceState, PersistableBundle persistentState) {
        super.onCreate(savedInstanceState, persistentState);
 }
如果你把逻辑处理写在两个参数的那个方法,那个你运行起来总是显示空白的页面,我就是在这里费了不少时间,检查了代码都没错,就是没有显示效果,总是空白页。这里特别提醒,不要重复踩坑。
先上效果图,便于理解.
第一次出现的是空白页效果,第二次显示的是最后实现的效果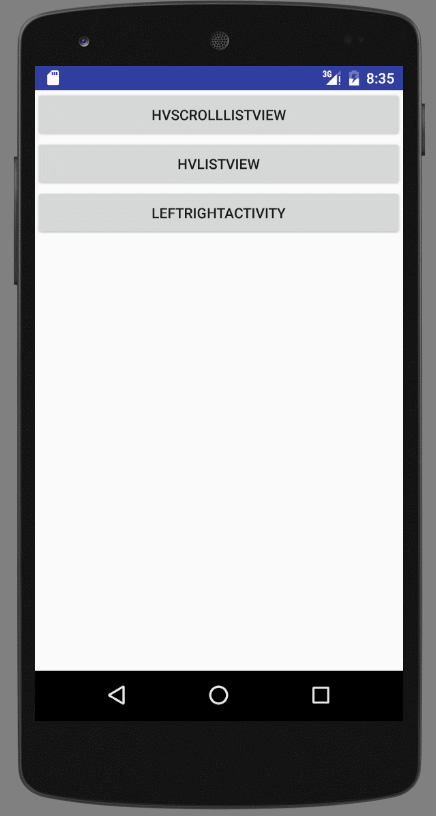
最后实现效果图

分析一下我们下面这个方法的主要思路,头部我们是先写一个TextView固定第一个不动的标题,右边的移动标题我们用控件HorizontalScrollView实现左右滑动的效果。下面的上下滚动,我们使用ScrollView控件来实现其上下滚动效果,因为左右的内容要根据内容来追加,所以,左右两侧我们都用一个ListView控件来显示数据,思路跟上面的标题也是一样的,左边不动的一行标题用一个ListView控件,右边要左右滑动的内容用一个ListView,要注意的是,最后ListView的高度我们要根据item的总数来设置一个高度,不然最后显示的就只有一条item。这里我们用了下面的这个方法来设置listView控件的高度。
public static void setListViewHeightBasedOnChildren(ListView listView) {
        ListAdapter listAdapter = listView.getAdapter();
        if (listAdapter == null) {
                return;
        }
        int totalHeight = 0;
        for (int i = 0, len = listAdapter.getCount(); i < len; i++) {
                View listItem = listAdapter.getView(i, null, listView);
                listItem.measure(0,0);
                totalHeight += listItem.getMeasuredHeight();
        }

        ViewGroup.LayoutParams params = listView.getLayoutParams();
        params.height = totalHeight + (listView.getDividerHeight() * (listAdapter.getCount() -

1));
        listView.setLayoutParams(params);
}
下面就是本例子中的难点了,也就是内容区的右边的左右滑动和上面的标题栏的右边的左右滑动tab要怎么同
步起来。所以我们重新自定义了HorizontalScrollView这个控件,主要是监听滑动变化。我们在onScrollChanged这个滚动监听方法中重写一个逻辑,因为用户一触摸屏幕滑动就会回调这个方法,所以我们只要把要跟这个控件一起滚动的View在这里关联起来就可以了,也就是我们左右滚动多少,那么要同步的那个View也同样的滚动多少。这样,两个控件的滚动效果就同步起来了。所以,首先我们先自定义SyncHorizontalScrollView 这个类。
一、新建一个类SyncHorizontalScrollView,这个类的主要作用是把控件联动起来
import android.content.Context;
import android.util.AttributeSet;
import android.view.View;
import android.widget.HorizontalScrollView;

/**
 * 设置水平滚动控件和要联动的控件建立联动
 * Created by willkong on 2016/11/16.
 */

public class SyncHorizontalScrollView extends HorizontalScrollView{

    private View mView;

    public SyncHorizontalScrollView(Context context) {
        this(context,null);
    }

    public SyncHorizontalScrollView(Context context, AttributeSet attrs) {
        this(context, attrs,0);
    }

    public SyncHorizontalScrollView(Context context, AttributeSet attrs, int defStyleAttr) {
        super(context, attrs, defStyleAttr);
    }

    @Override
    protected void onScrollChanged(int l, int t, int oldl, int oldt) {
        super.onScrollChanged(l, t, oldl, oldt);
        //设置控件滚动监听,得到滚动的距离,然后让传进来的view也设置相同的滚动具体
        if(mView!=null) {
            mView.scrollTo(l, t);
        }
    }

    /**
     * 设置跟它联动的view
     * @param view
     */
    public void setScrollView(View view) {
        mView = view;
    }
}
二、上面的这个类完成了,那么下面的应用就简单了,新建一个LeftRightActivity类,在该类的布局文件中
先编写一个标题栏,左侧是一个固定的一项,右侧是左右滚动的标题栏tab容器,右边的这个tab内容要跟下面的内容建立联动,所以我们就用自定义好的SyncHorizontalScrollView 控件类。下面内容区就用ScrollView把内容包起来,实现其上下滚动效果,右边的固定栏,我们用一个listView来做容器,右边的内容用一个listView来显示内容,因为要跟上面的标题栏建立联动,所以外面再包SyncHorizontalScrollView 控件。
activity_left_right.xml整体代码
<?xml version="1.0" encoding="utf-8"?>
<LinearLayout xmlns:android="http://schemas.android.com/apk/res/android"
    android:layout_width="match_parent"
    android:layout_height="match_parent"
    android:orientation="vertical" >

    <!-- 此部分是标题部分 -->

    <LinearLayout
        android:layout_width="match_parent"
        android:layout_height="wrap_content"
        android:orientation="horizontal" >

        <!-- 左侧标题的父容器 -->

        <LinearLayout
            android:id="@+id/left_title_container"
            android:layout_width="match_parent"
            android:layout_height="wrap_content"
            android:layout_weight="3"
            android:orientation="vertical" >

            <include layout="@layout/layout_left_title" />
        </LinearLayout>

        <!-- 右侧标题的父容器可实现水平滚动 -->

        <com.hvscorlllistviewdemo.leftrightdemo.SyncHorizontalScrollView
            android:id="@+id/title_horsv"
            android:layout_width="match_parent"
            android:layout_height="wrap_content"
            android:layout_weight="1"
            android:scrollbars="none">

            <LinearLayout
                android:id="@+id/right_title_container"
                android:layout_width="match_parent"
                android:layout_height="wrap_content"
                android:orientation="horizontal" >

                <include layout="@layout/layout_right_tab" />
            </LinearLayout>
        </com.hvscorlllistviewdemo.leftrightdemo.SyncHorizontalScrollView>
    </LinearLayout>

    <!-- 此部分是内容部分 用ScrollView实现上下滚动效果 -->

    <ScrollView
        android:layout_width="match_parent"
        android:layout_height="wrap_content" >

        <LinearLayout
            android:layout_width="match_parent"
            android:layout_height="match_parent" >

            <!-- 左侧内容的父容器 -->

            <LinearLayout
</
最低0.47元/天 解锁文章


 2367
2367

 被折叠的 条评论
为什么被折叠?
被折叠的 条评论
为什么被折叠?
 到【灌水乐园】发言


