


目标:
1)配置Flutter开发环境
2)创建第一个Flutter Demo项目
Flutter中文开发者网站:
https://flutter.cn/
一、配置Flutter开发环境
Flutter开发环境已经提供集成IDE开发环境,因此需要配置开发环境的时候,可以借助IDE。
1.1 下载flutterSDK
1.1.1 下载flutterSDK
可以使用git同步下载flutter SDK
git clone https://github.com/flutter/flutter.git1.1.2 添加配置环境
配置flutter的环境变量
# Flutter
export PUB_HOSTED_URL=https://pub.flutter-io.cn
export FLUTTER_STORAGE_BASE_URL=https://storage.flutter-io.cn
export FLUTTER_HOME=/Users/$(whoami)/IDES/flutter

export PATH=/opt/local/bin:$GRADLE_HOME/bin:$JAVA_HOME/bin:$FLUTTER_HOME/bin:$NDK_HOME:$NDK_HOME/build:$ANDROID_HOME/tools:$ANDROID_HOME/tools/bin:$ANDROID_HOME/platform-tools:$PATH:
执行 flutter devices查看flutter的安装是否成功。
appledeMacBook-Pro:etc zhouronghua$ flutter devices

┌─────────────────────────────────────────────────────────┐
│ A new version of Flutter is available!                  │
│                                                         │
│ To update to the latest version, run "flutter upgrade". │
└─────────────────────────────────────────────────────────┘
1 connected device:

Chrome (web) • chrome • web-javascript • Google Chrome 122.0.6261.94
1.1.3 IDE集成Flutter
Android Studio安装Flutter相关插件,主要有:Dart(Flutter指定编程语言)、Flutter.dev插件。

安装成功重启,重启后,Projects-->New Flutter Project
出现Flutter项目菜单。

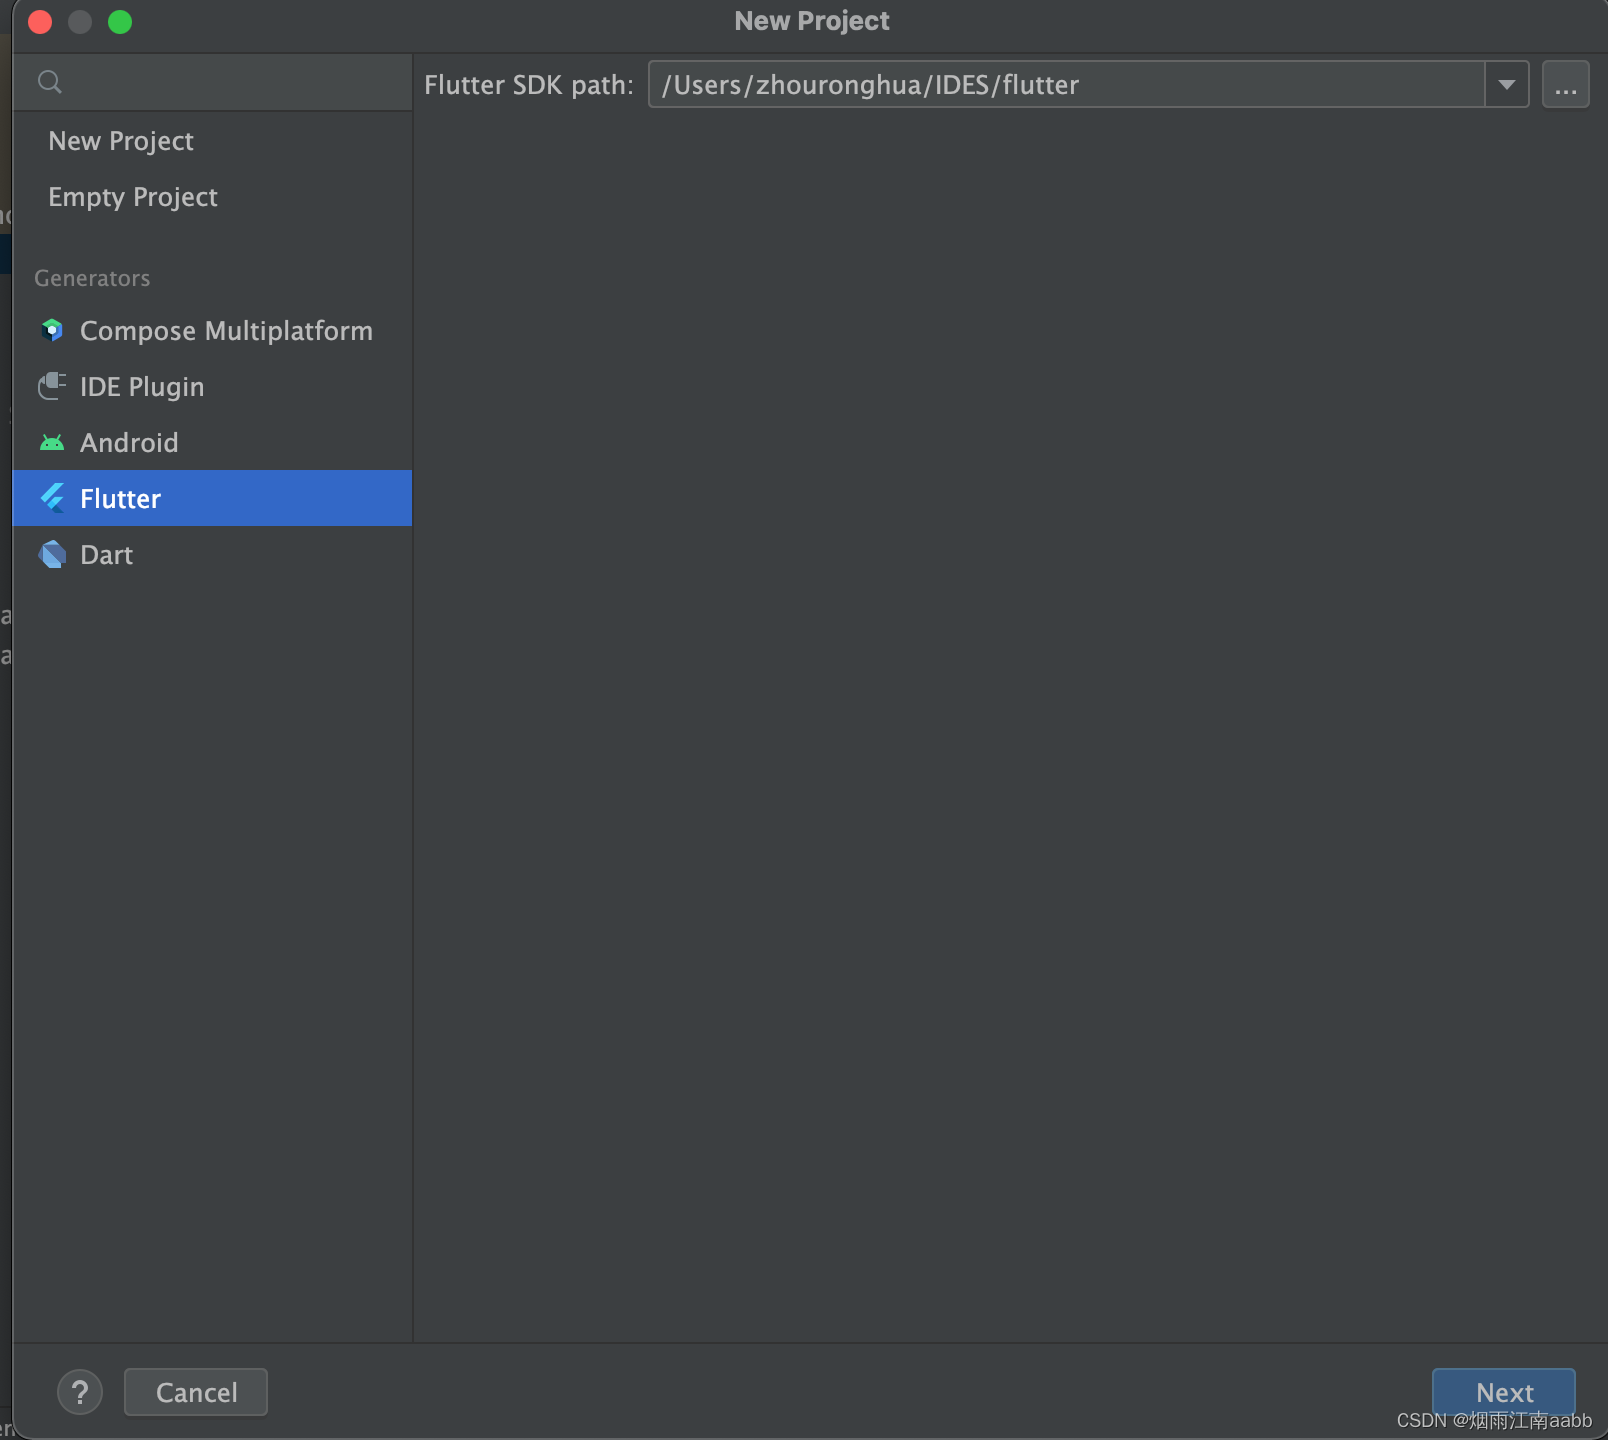
二、创建第一个Flutter项目
2.1 创建第一个Flutter项目
创建Flutter项目,选择Flutter菜单。
New Project->Flutter-->Next
然后点击 Next,创建一个Flutter项目
 点击创建的时候,会弹出提示,模块名不正确,需要采用dart的命名方式,小写+下划线。

修改项目名为小写+下划线,创建项目。
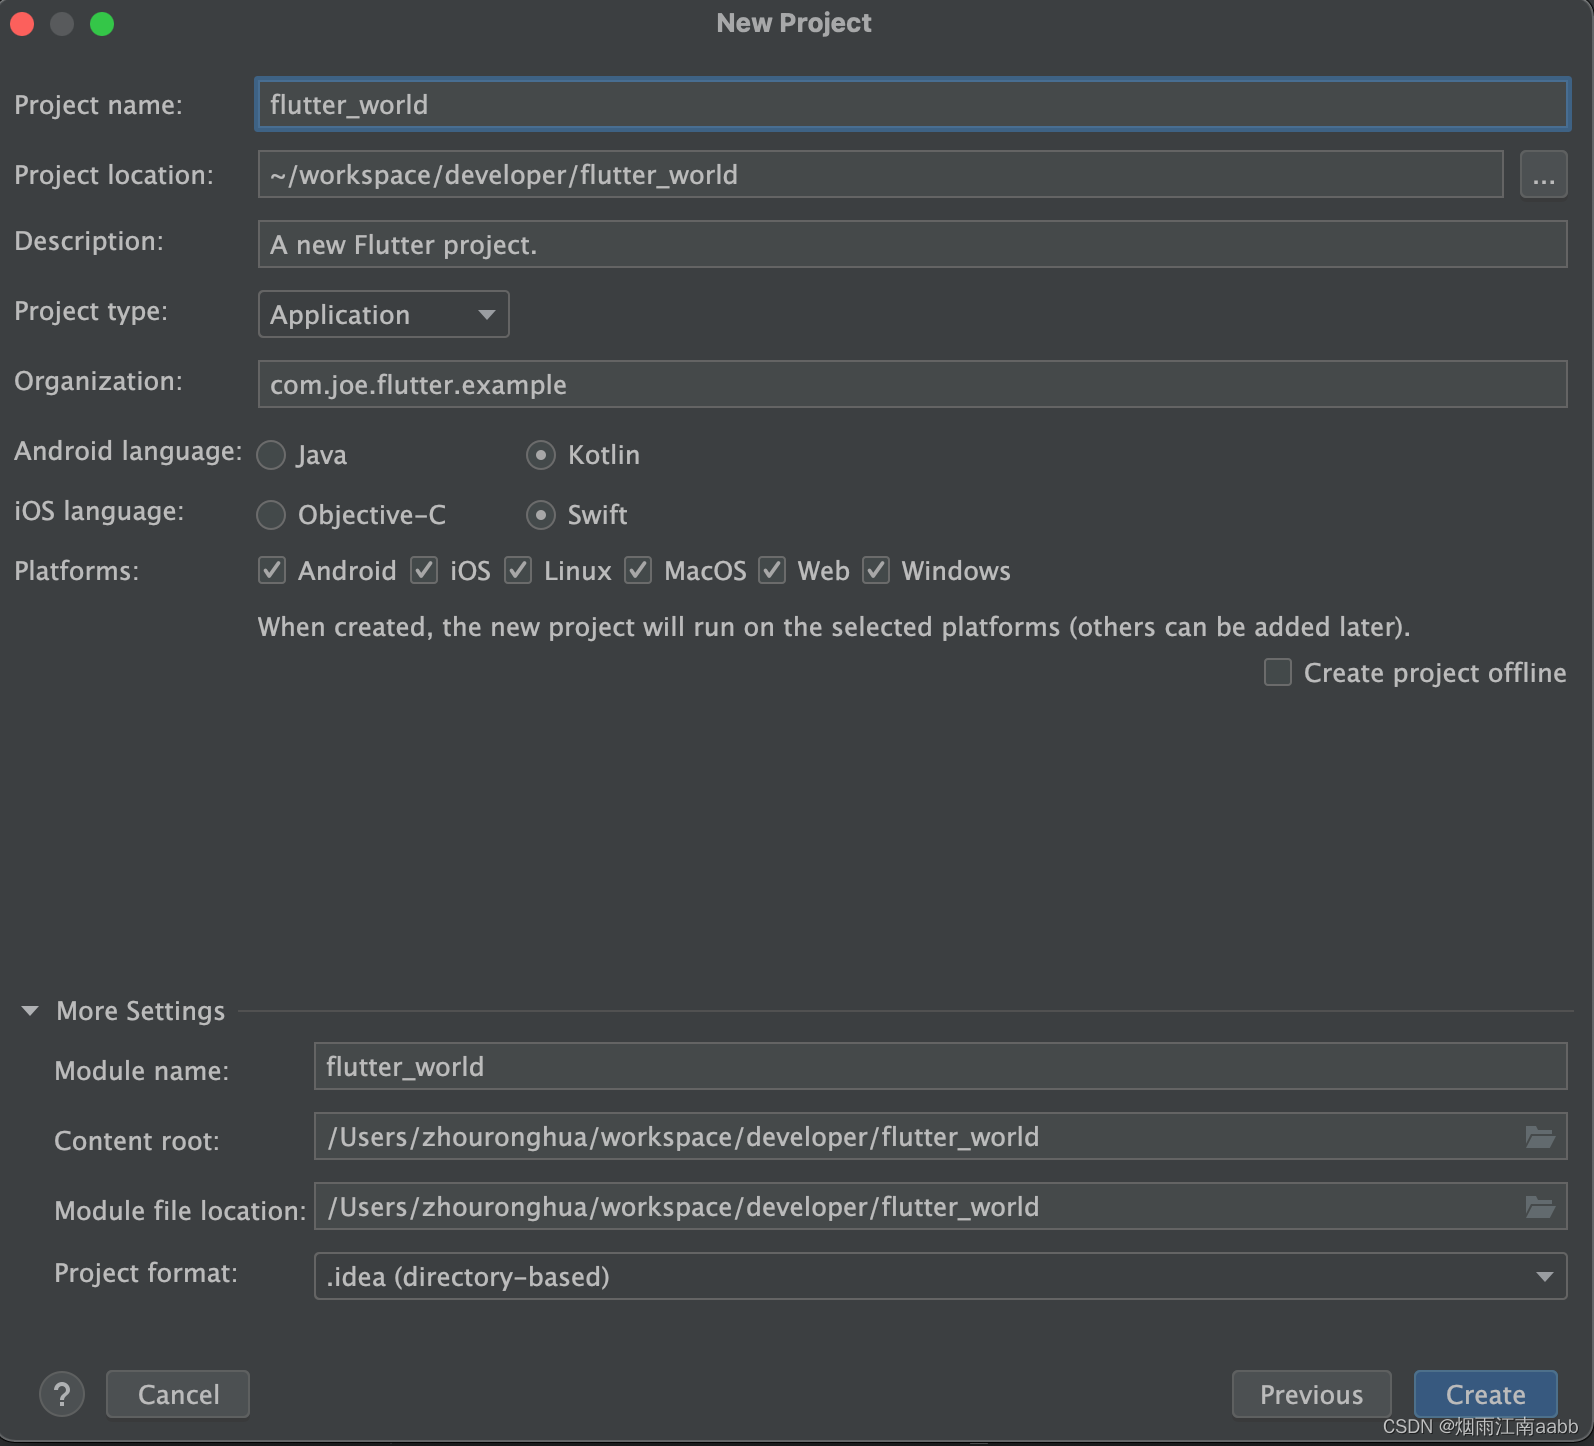 创建项目成功,IDE会自动初始化项目信息。

2.2 项目结构分析
|-.dart_tool dart依赖配置
|-.idea IDEA ItellJ配置
|-android[flutter_world_android] 安卓平台端
|-ios IOS平台端
|-windows Windows平台端
|-lib 跨平台库
|-web 资源
|-test 测试程序
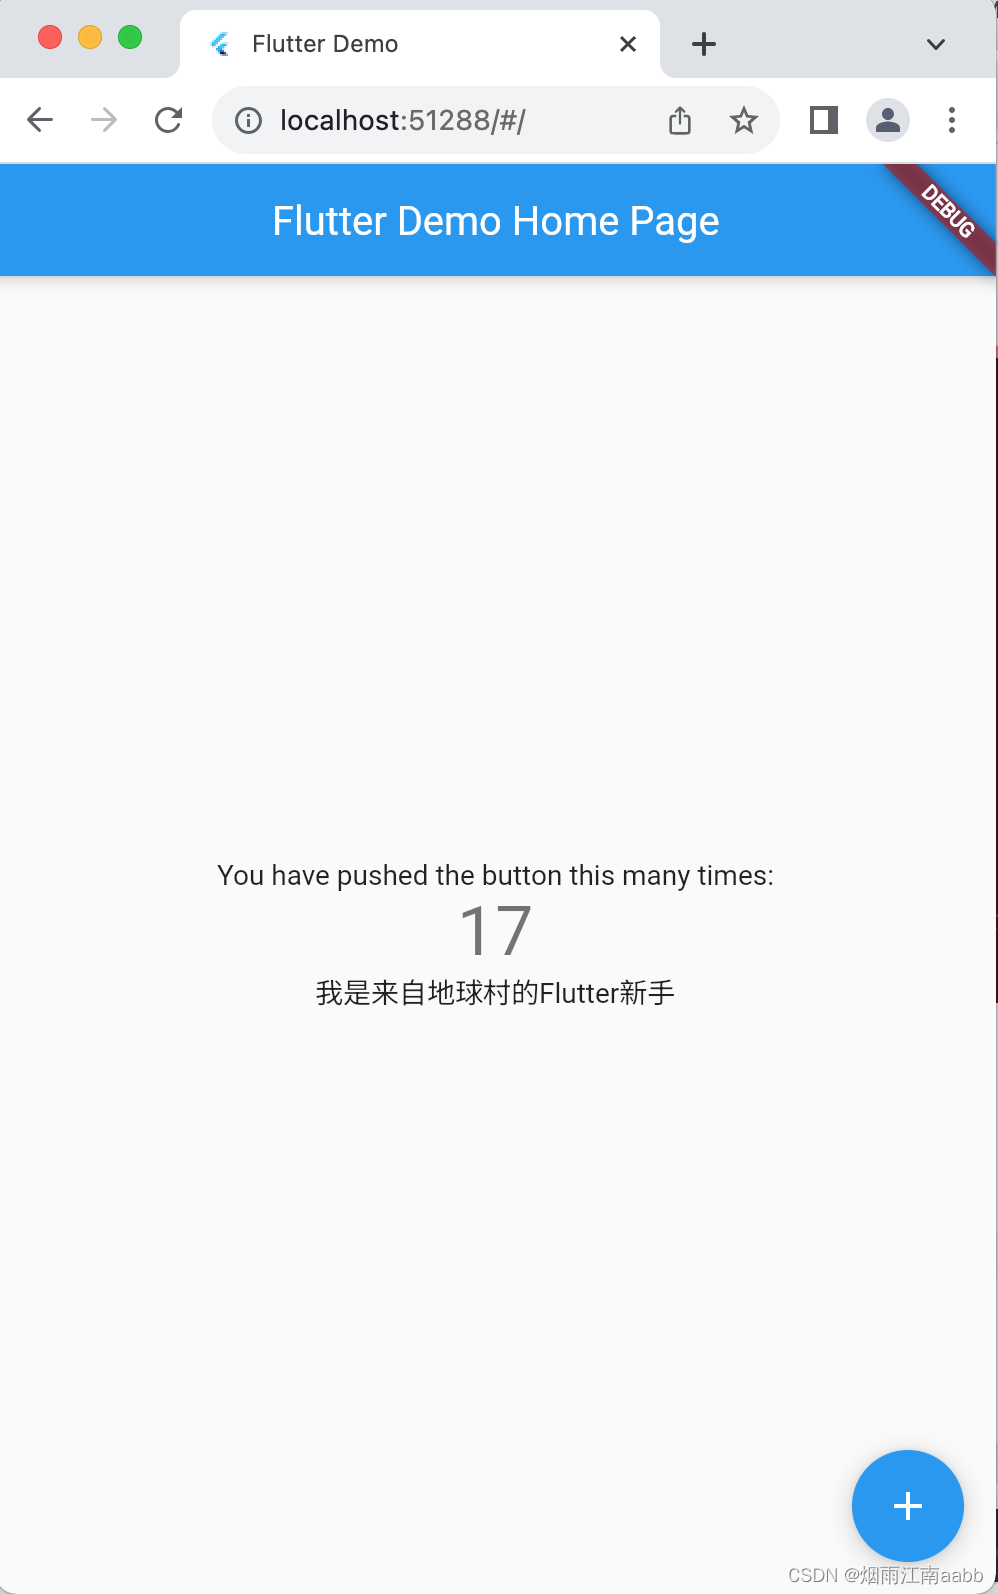
2.3 运行项目

选择一个平台设备,然后点击运行,开始将项目安装到指定平台。

在页面中添加一个Text,
@override
  Widget build(BuildContext context) {
    // This method is rerun every time setState is called, for instance as done
    // by the _incrementCounter method above.
    //
    // The Flutter framework has been optimized to make rerunning build methods
    // fast, so that you can just rebuild anything that needs updating rather
    // than having to individually change instances of widgets.
    return Scaffold(
      appBar: AppBar(
        // Here we take the value from the MyHomePage object that was created by
        // the App.build method, and use it to set our appbar title.
        title: Text(widget.title),
      ),
      body: Center(
        // Center is a layout widget. It takes a single child and positions it
        // in the middle of the parent.
        child: Column(
          // Column is also a layout widget. It takes a list of children and
          // arranges them vertically. By default, it sizes itself to fit its
          // children horizontally, and tries to be as tall as its parent.
          //
          // Invoke "debug painting" (press "p" in the console, choose the
          // "Toggle Debug Paint" action from the Flutter Inspector in Android
          // Studio, or the "Toggle Debug Paint" command in Visual Studio Code)
          // to see the wireframe for each widget.
          //
          // Column has various properties to control how it sizes itself and
          // how it positions its children. Here we use mainAxisAlignment to
          // center the children vertically; the main axis here is the vertical
          // axis because Columns are vertical (the cross axis would be
          // horizontal).
          mainAxisAlignment: MainAxisAlignment.center,
          children: <Widget>[
            const Text(
              'You have pushed the button this many times:',
            ),
            Text(
              '$_counter',
              style: Theme.of(context).textTheme.headline4,
            ),
            // 新增一个自定义的Text
            Text(
              "我是来自地球村的Flutter新手"
            )
          ],
        ),
      ),
      floatingActionButton: FloatingActionButton(
        onPressed: _incrementCounter,
        tooltip: 'Increment',
        child: const Icon(Icons.add),
      ), // This trailing comma makes auto-formatting nicer for build methods.
    );
重新运行后,显示新的页面


 660
660


 被折叠的 条评论
为什么被折叠?
被折叠的 条评论
为什么被折叠?
 到【灌水乐园】发言


