创作不易,觉得博主文章对您有帮助,求求各位道友点个关注+收藏+点赞,鼓励一下我,非常非常感谢!您的鼓励是我最大的动力,我也会将更多技术文章毫无保留的跟大家分享,希望大家能一起进步!
目录
2.下载 dolphinscheduler 二进制包 (以 3.2.0 为例)
4. 创建 dolphinscheduler 部署用户并设置免密登录
5.2上传 oracle 驱动连接包(oracle 19c)
7.修改 dolphinscheduler_env.sh 配置文件
11. 其他(此步骤之后,根据个人需求来部署,不需要则忽略)
11.2.4 将dataX配置到 dolphinscheduler 中
一、部署前置条件说明
官方文档:
https://dolphinscheduler.apache.org/zh-cn/docs/3.2.0
相关资料
部署指南 - 伪集群部署(Pseudo-Cluster) - 《Apache DolphinScheduler v3.1.0 使用手册》 - 书栈网 · BookStack
1.技术版本
centos7、 jdk-8u202、MySQL8.0.36、zookeeper-3.8.0、dolphinscheduler-3.2.0
2.前置网络条件
MasterServer 组件 默认端口 5678 非通信端口,只需本机端口不冲突即可
WorkerServer 组件 默认端口 1234 非通信端口,只需本机端口不冲突即可
ApiApplicationServer 组件 默认端口 12345 提供后端通信端口
3.关闭防火墙
# 查看防火墙状态
systemctl status firewalld

# 关闭防火墙
systemctl stop firewalld

# 关闭防火墙自启
systemctl disable firewalld
二、安装JDK8
三、安装MySQL
注意:安装好MySQL后需要启动好MySQL服务!!!
四、安装zookeeper
注意:安装好zookeeper后需要启动好zookeeper!!!
五、离线安装部署dolphinscheduler
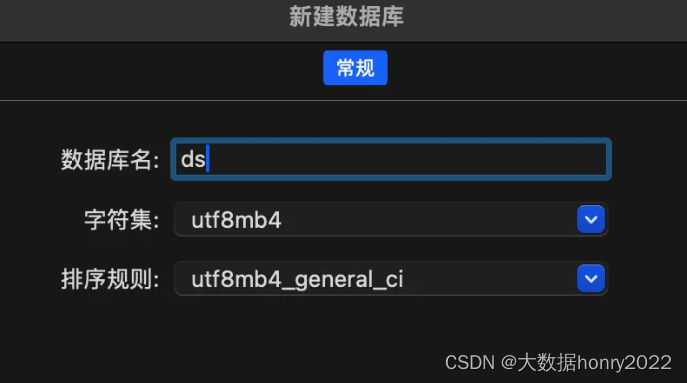
1.在MySQL中创建一个ds库
MySQL安装好后创建一个ds库,该ds数据库作为 dolphinscheduler 的数据库
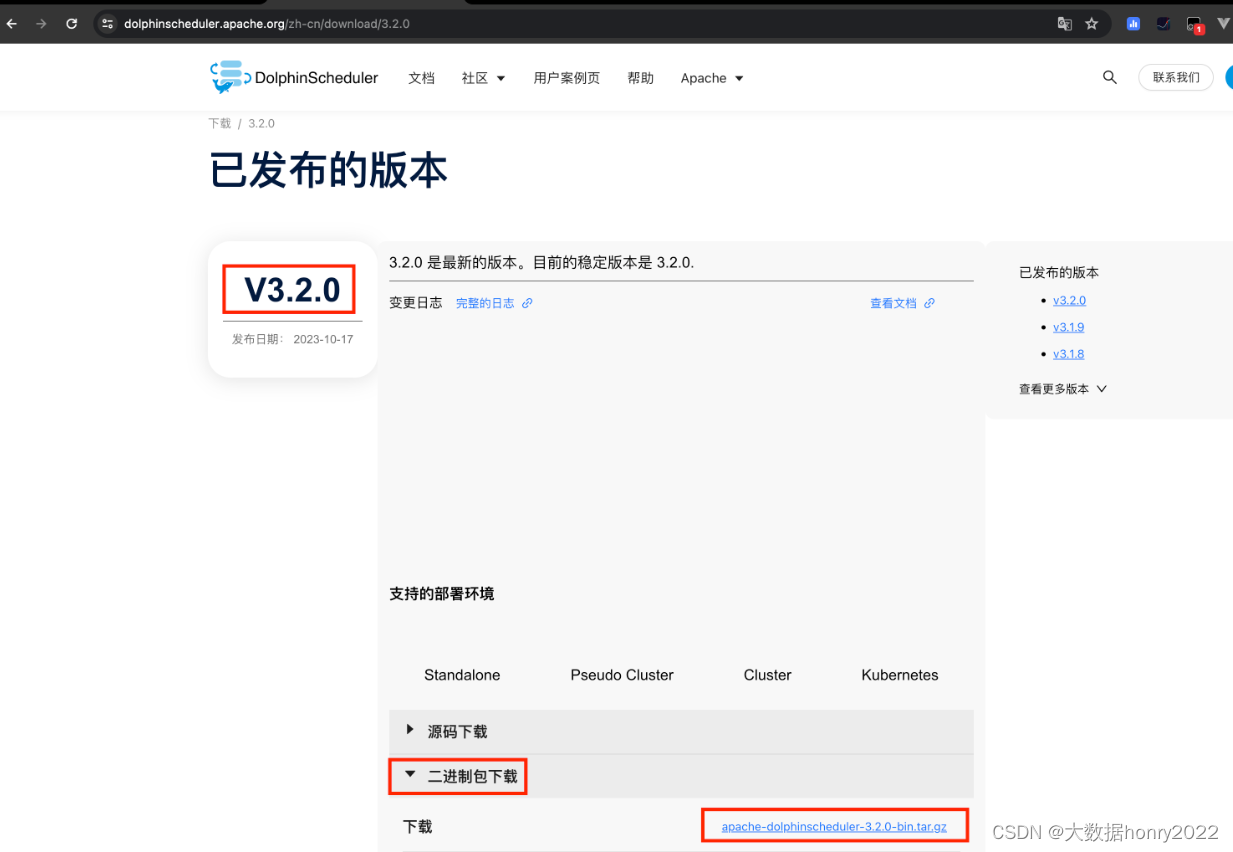
2.下载 dolphinscheduler 二进制包 (以 3.2.0 为例)
下载地址:https://dolphinscheduler.apache.org/zh-cn/download/3.2.0
注意:是二进制包,不是源码!!!
3. 解压dolphinscheduler二进制包并改名
将dolphin的二进制包解压到/opt/soft目录下,也可以根据自己实际情况放到自己对应目录下。
# 解压 dolphinscheduler
tar -zxvf apache-dolphinscheduler-3.2.0-bin.tar.gz
# 改名
mv apache-dolphinscheduler-3.2.0-bin dolphinscheduler
4. 创建 dolphinscheduler 部署用户并设置免密登录
创建dolphinscheduler用户是为了后续执行 某个 sh 脚本文件时不用频繁输入密码
4.1创建用户设置权限
# 创建用户需使用 root 登录
useradd dolphinscheduler
# 添加密码
echo "dolphinscheduler" | passwd --stdin dolphinscheduler
# 配置 sudo 免密
sed -i '$adolphinscheduler  ALL=(ALL)  NOPASSWD: NOPASSWD: ALL' /etc/sudoers
sed -i 's/Defaults    requirett/#Defaults    requirett/g' /etc/sudoers
# 修改目录权限,使得部署用户对二进制包解压后的 目录有操作权限
chown -R dolphinscheduler:dolphinscheduler zookeeper
chown -R dolphinscheduler:dolphinscheduler dolphinscheduler
注意:
- 因为任务执行服务是以 sudo -u {linux-user} 切换不同 linux 用户的方式来实现多租户运行作业,所以部署用户需要有 sudo 权限,而且是免密的。初学习者不理解的话,完全可以暂时忽略这一点
- 如果发现 /etc/sudoers 文件中有 “Defaults requirett” 这行,也请注释掉
4.2设置ssh免密登录
su dolphinscheduler
ssh-keygen -t rsa -P '' -f ~/.ssh/id_rsa
cat ~/.ssh/id_rsa.pub >> ~/.ssh/authorized_keys
chmod 600 ~/.ssh/authorized_keys注意:配置完成后,可以通过运行命令 ssh localhost 判断是否成功,如果不需要输入密码就能ssh登陆则证明成功

5.上传dolphin需要用到的驱动
5.1上传MySQL驱动
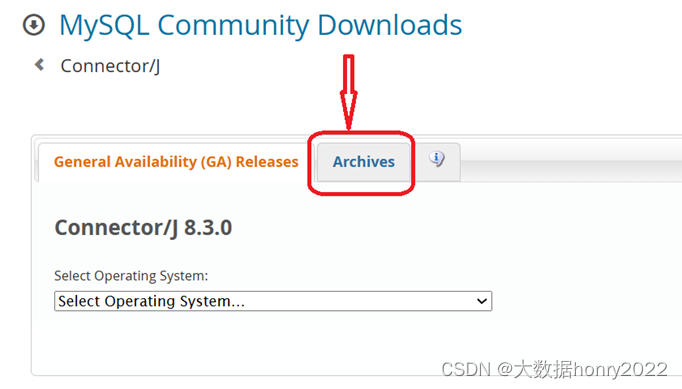
上传 mysql 驱动连接包和clijar包(目前使用的mysql是8版本,cli 使用的是 1.6.0版本)
说明:如果dolphin要用到MySQL,则需要用到对应的MySQL连接驱动,需要将驱动放到dolphin的五个组件的libs目录下,如果要用到Oracle也是同样的道理,也要将对应的驱动放到dolphin的五个组件的libs目录下。
驱动连接包下载地址:MySQL :: Download Connector/J

clijar包下载地址:https://mvnrepository.com/artifact/commons-cli/commons-cli/1.6.0

需要将下载的 jar 包上传到5个目录下
/opt/soft/dolphinscheduler/alert-server/libs/
/opt/soft/dolphinscheduler/api-server/libs/
/opt/soft/dolphinscheduler/master-server/libs/
/opt/soft/dolphinscheduler/worker-server/libs/
/opt/soft/dolphinscheduler/tools/libs/
# 1. 将下载的 jar 包上传到 /opt/soft 目录下

# 2. 进入 /opt/soft 目录下
cd /opt/soft

# 3.将其复制到dolphin的这5个libs目录下
cp mysql-connector-java-8.0.30.jar commons-cli-1.6.0.jar dolphinscheduler/alert-server/libs/

cp mysql-connector-java-8.0.30.jar commons-cli-1.6.0.jar dolphinscheduler/api-server/libs/

cp mysql-connector-java-8.0.30.jar commons-cli-1.6.0.jar dolphinscheduler/master-server/libs/

cp mysql-connector-java-8.0.30.jar commons-cli-1.6.0.jar dolphinscheduler/worker-server/libs/

cp mysql-connector-java-8.0.30.jar commons-cli-1.6.0.jar dolphinscheduler/tools/libs/
5.2上传 oracle 驱动连接包(oracle 19c)
oracle驱动包下载地址:JDBC and UCP Downloads page
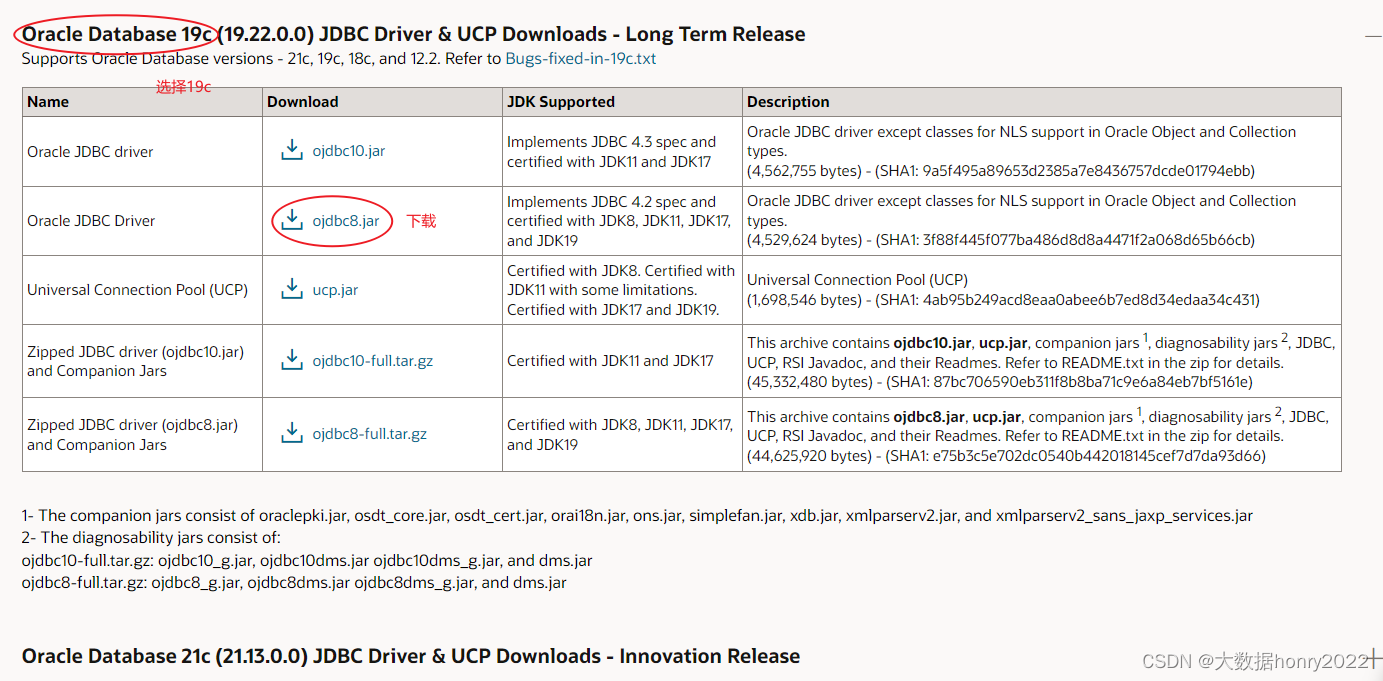
需要将下载的 jar 包上传到5个目录下
/opt/soft/dolphinscheduler/alert-server/libs/
/opt/soft/dolphinscheduler/api-server/libs/
/opt/soft/dolphinscheduler/master-server/libs/
/opt/soft/dolphinscheduler/worker-server/libs/
/opt/soft/dolphinscheduler/tools/libs/
# 1. 将 下载的 jar 包上传到 /opt/soft 目录下

# 2. 进入 /opt/soft 目录下
cd /opt/soft

# 3. 将其复制到 5个 目录下
cp ojdbc8.jar dolphinscheduler/alert-server/libs/
cp ojdbc8.jar dolphinscheduler/api-server/libs/
cp ojdbc8.jar dolphinscheduler/master-server/libs/
cp ojdbc8.jar dolphinscheduler/worker-server/libs/
cp ojdbc8.jar dolphinscheduler/tools/libs/
6.修改 install_env.sh 配置文件
执行vim命令编辑 install_env.sh 文件
vim /opt/soft/dolphinscheduler/bin/env/install_env.sh将其内容修改如下:
#
# Licensed to the Apache Software Foundation (ASF) under one or more
# contributor license agreements.  See the NOTICE file distributed with
# this work for additional information regarding copyright ownership.
# The ASF licenses this file to You under the Apache License, Version 2.0
# (the "License"); you may not use this file except in compliance with
# the License.  You may obtain a copy of the License at
#
#     http://www.apache.org/licenses/LICENSE-2.0
#
# Unless required by applicable law or agreed to in writing, software
# distributed under the License is distributed on an "AS IS" BASIS,
# WITHOUT WARRANTIES OR CONDITIONS OF ANY KIND, either express or implied.
# See the License for the specific language governing permissions and
# limitations under the License.
#

# ---------------------------------------------------------
# INSTALL MACHINE
# ---------------------------------------------------------
# A comma separated list of machine hostname or IP would be installed DolphinScheduler,
# including master, worker, api, alert. If you want to deploy in pseudo-distributed
# mode, just write a pseudo-distributed hostname
# Example for hostnames: ips="ds1,ds2,ds3,ds4,ds5", Example for IPs: ips="192.168.8.1,192.168.8.2,192.168.8.3,192.168.8.4,192.168.8.5"
ips=${ips:-"localhost"}

# Port of SSH protocol, default value is 22. For now we only support same port in all `ips` machine
# modify it if you use different ssh port
sshPort=${sshPort:-"22"}

# A comma separated list of machine hostname or IP would be installed Master server, it
# must be a subset of configuration `ips`.
# Example for hostnames: masters="ds1,ds2", Example for IPs: masters="192.168.8.1,192.168.8.2"
masters=${masters:-"localhost"}

# A comma separated list of machine <hostname>:<workerGroup> or <IP>:<workerGroup>.All hostname or IP must be a
# subset of configuration `ips`, And workerGroup have default value as `default`, but we recommend you declare behind the hosts
# Example for hostnames: workers="ds1:default,ds2:default,ds3:default", Example for IPs: workers="192.168.8.1:default,192.168.8.2:default,192.168.8.3:default"
workers=${workers:-"localhost:default"}

# A comma separated list of machine hostname or IP would be installed Alert server, it
# must be a subset of configuration `ips`.
# Example for hostname: alertServer="ds3", Example for IP: alertServer="192.168.8.3"
alertServer=${alertServer:-"localhost"}

# A comma separated list of machine hostname or IP would be installed API server, it
# must be a subset of configuration `ips`.
# Example for hostname: apiServers="ds1", Example for IP: apiServers="192.168.8.1"
apiServers=${apiServers:-"localhost"}

# The directory to install DolphinScheduler for all machine we config above. It will automatically be created by `install.sh` script if not exists.
# Do not set this configuration same as the current path (pwd). Do not add quotes to it if you using related path.
installPath=${installPath:-"/home/dolphinscheduler/tmp/dolphinscheduler"}

# The user to deploy DolphinScheduler for all machine we config above. For now user must create by yourself before running `install.sh`
# script. The user needs to have sudo privileges and permissions to operate hdfs. If hdfs is enabled than the root directory needs
# to be created by this user
deployUser=${deployUser:-"dolphinscheduler"}

# The root of zookeeper, for now DolphinScheduler default registry server is zookeeper.
# It will delete ${zkRoot} in the zookeeper when you run install.sh, so please keep it same as registry.zookeeper.namespace in yml files.
# Similarly, if you want to modify the value, please modify registry.zookeeper.namespace in yml files as well.
zkRoot=${zkRoot:-"/dolphinscheduler"}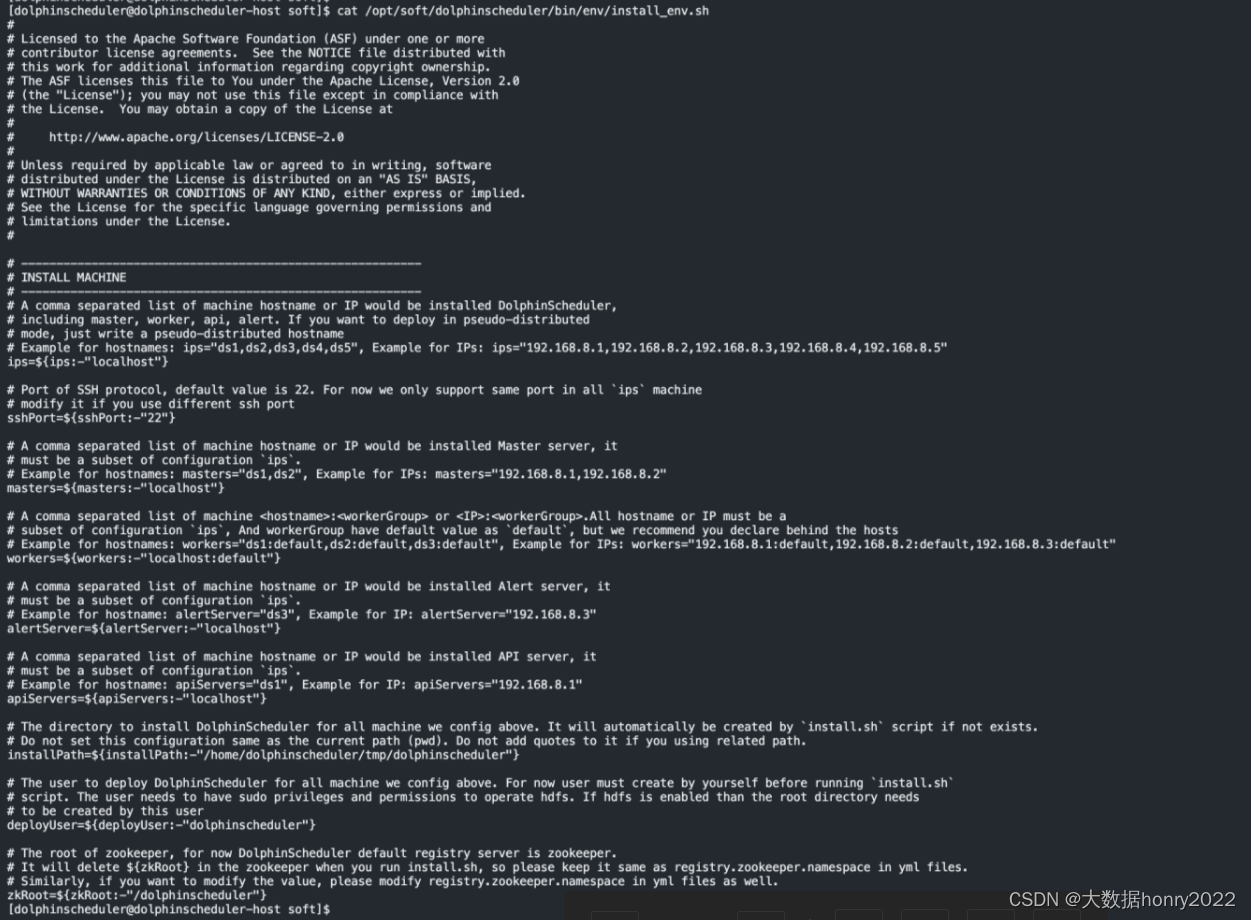
7.修改 dolphinscheduler_env.sh 配置文件
vim编辑 dolphinscheduler_env.sh 文件
vim /opt/soft/dolphinscheduler/bin/env/dolphinscheduler_env.sh将其内容修改如下
#
# Licensed to the Apache Software Foundation (ASF) under one or more
# contributor license agreements.  See the NOTICE file distributed with
# this work for additional information regarding copyright ownership.
# The ASF licenses this file to You under the Apache License, Version 2.0
# (the "License"); you may not use this file except in compliance with
# the License.  You may obtain a copy of the License at
#
#     http://www.apache.org/licenses/LICENSE-2.0
#
# Unless required by applicable law or agreed to in writing, software
# distributed under the License is distributed on an "AS IS" BASIS,
# WITHOUT WARRANTIES OR CONDITIONS OF ANY KIND, either express or implied.
# See the License for the specific language governing permissions and
# limitations under the License.
#


# Never put sensitive config such as database password here in your production environment,
# this file will be sourced everytime a new task is executed.

# applicationId auto collection related configuration, the following configurations are unnecessary if setting appId.collect=log
#export HADOOP_CLASSPATH=`hadoop classpath`:${DOLPHINSCHEDULER_HOME}/tools/libs/*
#export SPARK_DIST_CLASSPATH=$HADOOP_CLASSPATH:$SPARK_DIST_CLASS_PATH
#export HADOOP_CLIENT_OPTS="-javaagent:${DOLPHINSCHEDULER_HOME}/tools/libs/aspectjweaver-1.9.7.jar":$HADOOP_CLIENT_OPTS
#export SPARK_SUBMIT_OPTS="-javaagent:${DOLPHINSCHEDULER_HOME}/tools/libs/aspectjweaver-1.9.7.jar":$SPARK_SUBMIT_OPTS
#export FLINK_ENV_JAVA_OPTS="-javaagent:${DOLPHINSCHEDULER_HOME}/tools/libs/aspectjweaver-1.9.7.jar":$FLINK_ENV_JAVA_OPTS


# jdk
export JAVA_HOME=${JAVA_HOME:-/usr/lib/jvm/java-1.8.0-openjdk-1.8.0.392.b08-2.el7_9.x86_64/}
# 数据库
export DATABASE=${DATABASE:-mysql}
export SPRING_PROFILES_ACTIVE=${DATABASE}
export SPRING_DATASOURCE_URL="jdbc:mysql://localhost:3306/ds?useUnicode=true&characterEncoding=UTF-8&useSSL=false&serverTimezone=GMT%2B8&allowPublicKeyRetrieval=true"
export SPRING_DATASOURCE_USERNAME=root
export SPRING_DATASOURCE_PASSWORD=Root@123456

# 时区
export SPRING_JACKSON_TIME_ZONE=${SPRING_JACKSON_TIME_ZONE:-Asia/Shanghai}

# zookeeper
export REGISTRY_TYPE=${REGISTRY_TYPE:-zookeeper}
export REGISTRY_ZOOKEEPER_CONNECT_STRING=${REGISTRY_ZOOKEEPER_CONNECT_STRING:-localhost:2181}
8. 初始化数据库
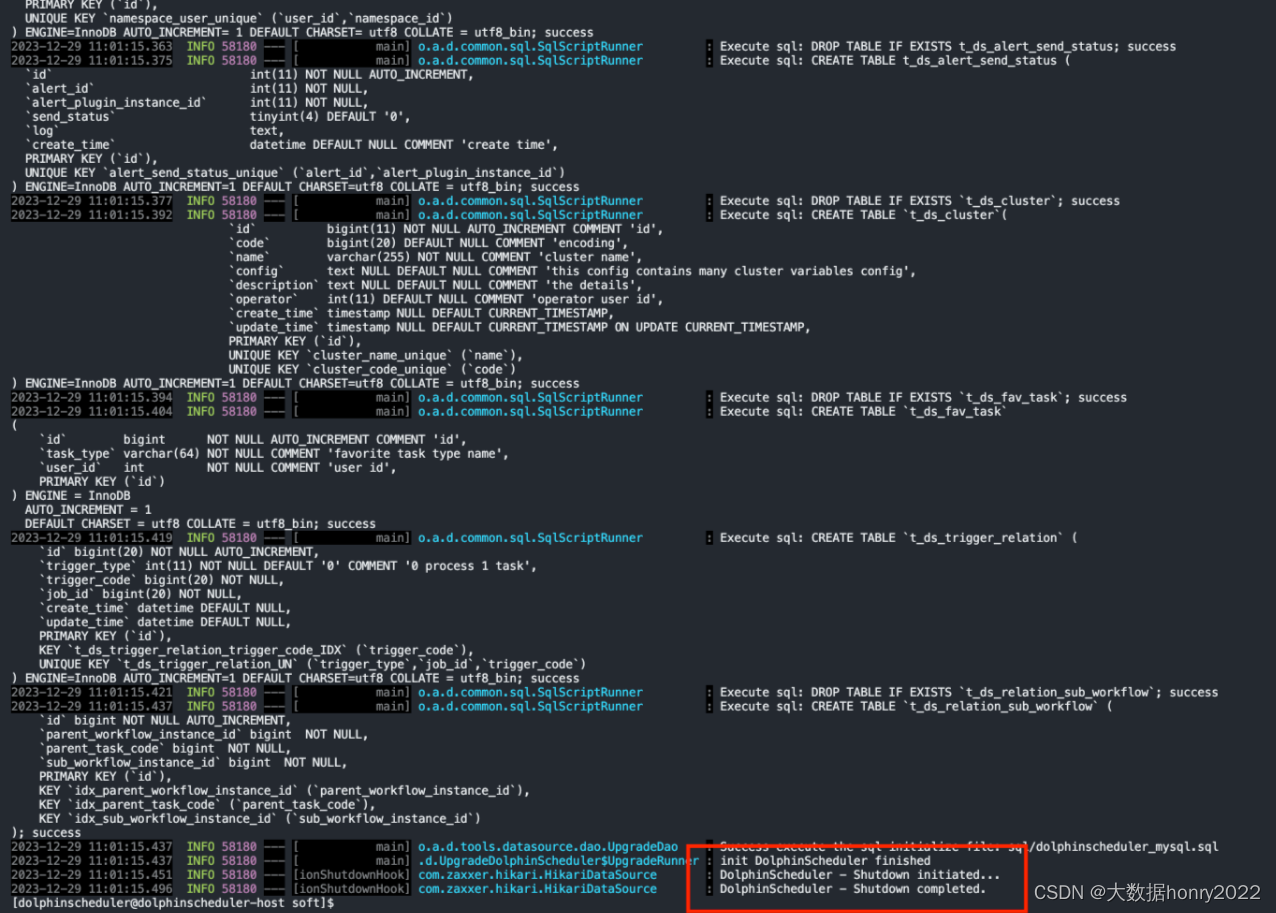
bash /opt/soft/dolphinscheduler/tools/bin/upgrade-schema.sh执行结果如下:
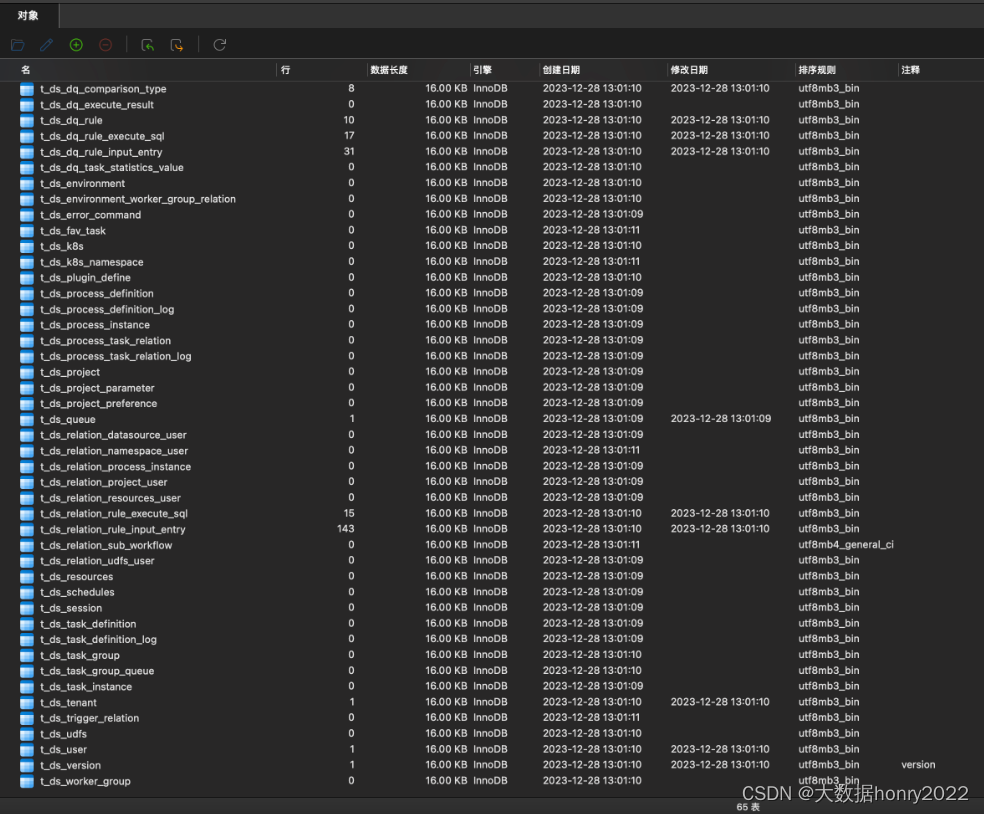
去数据库中查看:
9. 运行 install.sh 文件
运行脚本安装 DolphinScheduler,会将程序文件拷贝到所有节点的
/home/dolphinscheduler/tmp/dolphinscheduler 目录
运行 install.sh 文件:
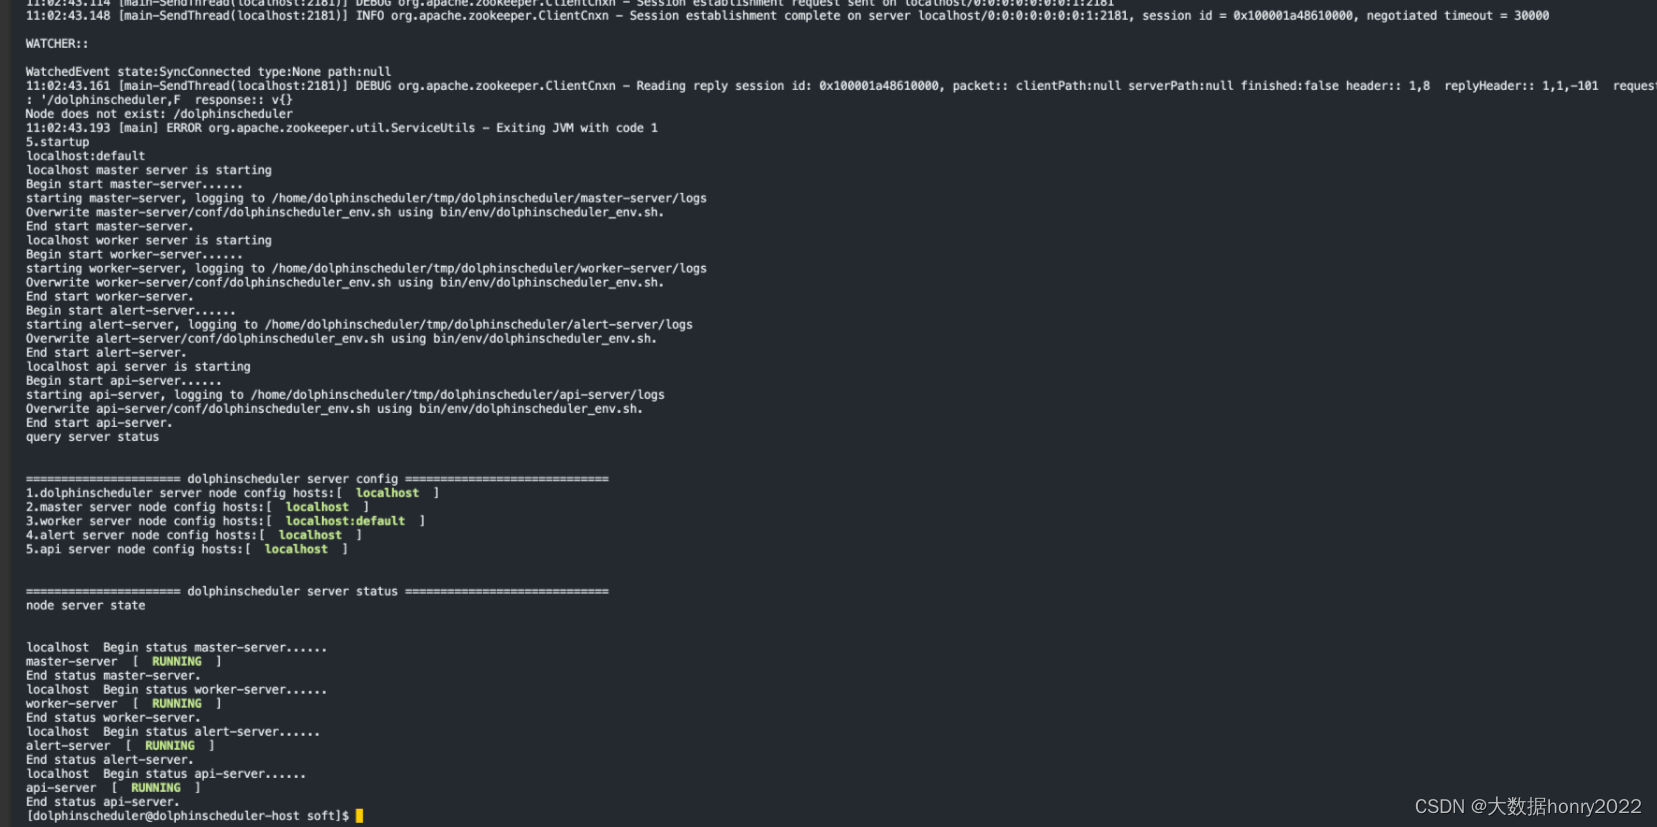
bash /opt/soft/dolphinscheduler/bin/install.sh运行后:
查看日志:
tail -f /home/dolphinscheduler/tmp/dolphinscheduler/api-server/logs/dolphinscheduler-api.log
执行jps命令查看启动进程:
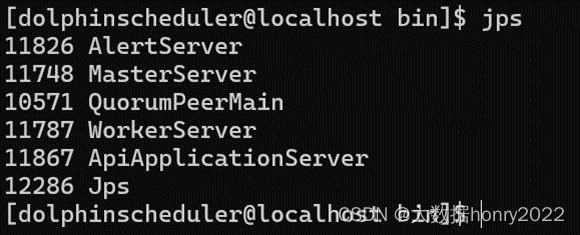
开启防火墙端口号:
sudo firewall-cmd --add-port=5678/tcp --permanent
sudo firewall-cmd --add-port=1234/tcp --permanent
sudo firewall-cmd --add-port=12345/tcp --permanent
sudo firewall-cmd –reload
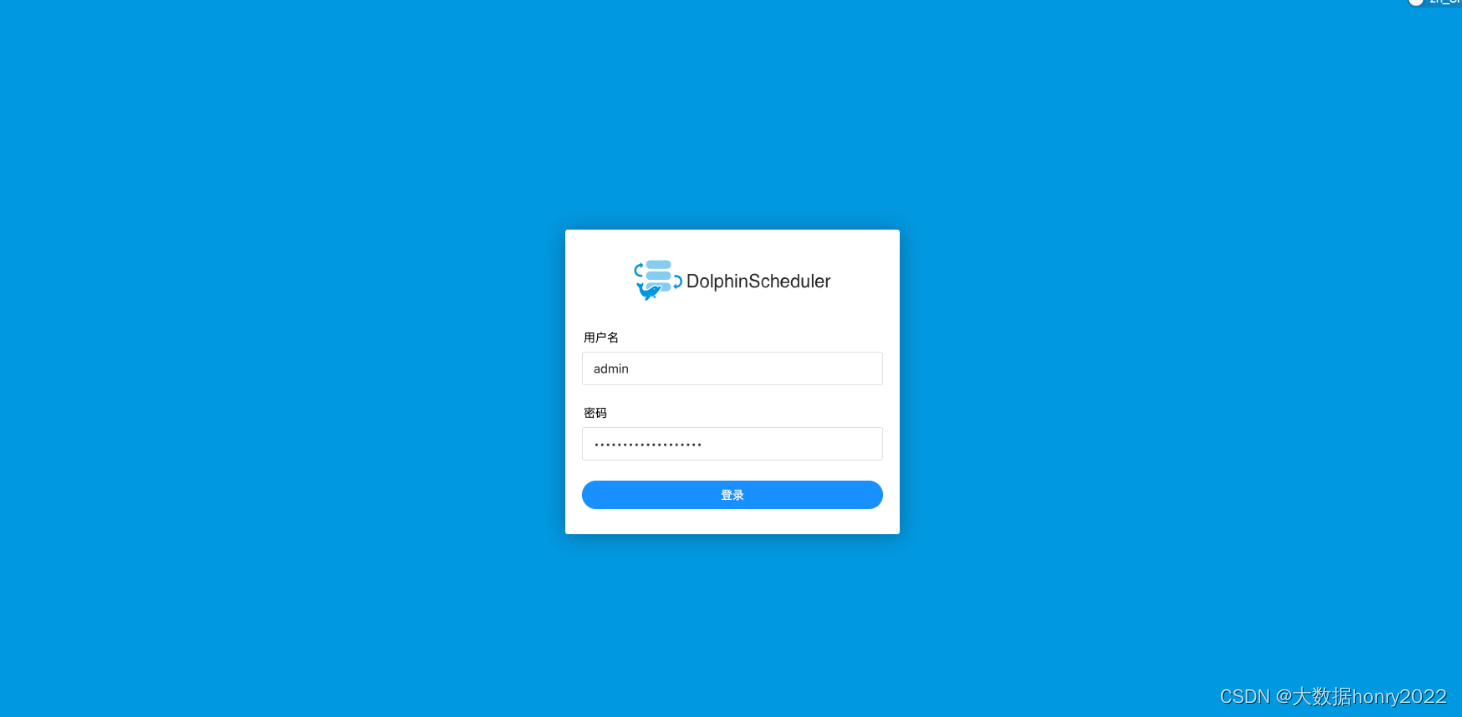
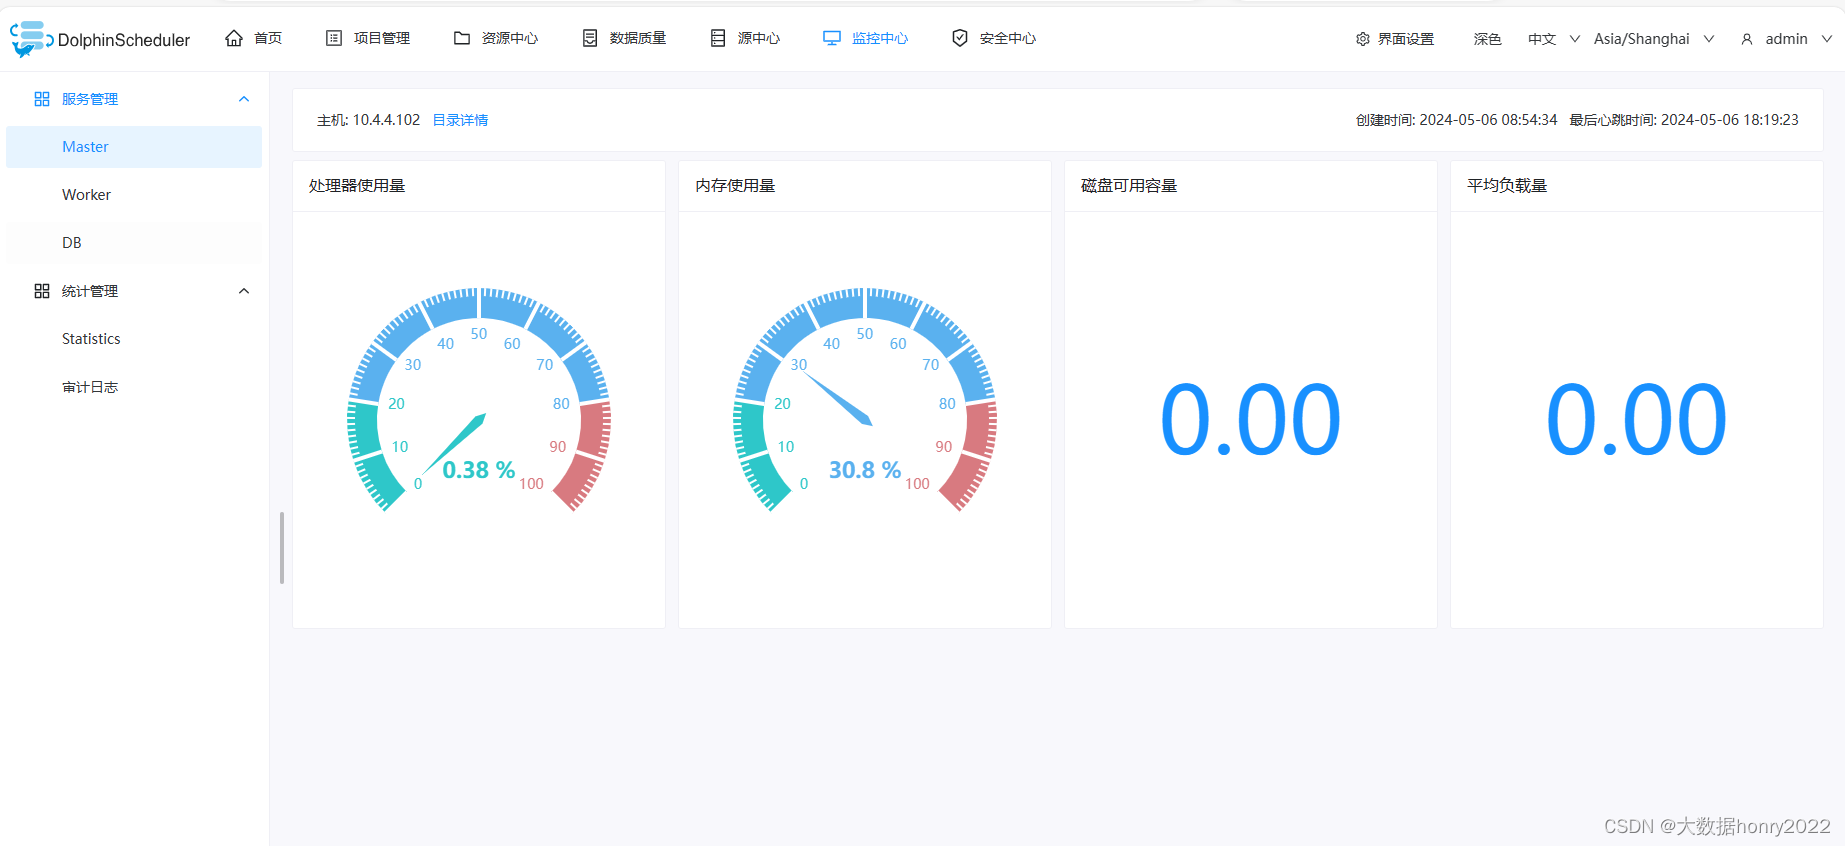
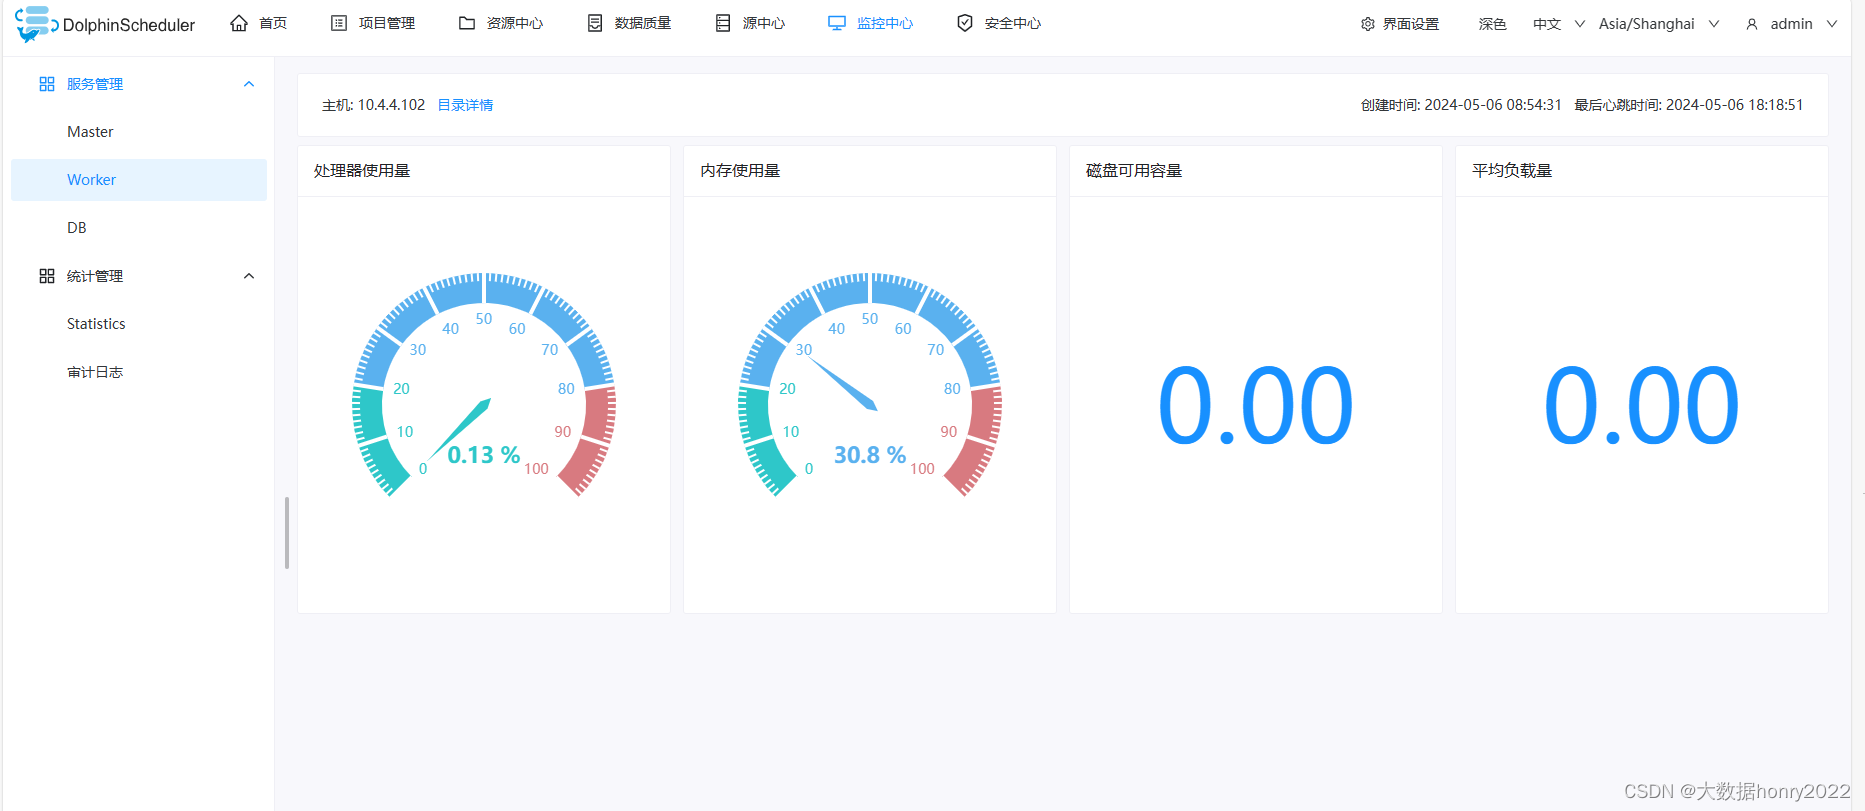
10.浏览器访问
访问地址:http://ip:12345/dolphinscheduler/ui
用户名:admin
密码:dolphinscheduler123
如果访问不了 请稍等一会
相关的执行脚本命令:
# 查看状态
bash /opt/soft/dolphinscheduler/bin/status-all.sh

# 启动
bash /opt/soft/dolphinscheduler/bin/start-all.sh

# 停止
bash /opt/soft/dolphinscheduler/bin/stop-all.sh
11. 其他(此步骤之后,根据个人需求来部署,不需要则忽略)
11.1 配置资源中心
11.1.1. 处理 api-server 的 配置文件
修改 /opt/soft/dolphinscheduler/api-server/conf/common.properties 配置文件内容
vim /opt/soft/dolphinscheduler/api-server/conf/common.properties修改内容如下
# 修改数据目录
data.basedir.path=/home/dolphinscheduler/data/tmp/dolphinscheduler

# 修改存储的地址
resource.storage.upload.base.path=/home/dolphinscheduler/data/dolphinscheduler
11.1.2处理 worker-server 的 配置文件
修改 /opt/soft/dolphinscheduler/worker-server/conf/common.properties 配置文件内容
vim /opt/soft/dolphinscheduler/worker-server/conf/common.properties修改内容如下(与 api-server 修改的内容一致)
# 修改数据目录
data.basedir.path=/home/dolphinscheduler/data/tmp/dolphinscheduler

# 修改存储的地址
resource.storage.upload.base.path=/home/dolphinscheduler/data/dolphinscheduler
11.1.3 重新部署
# 停止
bash /opt/soft/dolphinscheduler/bin/stop-all.sh

# 重新安装
bash /opt/soft/dolphinscheduler/bin/install.sh
11.2.安装 dataX
官网:GitHub - alibaba/DataX: DataX是阿里云DataWorks数据集成的开源版本。
11.2.1.安装 python
centos7 自带 python2
执行命令:python -V
查看是否安装 python
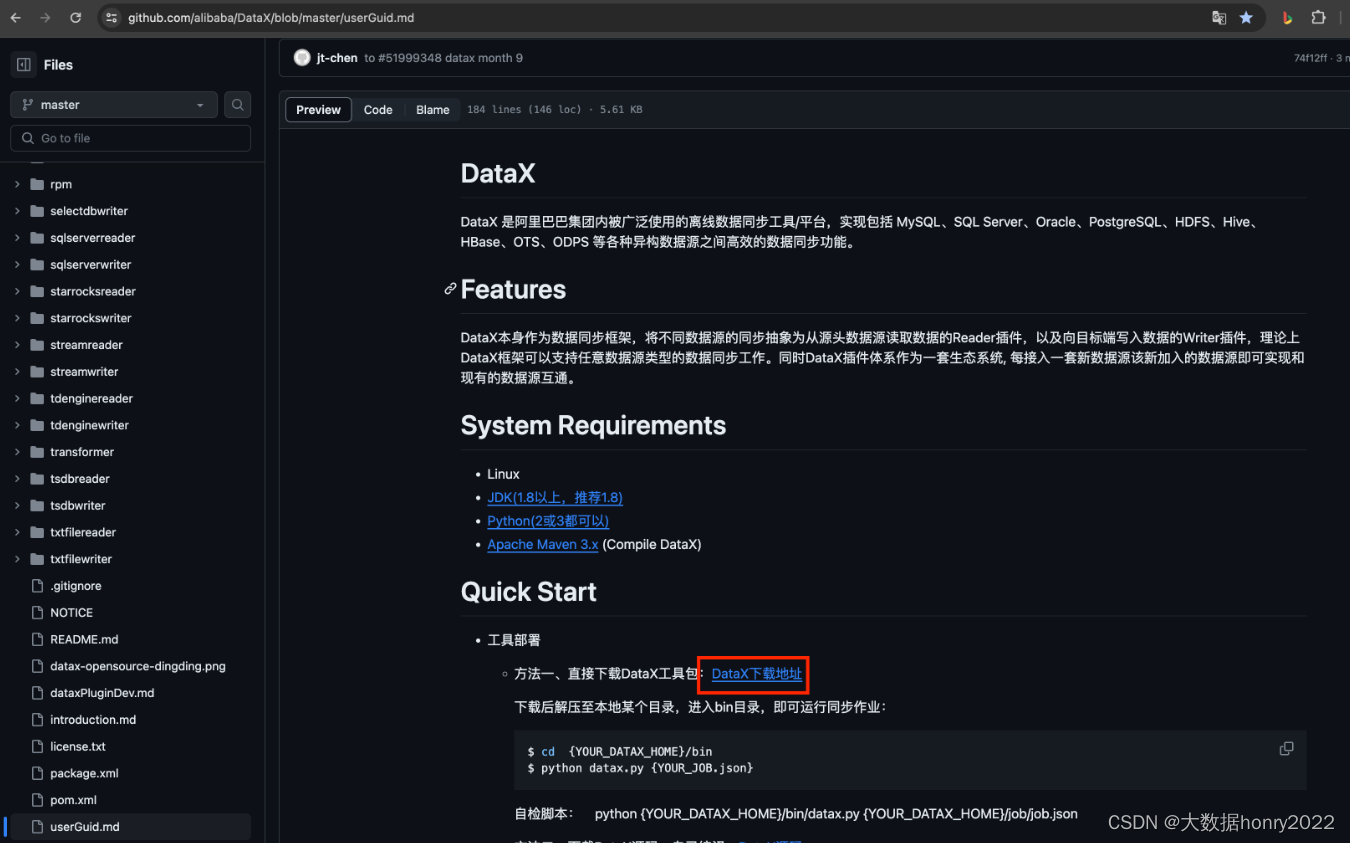
11.2.2.下载 dataX
下载路径:https://datax-opensource.oss-cn-hangzhou.aliyuncs.com/202309/datax.tar.gz
11.2.3. 解压 dataX
# 1. 切换 root 用户 (如果当前不是 root 用户的话)
su root

# 2. 解压 dataX
tar -zxvf datax.tar.gz

# 3. 将 dataX 的权限分配给 dolphinscheduler 用户
chown -R dolphinscheduler:dolphinscheduler datax
11.2.4 将dataX配置到 dolphinscheduler 中
# 1. 编辑 /etc/profile
vim /etc/profile

# 2. 在 /etc/profile 最后一行添加以下内容
# python(centos7自带python)
export PYTHON_LAUNCHER=/usr/bin/python
# DATAX执行
export DATAX_LAUNCHER=/opt/soft/datax/bin/datax.py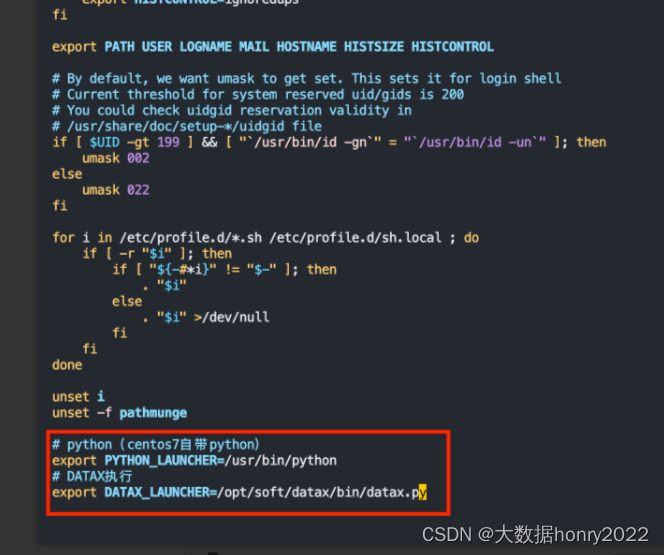
执行刷新profile文件
source /etc/profile重启 dolphinscheduler
# 停止
bash /opt/soft/dolphinscheduler/bin/stop-all.sh

# 重新安装
bash /opt/soft/dolphinscheduler/bin/install.sh
12.问题
12.1.关键日志
12.1.1.api-server
tail -f /home/dolphinscheduler/tmp/dolphinscheduler/api-server/logs/dolphinscheduler-api.log12.1.2.worker-server
tail -f /home/dolphinscheduler/tmp/dolphinscheduler/worker-server/logs/dolphinscheduler-worker.log12.2.如果日志报错
current cpu load average 0.0 is higher than 1.0 or available memory 0.20078944008987165 is lower than 0.3
说明内存不足,需要增加虚拟机内存,或者增加服务器内存!!!
博主是数据科学与大数据技术专业的,需要交流技术,解决大数据技术问题或者对大数据技术感兴趣的同学、朋友可以加:


 本文详细指导了如何在CentOS7环境下离线部署DolphinScheduler,包括安装JDK8、MySQL、zookeeper,以及配置环境、创建用户、上传驱动、初始化数据库、部署和配置步骤,还介绍了遇到问题时的关键日志分析和解决方案。


 1566
1566

 被折叠的 条评论
为什么被折叠?


