


Spring Boot是由Pivotal团队提供的全新框架,其设计目的是用来简化新Spring应用的初始搭建以及开发过程。该框架使用了特定的方式来进行配置,从而使开发人员不再需要定义样板化的配置。通过这种方式,Boot致力于在蓬勃发展的快速应用开发领域(rapid application development)成为领导者。
1.首先介绍极简的helloworld工程
1).打开Eclipse,新建Maven工程,修改pom.xml文件如下:
<?xml version="1.0" encoding="UTF-8"?>
<project xmlns="http://maven.apache.org/POM/4.0.0" xmlns:xsi="http://www.w3.org/2001/XMLSchema-instance"
	xsi:schemaLocation="http://maven.apache.org/POM/4.0.0 http://maven.apache.org/xsd/maven-4.0.0.xsd">
	<modelVersion>4.0.0</modelVersion>

	<groupId>com.enn</groupId>
	<artifactId>SpringBoot</artifactId>
	<version>0.0.1-SNAPSHOT</version>
	<packaging>jar</packaging>

	<name>spring-boot-sample-mysql</name>
	<description>Demo project for Spring Boot</description>

	<parent>
		<groupId>org.springframework.boot</groupId>
		<artifactId>spring-boot-starter-parent</artifactId>
		<version>1.5.9.RELEASE</version>
		<relativePath/> <!-- lookup parent from repository -->
	</parent>

	<properties>
		<project.build.sourceEncoding>UTF-8</project.build.sourceEncoding>
		<project.reporting.outputEncoding>UTF-8</project.reporting.outputEncoding>
		<java.version>1.8</java.version>
	</properties>

	<dependencies>
		<dependency>
			<groupId>org.springframework.boot</groupId>
			<artifactId>spring-boot-starter-data-jpa</artifactId>
		</dependency>
		<dependency>
			<groupId>org.springframework.boot</groupId>
			<artifactId>spring-boot-starter-web</artifactId>
		</dependency>

		<dependency>
			<groupId>mysql</groupId>
			<artifactId>mysql-connector-java</artifactId>
			<scope>runtime</scope>
		</dependency>
		<dependency>
			<groupId>org.springframework.boot</groupId>
			<artifactId>spring-boot-starter-test</artifactId>
			<scope>test</scope>
		</dependency>
	</dependencies>

	<build>
		<plugins>
			<plugin>
				<groupId>org.springframework.boot</groupId>
				<artifactId>spring-boot-maven-plugin</artifactId>
			</plugin>
		</plugins>
	</build>


</project>
2)、编制Application.java存于myFirstProject\src\main\java\com\example\myFirstProject下
- package com.example.myFirstProject;
- import org.springframework.boot.SpringApplication;
- import org.springframework.boot.autoconfigure.SpringBootApplication;
- @SpringBootApplication
- public class Application {
- public static void main(String[] args) {
- SpringApplication.run(Application.class, args);
- }
- }
- package com.example.myFirstProject;
- import org.springframework.boot.autoconfigure.EnableAutoConfiguration;
- import org.springframework.web.bind.annotation.PathVariable;
- import org.springframework.web.bind.annotation.RequestMapping;
- import org.springframework.web.bind.annotation.RestController;
- @RestController
- @EnableAutoConfiguration
- public class Example {
- @RequestMapping("/")
- String home() {
- return "Hello World!";
- }
- @RequestMapping("/hello/{myName}")
- String index(@PathVariable String myName) {
- return "Hello "+myName+"!!!";
- }
- }
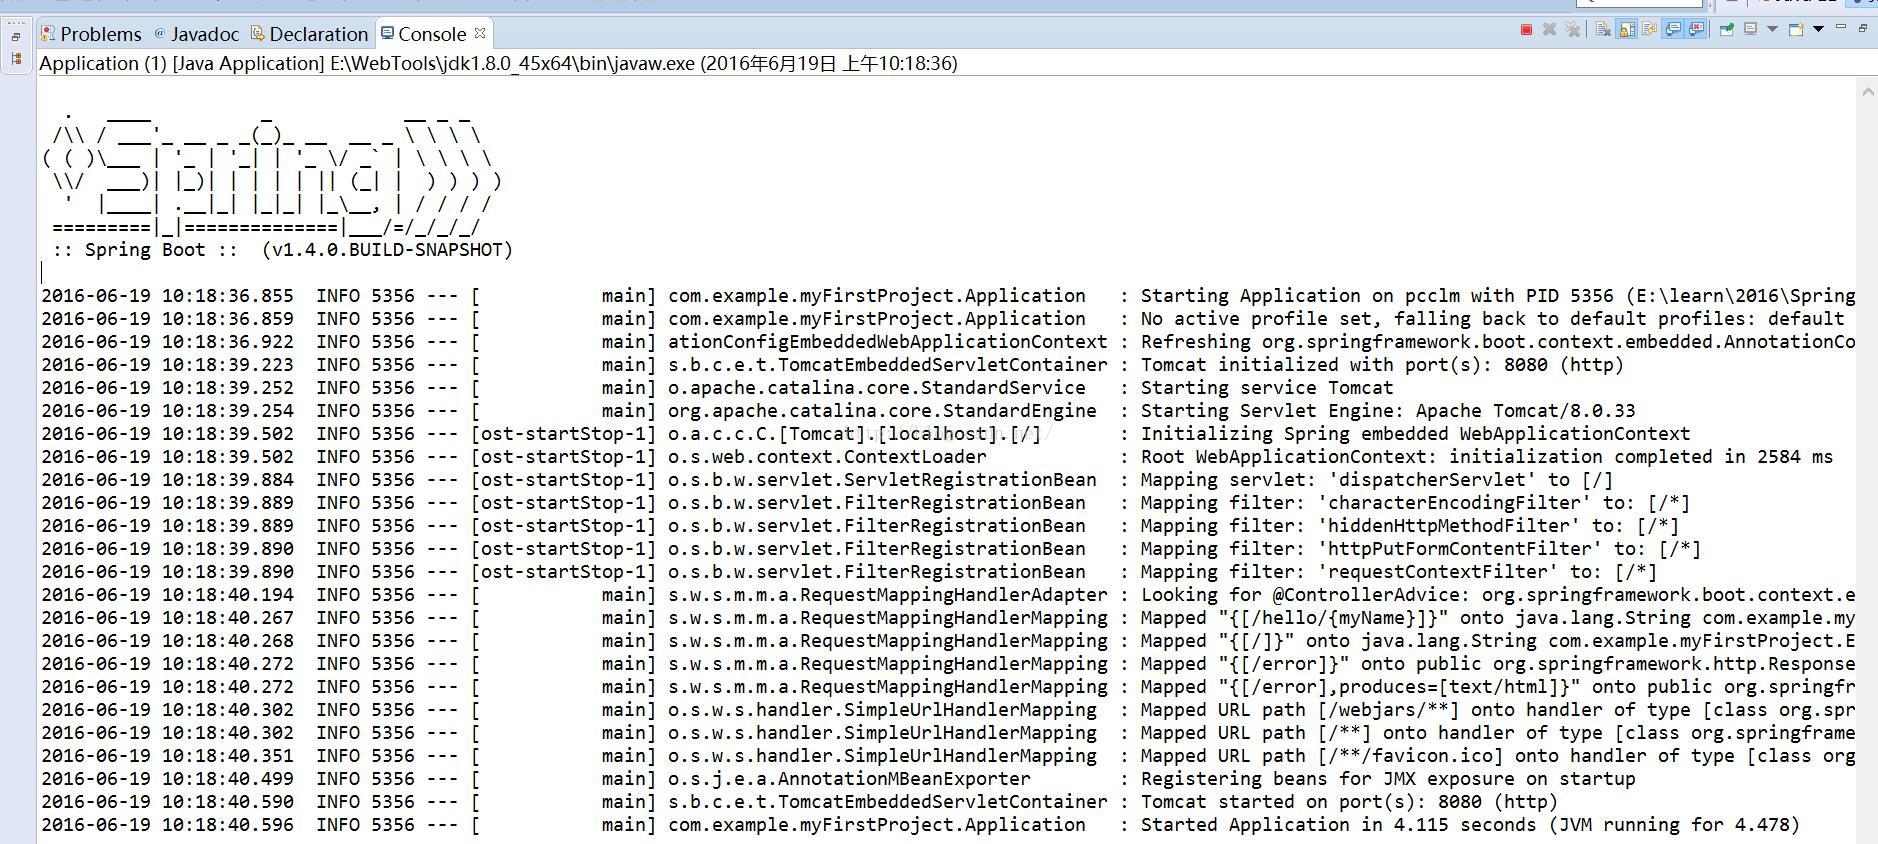
4).再次点击“OK”按钮,在Eclipse的Console中开始打印如图5
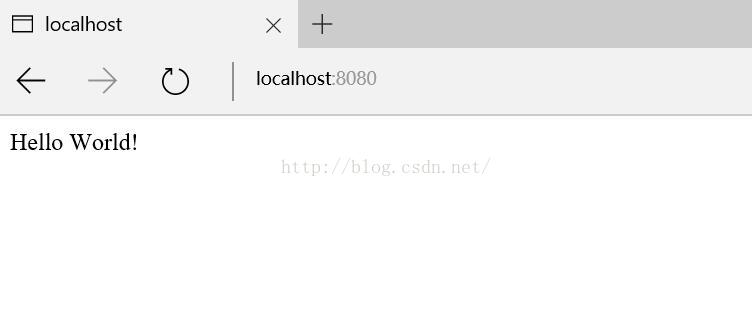
5)、打开浏览器,输入http://localhost:8080,显示如图6
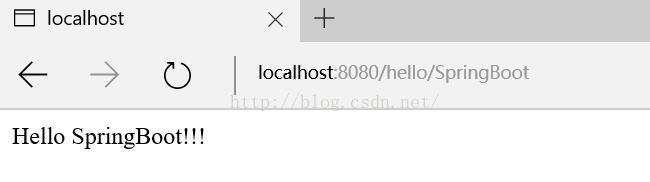
6)、在浏览器中,输入http://localhost:8080/hello/SpringBoot
2、使用官网样例创建工程
一、在浏览器中打开http://start.spring.io/,如图
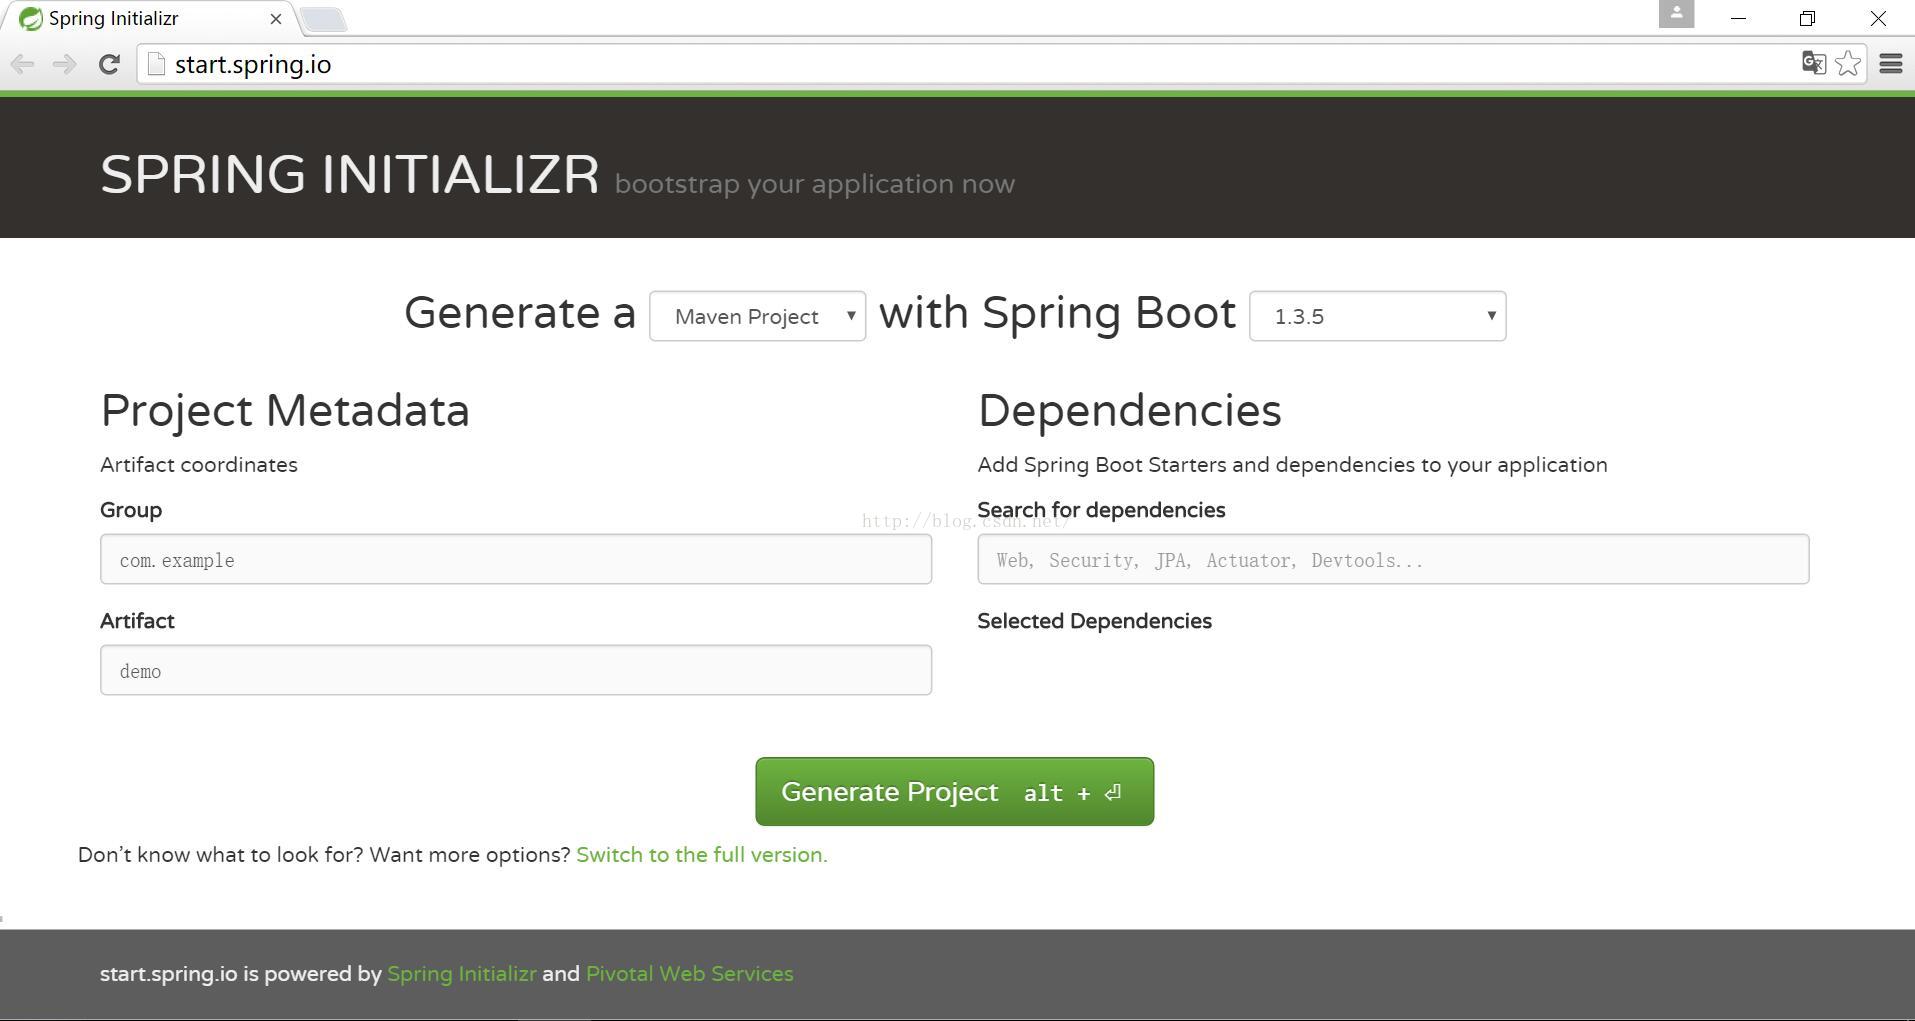
在Artifact中输入spring-boot-sample-helloworld,点击“Switch to the full version.”,勾选"web",然后点击“ Generate Project alt +”按钮,把文件保存到本地某个位置
二、下载文件导入eclips
1、解压下载的文件到某个文件夹;
2、在eclips中导入工程file->import->Import Existing Maven Projects-->Select Maven projects-->finish
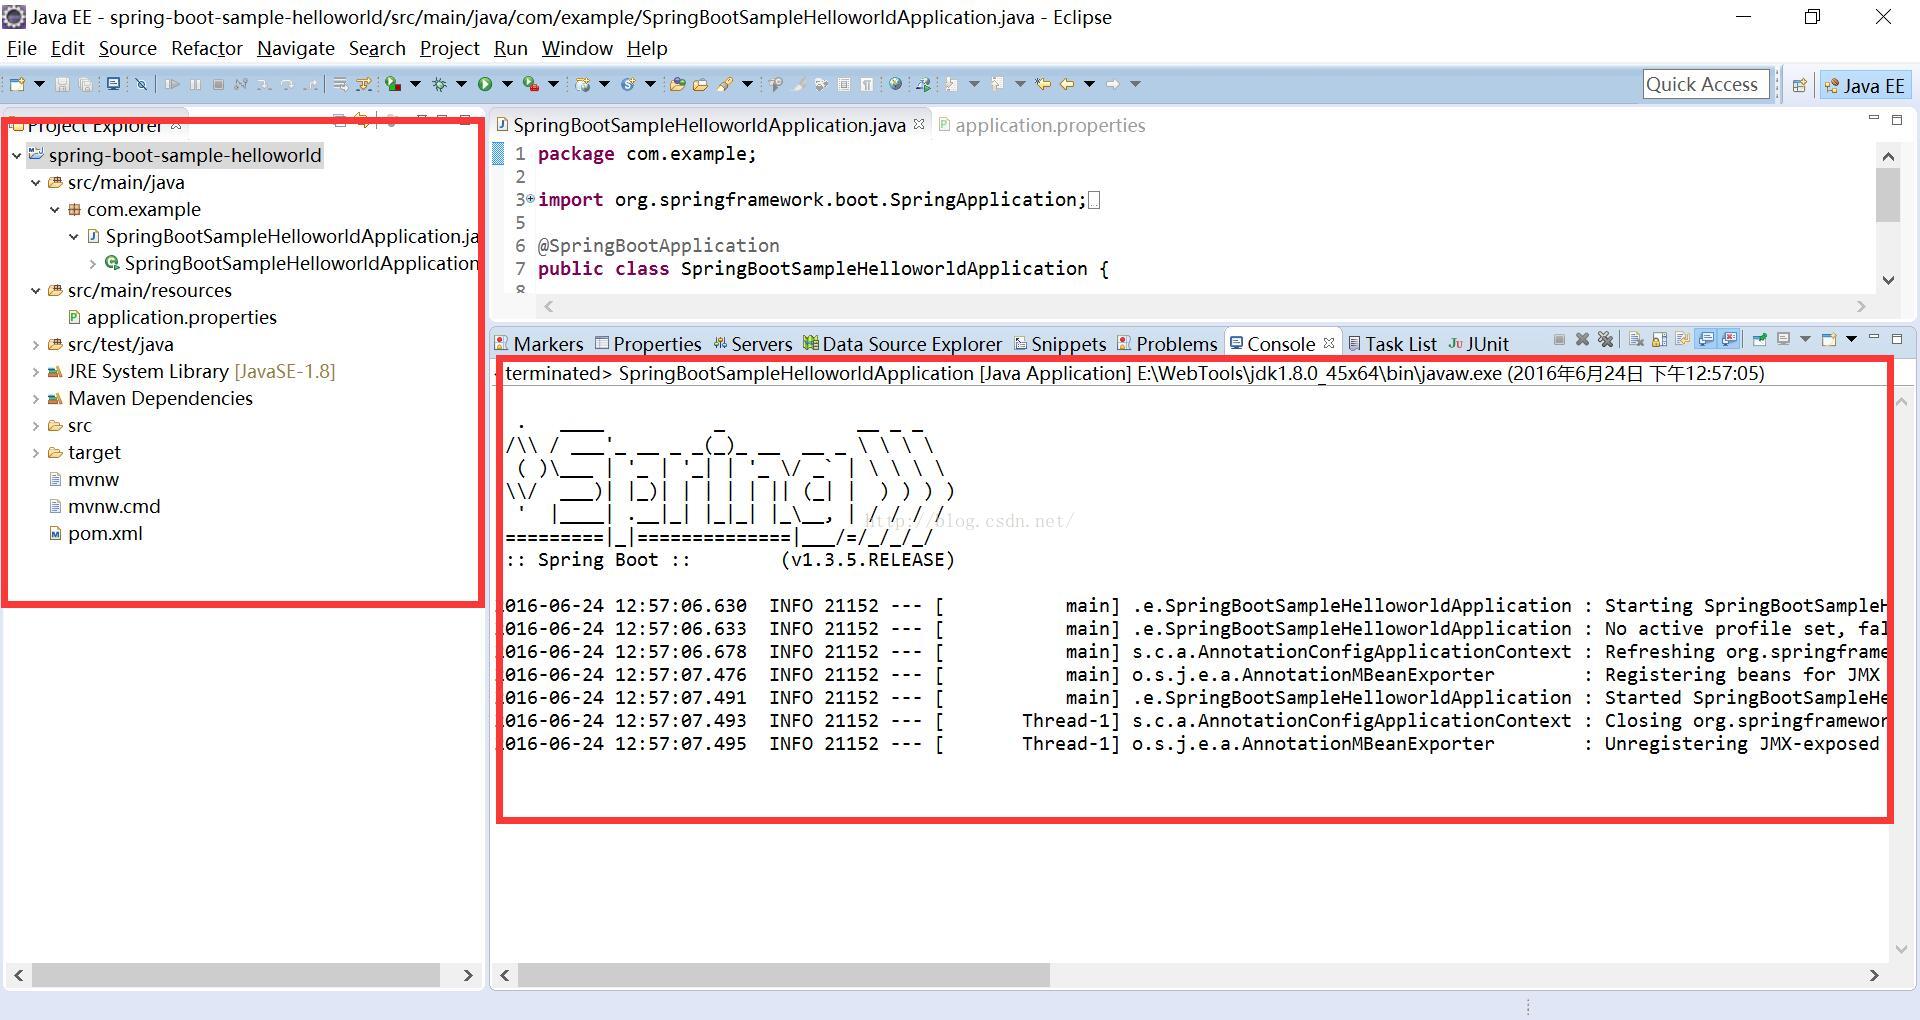
3、在eclips中运行工程,正确则入图
三、添加HelloController
1、在包com.example中点击右键,选择new->class,再在Name中输入HelloController
2、在类上面条件声明@RestController
3、增加方法
- @RequestMapping("/")
- public String helloworld(){
- return "Hello world!";
- }
- @RequestMapping("/hello/{name}")
- public String hellName(@PathVariable String Name){
- return "Hello "+Name;
- }
4、保存Ctrl+S
5、自动添加引用 Ctrl+SHift+O
6、整个HelloController文件如下
- package com.example;
- import org.springframework.web.bind.annotation.PathVariable;
- import org.springframework.web.bind.annotation.RequestMapping;
- import org.springframework.web.bind.annotation.RestController;
- @RestController
- public class HelloController {
- @RequestMapping("/")
- public String helloworld(){
- return "Hello world!";
- }
- @RequestMapping("/hello/{name}")
- public String hellName(@PathVariable String name){
- return "Hello "+name;
- }
- }
在浏览器中依次输入
http://localhost:8080/
http://localhost:8080/hello/上帝


 1038
1038


 被折叠的 条评论
为什么被折叠?
被折叠的 条评论
为什么被折叠?
 到【灌水乐园】发言


