


Centos7安装WordPress(一)安装Apache, PHP And MySQL(LAMP)
==================================================
在前两篇博客中介绍了CentOS6安装WordPress的方法,由于更换了个人博客的VPS,所以想试一下CentOS7下安装WordPress,折腾了半天总算成功了。安装的过程与CentOS6的差不多,不过有许多细节需要注意。
CentOS6下的安装与配置请参考
Centos6安装WordPress(一)Apache,Mysql, PHP环境搭建
Centos6安装WordPress(二)WordPress安装
1.安装Apache
利用yum命令安装Apache
yum -y install httpd启动httpd并且设置为开机启动
systemctl start httpd.service
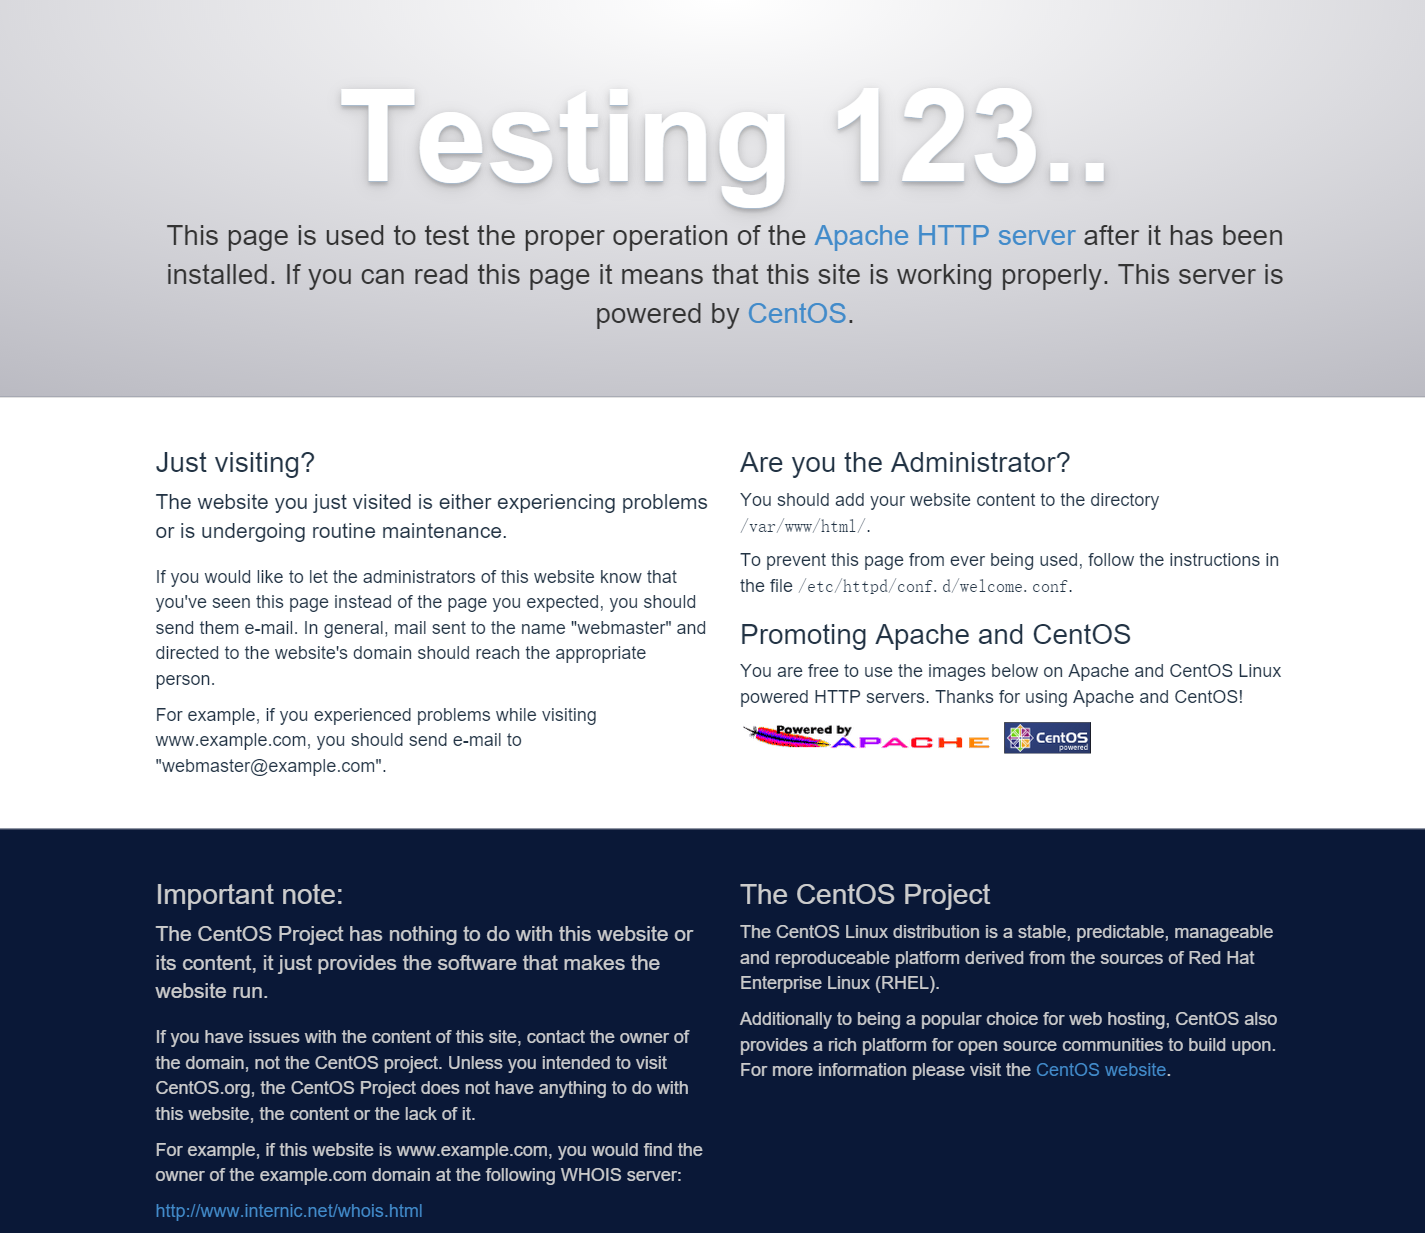
systemctl enable httpd.service安装成功后,可以看到熟悉的测试界面
另外,还需要配置一下防火墙,打开80和443端口
首先安装firewall
yum -y install firewalld firewall-config
systemctl start firewalld.service
systemctl enable firewalld.service
配置防火墙
firewall-cmd --permanent --zone=public --add-service=http
firewall-cmd --permanent --zone=public --add-service=https
firewall-cmd --reload
另外,如果对新的firewall配置不熟悉,或者想要使用原来的iptables也是可以的,利用一下命令便可以继续使用iptables service
systemctl stop firewalld
systemctl disable firewalld

iptables-service

touch /etc/sysconfig/iptables
systemctl start iptables
systemctl enable iptables

touch /etc/sysconfig/ip6tables
systemctl start ip6tables
systemctl enable ip6table
2.安装Mariadb
同样还是利用yum命令进行安装,并且配置开机启动
yum -y install mariadb-server mariadb
systemctl start mariadb.service
systemctl enable mariadb.service
下面配置root密码
mysql_secure_installation安装过程中会有几个选项,大家根据自己的需要进行配置就好了
Enter current password for root (enter for none):(输入原始root密码,若无enter)
OK, successfully used password, moving on...

Setting the root password ensures that nobody can log into the MariaDB
root user without the proper authorisation.
Set root password? [Y/n] (是否设置root密码)
New password:
Re-enter new password:
Password updated successfully!
Reloading privilege tables..
 ... Success!

Remove anonymous users? [Y/n] (是否移除匿名用户)
 ... Success!

Disallow root login remotely? [Y/n] (是否禁止远程root登陆)
 ... skipping.

Remove test database and access to it? [Y/n] (是否删除测试数据库)

Reload privilege tables now? [Y/n] (重新载入)
 ... Success!

Cleaning up...

All done!  If you've completed all of the above steps, your MariaDB
installation should now be secure.

Thanks for using MariaDB!
3.安装PHP
首先安装PHP及常用组件
yum -y install php
查看所有组件
yum search php
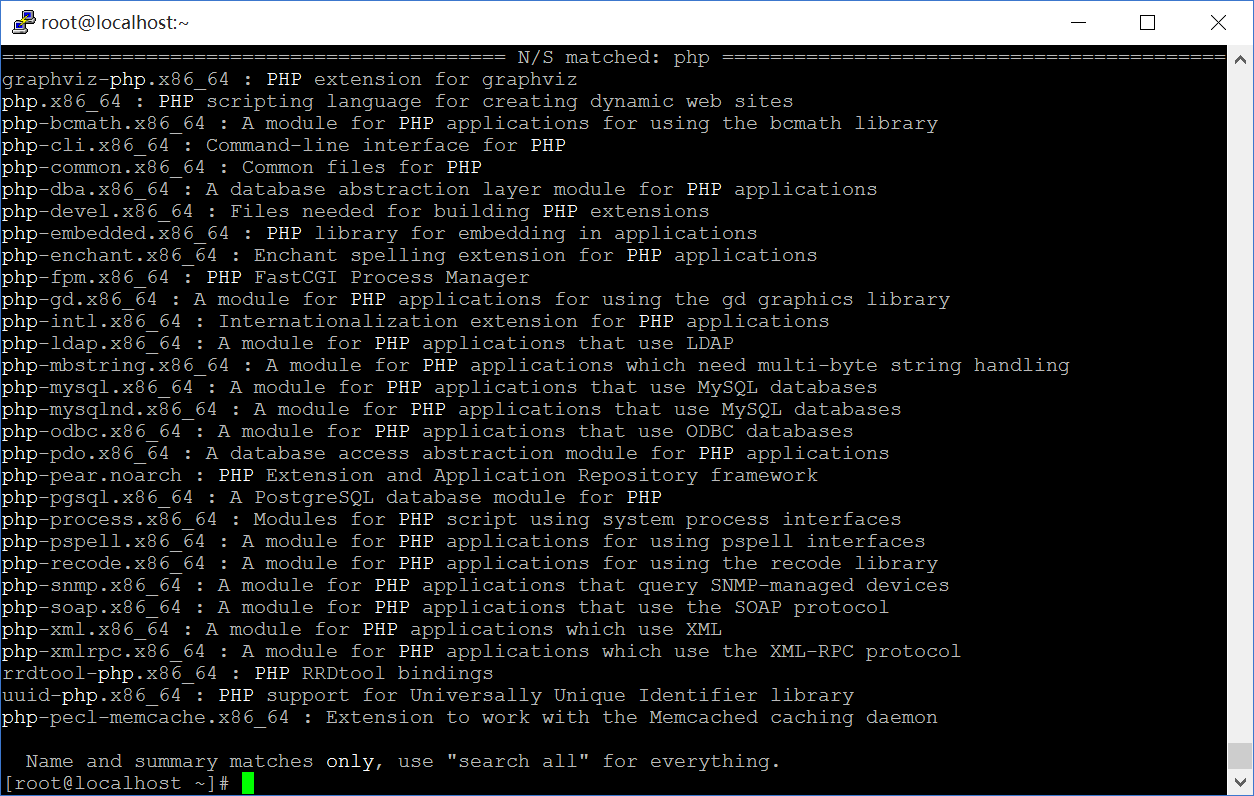
选择所需组件进行安装
yum -y install php-mysql php-gd php-ldap php-odbc php-pear php-xml php-xmlrpc php-mbstring php-snmp php-soap curl curl-devel完成后我们可以新建一个PHP页面查看安装的组件
vi /var/www/html/info.php编辑为以下内容
<?php
phpinfo();
?>
重启httpd服务
systemctl restart httpd.service
打开网址 http://x.x.x.x/info.php 进行查看(x.x.x.x为vps的ip地址)
4.安装PHPMyAdmin(可选)
phpMyAdmin 是一个以PHP为基础,以Web-Base方式架构在网站主机上的MySQL的数据库管理工具,让管理者可用Web接口管理MySQL数据库。借由此Web接口可以成为一个简易方式输入繁杂SQL语法的较佳途径,尤其要处理大量资料的汇入及汇出更为方便。其中一个更大的优势在于由于phpMyAdmin跟其他PHP程式一样在网页服务器上执行,但是您可以在任何地方使用这些程式产生的HTML页面,也就是于远端管理MySQL数据库,方便的建立、修改、删除数据库及资料表。也可借由phpMyAdmin建立常用的php语法,方便编写网页时所需要的sql语法正确性。
首先要安装EPEL的源(注意要选择CentOS7的)
rpm -ivh http://dl.fedoraproject.org/pub/epel/7/x86_64/e/epel-release-7-5.noarch.rpm 安装并配置phpMyAdmin
yum install phpMyAdmin
vi /etc/httpd/conf.d/phpMyAdmin.conf
注释掉原来的部分配置文件,修改为以下格式:
# phpMyAdmin - Web based MySQL browser written in php
#
# Allows only localhost by default
#
# But allowing phpMyAdmin to anyone other than localhost should be considered
# dangerous unless properly secured by SSL

Alias /phpMyAdmin /usr/share/phpMyAdmin
Alias /phpmyadmin /usr/share/phpMyAdmin

#<Directory /usr/share/phpMyAdmin/>
#   AddDefaultCharset UTF-8
#
#   <IfModule mod_authz_core.c>
#     # Apache 2.4
#     <RequireAny>
#       Require ip 127.0.0.1
#       Require ip ::1
#     </RequireAny>
#   </IfModule>
#   <IfModule !mod_authz_core.c>
#     # Apache 2.2
#     Order Deny,Allow
#     Deny from All
#     Allow from 127.0.0.1
#     Allow from ::1
#   </IfModule>
#</Directory>

<Directory /usr/share/phpMyAdmin/>
    Options none
    AllowOverride Limit
    Require all granted
</Directory>
修改认证方式(将 cookie 修改为 http)
vi /etc/phpMyAdmin/config.inc.php[...]
$cfg['Servers'][$i]['auth_type'] = 'http'; // Authentication method (config, http or cookie based)?
[...]
重启http服务
systemctl restart httpd.service
然后可以在浏览器中输入http://x.x.x.x/phpMyAdmin 利用前面设置的用户(root)和密码进行登录,登陆后下图:
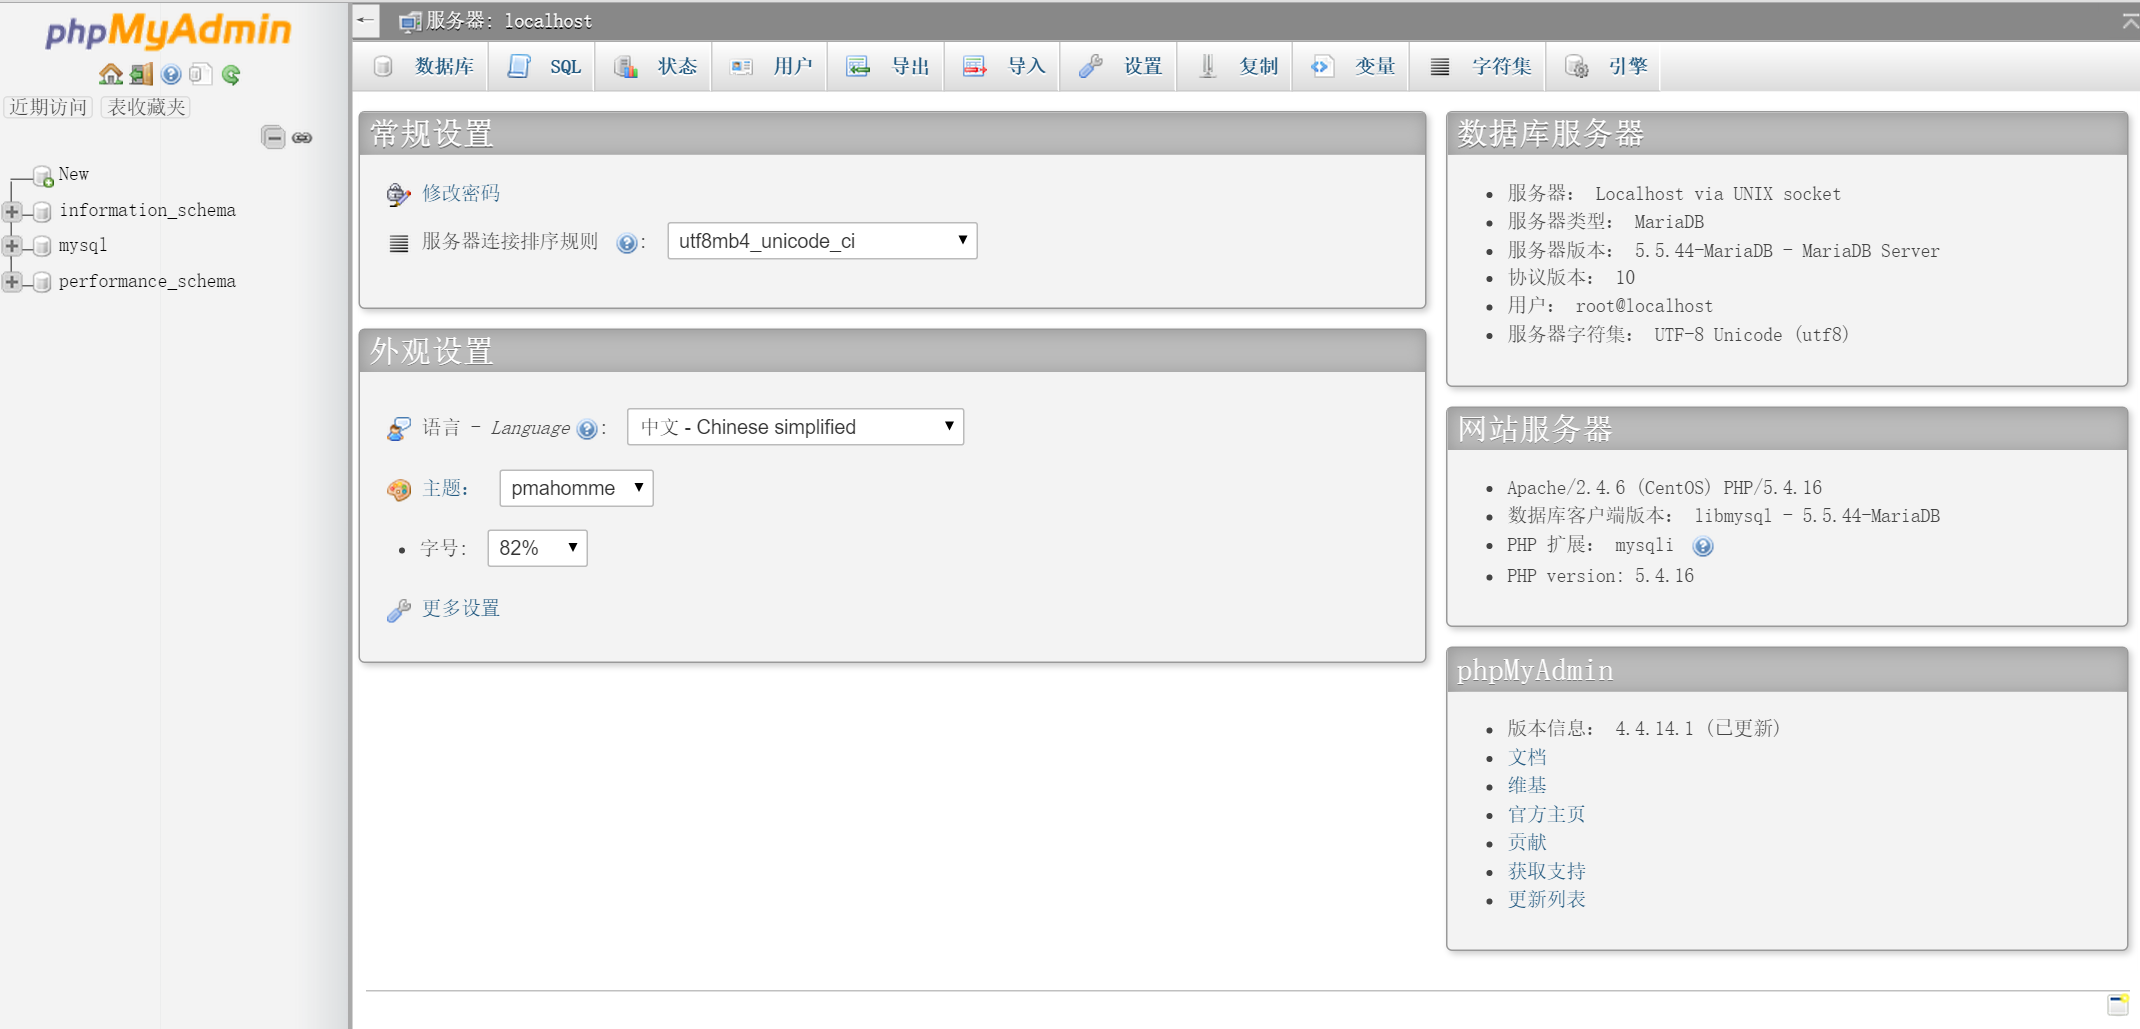
至此,我们就完成了环境配置。


 1050
1050

 被折叠的 条评论
为什么被折叠?
被折叠的 条评论
为什么被折叠?
 到【灌水乐园】发言


