


1. 下载nginx:http://nginx.org/en/download.html

2. 在usr/local文件夹中新建一个lnmp的文件夹,下载nginx压缩包并解压
[root@VM_48_141_centos ~]# cd usr/local
[root@VM_48_141_centos local]# mkdir lnmp
[root@VM_48_141_centos local]# cd lnmp
[root@VM_48_141_centos lnmp]# wget http://nginx.org/download/nginx-1.12.2.tar.gz

[root@VM_48_141_centos nginx-1.12.2]# ./configure --prefix=/usr/local/lnmp/nginx
出错
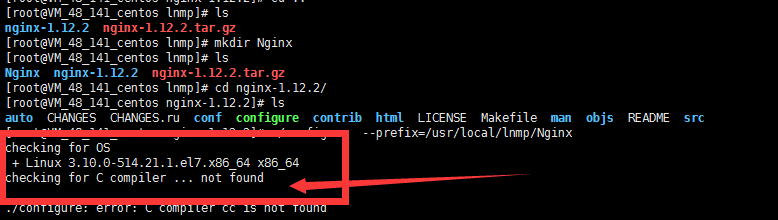
原因:没有gcc的编译库
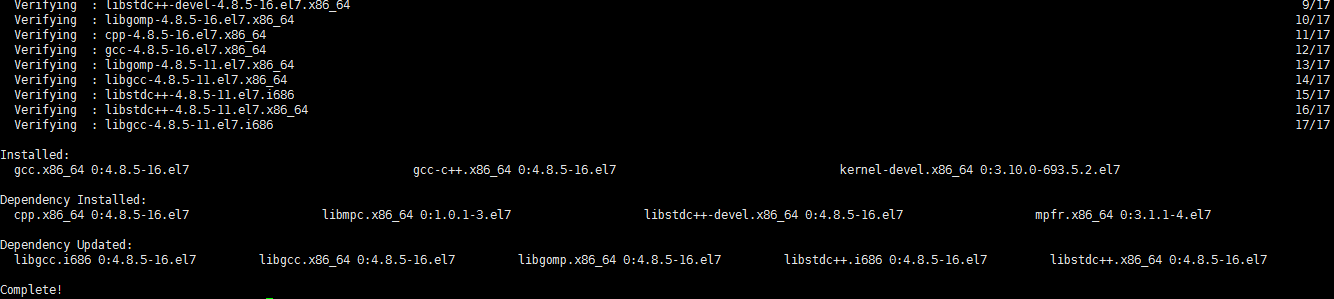
解决办法:[root@VM_48_141_centos nginx-1.12.2]# yum install gcc gcc-c++ kernel-devel
继续,又出错
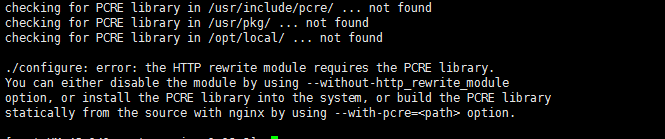
原因:没有正则库
解决办法:[root@VM_48_141_centos nginx-1.12.2]# yum install pcre-devel

继续,又出错

原因:没有zlib库
解决办法: [root@VM_48_141_centos nginx-1.12.2]# yum install -y zlib-devel

继续,OK
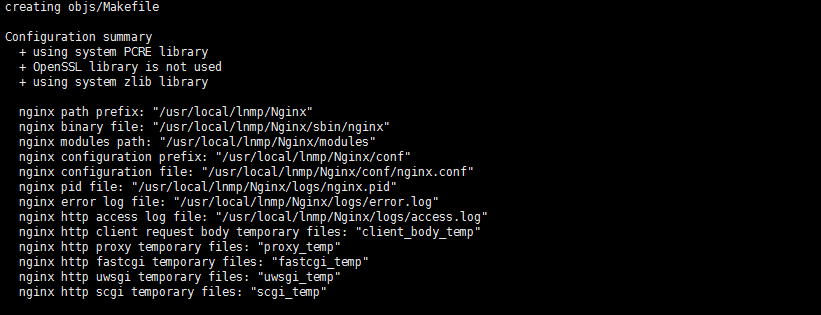
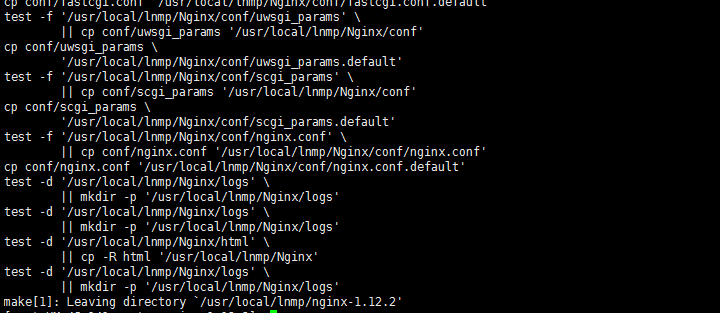
3.编译并安装 [root@VM_48_141_centos nginx-1.12.2]# make && make install

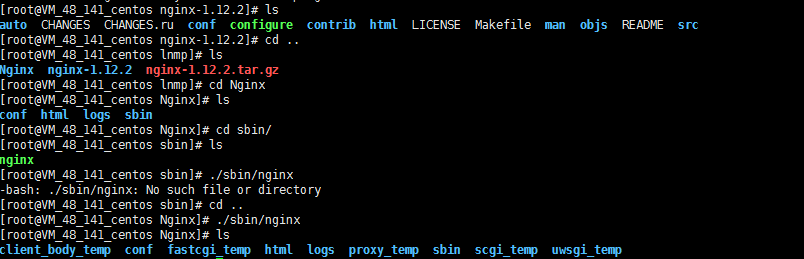
4启动nginx
[root@VM_48_141_centos lnmp]# cd Nginx
进入刚才自定义的安装目录Nginx 有4个文件爱夹
conf:配置文件 html:网页文件 logs:日志文件 sbin:主要进程文件
[root@VM_48_141_centos Nginx]# ./sbin/nginx
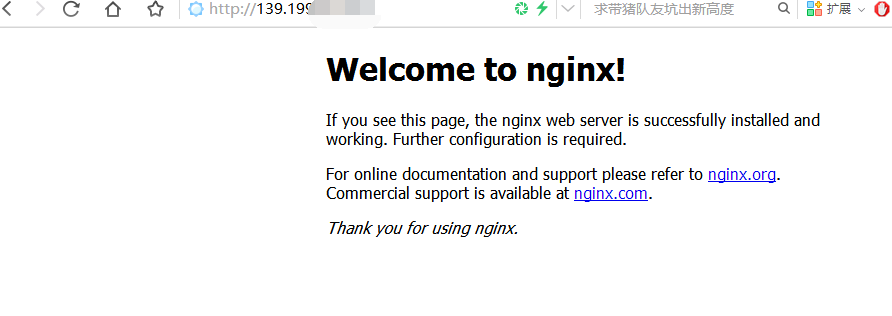
在浏览器中访问:
关闭Nginx:[root@VM_48_141_centos Nginx]# kill -INT 28024
查看nginx主进程号:[root@VM_48_141_centos Nginx]# ps aux|grep nginx
中间用到的命令
grep 'nginx' /etc/group
awk -F":" '{print $1"\t\t"$4}' /etc/passwd | grep '1000'
Nginx.Conf
#user nobody;
//全局区
work_processes 1 ; //有一个工作的子进程,可以自行修改,但太大无益,因为要争夺CPU,一般设置为CPU数*核数
#error_log logs/error.log;
#error_log logs/error.log notice;
#error_log logs/error.log info;
#pid logs/nginx.pid;
events {
//一般是配置nginx连接的特性
//如一个word能同时允许多少连接
worker_connections 1024; //这里指一个子进程最大允许1024个连接
}
http { //这是配置http服务器的主要段
include mime.types;
default_type application/octet-stream;
#log_format main '$remote_addr - $remote_user [$time_local] "$request" '
# '$status $body_bytes_sent "$http_referer" '
# '"$http_user_agent" "$http_x_forwarded_for"';
#access_log logs/access.log main;
sendfile on;
#tcp_nopush on;
#keepalive_timeout 0;
keepalive_timeout 65;
#gzip on;
server {
listen 80;
server_name localhost;
#charset koi8-r;
#access_log logs/host.access.log main;
location / {
root html;
index ab.html index.html index.htm;
}
#error_page 404 /404.html;
# redirect server error pages to the static page /50x.html
#
error_page 500 502 503 504 /50x.html;
location = /50x.html {
root html;
}
# proxy the PHP scripts to Apache listening on 127.0.0.1:80
#
#location ~ \.php$ {
# proxy_pass http://127.0.0.1;
#}
# pass the PHP scripts to FastCGI server listening on 127.0.0.1:9000
#
#location ~ \.php$ {
# root html;
# fastcgi_pass 127.0.0.1:9000;
# fastcgi_index index.php;
# fastcgi_param SCRIPT_FILENAME /scripts$fastcgi_script_name;
# include fastcgi_params;
#}
# deny access to .htaccess files, if Apache's document root
# concurs with nginx's one
#
#location ~ /\.ht {
# deny all;
#}
}
# another virtual host using mix of IP-, name-, and port-based configuration
#
#server {
# listen 8000;
# listen somename:8080;
# server_name somename alias another.alias;
# location / {
# root html;
# index index.html index.htm;
# }
#}
# HTTPS server
#
#server {
# listen 443 ssl;
# server_name localhost;
# ssl_certificate cert.pem;
# ssl_certificate_key cert.key;
# ssl_session_cache shared:SSL:1m;
# ssl_session_timeout 5m;
# ssl_ciphers HIGH:!aNULL:!MD5;
# ssl_prefer_server_ciphers on;
# location / {
# root html;
# index index.html index.htm;
# }
#}
}
二. 安装mysql
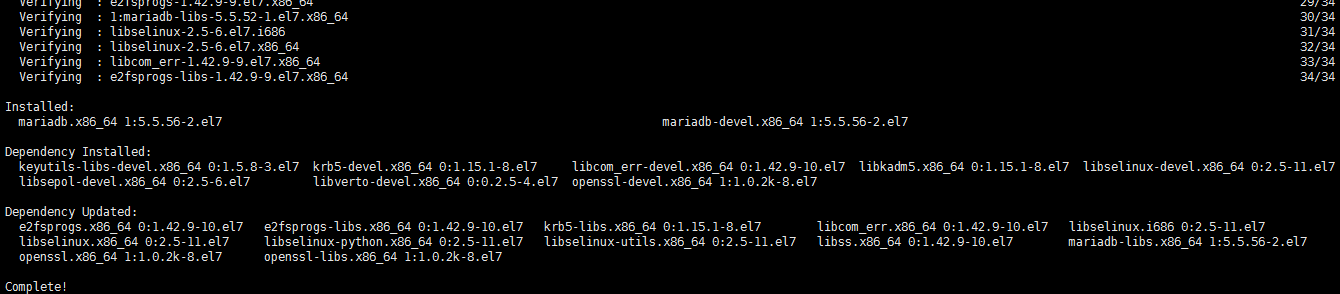
[root@VM_48_141_centos logs]# yum -y install mysql-server mysql mysql-devel
然后花了一下午在改mysql,装的不是mysql,而是mariadb
1.卸载:yum autoremove mysql -y
2.wget https://dev.mysql.com/get/mysql57-community-release-el7-11.noarch.rpm
3.yum localinstall mysql57-community-release-el7-11.noarch.rpm
4.yum repolist enabled | grep "mysql.*-community.*"
5.yum install mysql-community-server -y
6. 启动mysql并查看其状态
命令:systemctl start mysqld
命令:systemctl status mysqld
7. 设置mysql为系统服务,随系统启动而启动
命令:systemctl enable mysqld
命令:systemctl daemon-reload
8. 查看mysql下root账号的默认密码
mysql5.7安装完成之后,在/var/log/mysqld.log文件中给root生成了一个默认密码。通过下面的方式找到root默认密码,然后登录mysql。
命令:grep 'temporary password' /var/log/mysqld.log
其中Jb2h<%lp9itY部分就是默认密码
9.2. 修改my.cnf文件(/etc/my.cnf)
9.2.1. 修改密码策略
mysql的密码策略分为三种:
0或LOW:Length
1或MEDIUM:Length; numeric, lowercase/uppercase, and special characters
2或STRONG:Length; numeric, lowercase/uppercase, and special characters; dictionary file
在mysql的配置文件my.cnf文件中增加如下设置
#如果不需要密码策略,禁用密码策略
validate_password = off
# 密码选择策略 0-LOW,1-MEDIUM,2-STRONG需要提供密码字典文件
validate_password_policy = 0
9.2.2. 修改字符编码为utf8
在my.cnf中的[mysqld]下增加如下配置
character_set_server = utf8
init_connect = 'SET NAMES utf8'
命令:systemctl restart mysqld
10. 登录mysql
命令:mysql -uroot -p
输入密码:默认为刚才查到的Jb2h<%lp9itY
11. 修改密码
命令:ALTER USER 'root'@'localhost' IDENTIFIED BY '12345678';
或命令:set password for 'root'@'localhost'=password('12345678');
12. 添加远程账户
命令:GRANT ALL PRIVILEGES ON *.* TO 'remote'@'%' IDENTIFIED BY '12345678' WITH GRANT OPTION;
命令:FLUSH PRIVILEGES; 使设置生效
三.安装PHP
1. 下载地址:http://cn2.php.net/distributions/php-7.1.11.tar.gz

wget http://cn2.php.net/distributions/php-7.1.11.tar.gz
tar -zxvf php-7.1.11.tar.gz
..安装php依赖包
yum install libxml2 libxml2-devel openssl openssl-devel bzip2 bzip2-devel libcurl libcurl-devel libjpeg libjpeg-devel libpng libpng-devel freetype freetype-devel gmp gmp-devel libmcrypt libmcrypt-devel readline readline-devel libxslt libxslt-devel
./configure --prefix=/usr/local/lnmp/PHP \--with-config-file-path=/etc \--enable-fpm \--with-fpm-user=nginx \--with-fpm-group=nginx \--enable-inline-optimization \--disable-debug \--disable-rpath \--enable-shared \--enable-soap \--with-libxml-dir \--with-xmlrpc \--with-openssl \--with-mcrypt \--with-mhash \--with-pcre-regex \--with-sqlite3 \--with-zlib \--enable-bcmath \--with-iconv \--with-bz2 \--enable-calendar \--with-curl \--with-cdb \--enable-dom \--enable-exif \--enable-fileinfo \--enable-filter \--with-pcre-dir \--enable-ftp \--with-gd \--with-openssl-dir \--with-jpeg-dir \--with-png-dir \--with-zlib-dir \--with-freetype-dir \--enable-gd-native-ttf \--enable-gd-jis-conv \--with-gettext \--with-gmp \--with-mhash \--enable-json \--enable-mbstring \--enable-mbregex \--enable-mbregex-backtrack \--with-libmbfl \--with-onig \--enable-pdo \--with-mysqli=mysqlnd \--with-pdo-mysql=mysqlnd \--with-zlib-dir \--with-pdo-sqlite \--with-readline \--enable-session \--enable-shmop \--enable-simplexml \--enable-sockets \--enable-sysvmsg \--enable-sysvsem \--enable-sysvshm \--enable-wddx \--with-libxml-dir \--with-xsl \--enable-zip \--enable-mysqlnd-compression-support \--with-pear \--enable-opcache
.编译与安装
# make && make install
这里要make好久,要耐心一下
.添加 PHP命令到环境变量
# vim /etc/profile
在末尾加入
PATH=$PATH:/usr/local/php/bin
export PATH
要使改动立即生效执行
# source /etc/profile
查看环境变量
# echo $PATH
查看php版本
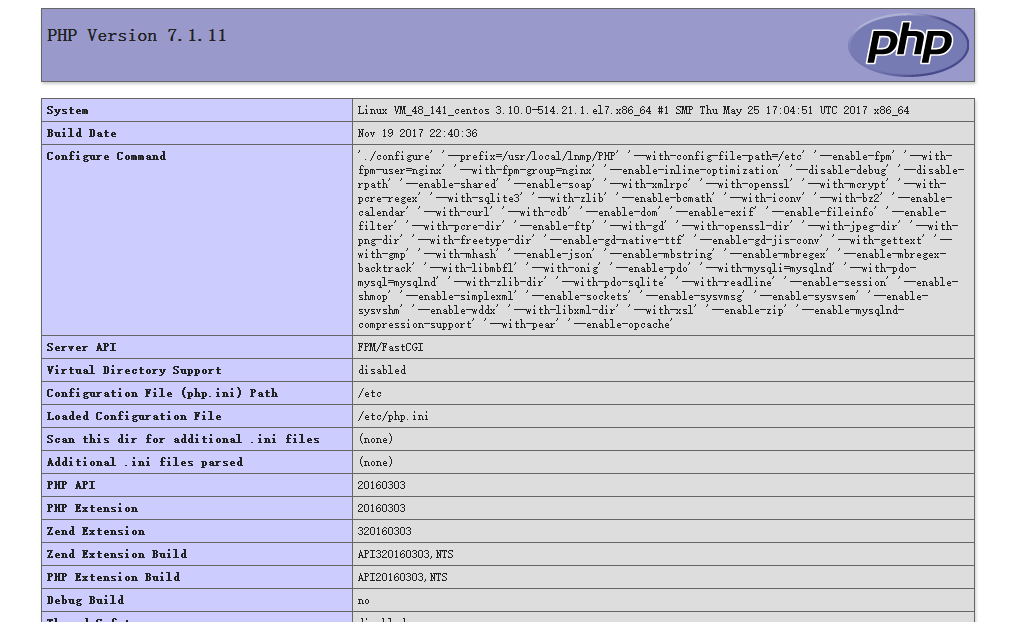
# php -v
配置php-fpm
# cp php.ini-production /etc/php.ini
# cp /usr/local/php/etc/php-fpm.conf.default /usr/local/php/etc/php-fpm.conf
# cp /usr/local/php/etc/php-fpm.d/www.conf.default /usr/local/php/etc/php-fpm.d/www.conf
# cp sapi/fpm/init.d.php-fpm /etc/init.d/php-fpm
# chmod +x /etc/init.d/php-fpm
启动php-fpm
# /etc/init.d/php-fpm start
.重启nginx
# service nginx reload
<?php
phpinfo();
可以查看到如下信息


 176
176

 被折叠的 条评论
为什么被折叠?
被折叠的 条评论
为什么被折叠?
 到【灌水乐园】发言


