


一、前言
前文中介绍了ModelFirst,他是先自己做好实体模型,然后生成数据库。现在小编给大家再介绍一种——CodeFirst,代码优先。
二、内容介绍
Code First 这种方式需要先写一些代码,如实体对象,数据关系等,然后根据已有的代码描述,自动创建数据对象。但其实这种方法与Model First是非常类似的。我们自己写的代码,其实就是用代码表示实体模型,而Model First是用可视化的方式描述了实体模型。
下面通过实战演练来展示:
三、实战演练
打开VS2012 ,建立一个控制台应用程序:
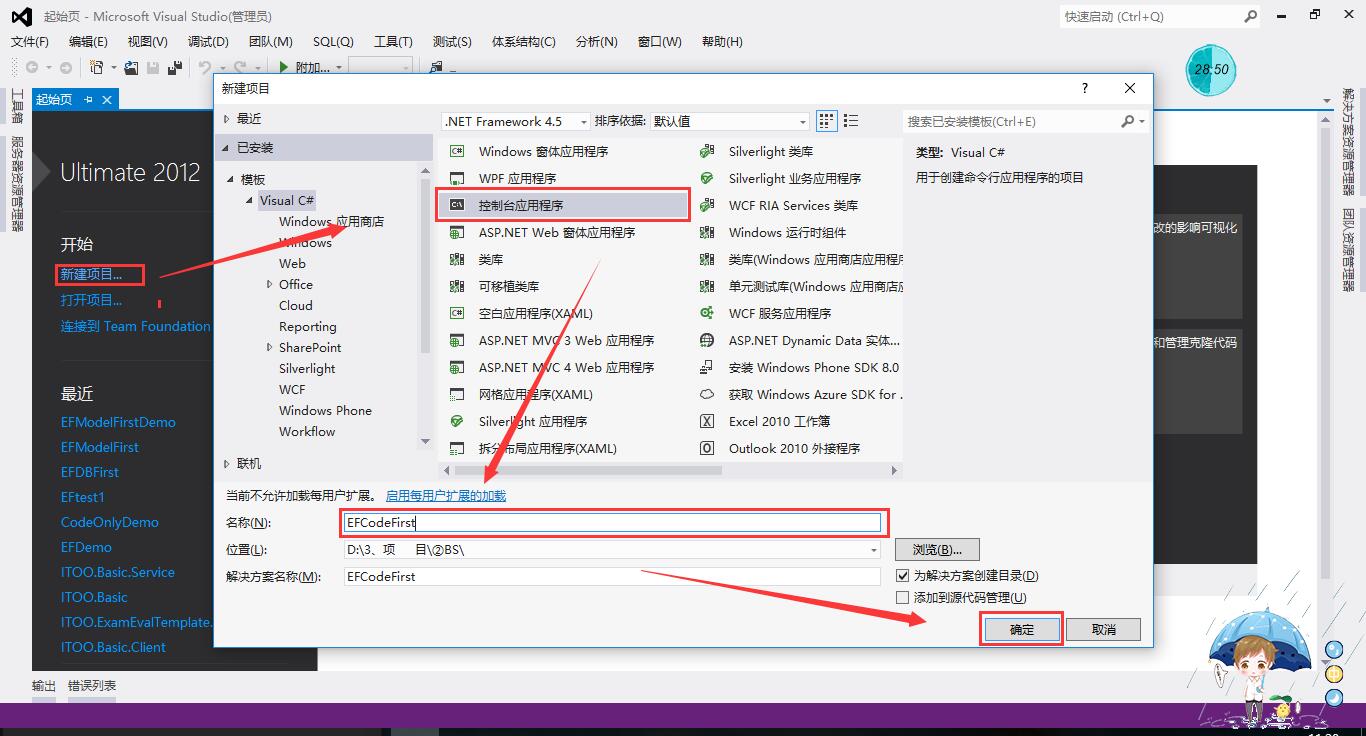
图一 控制台应用程序
使用这种方式前提是要有EF的引用:右击引用,选择“管理Nuget程序包”,打开对话框。
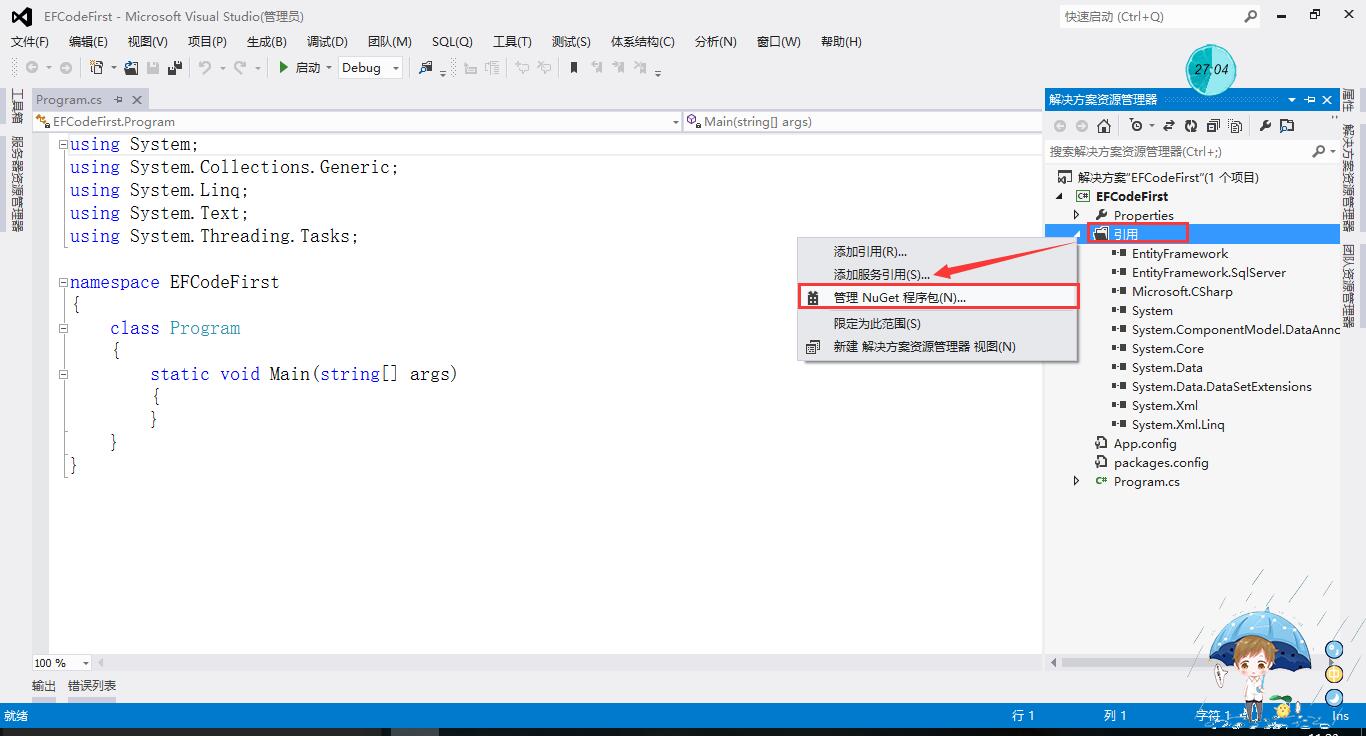
图二 添加EF引用
选择联机搜索,输入EntityFramework,搜索出来后,点击安装。
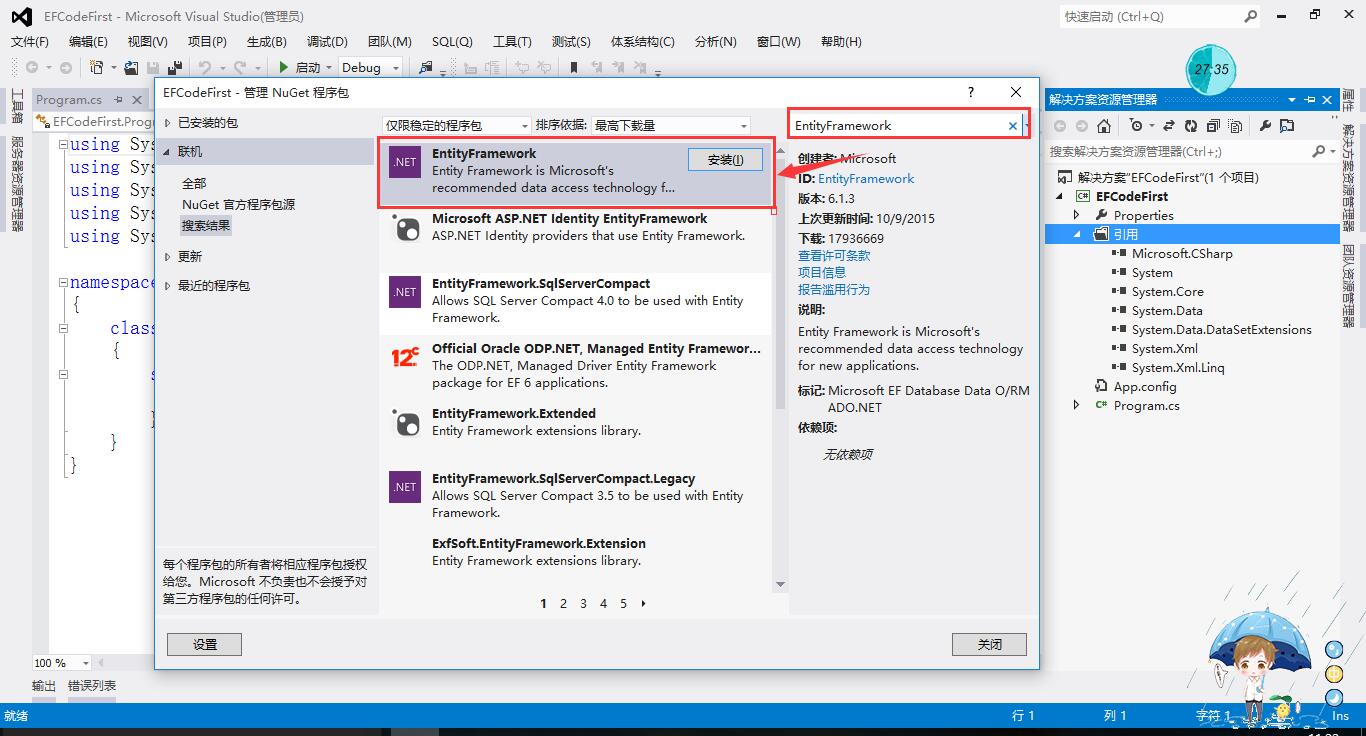
图三 添加EF引用
安装完后的效果:
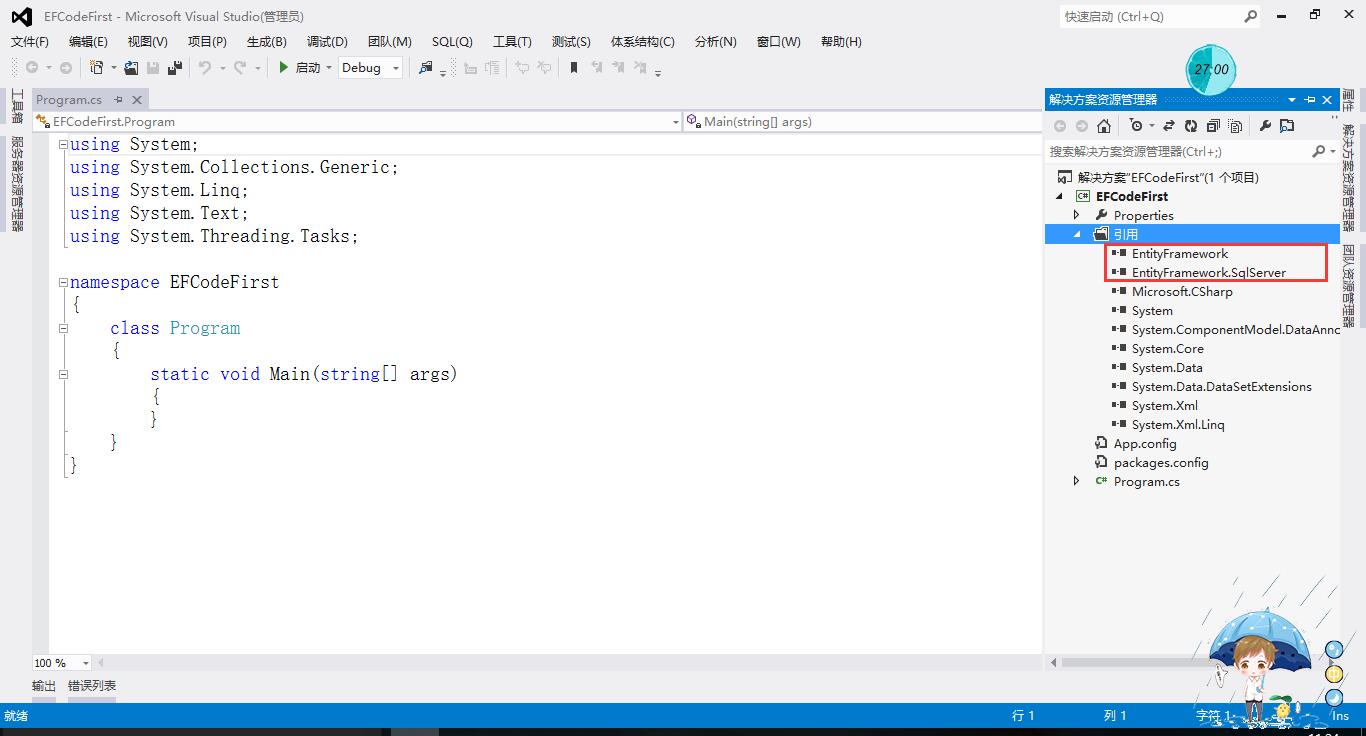
图四 安装完后的效果
这样我们的前期准备工作就结束了,接下来就是代码编写的部分:
首选我们创按两个类:User、Card。
User实体类:
/*********************************************************************
 * 作者:王雷
 * 小组:暂无
 * 说明:用户表类
 * 创建日期:2016年5月18日14:41:18
 * 版本号:V1.0.0
 ************************************************************************/
using System;
using System.Collections.Generic;
using System.Linq;
using System.Text;
using System.Threading.Tasks;
using System.ComponentModel.DataAnnotations;

namespace EFCodeFirst
{
    public class User
    {
        [Key]
        public int Id { get; set; }
        public string Name { get; set; }
    }
}
Card实体类:
/*********************************************************************
 * 作者:王雷
 * 小组:暂无
 * 说明:卡实体类
 * 创建日期:2016年5月18日14:41:21
 * 版本号:V1.0.0
 ************************************************************************/
using System;
using System.Collections.Generic;
using System.Linq;
using System.Text;
using System.Threading.Tasks;
using System.ComponentModel.DataAnnotations;

namespace EFCodeFirst
{
    public class Card
    {
        [Key]
        public int Id { get; set; }
        public string CardName { get; set; }
    }
}
接着我们创建上下文类:CodeFirstContext,它继承于DbContext类。写一下这个类的构造函数,将Value传进去,Value就是配置文件中链接数据库的代码以及一个关于驱动的代码,要注意其中的对应关系,最后把实体放到集合就可以了。
/*********************************************************************
 * 作者:王雷
 * 小组:暂无
 * 说明:上下文
 * 创建日期:2016年5月18日15:06:49
 * 版本号:V1.0.0
 ************************************************************************/
using System;
using System.Collections.Generic;
using System.Data.Entity;
using System.Linq;
using System.Text;
using System.Threading.Tasks;

namespace EFCodeFirst
{
    public class CodeFirstContext : DbContext
    {
        //构造函数
        public CodeFirstContext()
            : base("name = DEMO")
        {
        }
        public DbSet<User> User { get; set; }
        public DbSet<Card> Card { get; set; }
    }
}
配置文件代码如下:
<?xml version="1.0" encoding="utf-8"?>
<configuration>
  <configSections>
    <!-- For more information on Entity Framework configuration, visit http://go.microsoft.com/fwlink/?LinkID=237468 -->
    <section name="entityFramework" type="System.Data.Entity.Internal.ConfigFile.EntityFrameworkSection, EntityFramework, Version=6.0.0.0, Culture=neutral, PublicKeyToken=b77a5c561934e089" requirePermission="false" />
  </configSections>
  <startup>
    <supportedRuntime version="v4.0" sku=".NETFramework,Version=v4.5" />
  </startup>
  <entityFramework>
    <defaultConnectionFactory type="System.Data.Entity.Infrastructure.LocalDbConnectionFactory, EntityFramework">
      <parameters>
        <parameter value="v11.0" />
      </parameters>
    </defaultConnectionFactory>
    <providers>
      <provider invariantName="System.Data.SqlClient" type="System.Data.Entity.SqlServer.SqlProviderServices, EntityFramework.SqlServer" />
    </providers>
  </entityFramework>
  <!--这是自己添加的代码-->
  <connectionStrings>
    <add name="DEMO" connectionString="Data Source=.;Initial Catalog=EFCodeFirst;Integrated Security=True;" providerName="System.Data.SqlClient"/>
  </connectionStrings>
</configuration>
主函数中创建一个数据库,添加数据,测试成果:
using System;
using System.Collections.Generic;
using System.Data.Entity;
using System.Linq;
using System.Text;
using System.Threading.Tasks;

namespace EFCodeFirst
{
    class Program
    {
        static void Main(string[] args)
        {
            //创建上下文
            CodeFirstContext dbcontext = new CodeFirstContext();
            //创建数据库
            dbcontext.Database.CreateIfNotExists();
            //创建表,并将字段加入进去
            User u = new User();
            u.Name = "wang";
            u.Id = 1;
            Card c = new Card();
            c.CardName = "lei";
            c.Id = 1;
            //将实体赋予上下文,并添加到表里
            dbcontext.User.Add(u);
            //保存
            dbcontext.SaveChanges();
            Console.WriteLine("成功创建数据库和表");
            Console.ReadKey();
        }
    }
}
执行程序,结果如下:
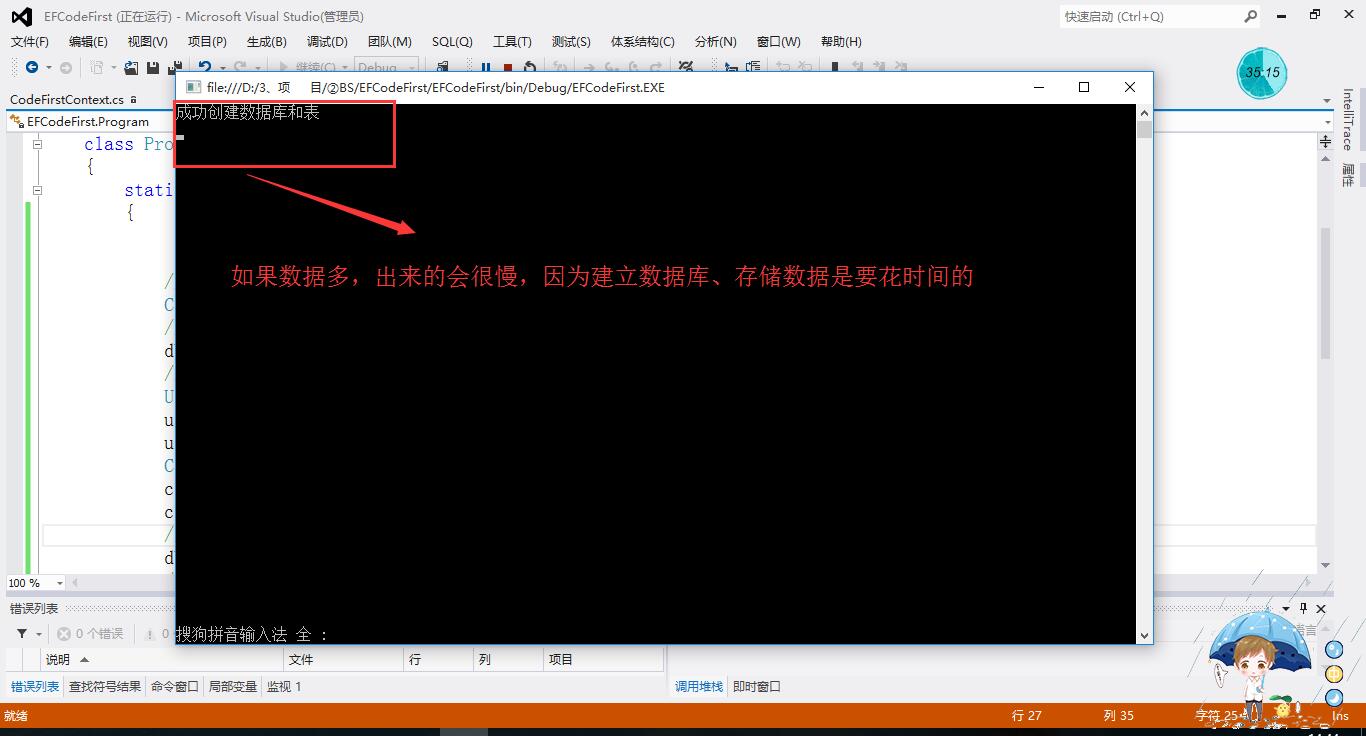
图五 结果如下
生成的数据库:
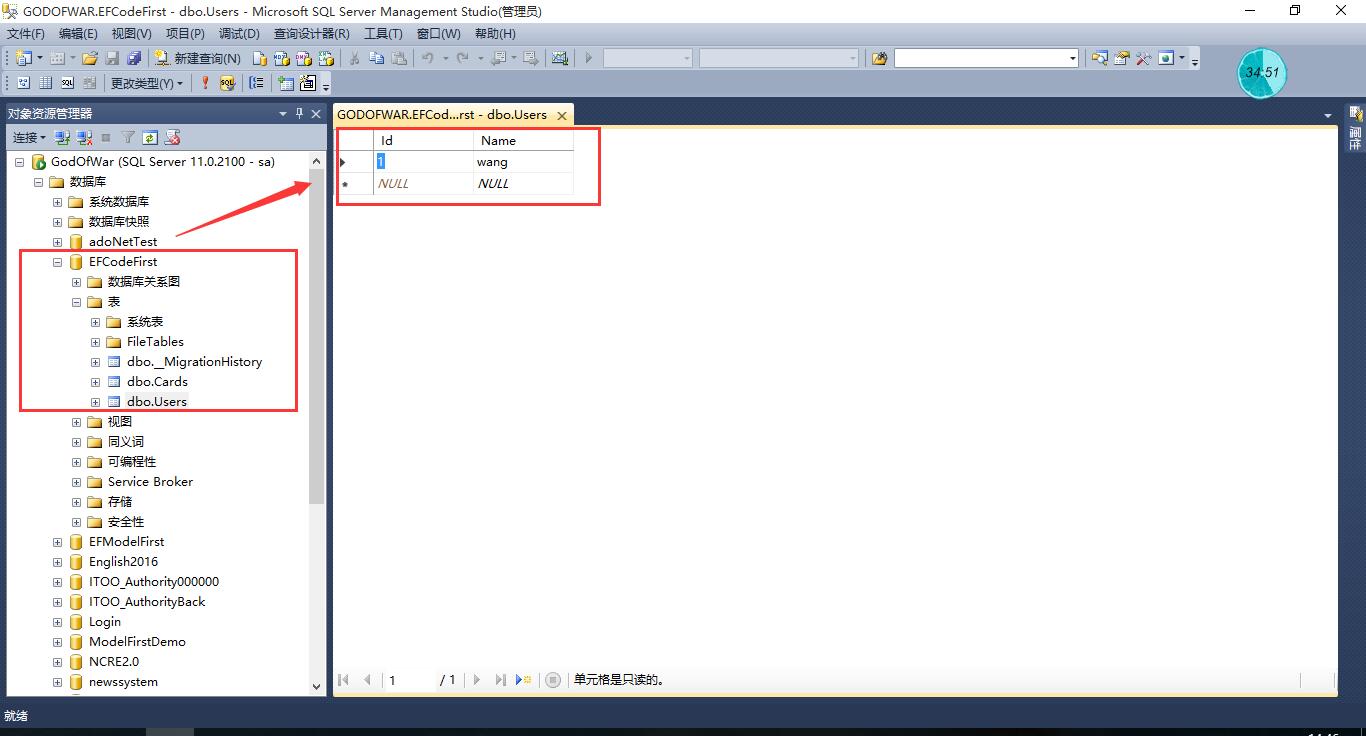
图六 生成的数据库
四、小结
建立一个控制台项目。通过Nuget来获取Entity Framework。可以看出微软为我们建立的底层的框架还是蛮有用的,非常方便。希望小编的对这几种方式能对您有所启发。到这里为止呢~小编就为大家介绍完了EF的三种情况,在后面的博客中会给大家介绍一下在使用EF映射中会出现的问题。敬请期待~~


 8502
8502

 被折叠的 条评论
为什么被折叠?
被折叠的 条评论
为什么被折叠?
 到【灌水乐园】发言


