


之前写过图形上下文裁剪处理后制作头像那样的实现,是在UIView的drawRect里面实现的, 当然也可以在UIImage里面实现,这样就可以直接返回一个UIImage对象,直接可以拿来用。现在写的这个是关于位图上下文的裁剪。也是裁剪成一个圆形头像作为一个例子。
创建一个UIImage的分类,写一个类方法返回一张头像图片
+(UIImage *)circleImageViewWithImageName:(NSString *)imageName
borderWidth:(CGFloat)borderWidth
borderColor:(UIColor *)borderColor
{
//创建图片对象
UIImage *image = [UIImage imageNamed:imageName];
//创建位图上下文,创建的时候会自动开启位图上下文编辑状态
UIGraphicsBeginImageContext(CGSizeMake(image.size.width, image.size.width));
//因为裁剪操作下面都要用到当前的位图上下文,所以获取当前的位图上下文
CGContextRef context = UIGraphicsGetCurrentContext();
//设置裁剪圆的路径
CGRect imageRect =CGRectMake(0, 0, image.size.width, image.size.width);
CGContextAddEllipseInRect(context, imageRect);
//进行裁剪
CGContextClip(context);
//将裁剪完的图片放进位图上下文中
[image drawInRect:imageRect];
//设置边框-设置颜色
[borderColor set];
//设置边框-设置宽度
CGContextSetLineWidth(context, borderWidth);
//设置边框-画圆
CGContextAddEllipseInRect(context, imageRect);
//渲染
CGContextStrokePath(context);
//创建UIImage对象接收位图上下文
UIImage *newImage = UIGraphicsGetImageFromCurrentImageContext();
//PS:要记得获取完图片之后再结束上下文的编辑,否则,先结束编辑的话就获取不到图片了!!
//结束位图编辑状态
UIGraphicsEndImageContext();
//返回UIImage对象
return newImage;
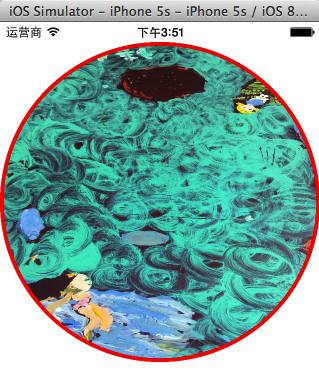
}这样写方便以后用的时候就可以直接导入头文件使用了,例如现在Viewcontroller里面写的:
- (void)viewDidLoad {
    [super viewDidLoad];
    UIImage* image = [UIImage circleImageViewWithImageName:@"img" borderWidth:45 borderColor:[UIColor redColor]];
    UIImageView* imageView = [[UIImageView alloc]initWithFrame:CGRectMake(0, 20, self.view.frame.size.width, self.view.frame.size.width)];
    imageView.image = image;

    [self.view addSubview:imageView];
}
运行效果:


 1万+
1万+

 被折叠的 条评论
为什么被折叠?
被折叠的 条评论
为什么被折叠?
 到【灌水乐园】发言


