


使用yml安装方式就可以生成
第一步:查看mysql是否安装。
rpm -qa|grep mysql
第二步:如果mysql的版本不是想要的版本。需要把mysql卸载。
yum remove mysql mysql-server mysql-libs mysql-common
rm -rf /var/lib/mysql
rm /etc/my.cnf
第三步:安装mysql。需要使用yum命令安装。在安装mysql之前需要安装mysql的下载源。需要从oracle的官方网站下载。
下载mysql的源包。
我们是centos6.4对应的rpm包为:mysql-community-release-el6-5.noarch.rpm
下载地址https://download.csdn.net/download/kxj19980524/10904756
安装mysql下载源:
yum localinstall mysql-community-release-el6-5.noarch.rpm
在线安装mysql:
yum install mysql-community-server
第四步:启动mysql
service mysqld start
第五步:需要给root用户设置密码。
/usr/bin/mysqladmin -u root password 'new-password' // 为root账号设置密码
第六步:远程连接授权。进入mysql后输入下面命令
GRANT ALL PRIVILEGES ON *.* TO 'myuser'@'%' IDENTIFIED BY 'mypassword' WITH GRANT OPTION;
注意:'myuser'、'mypassword' 需要替换成实际的用户名和密码。
如果修改完密码登录不上的话
首先停止mysql服务进程:
service mysqld stop
然后编辑mysql的配置文件my.cnf
vim /etc/my.cnf
找到 [mysqld]这个模块:
在最后面添加一段代码

skip-grant-tables ##忽略mysql权限问题,直接登录
启动mysql服务:
service mysqld start
然后直接输入mysql就进去了

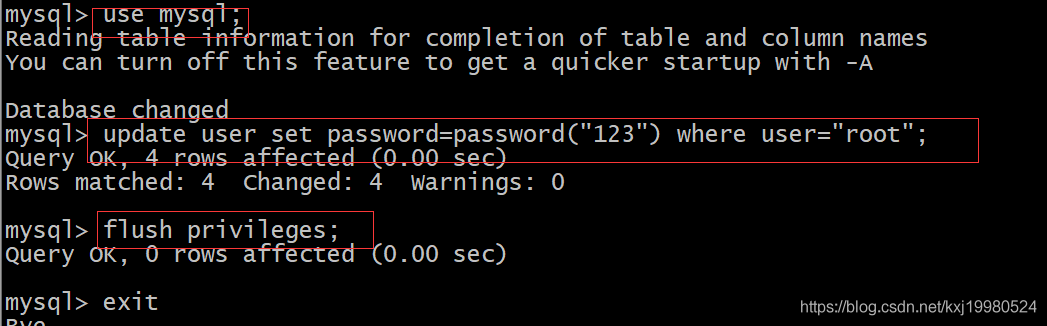
使用mysql表,然后进行修改mysql的root密码:
mysql> use mysql; ##使用mysql数据库
mysql> update user set password=password("123456") where user="root";##更新密码
mysql> flush privileges;##刷新权限


 被折叠的 条评论
为什么被折叠?
被折叠的 条评论
为什么被折叠?
 到【灌水乐园】发言


