


SpringBoot框架内部提供了很多我们需要用到的组件。在我们平时的项目中,数据的存储以及访问都是最为核心的关键部分,现在有很多企业采用主流的数据库,如关系型数据库:MySQL,oracle,sqlserver。非关系型数据库:redis,mongodb等。SpringBoot已经为我们提供了很多种的数据库来做数据存储以及读取,这一章我们以MySQL为例来讲述本章的内容。
构建Maven项目
打开pom.xml文件,添加web、jpa、mysql组件依赖
<dependencies>
        <dependency>
            <groupId>org.springframework.boot</groupId>
            <artifactId>spring-boot-starter-data-jpa</artifactId>
        </dependency>
        <dependency>
            <groupId>org.springframework.boot</groupId>
            <artifactId>spring-boot-starter-web</artifactId>
        </dependency
        <dependency>
            <groupId>mysql</groupId>
            <artifactId>mysql-connector-java</artifactId>
            <scope>runtime</scope>
        </dependency>
        <dependency>
            <groupId>org.springframework.boot</groupId>
            <artifactId>spring-boot-starter-tomcat</artifactId>
        </dependency>
        <dependency>
            <groupId>org.springframework.boot</groupId>
            <artifactId>spring-boot-starter-test</artifactId>
            <scope>test</scope>
        </dependency>
</dependencies>注意:如果使用内部tomcat运行项目需要将spring-boot-starter-tomcat的scope标签注释掉。
配置数据源以及JPA
在resources目录下创建application.yml文件,并且配置DataSource以及JPA,如下:

JPA的配置了show-sql用来在控制台输出JPA自动生成的sql语句。
创建实体
@Entity
@Table(name = "t_users")
public class UserEntity implements Serializable
{
    @Id
    @GeneratedValue
    @Column(name = "t_id")
    private Long id;
    @Column(name = "t_name")
    private String name;
    @Column(name = "t_age")
    private int age;
    @Column(name = "t_address")
    private String address;
    public Long getId() {
        return id;
    }
    public void setId(Long id) {
        this.id = id;
    }
    public String getName() {
        return name;
    }
    public void setName(String name) {
        this.name = name;
    }
    public int getAge() {
        return age;
    }
    public void setAge(int age) {
        this.age = age;
    }
    public String getAddress() {
        return address;
    }
    public void setAddress(String address) {
        this.address = address;
    }
}
创建JPA
public interface UserJPA extends
        JpaRepository<UserEntity, Long>,
        JpaSpecificationExecutor<UserEntity>,
        Serializable{
}
UserJPA继承了JpaRepository接口(SpringDataJPA提供的简单数据操作接口)、JpaSpecificationExecutor(SpringDataJPA提供的复杂查询接口)、Serializable(序列化接口)。
我们并不需要做其他的任何操作了,因为SpringBoot以及SpringDataJPA会为我们全部搞定,SpringDataJPA内部使用了类代理的方式让继承了它接口的子接口都以spring管理的Bean的形式存在,也就是说我们可以直接使用@Autowired注解在spring管理bean使用。
用@RestController注解来编写一个控制器
@RestController
@RequestMapping(value = "/user")
public class UserController {

    @Autowired
    private UserJPA userJPA;
    /**
     * 查询用户列表方法
     */
    @RequestMapping(value ="/list" ,method = RequestMethod.GET)
    public List<UserEntity> list(){
    //SpringDataJPA为我们提供的内置方法,它可以查询表内所有的数据
        return userJPA.findAll();
    }
    /**
     * 添加、更新用户方法
     * @param entity
     */
    @RequestMapping(value = "/save",method = RequestMethod.GET)
    public UserEntity save(UserEntity entity)
    {
    //userJPA.save方法可以执行添加也可以执行更新,如果需要执行持久化的实体存在主键值则更新数据,如果不存在则添加数据。
        return userJPA.save(entity);
    }
    /**
     * 删除用户方法
     * @param id 用户编号
     */
    @RequestMapping(value = "/delete",method = RequestMethod.GET)
    public List<UserEntity> delete(Long id)
    {
        userJPA.deleteById(id);
        return userJPA.findAll();
    }
}
运行项目
先添加一条用户信息到数据库,请求地址:
http://127.0.0.1:8080/user/save?name=admin&age=22&address=jinan
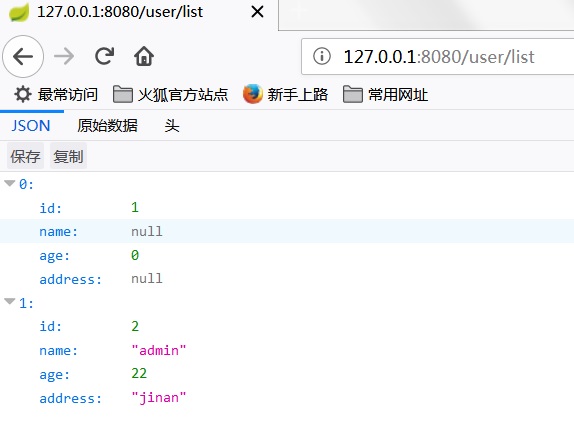
再查询,结果如下:
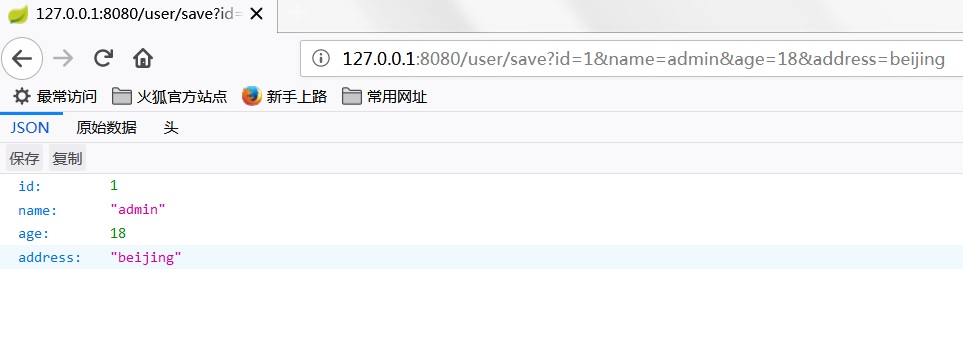
更新:http://127.0.0.1:8080/user/save?id=1&name=admin&age=18&address=beijing
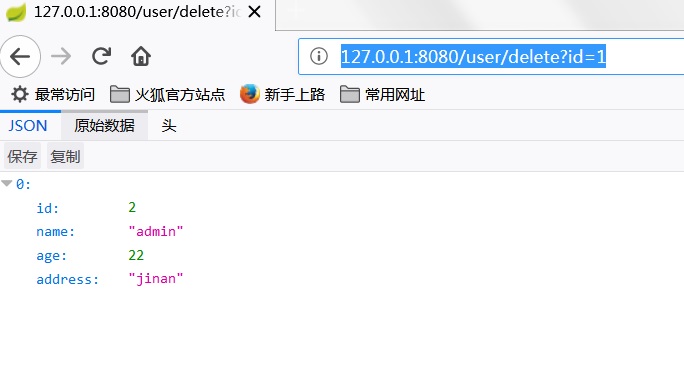
删除:http://127.0.0.1:8080/user/delete?id=1


 1万+
1万+

 被折叠的 条评论
为什么被折叠?
被折叠的 条评论
为什么被折叠?
 到【灌水乐园】发言


