


一.需要软件:VSCODE
二.制作一个简单的登陆界面,详细说明见:https://blog.csdn.net/l7_804829222/article/details/137770922?spm=1001.2014.3001.5502
css源码如下:
<style>
  p {
    font-size: 40px;
    text-align: center;
    margin: auto;
  }

  label {
    font-size: 15px;
  }

  input {
    height: 25px;
    width: 250px;
    margin-top: 5px;
  }

  .sel {
    margin-top: 10px;
    display: block;
    font-size: 13px;
  }

  .sel input {
    width: 10px;
    height: 10px;
    margin: 2px;
  }

  a {
    color: blue;
    text-decoration: none;
  }

  a:hover {
    cursor: pointer;
    color: rgb(55, 85, 138);
  }

  button {
    width: 200px;
    height: 45px;
    margin-left: 70px;
    font-size: large;
    background-color: rgb(88, 84, 156);
    color: #fff;
  }

  button:hover {
    cursor: pointer;
    background-color: rgb(94, 123, 174);
  }

  #vcode {
    height: 35px;
    width: 150px;
    font-size: 15px;
    border-radius: 5px;
    border: 1;
    padding-left: 8px;
  }

  #code {
    color: #ffffff;
    background-color: #000000f7;
    font-size: 20px;
    padding: 5px 35px 10px 35px;
    margin-left: 5%;
    cursor: pointer;
  }

  #search_pass_link {
    width: 70%;
    text-align: right;
    margin: 0 auto;
    padding: 5px;
  }

  .btns {
    width: 30%;
    margin-left: 13%;
    height: 40px;
    border: 0;
    font-size: 14pt;
    cursor: pointer;
    border-radius: 20px;
    border: 0;
  }
</style>
界面主要代码:
<body style="
      background: url(1.png);
      background-repeat: no-repeat;
      background-size: 100%;
    " leftmargin="0" onload="changeImg()">
  <div style="
        background-color:rgb(245, 243, 243,0.7);
        margin: auto;
        height: 350px;
        width: 450px;
        margin-top: 200px;
      ">
    <p>登录</p>
    <div style=" height: 250px; width: 350px;margin: auto;">
      <form action="">
        <label for="user">用户名/username:</label><br />
        <input type="text" name="user" id="user"><br>
        <label for="password">密码/password:</label><br />
        <input type="password" name="password" id="password">
      </form>
      <a href="">忘记密码?</a><br />
      <div class="main_bar">
        <form action="www.baidu.com" onsubmit="check()">
          <input type="text" id="vcode" placeholder="验证码" value="验证码" onfocus="this.value=''"
            onblur="if(this.value=='')this.value='验证码'" /><span id="code" title="看不清,换一张"></span>
          <div id="search_pass_link">
          </div>
        </form>
      </div>
      <a href="#">登录相关服务条款和隐私政策</a><br />
      <label for="" class="sel"><input type="checkbox" />我已阅读并同意服务提条款和隐私政策</label><br />
      <button onclick="login()">登录</button>
    </div>
  </div>
此时运行出来的界面:
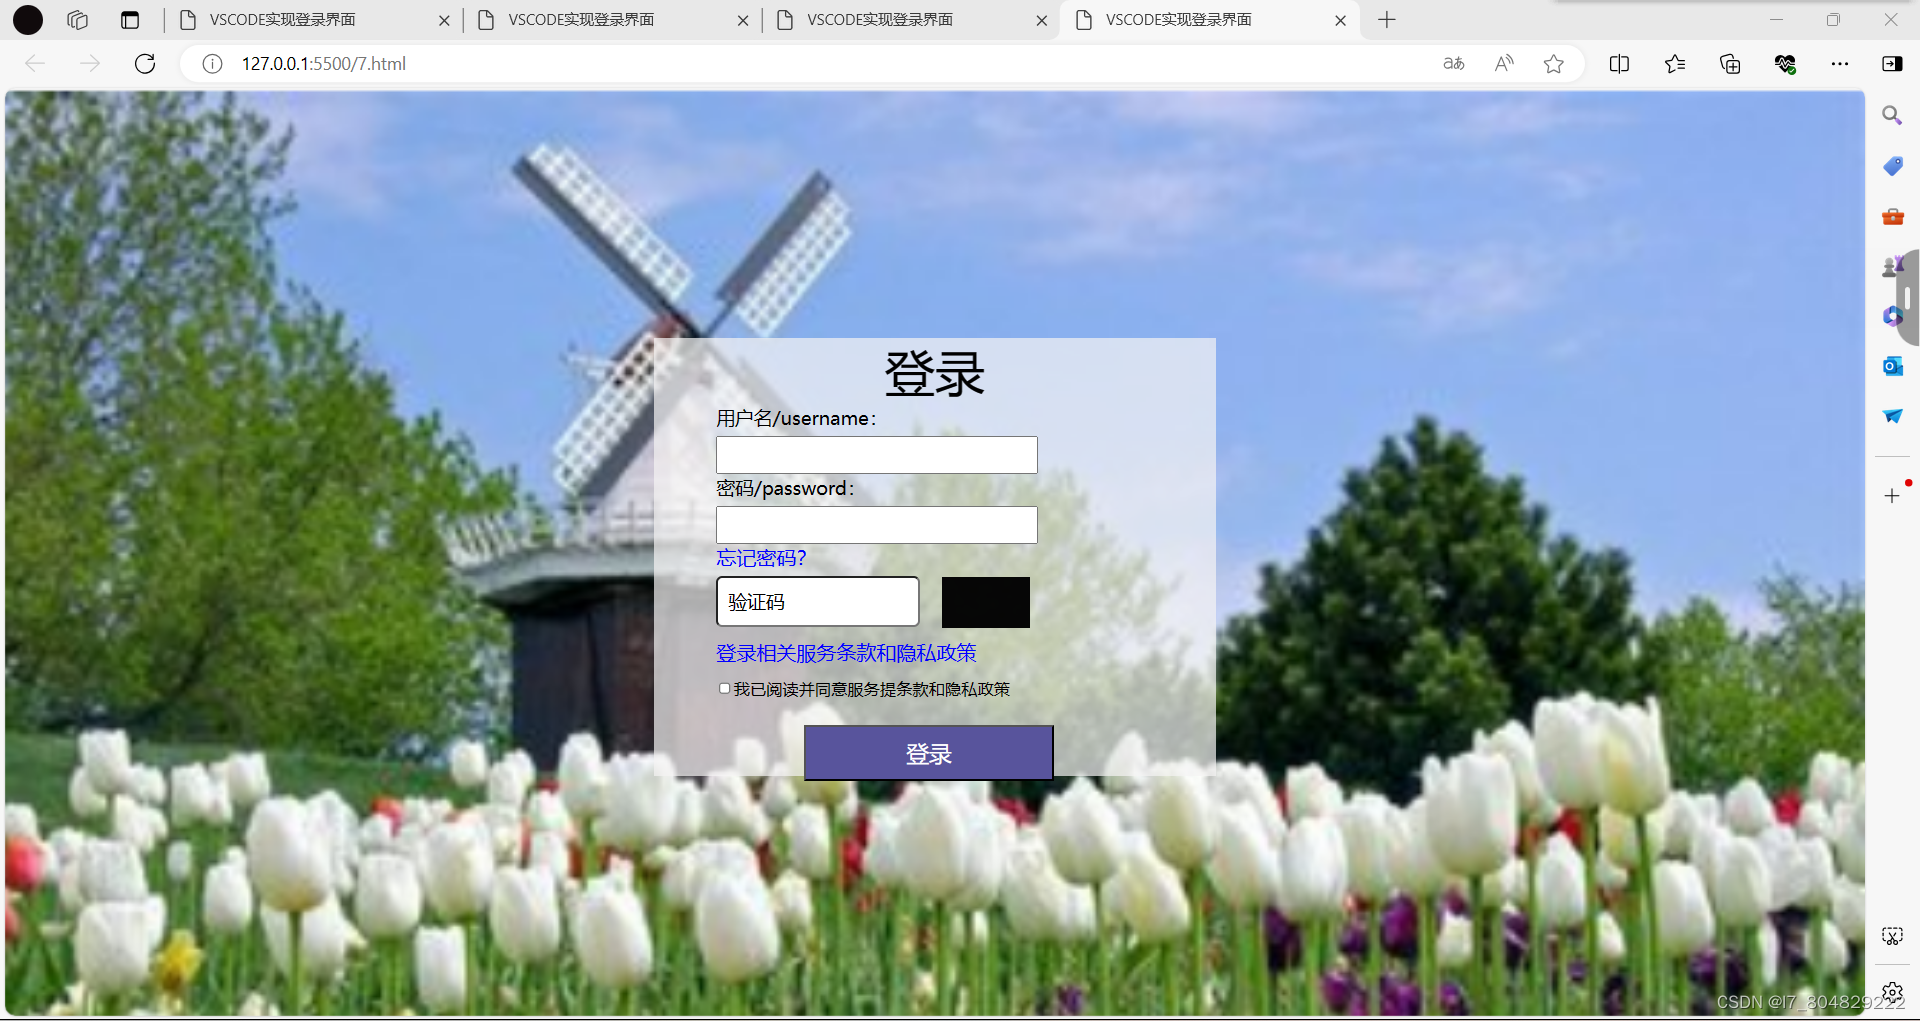
如图可以看出,验证码未显示,以及登录无法跳转。此时我们用到Javascript。
三.简介
JavaScript是一门解释型语言,所谓解释型指语言是指不需要被编译为机器码在执行,而是直接浏览器|node中执行。
JavaScript 组成:

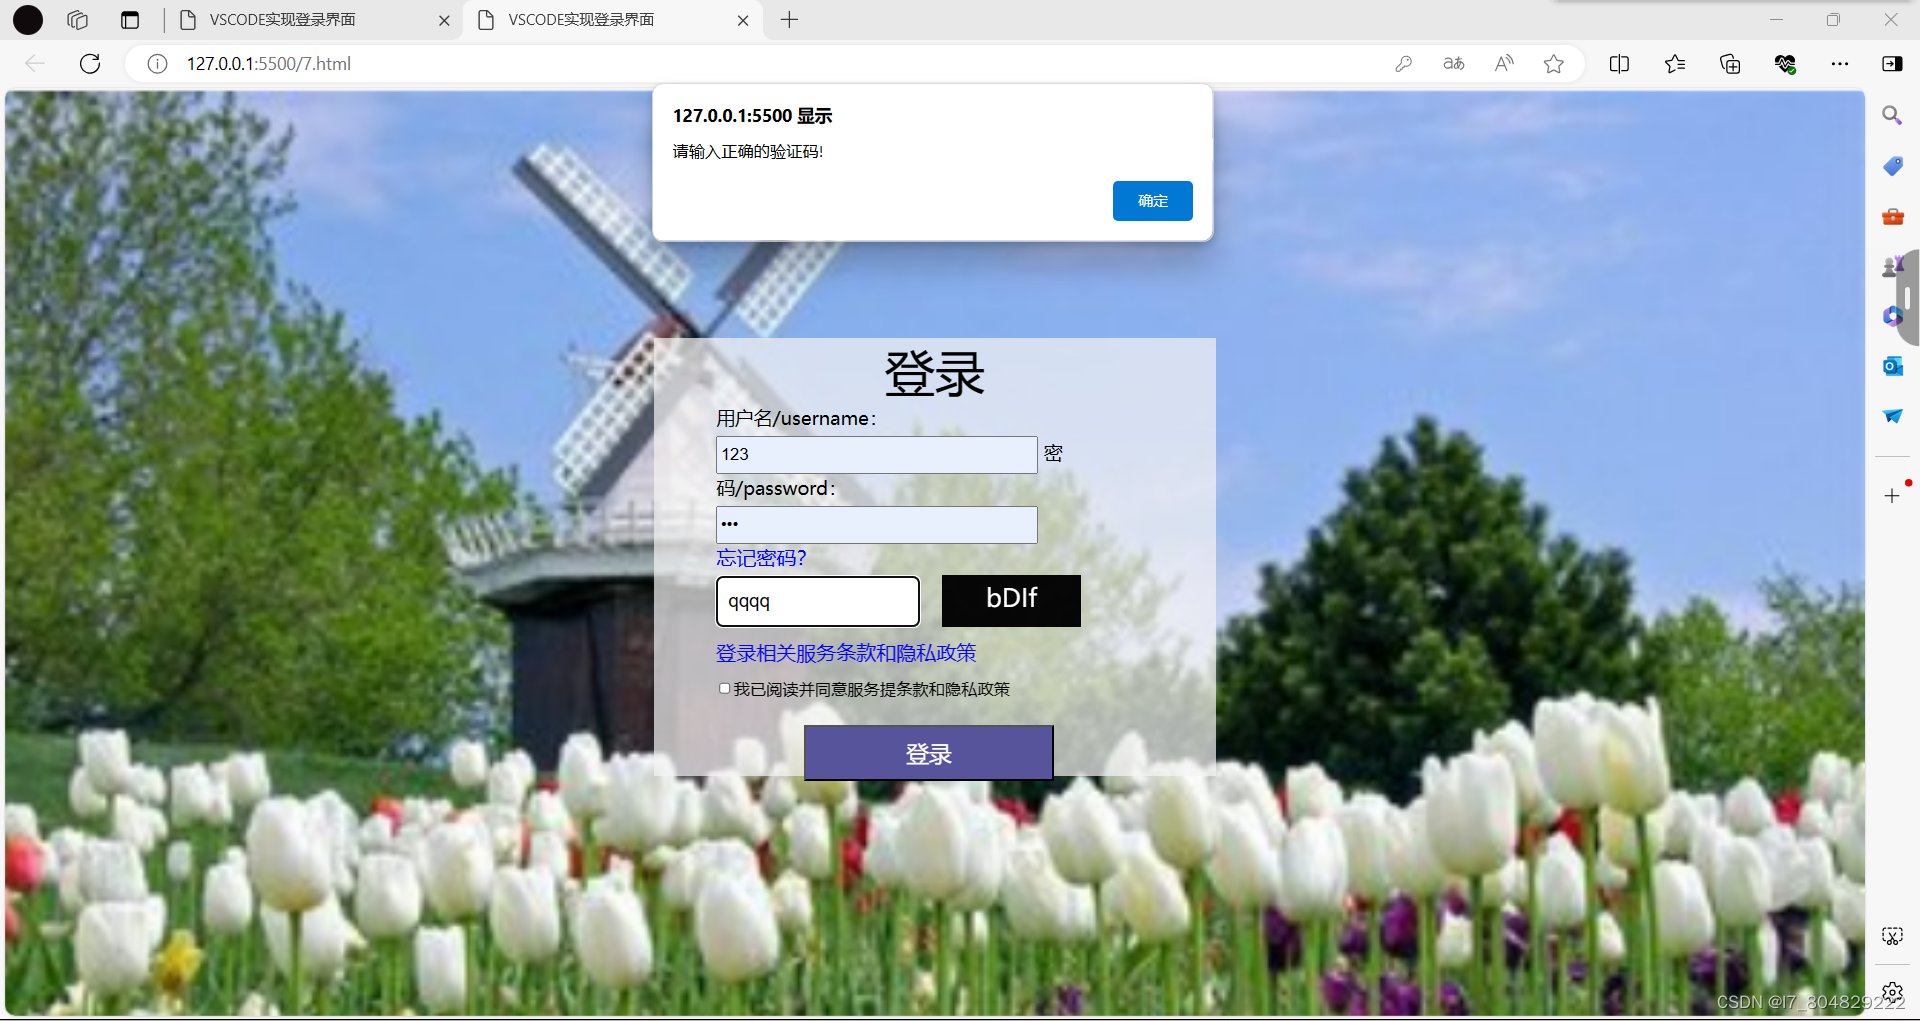
四.验证码
当验证码输入错误,提示界面如图:
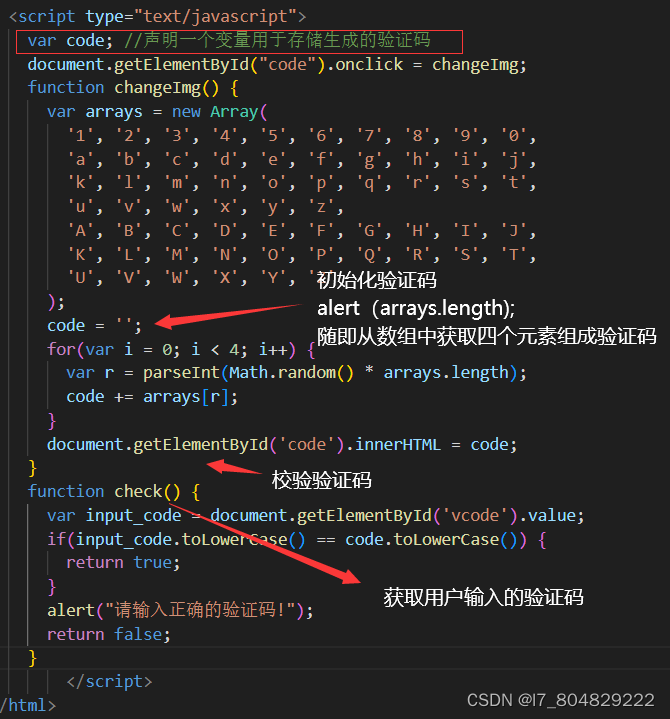
源码:
  <script type="text/javascript">
    var code; //声明一个变量用于存储生成的验证码
    document.getElementById("code").onclick = changeImg;
    function changeImg() {
      var arrays = new Array(
        '1', '2', '3', '4', '5', '6', '7', '8', '9', '0',
        'a', 'b', 'c', 'd', 'e', 'f', 'g', 'h', 'i', 'j',
        'k', 'l', 'm', 'n', 'o', 'p', 'q', 'r', 's', 't',
        'u', 'v', 'w', 'x', 'y', 'z',
        'A', 'B', 'C', 'D', 'E', 'F', 'G', 'H', 'I', 'J',
        'K', 'L', 'M', 'N', 'O', 'P', 'Q', 'R', 'S', 'T',
        'U', 'V', 'W', 'X', 'Y', 'Z'
      );
      code = '';
      for (var i = 0; i < 4; i++) {
        var r = parseInt(Math.random() * arrays.length);
        code += arrays[r];
      }
      document.getElementById('code').innerHTML = code;
    }
    function check() {
      var input_code = document.getElementById('vcode').value;
      if (input_code.toLowerCase() == code.toLowerCase()) {
        return true;
      }
        alert("请输入正确的验证码!");
        return false;
      }
    </script>
五.登录跳转
源码:
<script>
function login() {
var user_value = document.querySelector('#user').value;
var password_value = document.querySelector('#password').value;
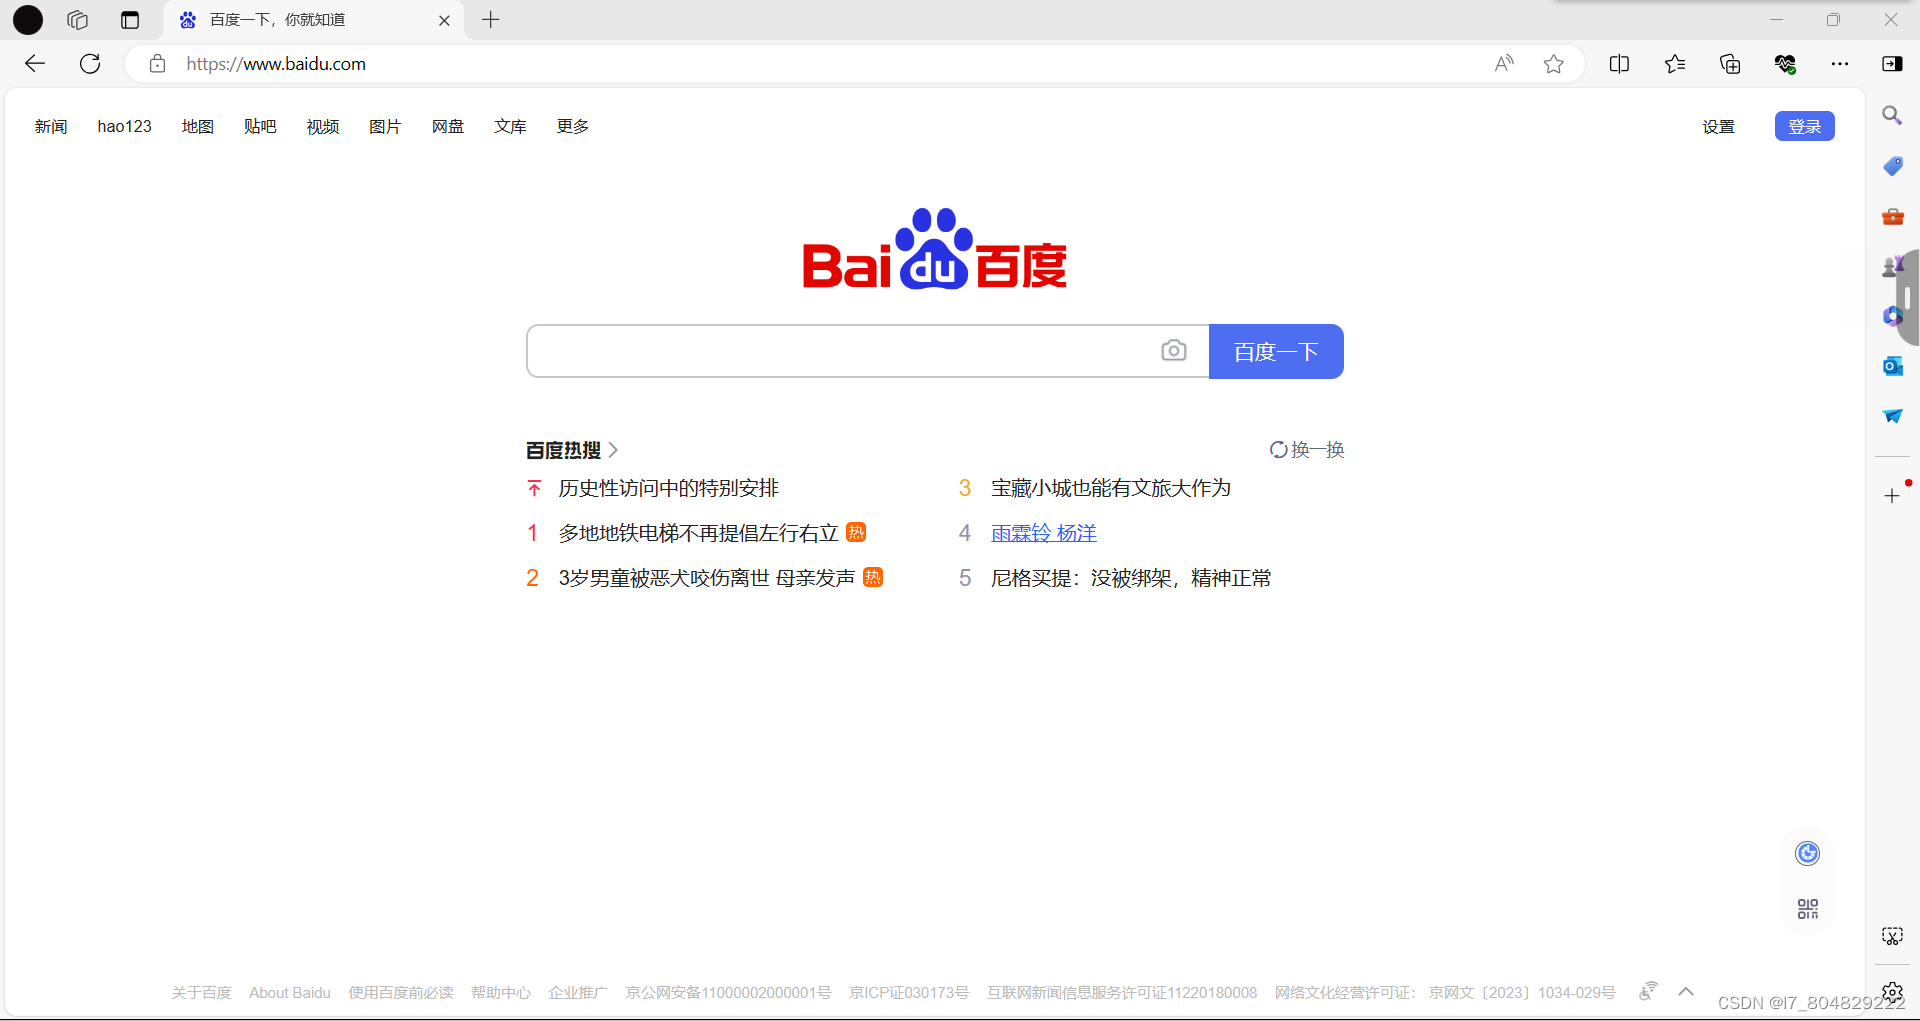
if (user_value == '123' && password_value == '123') {
alert('登录成功');
location.href = "https://www.baidu.com";
}
else {
alert('用户名或密码错误!!!')
}
}
</script>注意:实现页面跳转,使用location.href属性可以设置或获取当前页面的URL。通过将其值设置为新的URL,可以实现页面跳转。
当密码输入错误时的界面:

当输入正确密码时,直接跳转:
六.总结
学习页面跳转的时候,摸索了挺久,刚开始认为a标签实现超链接,加上密码输入正确的前提条件可行,但后面运行不起来。最后找到了这种简单的方法:使用location.href属性。


 650
650


 被折叠的 条评论
为什么被折叠?
被折叠的 条评论
为什么被折叠?
 到【灌水乐园】发言


