


目录
基础环境:
- Python3.9
- hive3.1.2
1、hive配置检查
- hive的配置文件为:hive-site.xml,查看hive-site.xml配置文件,基础配置如下:
<configuration>
<!-- 存储元数据mysql相关配置 -->
<property>
<name>javax.jdo.option.ConnectionURL</name>
<value>jdbc:mysql://node1:3306/hive3?createDatabaseIfNotExist=true&useSSL=false&useUnicode=true&characterEncoding=UTF-8</value>
</property><property>
<name>javax.jdo.option.ConnectionDriverName</name>
<value>com.mysql.jdbc.Driver</value>
</property><property>
<name>javax.jdo.option.ConnectionUserName</name>
<value>root</value>
</property><property>
<name>javax.jdo.option.ConnectionPassword</name>
<value>hadoop</value>
</property><!-- H2S运行绑定host -->
<property>
<name>hive.server2.thrift.bind.host</name>
<value>node1</value>
</property><!-- 远程模式部署metastore metastore地址 -->
<property>
<name>hive.metastore.uris</name>
<value>thrift://node1:9083</value>
</property><!-- 关闭元数据存储授权 -->
<property>
<name>hive.metastore.event.db.notification.api.auth</name>
<value>false</value>
</property>
</configuration>
注:上面的配置是hive正常运行的最基本的配置,如果还想通过Python连接hive,还需要新增以下 配置
| 配置 | 默认值 | 说明 |
| hive.server2.thrift.min.worker.threads | 5 | Thrift最小工作线程数 |
| hive.server2.thrift.max.worker.threads | 500 | Thrift最大工作线程数 |
| hive.server2.thrift.port | 10000 | HiveServer2 传输模式设置为 binary 时,Thrift 接口的端口号 |
| hive.server2.authentication | NONE | 客户端认证类型,NONE、LDAP、KERBEROS、CUSTOM、PAM、NOSASL |
注:本次示例连接使用的客户端认证方式为NOSASL,所以需要把hive.server2.authentication的值配置为NOSASL。
- 新增配置如下:
- 注:配置完成后需要重启hive才能生效
<property>
<name>hive.server2.thrift.min.worker.threads</name>
<value>5</value>
</property>
<property>
<name>hive.server2.thrift.max.worker.threads</name>
<value>100</value>
</property>
<property>
<name>hive.server2.thrift.port</name>
<value>10000</value>
</property>
<property>
<name>hive.server2.authentication</name>
<value>NOSASL</value>
</property>
2、启动HiveServer2 服务
- 说明:在完成hive-site.xml的配置后需要重启hive,才能使配置生效。
- HiveServer2 是一种可选的 Hive 内置服务,可以允许远程客户端使用不同编程语言向 Hive 提交请求并返回结果。
- hive客户端与服务的关系如下图:

- 从上图的关系图可以看出,要想HiveServer2生效,首先启动metastore服务,然后启动hiveserver2服务。
2.1、启动HiveServer2
- 执行以下启动命令
- 注:
- 路径:/opt/server/hive-3.1.2/bin/hive 为hive的安装路径
- hiveserver2服务启动之后需要稍等一下才可以对外提供服 务。
- 注:
#先启动metastore服务 然后启动hiveserver2服务;参数:& 表示后台启动
nohup /opt/server/hive-3.1.2/bin/hive --service metastore &
nohup /opt/server/hive-3.1.2/bin/hive --service hiveserver2 &
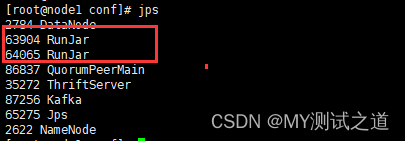
2.2、检查HiveServer2是否启动成功
- 1、如果是管理员执行命令:jps ,查看是否有两个RunJar进程启动
- 2、非管理员可以使用查看进程的命令,查看是否有端口号为10000的进程启动
sudo netstat -nl | grep 10000
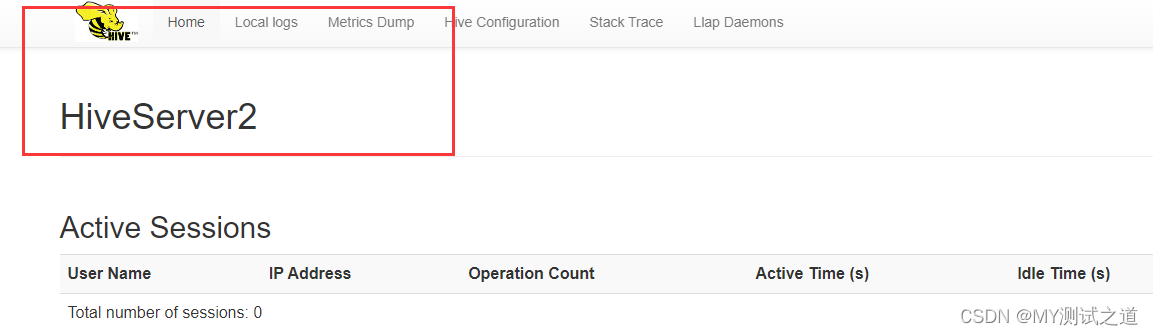
- 3、访问对应HiveServer2的webUI界面,是否能成功访问
# 把ip地址换成自己服务器的IP地址
访问地址:http://ip:10002/
3、Python连接hive
3.1、安装依赖的第三方库包
- 注:pyhive这个包依 赖于sasl,thrift,thrift-sasl这三个包。
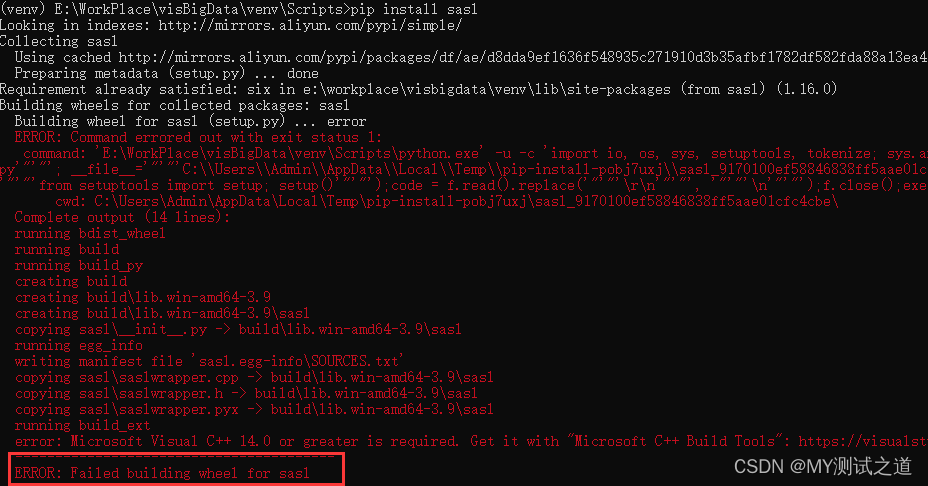
pip install sasl
pip install thrift
pip install thrift-sasl
pip install PyHive
- 安装sasl库出现以下错误
- 错误原因是:构建wheel失败
- 注:不管是处于其他什么原因,sasl安装多半会失败,解决方法见3.2
3.2、解决sasl安装错误问题
- 1、这里采用官网下载whl文件本地安装。在此之前先安装pip install wheel
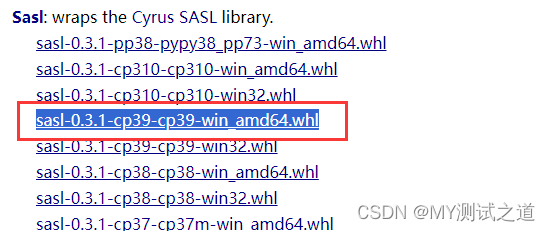
- 2、去官网下载支持的版本:https://www.lfd.uci.edu/~gohlke/pythonlibs/#sasl
【安装包字段说明】
python版本为python 3.9.0
cp39:表示为python的版本,为python 3.9
win_amd64:表示为驱动为windows 64位的驱动
对应sasl.whl 包 : sasl‑0.3.1‑cp39‑cp39‑win_amd64.whl
- 3、将下载号的包放入到项目虚拟环境目录的Scripts目录下
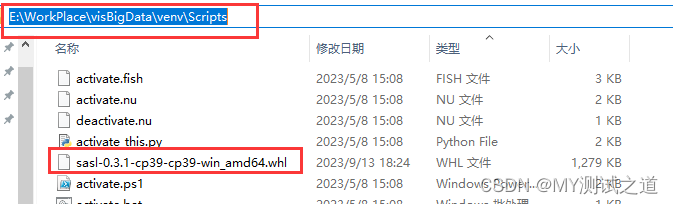
- 4、cmd进入E:\WorkPlace\visBigData\venv\Scripts下安装
pip install sasl‑0.3.1‑cp39‑cp39‑win_amd64.whl
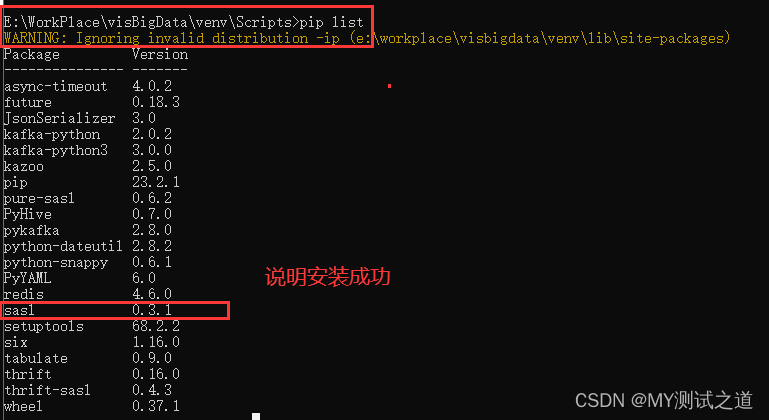
- 5、查看是否安装成功
pip list
3.3、测试Python连接hive
from pyhive import hive

# 读取数据
def test_connection(sql):
    # 创建hive连接
    conn = hive.Connection(host='IP', # HiveServer2主机的IP地址
                           port=10000, # HiveServer2服务端口号
                           username='root', # 连接hive数据库的用户名
                           database='databseName', # 具体数据库名
                           auth='NOSASL' # 客户端的认证模式
                            )
    cur = conn.cursor()
    # 执行查询
    cur.execute(sql)
    # 获取查询结果
    results = cur.fetchall()
    return results

sql = "show tables"
res = test_connection(sql)
print(res)


 1334
1334

 被折叠的 条评论
为什么被折叠?
被折叠的 条评论
为什么被折叠?
 到【灌水乐园】发言


