查了好多资料,大多数都是抄来抄去,还有很多文章时间都是几年前的了。根据SQLCipher在github上的公开的资料,做一个教程。
SQLCipher是对数据库文件加密,不是对数据库内容加密。这一点要分清楚。

首先放出SQLCipher的github地址:https://github.com/sqlcipher
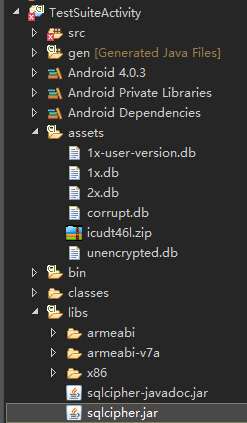
第一步:下载SQLCipher在Android上应用的例子,看看他是如何给android的SQLite数据库文件加密的。sqlcipher-android-tests的下载地址:
https://github.com/sqlcipher/sqlcipher-android-tests
在assets目录下找到icudt46l.zip包。移植到自己创建的工程中去。还有libs文件夹下的所有文件。这里看到我的工程是不能执行的,这个没有关系,把需要的文件移植到自己创建的工程中去就行。
这里是我新建的工程文件:
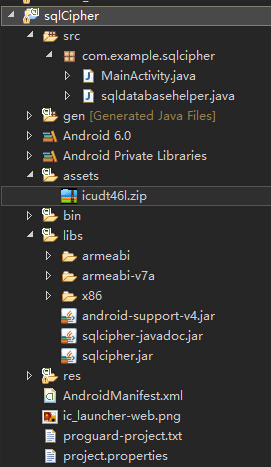
第二步:创建自己的工程文件,使用数据库。
导包的时候注意不要导错!
sqldatabasehelper.Java
public class sqldatabasehelper extends SQLiteOpenHelper {
public static final String CREATE_TABLE = "create table Test(name text, pd integer)";
public sqldatabasehelper(Context context, String name, CursorFactory factory, int version) {
super(context, name, factory, version);
}
@Override
public void onCreate(SQLiteDatabase db) {
db.execSQL(CREATE_TABLE);
}
@Override
public void onUpgrade(SQLiteDatabase db, int arg1, int arg2) {
}
}
- 1
- 2
- 3
- 4
- 5
- 6
- 7
- 8
- 9
- 10
- 11
- 12
- 13
- 14
- 15
- 16
- 17
- 18
- 19
- 20
- 1
- 2
- 3
- 4
- 5
- 6
- 7
- 8
- 9
- 10
- 11
- 12
- 13
- 14
- 15
- 16
- 17
- 18
- 19
- 20
MainActivity.java
public class MainActivity extends Activity {
private SQLiteDatabase db;
@Override
protected void onCreate(Bundle savedInstanceState) {
super.onCreate(savedInstanceState);
setContentView(R.layout.activity_main);
SQLiteDatabase.loadLibs(this);
sqldatabasehelper dbHelper = new sqldatabasehelper(this, "my.db", null, 1);
db = dbHelper.getWritableDatabase("123456");
Button addData = (Button) findViewById(R.id.add_data);
Button queryData = (Button) findViewById(R.id.query_data);
addData.setOnClickListener(new OnClickListener() {
@Override
public void onClick(View v) {
ContentValues values = new ContentValues();
values.put("name", "测试");
values.put("pd", 123);
Log.d("TAG", "存入");
db.insert("Test", null, values);
}
});
queryData.setOnClickListener(new OnClickListener() {
@Override
public void onClick(View v) {
Cursor cursor = db.query("Test", null, null, null, null, null, null);
if (cursor != null) {
while (cursor.moveToNext()) {
String name = cursor.getString(cursor.getColumnIndex("name"));
int pages = cursor.getInt(cursor.getColumnIndex("pd"));
Log.d("TAG", "name is " + name);
Log.d("TAG", "password is " + pages);
}
}
cursor.close();
}
});
}
}
- 1
- 2
- 3
- 4
- 5
- 6
- 7
- 8
- 9
- 10
- 11
- 12
- 13
- 14
- 15
- 16
- 17
- 18
- 19
- 20
- 21
- 22
- 23
- 24
- 25
- 26
- 27
- 28
- 29
- 30
- 31
- 32
- 33
- 34
- 35
- 36
- 37
- 38
- 39
- 40
- 41
- 42
- 1
- 2
- 3
- 4
- 5
- 6
- 7
- 8
- 9
- 10
- 11
- 12
- 13
- 14
- 15
- 16
- 17
- 18
- 19
- 20
- 21
- 22
- 23
- 24
- 25
- 26
- 27
- 28
- 29
- 30
- 31
- 32
- 33
- 34
- 35
- 36
- 37
- 38
- 39
- 40
- 41
- 42
布局文件
<RelativeLayout xmlns:android="http://schemas.android.com/apk/res/android"
    xmlns:tools="http://schemas.android.com/tools"
    android:layout_width="match_parent"
    android:layout_height="match_parent"
    tools:context="${relativePackage}.${activityClass}" >

    <Button
        android:id="@+id/add_data"
        android:layout_width="match_parent"
        android:layout_height="wrap_content"
        android:text="添加数据" />

    <Button
        android:layout_below="@id/add_data"
        android:id="@+id/query_data"
        android:layout_width="match_parent"
        android:layout_height="wrap_content"
        android:text="查询数据" />

</RelativeLayout>
- 1
- 2
- 3
- 4
- 5
- 6
- 7
- 8
- 9
- 10
- 11
- 12
- 13
- 14
- 15
- 16
- 17
- 18
- 19
- 20
- 1
- 2
- 3
- 4
- 5
- 6
- 7
- 8
- 9
- 10
- 11
- 12
- 13
- 14
- 15
- 16
- 17
- 18
- 19
- 20
下图是程序运行的截图。
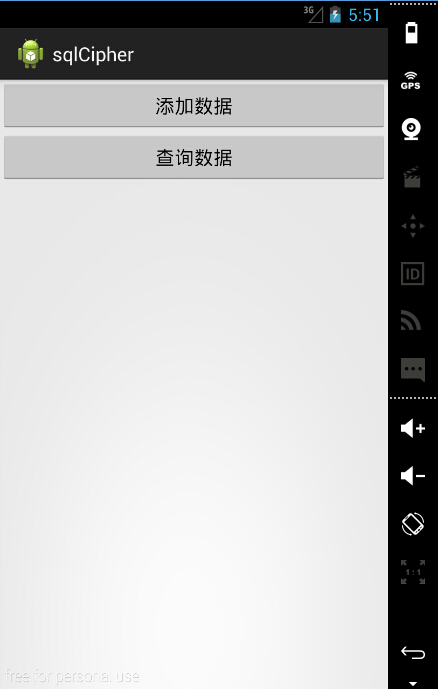
点击添加数据和查询数据,看打印日志

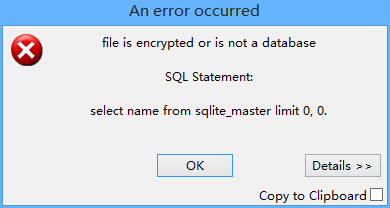
第三步:将数据导出(需要root权限,我这里使用的是Genymotion模拟器,已root)。在根目录/data/data/应用包名中导出

在桌面使用SQLite Expert Personal 3工具打开导出的my.db数据库。
提示出错。如下图:
以上是对数据库文件的加密。下一篇介绍如何解密。


 378
378

 被折叠的 条评论
为什么被折叠?
被折叠的 条评论
为什么被折叠?
 到【灌水乐园】发言


