


一、下载安装包
下载elasticsearch-head
下载地址:https://github.com/mobz/elasticsearch-head,下载后解压缩。
二、安装node、npm、grunt
- 安装node
下载:http://nodejs.cn/download/
选择64位
# cp node-v6.11.1-linux-x64 /usr/local/node611
配置环境变量
# vim /etc/profile
添加
export NODE_HOME=/usr/local/node611
修改
# export PATH=$JAVA_HOME/bin:$JRE_HOME/bin:$PATH:$NODE_HOME/bin
生效环境变量
# source /etc/profile
# node -v
v6.11.1
出现以上v6.11.1 说明node安装成功
- 安装grunt
grunt是一个很方便的构建工具,可以进行打包压缩、测试、执行等等的工作,5.0里的 head插件就是通过grunt启动的。因此需要安装一下grunt:
# npm install grunt-cli
npm WARN gentlyRm not removing /usr/local/elasticsearch-head/node_modules/.bin/grunt as it wasn't installed by /usr/local/elasticsearch-head/node_modules/grunt-cli
elasticsearch-head@0.0.0 /usr/local/elasticsearch-head
└─┬ grunt@1.0.1
  └── grunt-cli@1.2.0

npm WARN optional SKIPPING OPTIONAL DEPENDENCY: fsevents@^1.0.0 (node_modules/chokidar/node_modules/fsevents):
npm WARN notsup SKIPPING OPTIONAL DEPENDENCY: Unsupported platform for fsevents@1.1.3: wanted {"os":"darwin","arch":"any"} (current: {"os":"linux","arch":"x64"})

 # npm install -g grunt-cli --registry=https://registry.npm.taobao.org --no-proxy
/usr/local/node611/bin/grunt -> /usr/local/node611/lib/node_modules/grunt-cli/bin/grunt
/usr/local/node611/lib
└─┬ grunt-cli@1.2.0
  ├─┬ findup-sync@0.3.0
  │ └─┬ glob@5.0.15
  │   ├─┬ inflight@1.0.6
  │   │ └── wrappy@1.0.2
  │   ├── inherits@2.0.3
  │   ├─┬ minimatch@3.0.4
  │   │ └─┬ brace-expansion@1.1.8
  │   │   ├── balanced-match@1.0.0
  │   │   └── concat-map@0.0.1
  │   ├── once@1.4.0
  │   └── path-is-absolute@1.0.1
  ├── grunt-known-options@1.1.0
  ├─┬ nopt@3.0.6
  │ └── abbrev@1.1.1
  └── resolve@1.1.7

└── grunt@1.0.1
# grunt -version
grunt-cli v1.2.0
grunt v1.0.1
出现上面的grunt-cli v1.2.0、grunt v1.0.1 说明grunt安装完成了。
三、配置
由于head的代码还是2.6版本的,直接执行有很多限制,比如无法跨机器访问。因此需要用户修改两个地方:
修改服务器监听地址
目录:head/Gruntfile.js
# cd elasticsearch-head
# vim Gruntfile.js
找到下面的内容
connect: {
    server: {
        options: {
            port: 9100,
            hostname: '*',
            base: '.',
            keepalive: true
        }
    }
}
增加hostname属性,设置为*
# cd _site
# vim app.js
把下面的
this.base_uri = this.config.base_uri || this.prefs.get("app-base_uri") || "http://localhost:9200";
把localhost修改成你es的服务器地址,如下:
this.base_uri = this.config.base_uri || this.prefs.get("app-base_uri") || "http://10.1.11.9:9200";

# 增加新的参数,这样head插件可以访问es。设置参数的时候:后面要有空格
#vim config/elasticsearch.yml
http.cors.enabled: true
http.cors.allow-origin: "*"
四、启动head
# cd elasticsearch-head
npm install
启动:
grunt server
后端运行:
grunt server &   然后输入exit退出就可以了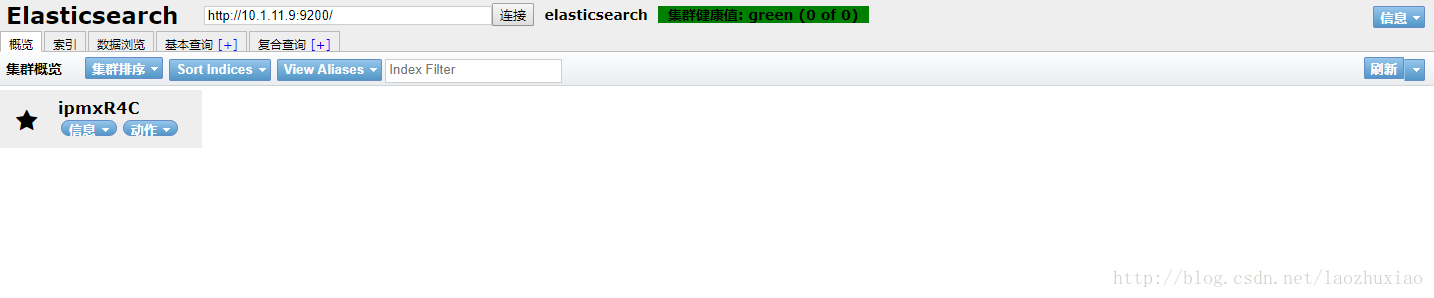
参考资料:
https://www.cnblogs.com/xing901022/p/6030296.html
http://blog.csdn.net/zoubf/article/details/79007908


 256
256


 被折叠的 条评论
为什么被折叠?
被折叠的 条评论
为什么被折叠?
 到【灌水乐园】发言


