


为什么是必要的,就是这100个知识点学完后,能独立完成一个小项目。最终能得到一个解决方案。也算是前端知识的积累。如果后面有需要的地方可以回来查。100个其实比较多,我会按新手老鸟,大神来分成3个等级,话不多说,让我们开始吧。
目录
1、一些常用的依赖。
这些版本最好固定,无需更新。除非你想使用一些新的功能,需要升级。新手一般不用修改。
{
  "name": "project_demo",
  "private": true,
  "version": "0.0.0",
  "type": "module",
  "scripts": {
    "dev": "vite --open",
    "build": "vue-tsc && vite build",
    "preview": "vite preview"
  },
  "dependencies": {
    "@element-plus/icons-vue": "^2.1.0",
    "axios": "^1.4.0",
    "element-plus": "^2.3.5",
    "nprogress": "^0.2.0",
    "pinia": "2.0.36",
    "qrcode": "^1.5.3",
    "sass": "^1.62.1",
    "vue": "^3.2.47",
    "vue-router": "^4.2.1"
  },
  "devDependencies": {
    "@types/node": "^20.2.3",
    "@vitejs/plugin-vue": "^4.1.0",
    "typescript": "^5.0.2",
    "vite": "^4.3.2",
    "vue-tsc": "^1.4.2"
  }
}
2、创建一个Vue空项目
pnpm create vite
// 名字,vue, ts
pnpm install
pnpm run dev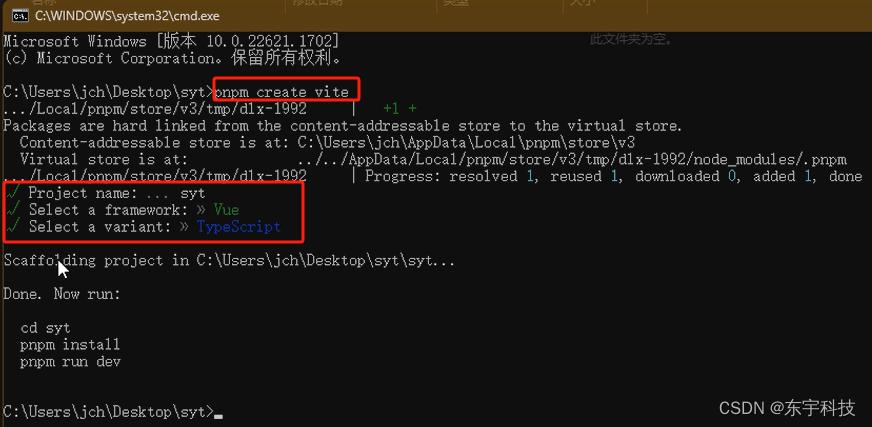
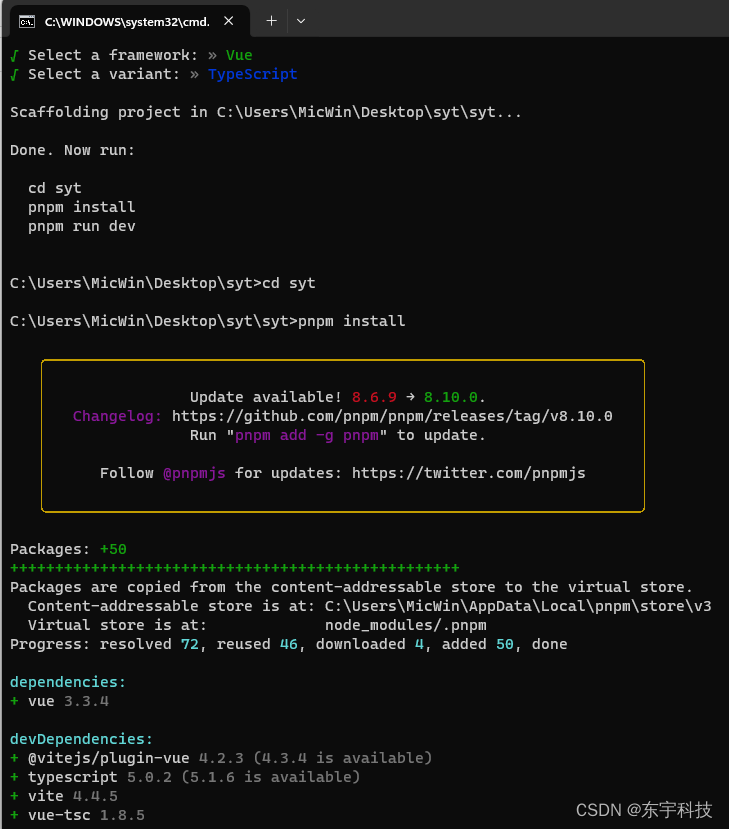
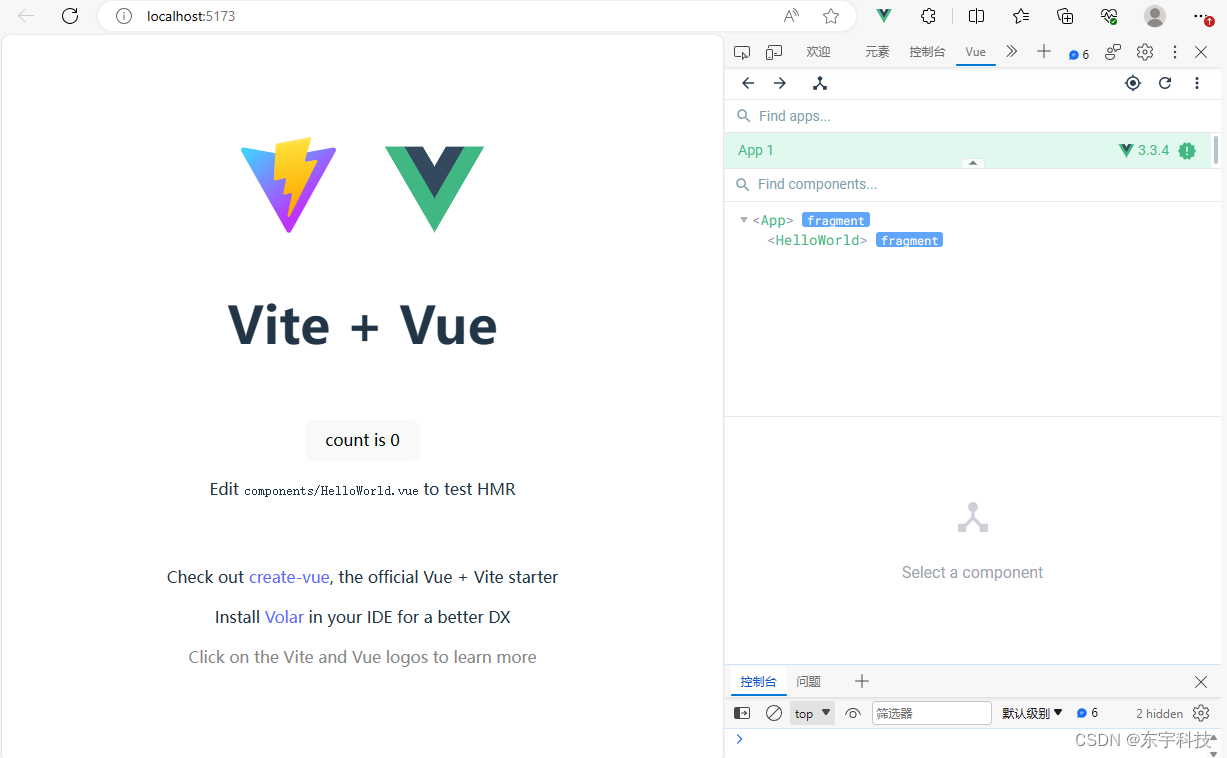
打开浏览器,输入网址或点击允许的网址,看到下面的项目就建好了。
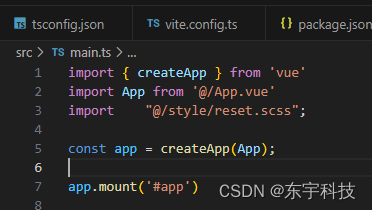
3、Vite设置@Src别名
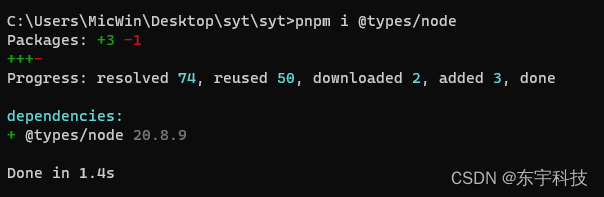
当修改@为根目录。会提示错误。这里需要安装types/node,和2处设置。
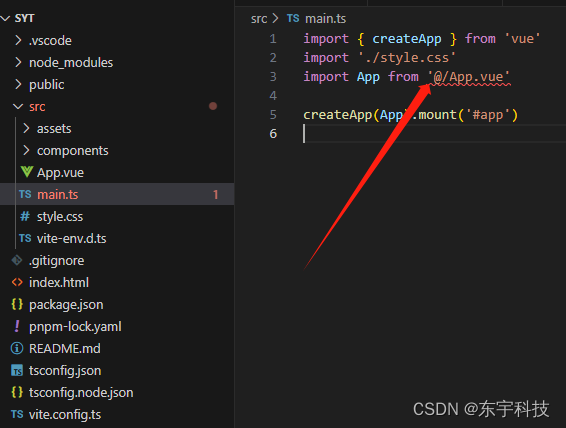
pnpm i @types/node -D

vite.config
import { defineConfig } from 'vite'
import vue from '@vitejs/plugin-vue'
import { join } from 'path'
// https://vitejs.dev/config/
export default defineConfig({
    plugins: [vue()],
    //配置src目录别名
    resolve: {
        alias: {
            '@': join(__dirname, "src"),
        }
    }
})


ts.config
  "compilerOptions": {
      ......

    // 让vscode认识@
    "baseUrl": ".",
    "paths": {
      "@/*":["src/*"]
    },
    ......
看错误提示消失了。@可以代表src了。
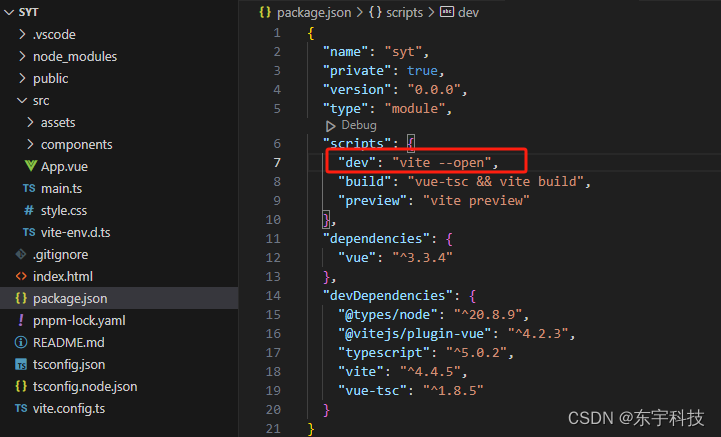
4、设置run dev自动打开新页面。
这个很简单只需在package里dev后面添加--open就可以
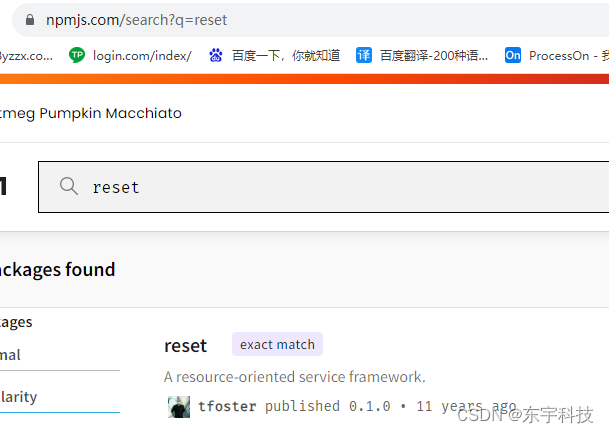
5、安装sass版本的 reset.scss
记住一个网站npmjs.com,然后搜索reset.点击进去复制
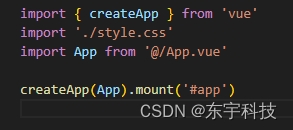
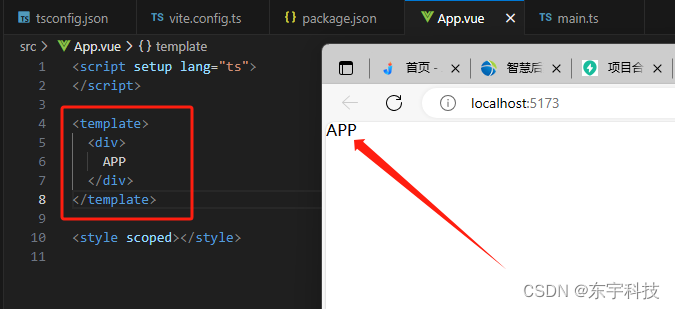
复制reset.scss到src/style/下。然后在main.ts里引入,方法是直接import,(去掉自动生成的全局css.)
可以修改app.vue,查看下效果:当reset掉所有样式后,app就顶格到左上角。这个就是reset的效果。
6、全局组件top,bottom
组件一般放在com里,先创建两个文件。
--@/components/hospital_bottom/index.vue
<template>
    <div>
bottom
    </div>
</template>


--@app.vue
<template>
  <div class="container">
    <HospitalTop />
    <div>正文</div>
    <HospitalBottom />
  </div>
</template>

<script setup lang="ts">
</script>

<style scoped lang="scss">
.container{
  background-color: black;
  height: 100px;
  color: #ffffff;
}
</style>


-- main.ts
import HospitalTop from "@/components/hospital_top/index.vue";
import HospitalBottom from "@/components/hospital_bottom/index.vue";


const app = createApp(App);

app.component('HospitalTop', HospitalTop);
app.component('HospitalBottom', HospitalBottom);
app.component用来注册全局组件,这样在合适的地方就可以直接使用。
7、处理一个经典的上中下布局
<template>
    <div class="top">
        <div class="content">
            内容区域
        </div>
    </div>
</template>

<script setup lang="ts">

</script>

<style scoped lang="scss">
.top{
    width: 100%;
    height: 70px;
    background: #fff;

    .content{
        width: 1200px;
    }
}
</style>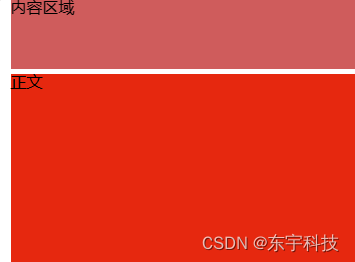
代码下载(选基础设置这个版本下载。下载后需要pnpm i 一下):syt: 商易通项目
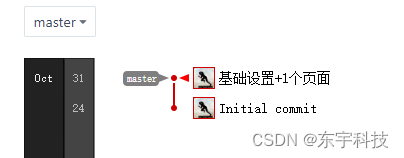
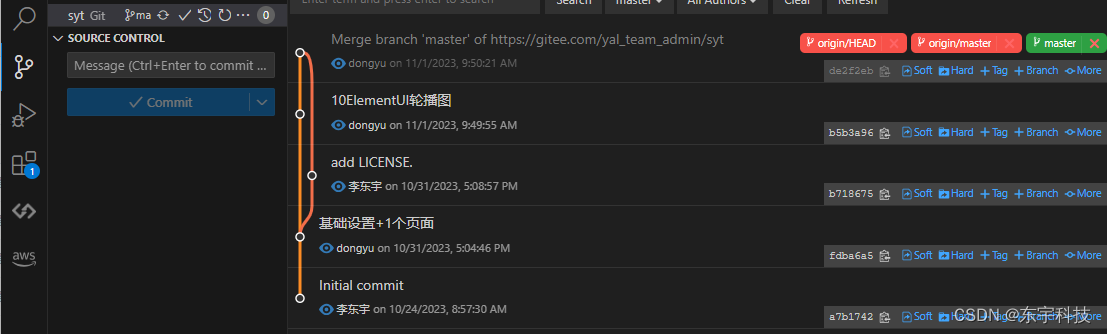
8、创建一个版本控制。
如果是新开始的,可以直接clone一个仓库。
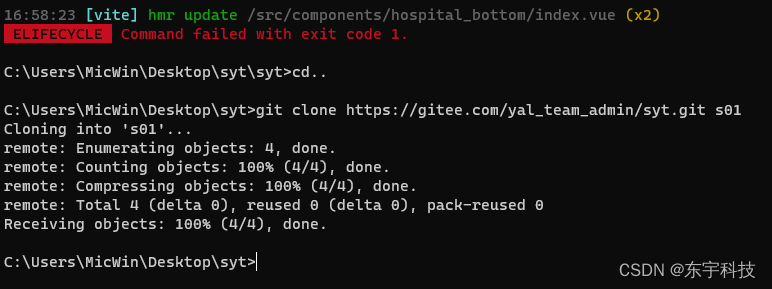
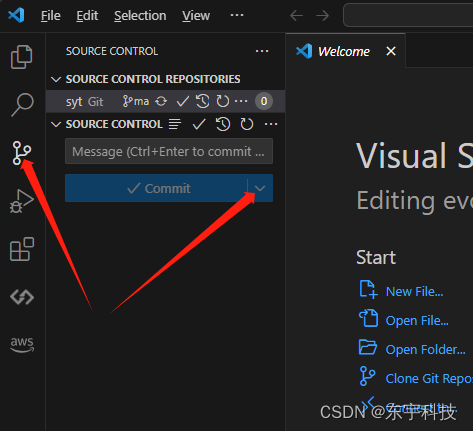
这里选commit+push。
9、加装路由,设置切换路由会顶部

--@/router/index.ts
import { createRouter, createWebHashHistory } from "vue-router";

export default createRouter({
  //设置为history模式
  history: createWebHashHistory(),
  routes: [
    {
      path: "/home", //配置默认路由
      name: "home", //路由名
      component: () => import("@/pages/home/index.vue"), //引入该路由使用的组件
    },
    {
      path: "/", //配置默认路由
      redirect: "/home",
    },
    {
      path: "/error", //配置默认路由
      name: "error", //路由名
      component: () => import("@/pages/error/index.vue"), //引入该路由使用的组件
    },
  ],
  //切换路由后回到顶部
  scrollBehavior() {
    return { left: 0, top: 0 };
  },
});
--index.ts
import { createApp } from "vue";
import App from "@/App.vue";
import "@/style/reset.scss";
import router from "@/router/index.ts";
const app = createApp(App);
app.use(router);
app.mount("#app");当访问/的时候,会自动跳到/home。app.vue里要写个RouterView。
--app.vue
<template>
  <div class="container">
    <HospitalTop />
    <div class="content">
      <RouterView/>
    </div>
    <HospitalBottom />
  </div>
</template>

--home/index.vue
<template>
    <div>
        homes
    </div>
</template>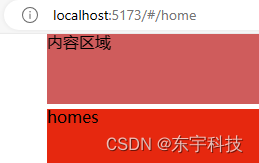
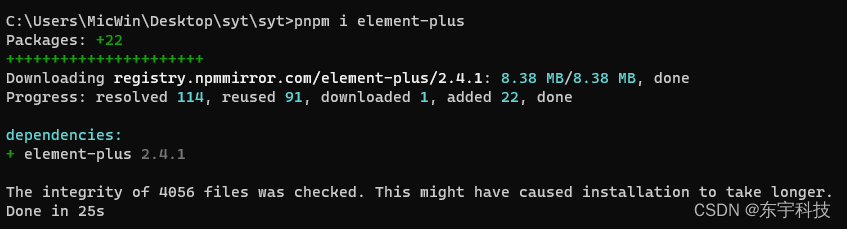
10、安装ElementUI,添加轮播图
首先应该收藏 https://element-plus.gitee.io/zh-CN/guide/quickstart.html,
命令行运行安装依赖。
pnpm i element-plus
在main.ts里添加引用。
import ElementPlus from 'element-plus'
import 'element-plus/dist/index.css'
app.use(ElementPlus)
测试是否安装好,我们放几个按钮看下。修改home/index.vue
<template>
    <div>
        homes
        <el-row class="mb-4">
            <el-button>Default</el-button>
            <el-button type="primary">Primary</el-button>
            <el-button type="success">Success</el-button>
            <el-button type="info">Info</el-button>
            <el-button type="warning">Warning</el-button>
            <el-button type="danger">Danger</el-button>
        </el-row>
    </div>
</template>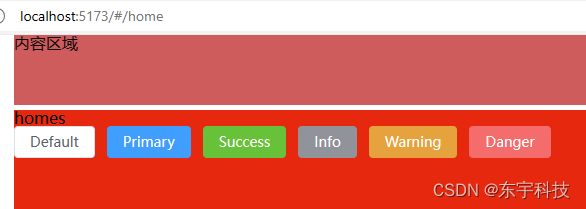
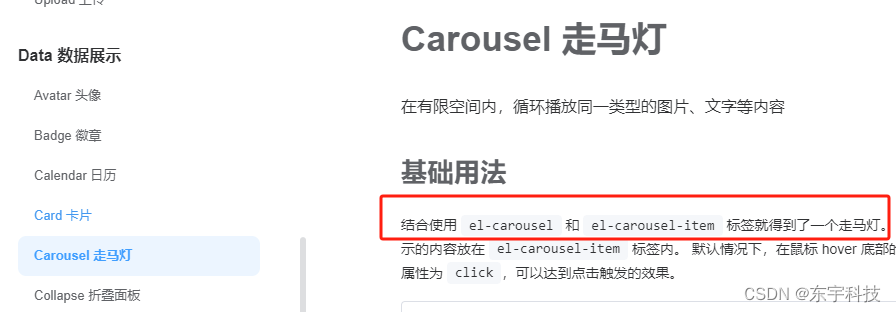
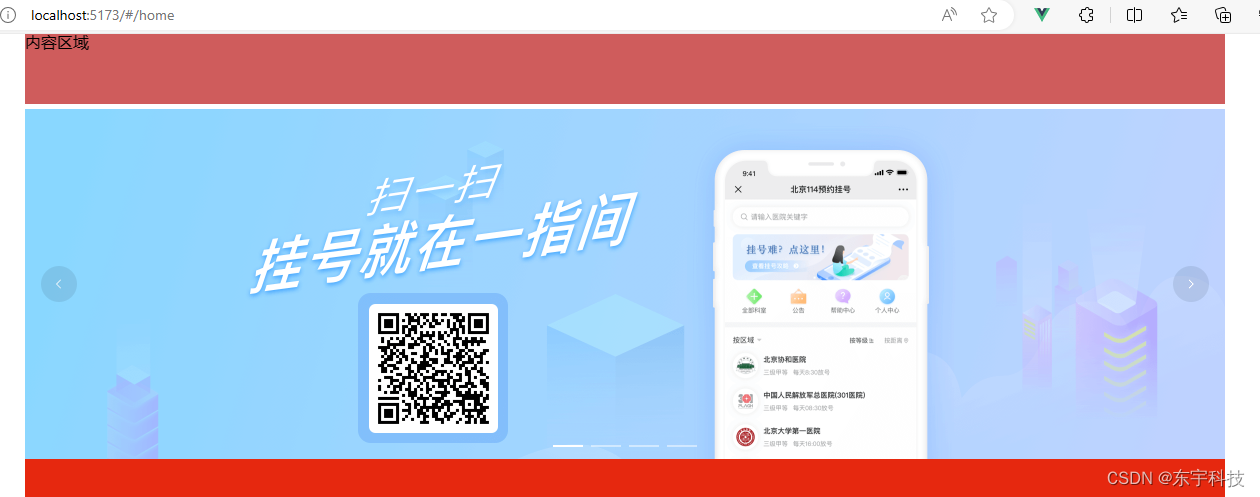
<template>
    <!-- 轮播图 -->
        <el-carousel class="carousel" height="350px" :interval="5000" arrow="always">
            <el-carousel-item v-for="item in 4" :key="item">
                <img src="../../assets/images/web-banner-1.png" alt="">
            </el-carousel-item>
        </el-carousel>
</template>

<style scoped>
.el-carousel__item h3 {
  color: #475669;
  opacity: 0.75;
  line-height: 300px;
  margin: 0;
  text-align: center;
}

.el-carousel__item:nth-child(2n) {
  background-color: #99a9bf;
}

.el-carousel__item:nth-child(2n + 1) {
  background-color: #d3dce6;
}

.carousel{
    img{
        width: 100%;
        height: 350px;
    }
}
</style>
然后提交版本。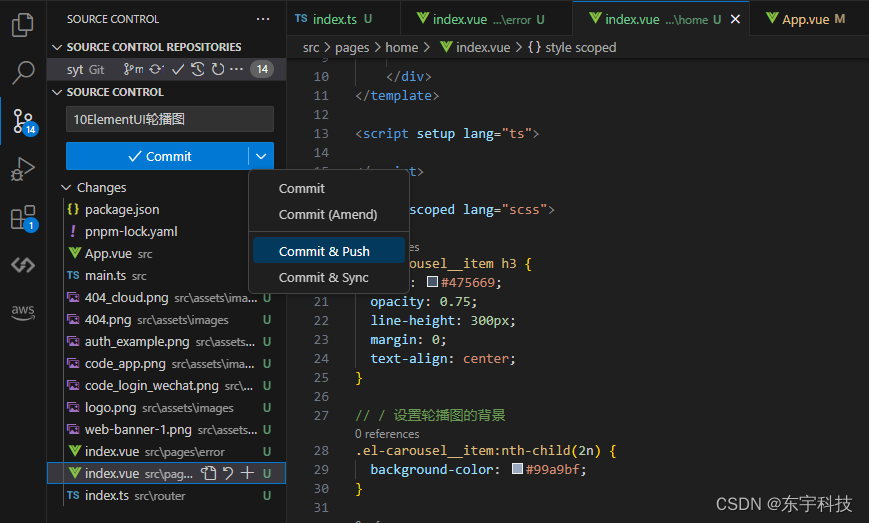
需要资源的可在这里下载(记得是下知识点-10的版本) syt: 商易通项目。syt: 商易通项目
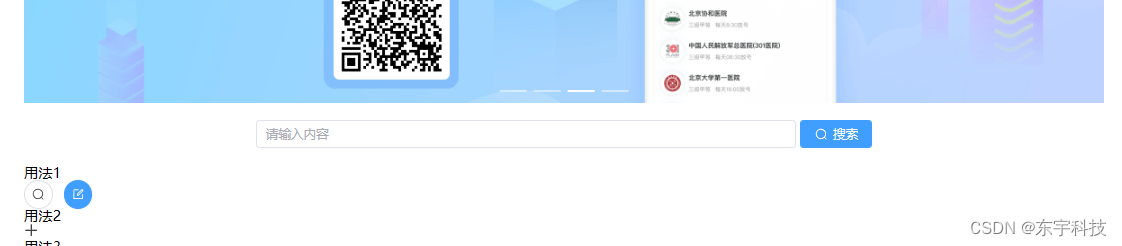
11、安装Element-Icon图标。
pnpm install @element-plus/icons-vue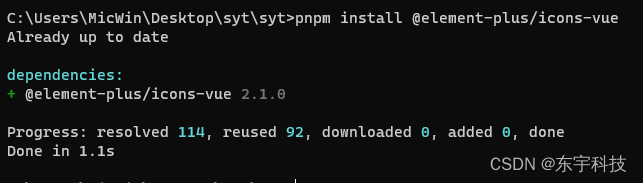
不推荐全局注册。还是在页面上按需注册好了。在home/index.vue里引用
import {Search,Edit,Plus} from "@element-plus/icons-vue"

          <p>用法1</p>
        <el-button :icon="Search" circle />
        <el-button type="primary" :icon="Edit" circle />
        <p>用法2</p> <el-icon>
            <Plus />
        </el-icon>
        <p>用法3</p>
        <Edit style="width: 1em; height: 1em; margin-right: 8px" />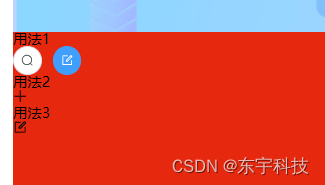
12、深度选择器应用,制作搜索框
在轮播图下面放置一个搜索框,如图。这里的需求是这个input框太短需要长一点。
        <!-- 轮播图 -->
        <el-carousel class="carousel" height="350px" :interval="5000" arrow="always">
            <el-carousel-item v-for="item in 4" :key="item">
                <img src="../../assets/images/web-banner-1.png" alt="">
            </el-carousel-item>
        </el-carousel>

        <div class="search">
            <el-autocomplete placeholder="请输入内容" />
            <el-button type="primary" size="default" :icon="Search">搜索</el-button>
        </div>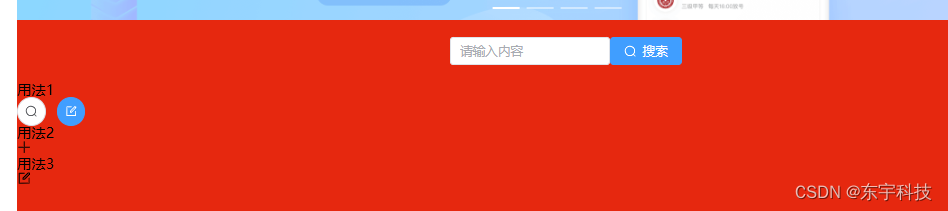
接下来在调试器里尝试,修改宽度,是可以的。但页面上是没有这个el-input的。
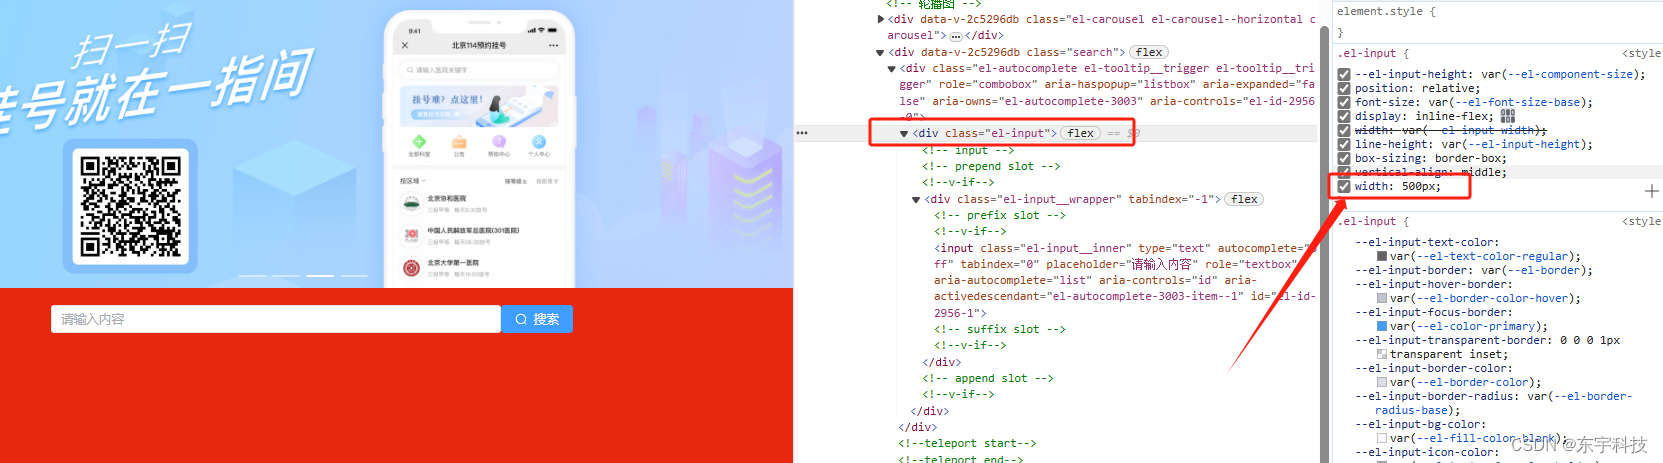
.search {
    width: 100%;
    height: 50px;
    display: flex;
    justify-content: center;
    align-items: center;
    margin: 10px 0px;

    ::v-deep(.el-input){
        width: 600px;
        margin-right: 5px;
    }

}
13、分页器和ElementUI国际化
Element Plus 组件 默认 使用英语,如果你希望使用其他语言,你可以修改main.ts里
import zhCn from "element-plus/dist/locale/zh-cn.mjs";
app.use(ElementPlus, { locale: zhCn });

--home/index.vue
  <el-pagination
      v-model:current-page="currentPage4"
      v-model:page-size="pageSize4"
      :page-sizes="[100, 200, 300, 400]"
      :small="small"
      :disabled="disabled"
      :background="background"
      layout="total, sizes, prev, pager, next, jumper"
      :total="400"
      @size-change="handleSizeChange"
      @current-change="handleCurrentChange"
    />


import { ref } from 'vue'
const currentPage4 = ref(4)
const pageSize4 = ref(100)
const small = ref(false)
const background = ref(false)
const disabled = ref(false)

const handleSizeChange = (val: number) => {
  console.log(`${val} items per page`)
}
const handleCurrentChange = (val: number) => {
  console.log(`current page: ${val}`)
}
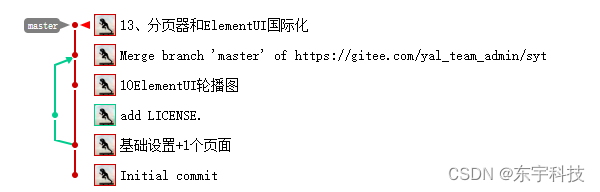
源码下载注意要下相应的版本:syt: 商易通项目
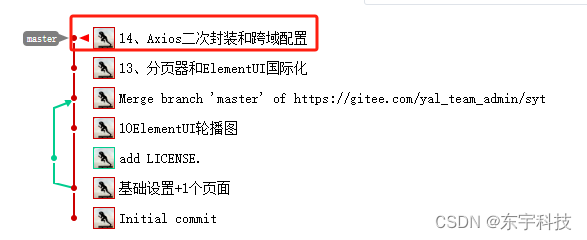
14、Axios二次封装和跨域配置
pnpm i axios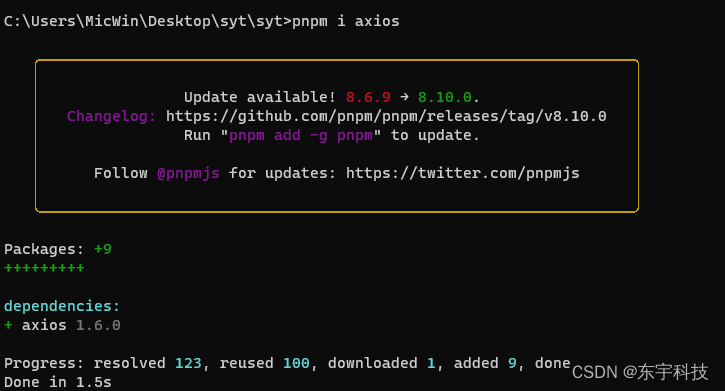
创建src/util/request.ts
//对于axios函数库进行二次封装?
//你工作的时候是否axios进行二次封装?二次封装的目的是什么那?
//目的:1,利用axios请求、响应拦截器功能
//目的2:请求拦截器,一般可以在请求头中携带公共的参数:token
//目的3:响应拦截器,可以简化服务器返回的数据,处理http网络错误
import axios from 'axios';
//引入用户相关的仓库
// import useUserStore from '@/store/modules/user';
//@ts-ignore
import { ElMessage } from 'element-plus';
//利用axios.create方法创建一个axios实例:可以设置基础路径、超时的时间的设置
const request = axios.create({
      baseURL: '/api',//请求的基础路径的设置
      timeout: 5000//超时的时间的设置,超出五秒请求就是失败的
});

//请求拦截器
request.interceptors.request.use((config) => {
      // //获取用户仓库
      // let userStore = useUserStore();
      // //token:公共参数,如果用户登录了需要携带
      // if (userStore.userInfo.token) {
      //       config.headers.token = userStore.userInfo.token;
      // }
      //config:请求拦截器回调注入的对象(配置对象),配置对象的身上最终要的一件事情headers属性
      //可以通过请求头携带公共参数-token
      return config;
});
//响应拦截器
request.interceptors.response.use((response) => {
      //响应拦截器成功的回调,一般会进行简化数据
      return response.data;
}, (error) => {
      //处理http网络错误
      let status = error.response.status;
      switch (status) {
            case 404:
                  //错误提示信息
                  ElMessage({
                        type: 'error',
                        message: '请求失败路径出现问题'
                  })
                  break;
            case 500 | 501 | 502 | 503 | 504 | 505:
                  ElMessage({
                        type: 'error',
                        message: '服务器挂了'
                  })
                  break;
            case 401:
                  ElMessage({
                        type: 'error',
                        message: '参数有误'
                  })
                  break;
      }
      return Promise.reject(new Error(error.message))
});
//务必对外暴露axios
export default request;
修改vite.config.ts,
import { defineConfig } from 'vite'
import vue from '@vitejs/plugin-vue'
//引入node提供内置模块path:可以获取绝对路径
import path from 'path';
export default defineConfig({
  plugins: [vue()],
  //src文件夹配置别名
  resolve: {
    alias: {
      "@": path.resolve(__dirname, 'src')
    }
  },
  //配置代理跨域
  server: {
    proxy: {
      '/api': {
        target: 'http://syt.yourdomain.cn',
        changeOrigin: true,
        rewrite: (path) => path.replace(/^\/api/, ''),
      },
    }
  }
})
设置好后,我们可以测试下是否能正常发出请求了。在app.vue里添加
<script setup lang="ts">
import request from "@/utils/request";
import { onMounted } from "vue";
onMounted(() => {
  request.get("/lottery/types?appCode=").then((res: any) => {
    console.log(res);
  })
})
</script>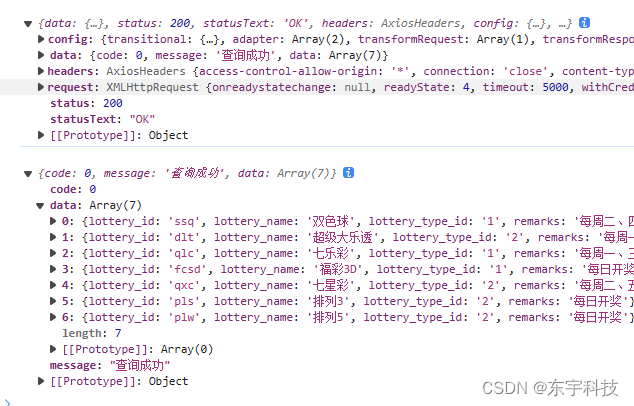
及时提交代码。有兴趣的可以下载这个版本。syt: 商易通项目
 .
.
15、使用这些知识做一个俄罗斯方块。
首页做一个这样的简单页面。我们来实现一些逻辑功能。


 4816
4816

 被折叠的 条评论
为什么被折叠?
被折叠的 条评论
为什么被折叠?
 到【灌水乐园】发言


