LED自动化测试

LED测试主流有3中方案:第一种:传统的人眼测试,凭借人眼去观查判断,容易产生视觉疲劳和误测,测试精准度也不高。第二种:视觉测试方案,利用工业相机来测试,但是价格成本太高,不划算。第三种:使用LED分析仪进行测试,测试精准度高,测试效率高,成本相对也比较低,所以目前应用较多。

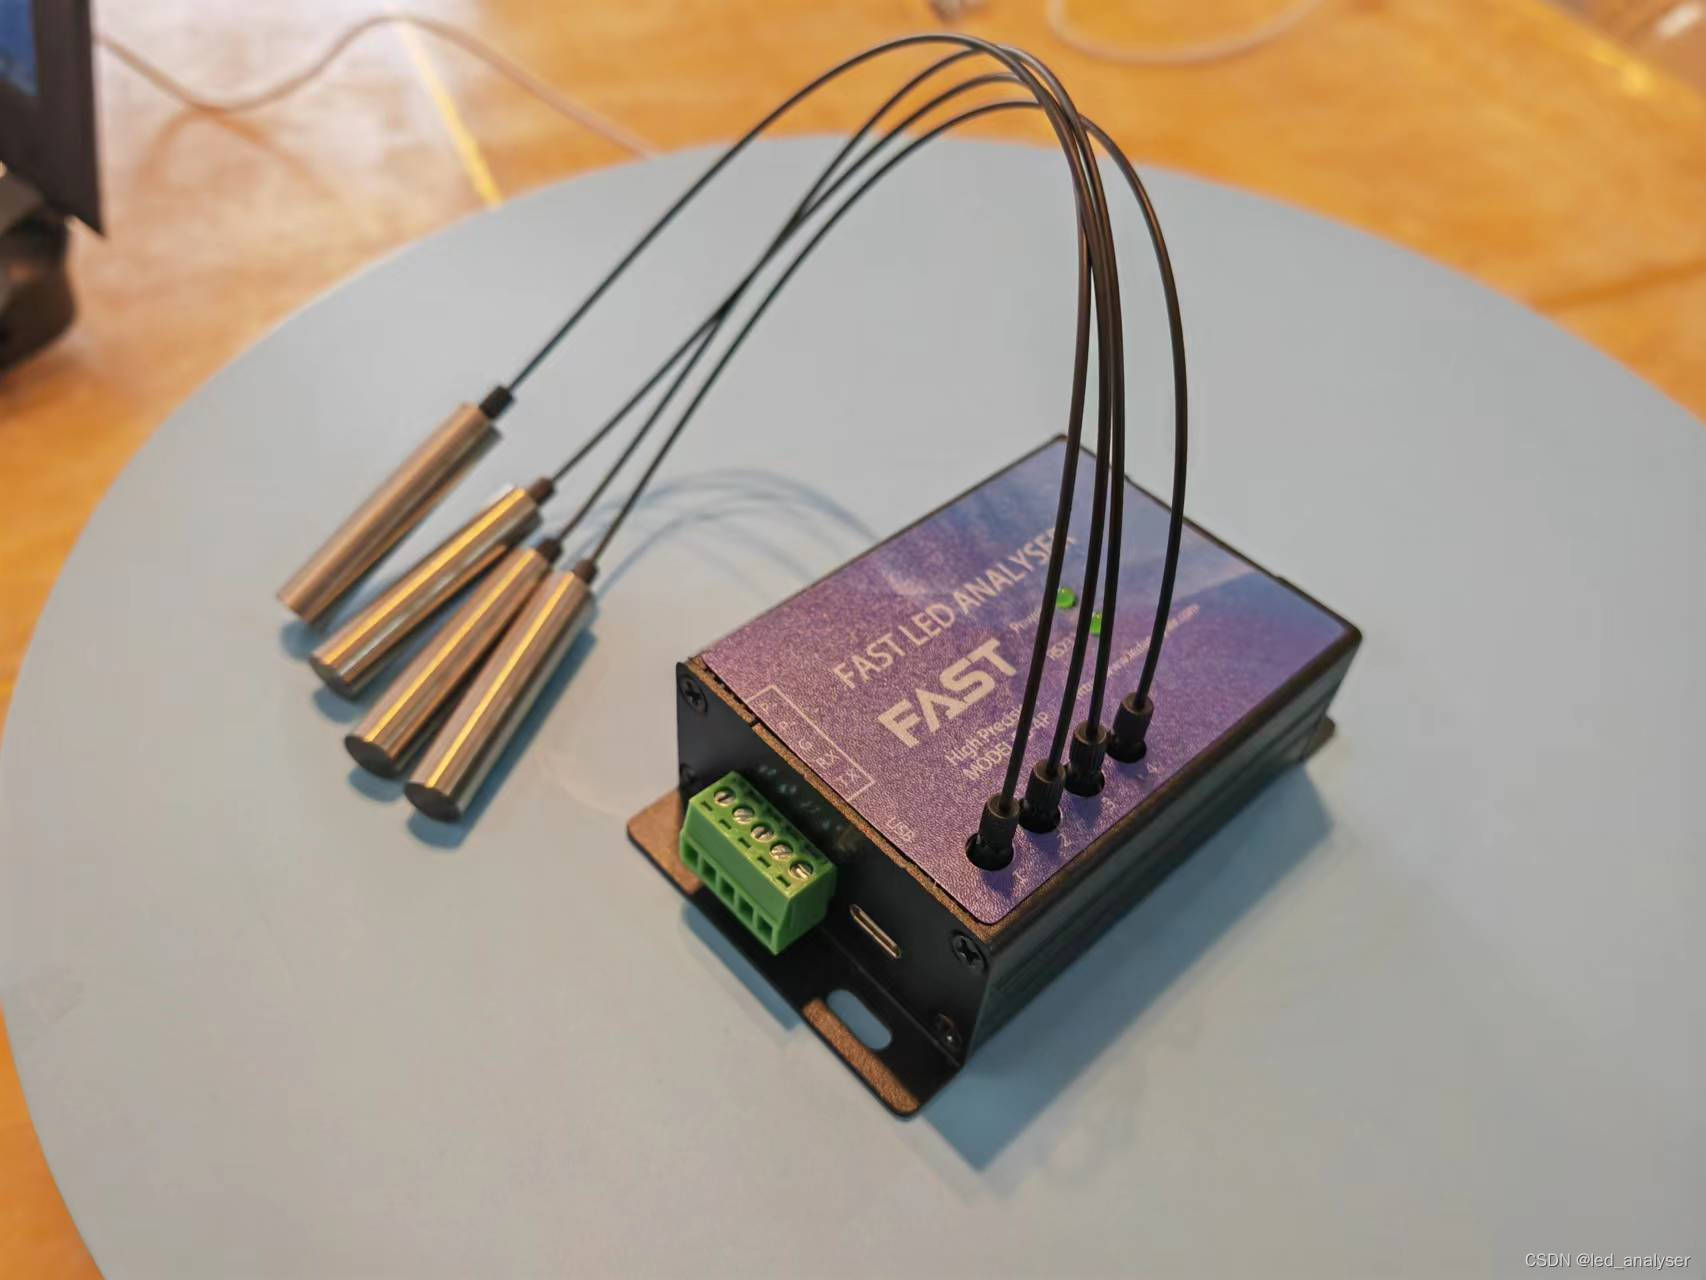
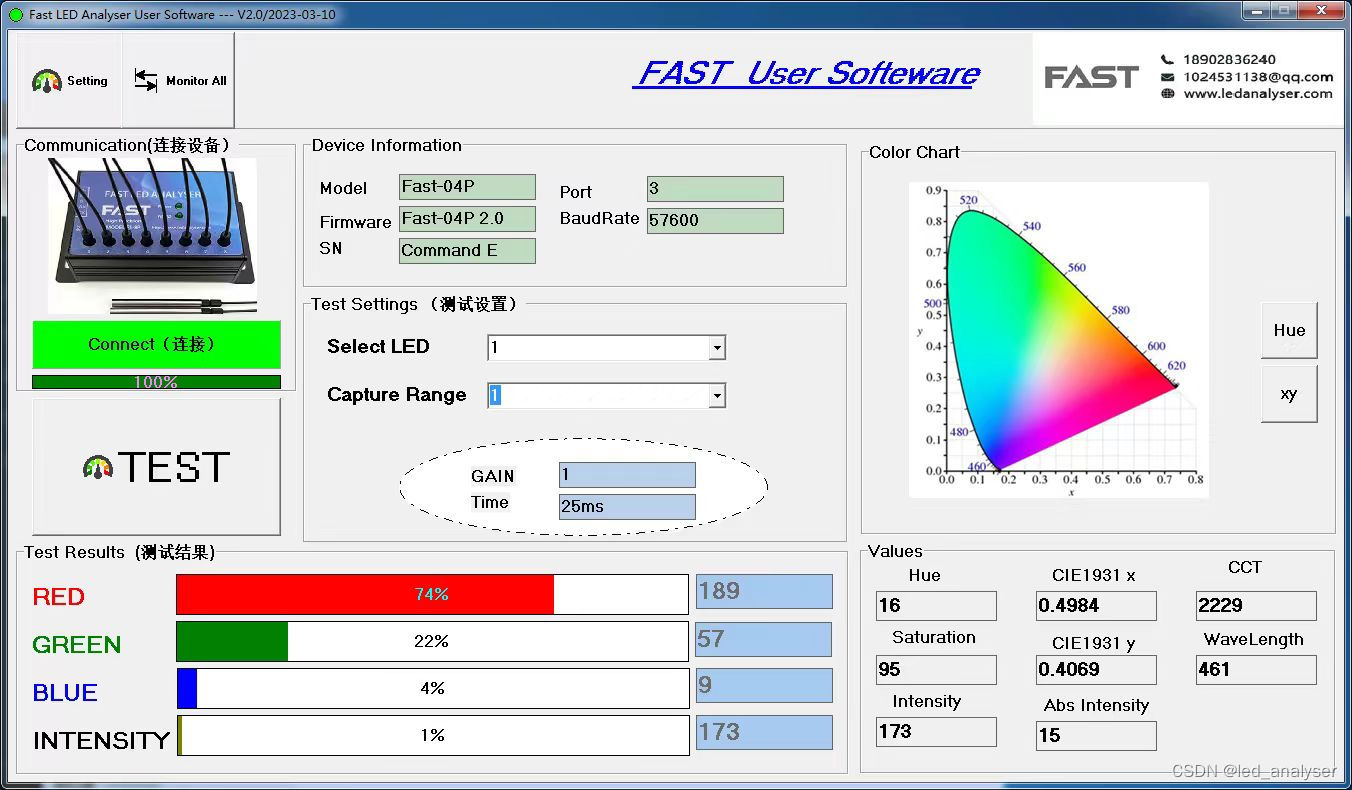
LED分析仪可以测试的项目较多,包含:RGB、HUE、1931XY、CCT、intensity、wavelength等等,可以根据自己的测试需要选择测试内容,适合测试各种电子产品的指示灯,PCB上的LED灯,汽车灯等等


### 回答1: 在 TURBO C 2.0 中,您可以使用 biosdisk() 函数来格式化软盘。 下面是一段代码示例: ``` #include <stdio.h> #include <dos.h> int main() { // 定义扇区的大小 unsigned int sector_size[3] = {512, 512, 1024}; // 定义填充字节 unsigned char fill_char[3] = {0xF6, 0xF6, 0x48}; // 格式化磁道 70 面 0 的前三个扇区 for (int i = 0; i < 3; i++) { int result = biosdisk(2, 0, 70, 0, i + 1, 1, sector_size[i], fill_char[i]); if (result != 0) { printf("格式化扇区 %d 失败,返回码: %d\n", i + 1, result); } } return 0; } ``` 请注意,在使用 biosdisk() 函数之前,需要包含 dos.h 头文件。 希望这能帮到您! ### 回答2: 使用TURBO C 2.0语言,可以通过以下代码格式化软盘的70磁道0面,并分别格式化3个扇区,大小分别为512字节、512字节和1024字节。其中,前两个扇区使用F6填充,第三个扇区使用48填充。 ```c #include<stdlib.h> #include<stdio.h> #include<dos.h> void formatFloppyDisk(){ union REGS regs; regs.h.ah = 0x0;// To format a floppy disk, we set AH=0 regs.h.dl = 0;// Drive number (0=A, 1=B, etc.) regs.x.cx = 0;// Track number to format regs.h.dh = 0;// Head number regs.h.al = 0;// Sector size (0=default, 1=512 bytes, 2=1024 bytes, 3=2048 bytes etc.) int FILL_BYTE = 0;// The byte value to fill the sectors with during formatting int NUM_SECTORS = 3;// Number of sectors to format // To format 70th track 0th head regs.x.ax = 0x1301; // 0x13 = Reset disk system, 01H = Reset only specified drive int86(0x13, &regs, &regs); // BIOS interrupt to reset disk system for (int i=0; i<NUM_SECTORS; i++){ regs.x.ax = 0x3101; // 0x31 = Write Format, 01H = Format only current track regs.x.bx = 0x0001; // 0x00 = Drive A:, 01H = Head 1, 0 = Generate ID Field depending on the disk in the drive 1 = Keep the ID Field all zeros regs.x.cx = 0x0170; // Track number=70(0-79 range) regs.h.dh = 0x00; // Head number=0 or 1 regs.h.al = 0x02; // Control byte=always zero regs.x.dx = i+1; // Sector number starting from 1 regs.x.si = 0x0000; // segment and offset of read/write buffer regs.x.di = 0x0000; // segment and offset of result if(i == 2){ FILL_BYTE = 0x48; // Fill the third sector with 48 regs.x.ax = 0x3102; // 0x31 = Write Format, 02H = Format sequential tracks immediately following the one being formatted }else{ FILL_BYTE = 0xF6; // Fill the first two sectors with F6 } regs.h.ah = FILL_BYTE; // Fill the sector with specified byte int86(0x13, &regs, &regs); // BIOS interrupt to format the specified sector } } int main(){ formatFloppyDisk(); return 0; } ``` 上述代码使用了INT 0x13,即BIOS中断服务例程,来执行软盘格式化操作。通过设置寄存器的不同参数,可以指定要格式化的磁道、面、扇区大小和填充字节。在这个例子中,我们格式化了软盘70磁道0面的3个扇区,前两个扇区使用F6填充,第三个扇区使用48填充。
评论
添加红包

请填写红包祝福语或标题

红包个数最小为10个

红包金额最低5元

当前余额3.43前往充值 >
需支付:10.00
成就一亿技术人!
领取后你会自动成为博主和红包主的粉丝 规则
hope_wisdom
发出的红包
实付
使用余额支付
点击重新获取
扫码支付
钱包余额 0

抵扣说明:

1.余额是钱包充值的虚拟货币,按照1:1的比例进行支付金额的抵扣。
2.余额无法直接购买下载,可以购买VIP、付费专栏及课程。

余额充值